display BMW MOTORRAD K 1200 GT 2006 Rider's Manual (in English)
[x] Cancel search | Manufacturer: BMW MOTORRAD, Model Year: 2006, Model line: K 1200 GT, Model: BMW MOTORRAD K 1200 GT 2006Pages: 172, PDF Size: 1.98 MB
Page 52 of 172
Range
Average speed
Average consumption
Oil level
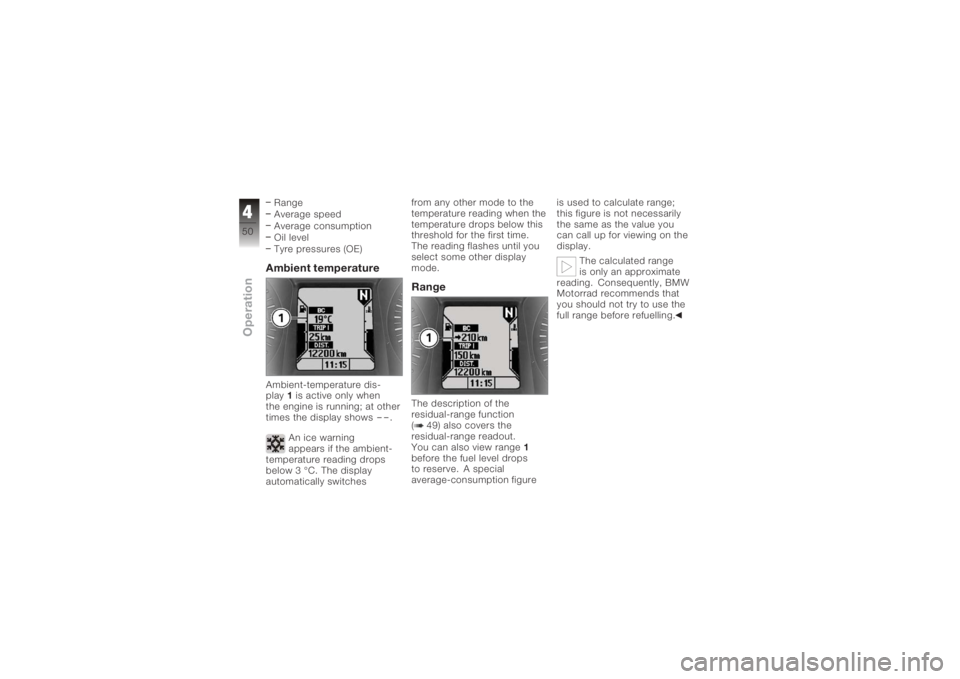
Tyre pressures (OE)Ambient temperatureAmbient-temperature dis-
play1is active only when
the engine is running; at other
times the display shows
--
.
An ice warning
appears if the ambient-
temperature reading drops
below 3 °C. The display
automatically switches from any other mode to the
temperature reading when the
temperature drops below this
threshold for the first time.
The reading flashes until you
select some other display
mode.
RangeThe description of the
residual-range function
( 49) also covers the
residual-range readout.
You can also view range
1
before the fuel level drops
to reserve. A special
average-consumption figure is used to calculate range;
this figure is not necessarily
the same as the value you
can call up for viewing on the
display.
The calculated range
is only an approximate
reading. Consequently, BMW
Motorrad recommends that
you should not try to use the
full range before refuelling.
450zOperation
Page 53 of 172
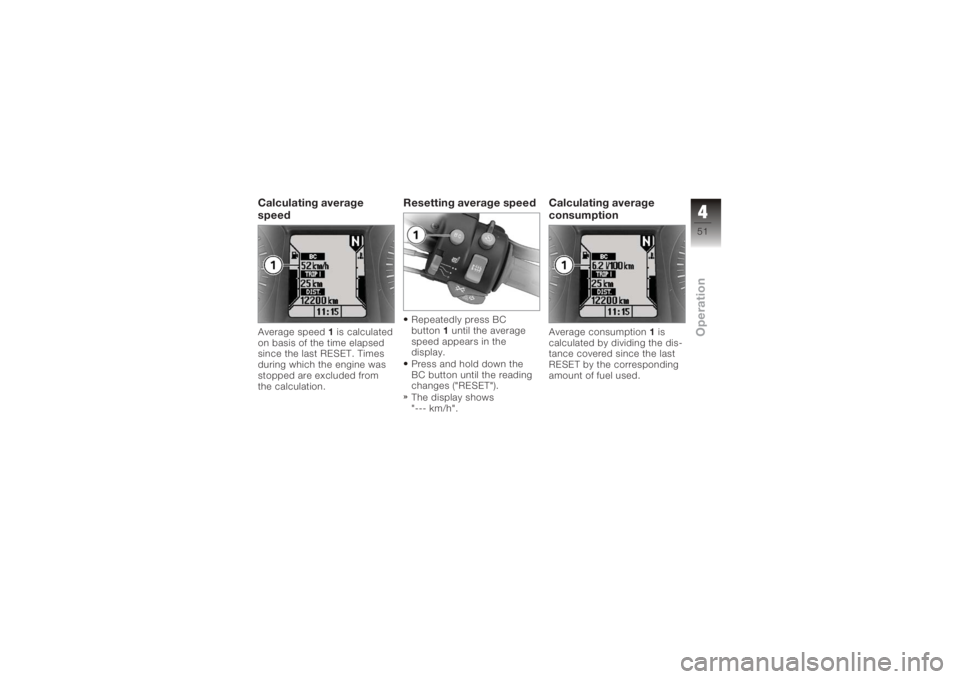
Calculating average
speedAverage speed1is calculated
on basis of the time elapsed
since the last RESET. Times
during which the engine was
stopped are excluded from
the calculation.
Resetting average speedRepeatedly press BC
button 1until the average
speed appears in the
display.
Press and hold down the
BC button until the reading
changes ("RESET").
The display shows
"--- km/h".
Calculating average
consumptionAverage consumption 1is
calculated by dividing the dis-
tance covered since the last
RESET by the corresponding
amount of fuel used.
451zOperation
Page 54 of 172
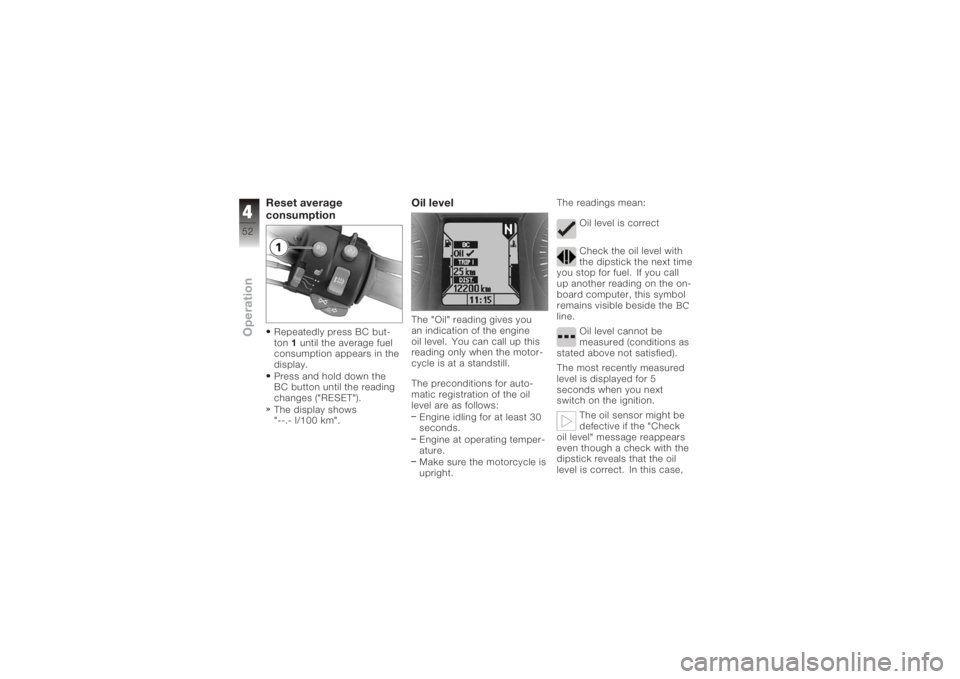
Reset average
consumptionRepeatedly press BC but-
ton1until the average fuel
consumption appears in the
display.
Press and hold down the
BC button until the reading
changes ("RESET").
The display shows
"--.- l/100 km".
Oil levelThe "Oil" reading gives you
an indication of the engine
oil level. You can call up this
reading only when the motor-
cycle is at a standstill.
The preconditions for auto-
matic registration of the oil
level are as follows:
Engine idling for at least 30
seconds.
Engine at operating temper-
ature.
Make sure the motorcycle is
upright. The readings mean:
Oil level is correct
Check the oil level with
the dipstick the next time
you stop for fuel. If you call
up another reading on the on-
board computer, this symbol
remains visible beside the
BC
line.
Oil level cannot be
measured (conditions as
stated above not satisfied).
The most recently measured
level is displayed for 5
seconds when you next
switch on the ignition.
The oil sensor might be
defective if the "Check
oil level" message reappears
even though a check with the
dipstick reveals that the oil
level is correct. In this case,
452zOperation
Page 60 of 172
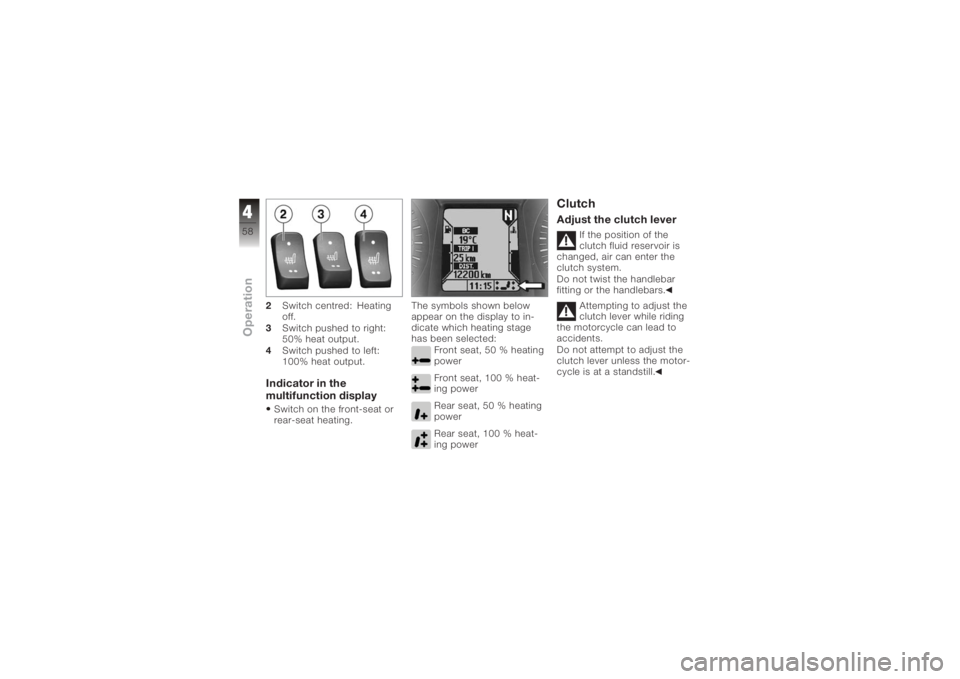
2Switch centred: Heating
off.
3 Switch pushed to right:
50% heat output.
4 Switch pushed to left:
100% heat output.Indicator in the
multifunction displaySwitch on the front-seat or
rear-seat heating. The symbols shown below
appear on the display to in-
dicate which heating stage
has been selected:
Front seat, 50 % heating
power
Front seat, 100 % heat-
ing power
Rear seat, 50 % heating
power
Rear seat, 100 % heat-
ing power
ClutchAdjust the clutch lever
If the position of the
clutch fluid reservoir is
changed, air can enter the
clutch system.
Do not twist the handlebar
fitting or the handlebars.
Attempting to adjust the
clutch lever while riding
the motorcycle can lead to
accidents.
Do not attempt to adjust the
clutch lever unless the motor-
cycle is at a standstill.
458zOperation
Page 73 of 172
ing screw1in the direction
indicated by the H arrow.
If you want a softer damp-
ing characteristic, use a
screwdriver to turn adjust-
ing screw 1in the direction
indicated by the S arrow.
The adjusting screw can
be turned through three
and a half turns.
Rear suspension
damping, basic setting
Turn the adjusting screw
as far as it will go in the
direction indicated by the
H arrow and then turn it
back one and a half turns
in the direction indicated
by the S arrow. (One-up
85 kg)
Electronic Suspension
Adjustment ESA
OE
SettingsElectronic Suspension Ad-
justment ESA provides a con-
venient way of adapting the
motorcycle to different condi-
tions. Three spring preload
settings can be combined
with three damping charac-
teristics to fine-tune the mo-
torcycle's suspension to the
load it carries and the surface
over which you want to ride.
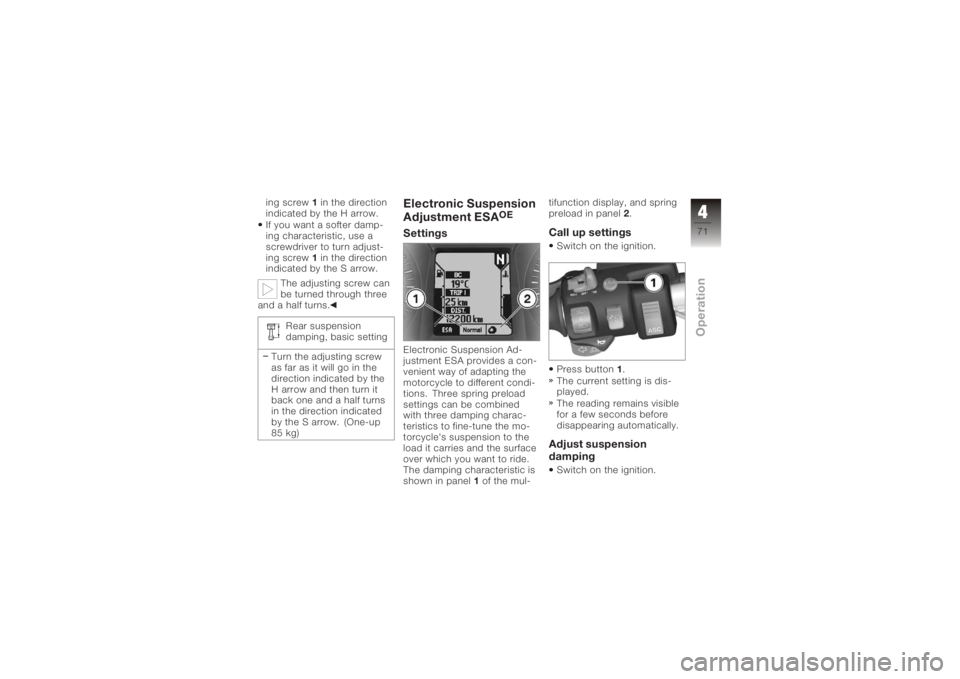
The damping characteristic is
shown in panel 1of the mul- tifunction display, and spring
preload in panel
2.
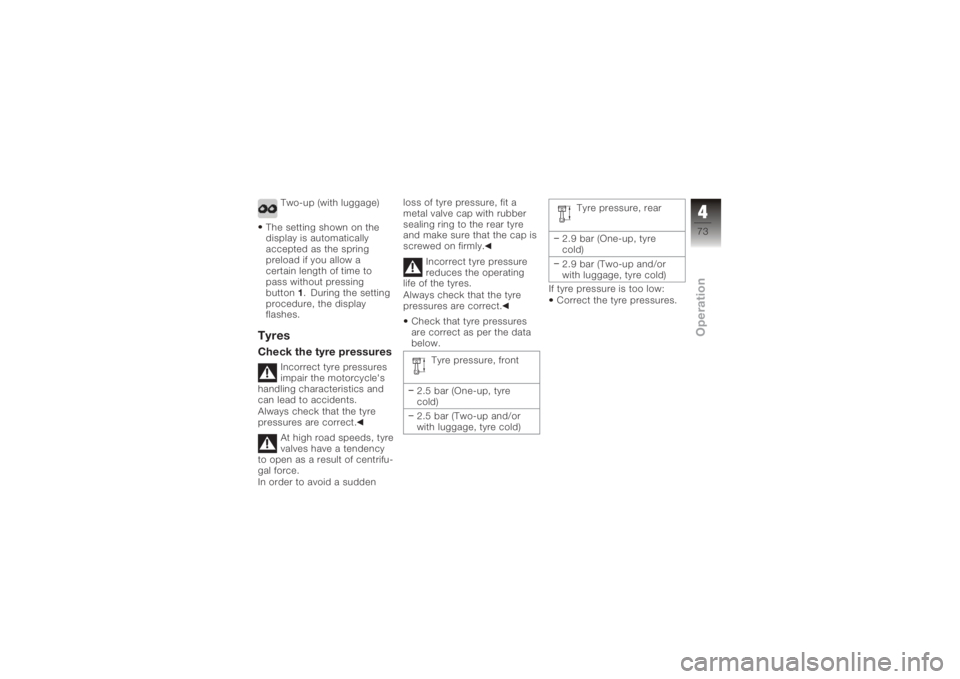
Call up settingsSwitch on the ignition.
Press button 1.
The current setting is dis-
played.
The reading remains visible
for a few seconds before
disappearing automatically.Adjust suspension
dampingSwitch on the ignition.
471zOperation
Page 74 of 172
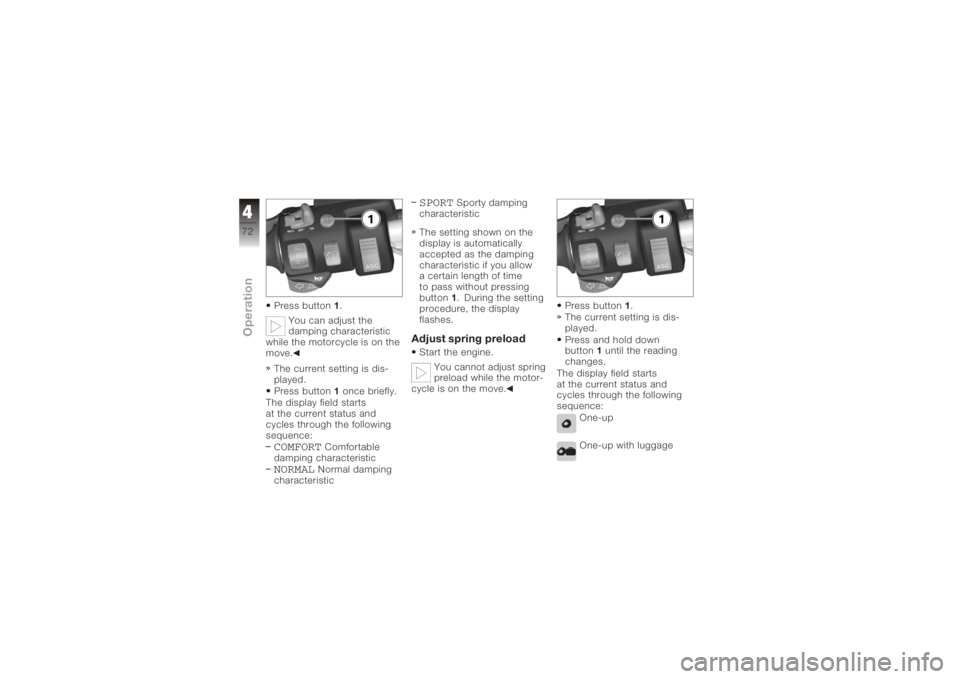
Press button1.
You can adjust the
damping characteristic
while the motorcycle is on the
move.
The current setting is dis-
played.
Press button 1once briefly.
The display field starts
at the current status and
cycles through the following
sequence:COMFORT
Comfortable
damping characteristic
NORMAL
Normal damping
characteristic
SPORT
Sporty damping
characteristic
The setting shown on the
display is automatically
accepted as the damping
characteristic if you allow
a certain length of time
to pass without pressing
button 1. During the setting
procedure, the display
flashes.
Adjust spring preloadStart the engine.
You cannot adjust spring
preload while the motor-
cycle is on the move. Press button
1.
The current setting is dis-
played.
Press and hold down
button 1until the reading
changes.
The display field starts
at the current status and
cycles through the following
sequence:
One-up
One-up with luggage
472zOperation
Page 75 of 172
Two-up (with luggage)
The setting shown on the
display is automatically
accepted as the spring
preload if you allow a
certain length of time to
pass without pressing
button 1. During the setting
procedure, the display
flashes.
TyresCheck the tyre pressures
Incorrect tyre pressures
impair the motorcycle's
handling characteristics and
can lead to accidents.
Always check that the tyre
pressures are correct.
At high road speeds, tyre
valves have a tendency
to open as a result of centrifu-
gal force.
In order to avoid a sudden loss of tyre pressure, fit a
metal valve cap with rubber
sealing ring to the rear tyre
and make sure that the cap is
screwed on firmly.
Incorrect tyre pressure
reduces the operating
life of the tyres.
Always check that the tyre
pressures are correct.
Check that tyre pressures
are correct as per the data
below.
Tyre pressure, front
2.5 bar (One-up, tyre
cold)
2.5 bar (Two-up and/or
with luggage, tyre cold) Tyre pressure, rear
2.9 bar (One-up, tyre
cold)
2.9 bar (Two-up and/or
with luggage, tyre cold)
If tyre pressure is too low: Correct the tyre pressures.
473zOperation
Page 80 of 172
ponents are not designed to
withstand. Damage caused in
this way is not covered by the
warranty.
Do not tamper with the
control unit of the electronic
engine-management
system.ChecklistUse the following checklist
to check important functions,
settings and wear limits be-
fore you ride off.Brakes
Brake-fluid levels, front and
rear
Clutch
Clutch fluid level
Shock absorber setting and
spring preload
Tyre-tread depth and tyre
pressures Cases correctly installed
and luggage secured
At regular intervals: Engine oil level (every refuel-
ling stop)
StartingSide standYou cannot start the motor-
cycle with the side stand ex-
tended and a gear engaged.
The engine will switch itself off
if you start it with the gearbox
in neutral and then engage a
gear before retracting the side
stand.GearboxYou can start the engine
when the gearbox is in neutral
or if you pull the clutch with
a gear engaged. Do not pull
the clutch until after you have
switched on the ignition, as
otherwise the engine will refuse to start. When the
gearbox is in neutral, the
green neutral telltale light is
on and the gear indicator
in the multifunction display
shows N.
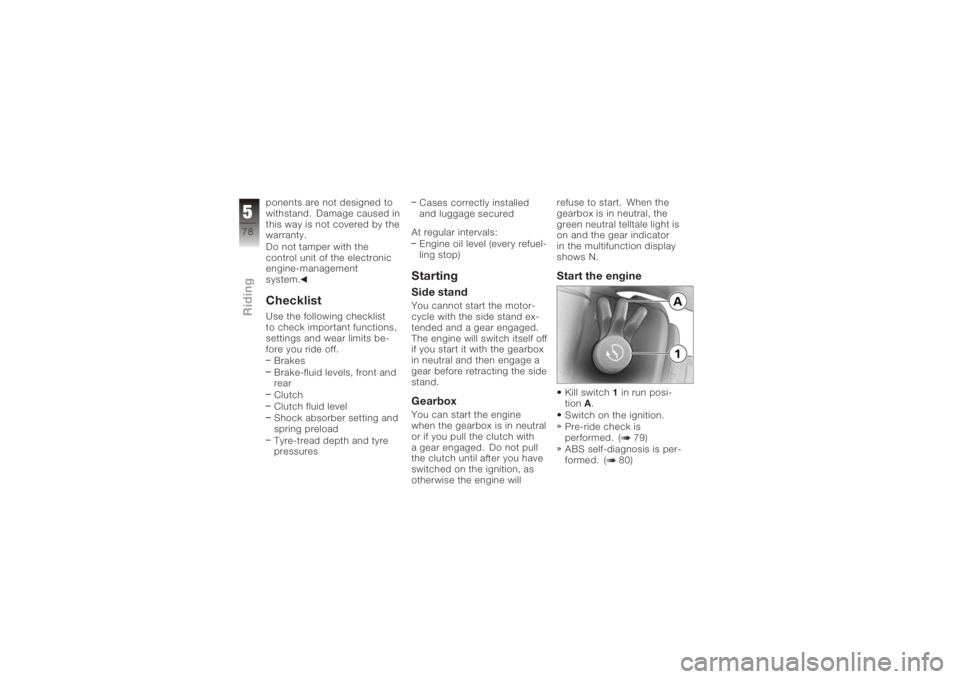
Start the engineKill switch
1in run posi-
tion A.
Switch on the ignition.
Pre-ride check is
performed. ( 79)
ABS self-diagnosis is per-
formed. ( 80)
578zRiding
Page 81 of 172
with OE ASC:Switch on the ignition.
Pre-ride check is
performed. ( 79)
ABS self-diagnosis is per-
formed. ( 80)
ASC self-diagnosis is per-
formed. ( 80)
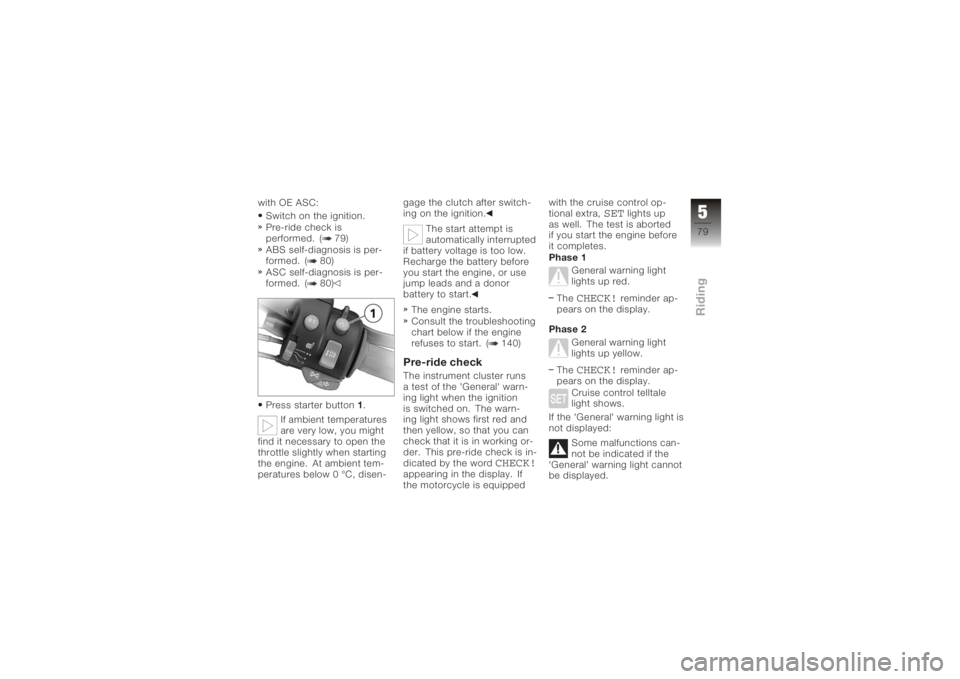
Press starter button 1.
If ambient temperatures
are very low, you might
find it necessary to open the
throttle slightly when starting
the engine. At ambient tem-
peratures below 0 °C, disen- gage the clutch after switch-
ing on the ignition.
The start attempt is
automatically interrupted
if battery voltage is too low.
Recharge the battery before
you start the engine, or use
jump leads and a donor
battery to start.
The engine starts.
Consult the troubleshooting
chart below if the engine
refuses to start. ( 140)
Pre-ride checkThe instrument cluster runs
a test of the 'General' warn-
ing light when the ignition
is switched on. The warn-
ing light shows first red and
then yellow, so that you can
check that it is in working or-
der. This pre-ride check is in-
dicated by the word
CHECK!
appearing in the display. If
the motorcycle is equipped with the cruise control op-
tional extra,
SET
lights up
as well. The test is aborted
if you start the engine before
it completes.
Phase 1
General warning light
lights up red.
The
CHECK!
reminder ap-
pears on the display.
Phase 2 General warning light
lights up yellow.
The
CHECK!
reminder ap-
pears on the display.
Cruise control telltale
light shows.
If the 'General' warning light is
not displayed:
Some malfunctions can-
not be indicated if the
'General' warning light cannot
be displayed.
579zRiding
Page 87 of 172
Tyre pressure control
RDC
OE
FunctionA sensor integrated into each
tyre measures the air tem-
perature and the air pressure
inside the tyre and transmits
this information to the control
unit.
Each sensor has a
centrifugal-force tripswitch
that does not enable
transmission of the measured
values until the motorcycle
has accelerated to about
30 km/h. The display shows--
for each tyre until the
tyre-pressure signal is
received for the first time. The
sensors continue to transmit
the measured-value signals
for approximately 15 minutes
after the motorcycle comes to
a stop. The control unit can
administrate four sensors, so
two different sets of wheels
with RDC sensors can be
alternated on the motorcycle.
An error message is issued
if wheels without sensors
are fitted to a motorcycle
equipped with an RDC control
unit.
Temperature
compensationThe tyre-pressure readings
shown by the multifunction
display are temperature-
compensated; the reference
tyre temperature for these
readings is always 20 °C.
The air lines available to
the public in petrol stations
and motorway service areas
almost invariably show
temperature-dependent
tyre pressures, so in most
instances these gaugereadings will not tally with
the readings shown by the
multifunction display.
Tyre-pressure rangesThe RDC control unit differ-
entiates between three air-
pressure ranges, all of which
are parameterised for the mo-
torcycle:
Air pressure within permit-
ted tolerance.
Air pressure close to limit of
permitted tolerance.
Air pressure outside permit-
ted tolerance.Brake system, generalDescending mountain
passes
There is a danger of the
brakes fading if you use
only the rear brakes when
descending mountain passes.
Under extreme conditions, the
585zRiding