tow BMW MOTORRAD K 1200 GT 2006 Rider's Manual (in English)
[x] Cancel search | Manufacturer: BMW MOTORRAD, Model Year: 2006, Model line: K 1200 GT, Model: BMW MOTORRAD K 1200 GT 2006Pages: 172, PDF Size: 1.98 MB
Page 4 of 172
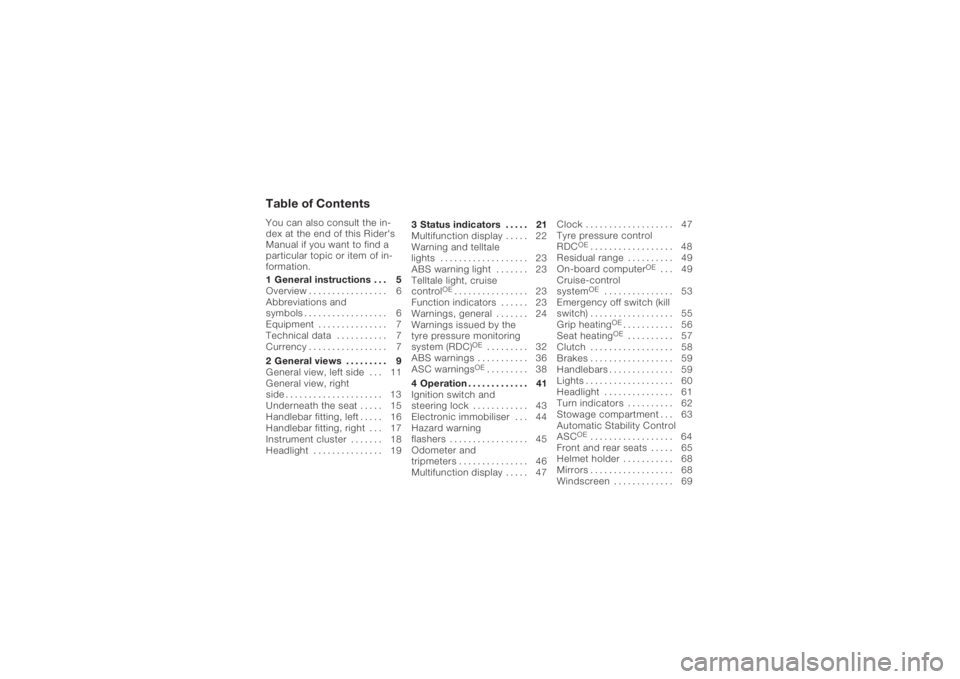
Table of ContentsYou can also consult the in-
dex at the end of this Rider's
Manual if you want to find a
particular topic or item of in-
formation.
1 General instructions . . . 5
Overview . ................ 6
Abbreviations and
symbols . . . ............... 6
Equipment ............... 7
Technical data ........... 7
Currency . . ............... 7
2 General views . . . . . .... 9
General view, left side . . . 11
General view, right
side ..................... 13
Underneath the seat . . . . . 15
Handlebar fitting, left . . . . . 16
Handlebar fitting, right . . . 17
Instrument cluster . . . . . . . 18
Headlight . .............. 19 3 Status indicators . . . . . 21
Multifunction display . . . . . 22
Warning and telltale
lights . . . . .
.............. 23
ABS warning light . . . . . . . 23
Telltale light, cruise
control
OE
................ 23
Function indicators . . . . . . 23
Warnings, general . . . . . . . 24
Warnings issued by the
tyre pressure monitoring
system (RDC)
OE
......... 32
ABS warnings . .......... 36
ASC warnings
OE
......... 38
4 Operation . . . .......... 41
Ignition switch and
steering lock . . .......... 43
Electronic immobiliser . . . 44
Hazard warning
flashers . . . .............. 45
Odometer and
tripmeters . .............. 46
Multifunction display . . . . . 47 Clock . . . . .
.............. 47
Tyre pressure control
RDC
OE
.................. 48
Residual range .......... 49
On-board computer
OE
... 49
Cruise-control
system
OE
............... 53
Emergency off switch (kill
switch) . . . . .............. 55
Grip heatingOE
........... 56
Seat heatingOE
.......... 57
Clutch . . . . .............. 58
Brakes . . . . .............. 59
Handlebars .............. 59
Lights . . . . . .............. 60
Headlight . .............. 61
Turn indicators .......... 62
Stowage compartment . . . 63
Automatic Stability Control
ASC
OE
.................. 64
Front and rear seats . . . . . 65
Helmet holder . .......... 68
Mirrors . . . . .............. 68
Windscreen . . . .......... 69
Page 15 of 172
General view, right
side1Filler neck, fuel ( 83)
2 Adjustable handlebars
( 59)
3 Brake-fluid reservoir,
front ( 107)
4 Adjuster for headlight
beam throw underneath
the instrument cluster
( 61)
5 Stowage compartment
( 63)
6 Vehicle identification
number
213zGeneral views
Page 43 of 172
Operation
Ignition switch and steering
lock . . . . . . . . . . . . . . . . . . . . . . . . . . . 43
Electronic immobiliser . . . . . . . . . 44
Hazard warning flashers . . . . . . . 45
Odometer and tripmeters . . . . . . 46
Multifunction display . . . . . . . . . . . 47
Clock . . . . . . . . . . . . . . . . . . . . . . . . . 47
Tyre pressure control RDC
OE
.. 48
Residual range . . . . . . . . . . . . . . . . 49
On-board computer
OE
......... 49
Cruise-control systemOE
....... 53
Emergency off switch (kill
switch) . . . . . . . . . . . . . . . . . . . . . . . . 55
Grip heating
OE
................ 56
Seat heating
OE
................ 57
Clutch . . . . . . . . . . . . . . . . . . . . . . . . 58 Brakes . . . . . . . . . . . . . . . . . . . . . . . . 59
Handlebars . . . . . . . . . . . . . . . . . . . 59
Lights . . . . . . . . . . . . . . . . . . . . . . . . . 60
Headlight . . . . . . . . . . . . . . . . . . . . . 61
Turn indicators . . . . . . . . . . . . . . . . 62
Stowage compartment . . . . . . . . 63
Automatic Stability Control
ASC
OE
........................ 64
Front and rear seats . . . . . . . . . . . 65
Helmet holder . . . . . . . . . . . . . . . . . 68
Mirrors . . . . . . . . . . . . . . . . . . . . . . . . 68
Windscreen . . . . . . . . . . . . . . . . . . . 69
Spring preload . . . . . . . . . . . . . . . . 69
Shock absorbers . . . . . . . . . . . . . . 70
Electronic Suspension
Adjustment ESA
OE
............ 71
441zOperation
Page 65 of 172
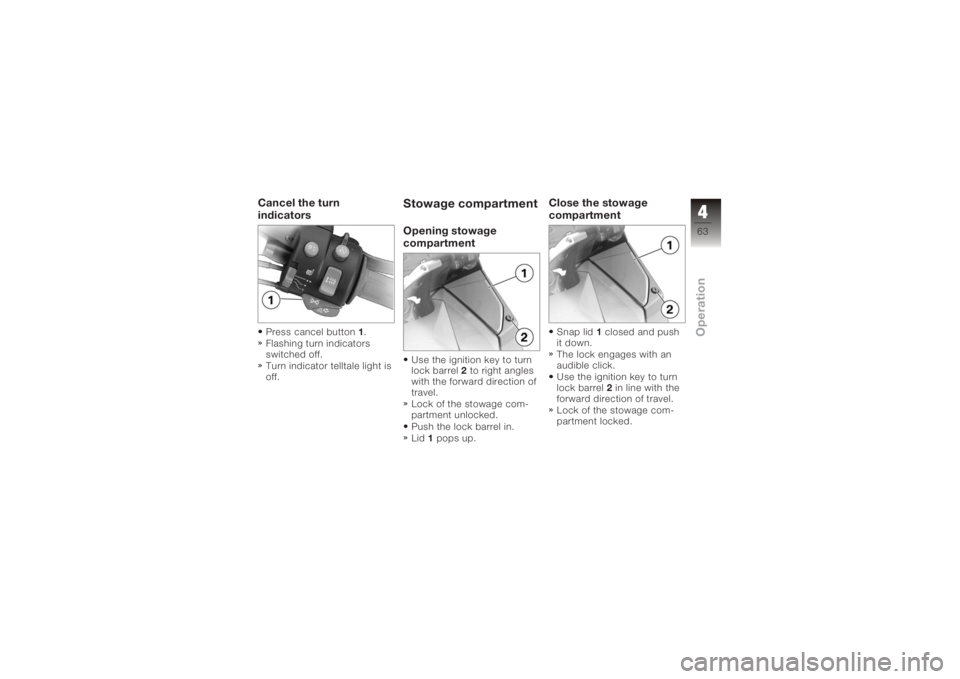
Cancel the turn
indicatorsPress cancel button1.
Flashing turn indicators
switched off.
Turn indicator telltale light is
off.
Stowage compartmentOpening stowage
compartmentUse the ignition key to turn
lock barrel 2to right angles
with the forward direction of
travel.
Lock of the stowage com-
partment unlocked.
Push the lock barrel in.
Lid 1pops up.
Close the stowage
compartmentSnap lid 1closed and push
it down.
The lock engages with an
audible click.
Use the ignition key to turn
lock barrel 2in line with the
forward direction of travel.
Lock of the stowage com-
partment locked.
463zOperation
Page 97 of 172
switched off. In order to en-
sure that the drain on the on-
board power supply system is
minimised, the supply to the
power socket is cut off ap-
proximately 15 minutes after
the ignition is switched off,
and it is also temporarily in-
terrupted during the start pro-
cedure.Cable routingThe cables from the power
socket to the auxiliary device
must be routed in such a way
that they:Do not impede the rider
Do not restrict or obstruct
the steering angle and
handling characteristics
Cannot be trapped
Incorrectly routed cables
can impede the rider.
Route the cables as
described above.
LuggageCorrect loading
Overloading and imbal-
anced loads can ad-
versely affect the motorcycle's
handling.
Do not exceed the permiss-
ible gross weight and be sure
to comply with the instruc-
tions on loading.
The maximum speed recom-
mended for riding with loaded
cases is 180 km/h. If a top-
case (OA) is fitted, the max-
imum permissible speed is
180 km/h.
Set spring preload, damping
characteristic and tyre pres-
sures to suit total weight.
Make sure that the weight
is uniformly distributed
between right and left. Pack heavy items at the
bottom and toward the in-
board side.
Max. load in each case (left
and right): 10 kg.
Max. load in tank rucksack
5 kg.
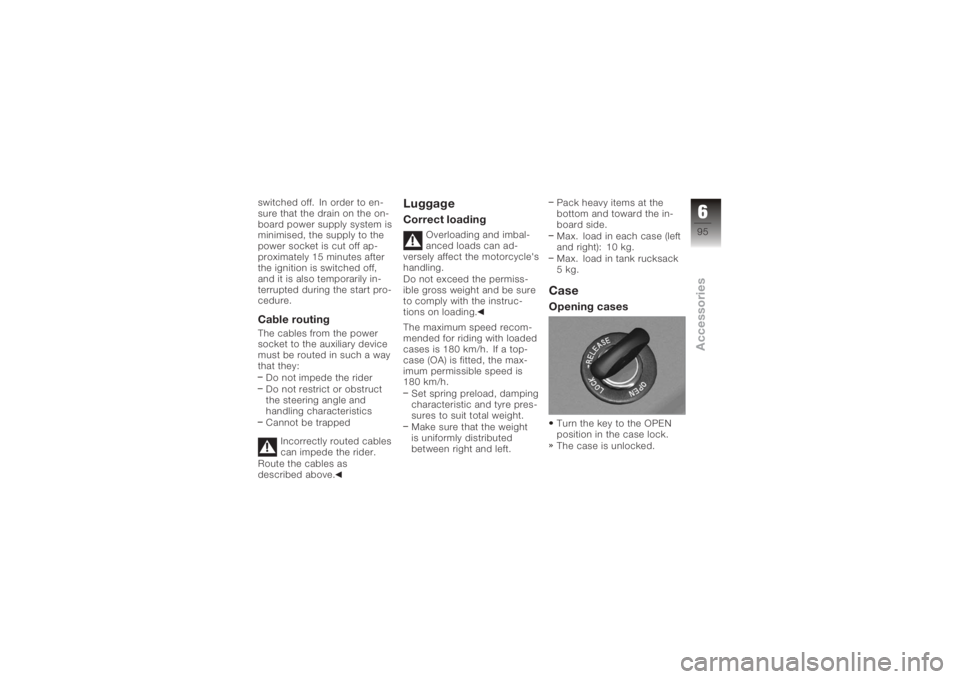
CaseOpening casesTurn the key to the OPEN
position in the case lock.
The case is unlocked.
695zAccessories
Page 108 of 172
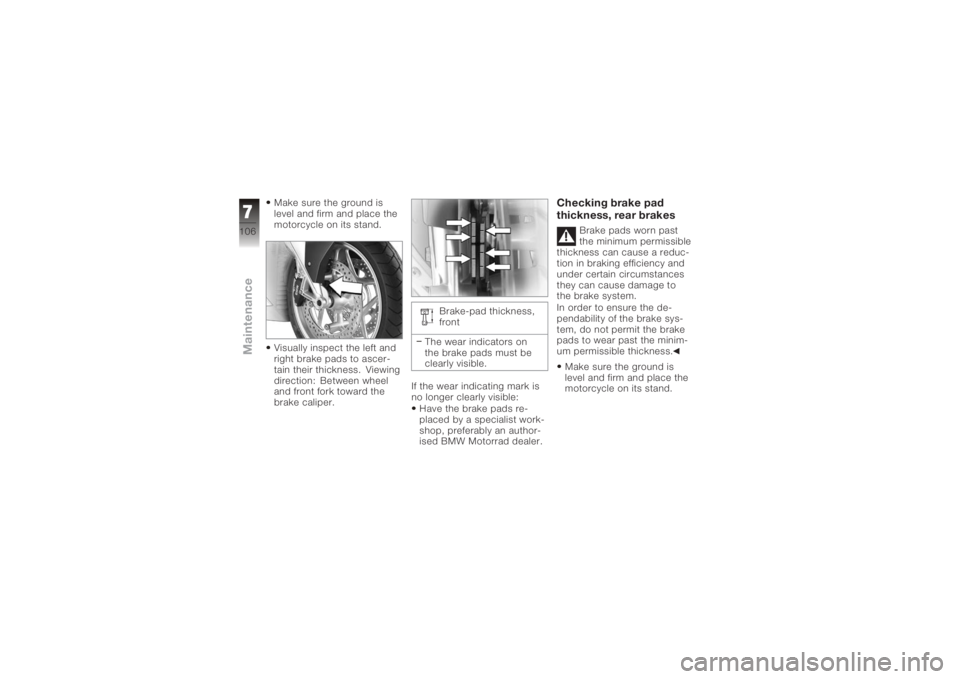
Make sure the ground is
level and firm and place the
motorcycle on its stand.
Visually inspect the left and
right brake pads to ascer-
tain their thickness. Viewing
direction: Between wheel
and front fork toward the
brake caliper.Brake-pad thickness,
front
The wear indicators on
the brake pads must be
clearly visible.
If the wear indicating mark is
no longer clearly visible: Have the brake pads re-
placed by a specialist work-
shop, preferably an author-
ised BMW Motorrad dealer.
Checking brake pad
thickness, rear brakes
Brake pads worn past
the minimum permissible
thickness can cause a reduc-
tion in braking efficiency and
under certain circumstances
they can cause damage to
the brake system.
In order to ensure the de-
pendability of the brake sys-
tem, do not permit the brake
pads to wear past the minim-
um permissible thickness.
Make sure the ground is
level and firm and place the
motorcycle on its stand.
7106zMaintenance
Page 169 of 172
R
Range, 50
Rear seatHeating, 57
Installation, 67
Removal, 65
Refuelling, 83 Filler neck, 13
Reserve Warning, 27
Residual range, 49
Restoring to use, 137
Rev. counter, 18
Rider's Manual, 15
Rims Test, 110
Running gear Technical data, 147
Running in, 81 S
Safety instructions, 75
Brakes, 85
Seat, 15
Seat lock, 11
Service, 154
Service Card, 155
Side stand Starting the engine, 78
Spark plugs, 150
Speedometer, 18
Spring preload, rear Adjusting, 11, 69
Starter, 17
Starting, 78
Steering lock, 44
Stowage compartment, 13 Closing, 63
Opening, 63
Suspension damping, rear Adjusting, 11, 70 T
Technical data
Battery, 149
Brakes, 148
Bulbs, 150
Clutch, 145
Dimensions, 151
Electrics, 149
Engine, 142
Engine oil, 144
Final drive, 147
Frame, 151
Fuel, 143
Running gear, 147
Spark plugs, 150
Transmission, 145
Weights, 152
Wheels and tyres, 148
Telltale lights, 18 Overview, 23
Toolkit, 15 Service kit, 102
Standard kit, 102
11167zIndex