alarm BMW X1 2016 F48 Owner's Manual
[x] Cancel search | Manufacturer: BMW, Model Year: 2016, Model line: X1, Model: BMW X1 2016 F48Pages: 242, PDF Size: 7.12 MB
Page 38 of 242
▷The alarm system, refer to page 46, is
disarmed.
Convenient opening
Press and hold this button on the re‐
mote control after unlocking.
The windows and the glass sunroof are
opened, as long as the button on the remote
control is pressed.
Locking WARNING
Unlocking from the inside is only possi‐
ble with special knowledge.
If people must spend a longer time in the vehi‐
cle while it is very hot or cold outside, there is
risk of injuries or danger to life. Do not lock the
vehicle from the outside when there are people
in it.◀
The driver's door must be closed. Press button on the remote control.
All doors, the tailgate, and the fuel filler flap are
being locked.
The alarm system, refer to page 46, is armed.
Switching on interior lights and
courtesy lights
Press button on the remote control with
the vehicle locked.
The courtesy lamps are only switched on when
it is dark outside. This function is not available,
if the interior lamps were switched off man‐ ually.
If the button is pressed again within 10 sec‐
onds after vehicle was locked, the interior mo‐
tion sensor and tilt alarm sensor of the anti-
theft warning system, refer to page 47, are
turned off. After locking, wait 10 seconds be‐
fore pressing the button again.
Panic mode
You can trigger the alarm system if you find
yourself in a dangerous situation.
Press button on the remote control for
at least 3 seconds.
To switch off the alarm: press any button.
Unlocking the tailgate
With automatic tailgate operation:
To avoid locking it into the vehicle, do not
place the remote control in the cargo area.
Press button on the remote control for
approx. 1 second.
The tailgate opens slightly, regardless of
whether the vehicle was previously locked or
unlocked.
With automatic tailgate operation, the closed
tailgate is automatically opened.
Depending on the features and the country
version, it is also possible to have door un‐
locked. Create the settings, refer to page 45.
If the doors were not unlocked, the tailgate is
locked again as soon as it closes. Take the re‐
mote control with you and do not leave it in the
cargo area; otherwise, the remote control is
locked inside the vehicle when the tailgate is
closed.
CAUTION
Sharp-edged or pointed objects can hit
the rear window and heat conductors while
driving. There is risk of property damage.
Cover the edges and ensure that pointed ob‐
jects do not hit the rear window.◀
Malfunction Remote control detection by the vehicle can
among others be malfunctioning under the fol‐
lowing circumstances:▷The battery of the remote control is dis‐
charged. Replace the battery, refer to
page 35.Seite 38ControlsOpening and closing38
Online Edition for Part no. 01 40 2 964 303 - VI/15
Page 39 of 242
▷Interference of the radio connection from
transmission towers or other equipment
with high transmit power.▷Shielding of the remote control due to
metal objects.▷Interference of the radio connection from
mobile phones or other electronic devices
in direct proximity.
Do not transport the remote control together
with metal objects or electronic devices.
In the case of interference, the vehicle can also
be unlocked and locked from the outside with‐
out remote control, refer to page 39.
For US owners only
The transmitter and receiver units comply with
part 15 of the FCC/Federal Communication
Commission regulations. Operation is gov‐
erned by the following:
FCC ID:
▷LX8766S.▷LX8766E.▷LX8CAS.▷LX8CAS2.▷MYTCAS4.
Compliance statement:
This device complies with part 15 of the FCC
Rules. Operation is subject to the following
two conditions:
▷This device may not cause harmful inter‐
ference, and▷this device must accept any interference
received, including interference that may
cause undesired operation.
Any unauthorized modifications or changes to
these devices could void the user's authority to
operate this equipment.
Without remote control
From the outside WARNING
Unlocking from the inside is only possi‐
ble with special knowledge.
If people must spend a longer time in the vehi‐
cle while it is very hot or cold outside, there is
risk of injuries or danger to life. Do not lock the
vehicle from the outside when there are people
in it.◀
CAUTION
The door lock is permanently joined with
the door. The door handle can be moved.
When pulling the door handle with the
integrated key inserted, paint or key can be damaged. There is risk of property damage.
Remove the integrated key before pulling the
outside door handle.◀
Unlock or lock the driver's door via the door
lock using the integrated key, refer to page 34.
The other doors must be unlocked or locked
from the inside.1.Remove lid on the door lock.
To do this, slide the integrated key into the
opening from below and remove the lid.2.Unlock or lock door lock.
Alarm system
The alarm system is not armed if the vehicle is
locked with the integrated key.
Seite 39Opening and closingControls39
Online Edition for Part no. 01 40 2 964 303 - VI/15
Page 40 of 242
The alarm system is triggered when the door is
opened, if the vehicle was unlocked via the
door lock.
In order to terminate this alarm, unlock vehicle
with the remote control or switch on the igni‐
tion, if needed, through emergency detection
of the remote control, refer to page 35.
From the inside
Unlocking and locking
Via the buttons for the central locking system.
▷ By pressing the button, the vehicle
is locked with the doors closed.▷ Pressing the button unlocks the
vehicle.
The vehicle is not secured against theft when
locking.
The fuel filler flap remains unlocked.
In the event of a severe accident, the vehicle is
automatically unlocked. The hazard warning
system and interior lights come on.
Unlocking and opening
▷Press the central locking system
button to unlock the doors to‐
gether, and then pull the door handle
above the armrest.▷Front doors: pull the door handle on the
door to open the door. The other doors re‐
main locked.▷Back doors: pull twice on the door handle
on the door to be opened; the first time un‐
locks the door, the second time opens it.
The other doors remain locked.
Tailgate
Information
To avoid locking it into the vehicle, do not
place the remote control in the cargo area.
Opening The tailgate swings back and up when it
opens.
Ensure that adequate clearance is available
before opening.
Opening from the outside
▷Press button next to the tailgate.▷Press button on the remote con‐
trol for approx. 1 second.
As the case may be, the doors are also un‐
locked. Unlocking with the remote control,
refer to page 38.
The tailgate is unlocked and can be swung up‐
ward.
Opening from the inside With the vehicle is stationary, press
the button in the storage compart‐
ment of the driver's door upward.
Seite 40ControlsOpening and closing40
Online Edition for Part no. 01 40 2 964 303 - VI/15
Page 46 of 242
Tailgate
Depending on optional features and country
version, this setting is not offered in some
cases.1."Settings"2."Doors/key"3. Select the symbol.4.Select the desired function:▷"Tailgate"
Depending on your vehicle's optional
features, the tailgate is either unlocked
or opened.▷"Tailgate + door(s)"
Depending on your vehicle's optional
features, the tailgate is either unlocked
or opened and the doors unlocked.
Confirmation signals from the vehicle
The settings are saved in the active profile, re‐
fer to page 35.
1."Settings"2."Doors/key"3.Deactivate or activate the desired confir‐
mation signals.▷"Acoustic sig. lock/unlock"▷"Flash when lock/unlock"
Automatic locking
The settings are saved in the active profile, re‐fer to page 35.
1."Settings"2."Doors/key"3.Select the desired function:▷"Lock if no door is opened"
The vehicle locks automatically after a
short period of time if no door is
opened.▷"Lock after start driving"The vehicle locks automatically after
you drive off.
Retrieving the seat and mirror settings
The driver's seat and exterior mirror positions
used last are stored for the remote control cur‐
rently used.
When the vehicle is unlocked, these positions
are automatically retrieved if this function was
activated.
WARNING
There is risk of jamming when moving
the seats. There is risk of injuries or risk of
property damage. Make sure that the area of
movement of the seat is clear prior to any ad‐
justment.◀
The adjustment procedure is interrupted:
▷When a seat position switch is pressed.▷When a button of the seat and mirror mem‐
ory is pressed.
Activating the setting
1."Settings"2."Doors/key"3."Last seat position autom."
Alarm system
The conceptWhen the vehicle is locked, the vehicle alarm
system responds to:
▷Opening a door, the hood or the tailgate.▷Movements in the interior.▷Changes in the vehicle tilt, e. g., during at‐
tempts at stealing a wheel or when towing
the car.▷Disconnected battery voltage.
The alarm system briefly signals tampering:
▷By sounding an acoustic alarm.Seite 46ControlsOpening and closing46
Online Edition for Part no. 01 40 2 964 303 - VI/15
Page 47 of 242
▷By switching on the hazard warning sys‐
tem.▷By flashing the daytime running lights.
Arming and disarming the alarm
system
When you unlock or lock the vehicle, either
with the remote control or via the Comfort Ac‐
cess, the alarm system is disarmed or armed at
the same time.
Door lock and armed alarm systemThe alarm system is triggered when the door is
opened, when the vehicle is unlocked via the
door lock.
Tailgate and armed alarm system
The tailgate can be opened even when the
alarm system is armed.
After the tailgate is closed, it is locked and
monitored again when the doors are locked.
The hazard warning system flashes once.
Panic mode You can trigger the alarm system if you find
yourself in a dangerous situation.
Press button on the remote control for
at least 3 seconds.
To switch off the alarm: press any button.
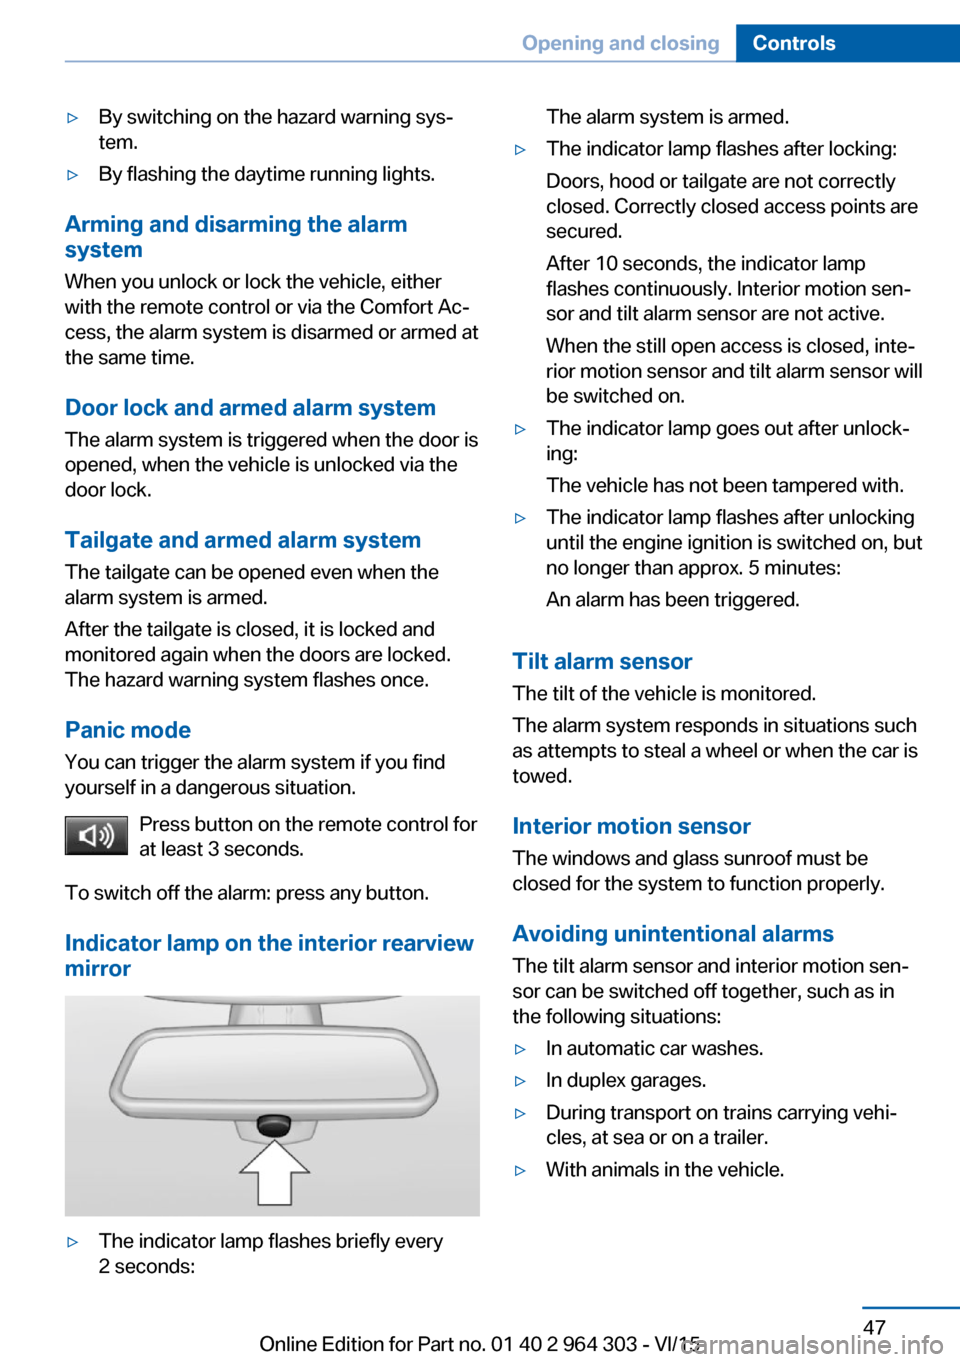
Indicator lamp on the interior rearview
mirror
▷The indicator lamp flashes briefly every
2 seconds:The alarm system is armed.▷The indicator lamp flashes after locking:
Doors, hood or tailgate are not correctly
closed. Correctly closed access points are
secured.
After 10 seconds, the indicator lamp
flashes continuously. Interior motion sen‐
sor and tilt alarm sensor are not active.
When the still open access is closed, inte‐
rior motion sensor and tilt alarm sensor will
be switched on.▷The indicator lamp goes out after unlock‐
ing:
The vehicle has not been tampered with.▷The indicator lamp flashes after unlocking
until the engine ignition is switched on, but
no longer than approx. 5 minutes:
An alarm has been triggered.
Tilt alarm sensor The tilt of the vehicle is monitored.
The alarm system responds in situations such
as attempts to steal a wheel or when the car is
towed.
Interior motion sensor The windows and glass sunroof must be
closed for the system to function properly.
Avoiding unintentional alarms The tilt alarm sensor and interior motion sen‐
sor can be switched off together, such as in
the following situations:
▷In automatic car washes.▷In duplex garages.▷During transport on trains carrying vehi‐
cles, at sea or on a trailer.▷With animals in the vehicle.Seite 47Opening and closingControls47
Online Edition for Part no. 01 40 2 964 303 - VI/15
Page 48 of 242
Switching off the tilt alarm sensor and
interior motion sensor
Press the remote control button again
within 10 seconds as soon as the vehicle
is locked.
The indicator lamp lights up for approx. 2 sec‐
onds and then continues to flash.
The tilt alarm sensor and interior motion sen‐
sor are turned off until the vehicle is locked
again.
Switching off the alarm▷Unlock vehicle with the remote control or
switch on the ignition, if needed through
emergency detection of remote control, re‐
fer to page 35.▷With Comfort Access: if you are carrying
the remote control on your person, grasp
the driver side or front passenger side door
handle completely.
Power windows
Information WARNING
Unattended children or animals can
move the vehicle and endanger themselves
and traffic, e.g. with the following actions:
▷Pressing the Start/Stop button.▷Releasing the parking brake.▷Opening and closing of doors or windows.▷Shifting the selector lever into neutral.▷Using vehicle equipment.
There is risk of accidents or injuries. Do not
leave children or animals unattended in the ve‐
hicle. Carry remote control along when exiting
and lock the vehicle.◀
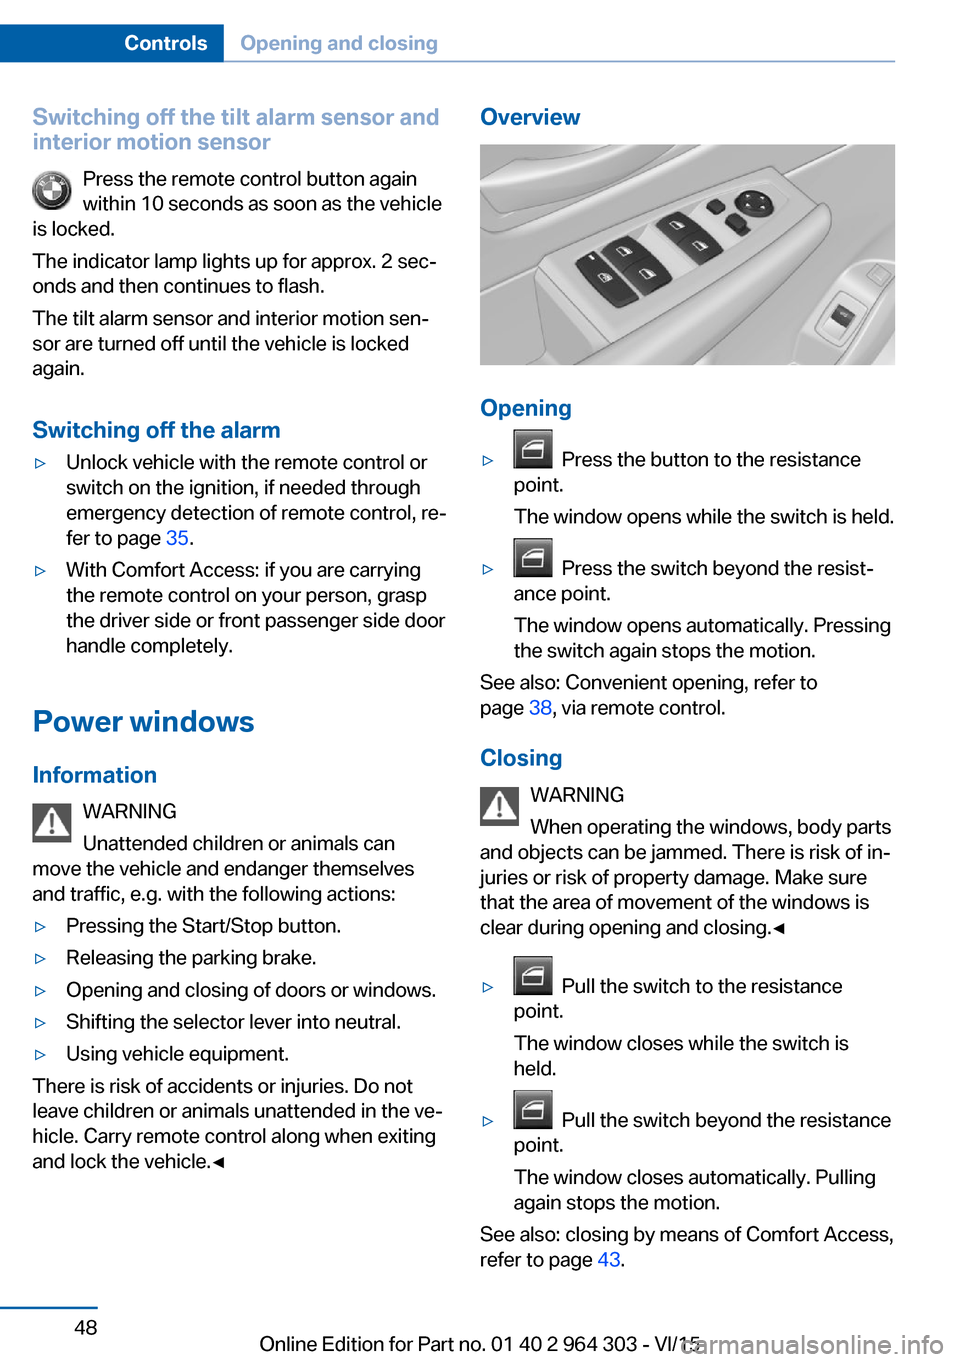
Overview
Opening
▷ Press the button to the resistance
point.
The window opens while the switch is held.▷ Press the switch beyond the resist‐
ance point.
The window opens automatically. Pressing
the switch again stops the motion.
See also: Convenient opening, refer to
page 38, via remote control.
Closing WARNING
When operating the windows, body parts
and objects can be jammed. There is risk of in‐
juries or risk of property damage. Make sure
that the area of movement of the windows is
clear during opening and closing.◀
▷ Pull the switch to the resistance
point.
The window closes while the switch is
held.▷ Pull the switch beyond the resistance
point.
The window closes automatically. Pulling
again stops the motion.
See also: closing by means of Comfort Access,
refer to page 43.
Seite 48ControlsOpening and closing48
Online Edition for Part no. 01 40 2 964 303 - VI/15
Page 222 of 242
CareVehicle features and optionsThis chapter describes all standard, country-
specific and optional features offered with the
series. It also describes features that are not
necessarily available in your car, e. g., due to
the selected options or country versions. This
also applies to safety-related functions and
systems. The respectively applicable country
provisions must be observed when using the
respective features and systems.
Car washes General information
Regularly remove foreign objects such as
leaves in the area below the windshield when
the hood is raised.
Wash your vehicle frequently, particularly in
winter. Intense soiling and road salt can dam‐
age the vehicle.
Steam blaster and high-pressure
washer
Information CAUTION
When cleaning with high-pressure wash‐
ers, components can be damaged due to the
pressure or temperatures being too high.
There is risk of property damage. Maintain suf‐
ficient distance and do not spray too long con‐
tinuously. Follow the user's manual for the
high-pressure washer.◀
Distances and temperature▷Maximum temperature: 140 ℉/60 ℃.▷Minimum distance from sensors, cameras,
seals: 12 in/30 cm.▷Minimum distance from glass sunroof:
31.5 inches/80 cm.
Automatic car washes
Information
▷Give preference to cloth car washes or
those that use soft brushes in order to
avoid paint damage.▷Make sure that the wheels and tires are not
damaged by the transport mechanisms.▷Fold in the exterior mirrors; otherwise, they
may be damaged, depending on the width
of the vehicle.▷Deactivate the rain sensor, refer to
page 75, to avoid unintentional wiper acti‐
vation.▷In some cases, an unintentional alarm can
be triggered by the interior motion sensor
of the alarm system. Follow the instruc‐
tions on avoiding an unintentional alarm,
refer to page 47.
CAUTION
Too high guide rails in car washes can
damage body parts. There is risk of property
damage. Avoid car washes with guide rails
higher than 4 in/10 cm.◀
Before driving into a car wash In order to ensure that the vehicle can roll in a
car wash, take the following steps:
Steptronic transmission:
1.Drive into the car wash.2.Engage selector lever position N.3.Make sure that the parking brake is re‐
leased.4.Switch the engine off.Seite 222MobilityCare222
Online Edition for Part no. 01 40 2 964 303 - VI/15
Page 232 of 242
Everything from A to Z
IndexA ABS, Antilock Brake Sys‐ tem 120
ACC, Active Cruise Con‐ trol 126
Acceleration Assistant, refer to Launch Control 80
Accessories and parts 7
Activated-charcoal filter 148
Active cruise control, ACC 126
Adaptive brake lights, see Brake force display 118
Additives, oil 201
Adjustments, seats/head re‐ straints 52
After washing vehicle 223
Airbags 102
Airbags, indicator/warning light 103
Air circulation, refer to Recir‐ culated-air mode 147
Air circulation, see Recircu‐ lated-air mode 145
Air conditioner 144
Air, dehumidifying, see Cool‐ ing function 145, 147
Air distribution, manual 145, 148
Air flow, air conditioner 145
Air flow, automatic climate control 148
Air pressure, tires 186
Air vents, refer to Ventila‐ tion 149
Alarm system 46
Alarm, unintentional 47
All around the center con‐ sole 16
All around the roofliner 17 All around the steering
wheel 14
All-season tires, see Winter tires 191
All-wheel-drive 122
Alternating-code hand-held transmitter 152
Alternative oil types 201
Ambient light 101
Antifreeze, washer fluid 76
Antilock Brake System, ABS 120
Anti-slip control, see DSC 120
Approved axle load 229
Arrival time 91
Ashtray 155
Assistance when driving off 125
Assist system, see Intelligent Safety 111
Attentiveness assistant 118
AUTO intensity 147
Automatic car wash 222
Automatic climate con‐ trol 146
Automatic cruise control with Stop & Go 126
Automatic Curb Monitor 61
Automatic deactivation, Front-seat passenger air‐
bags 104
Automatic headlight con‐ trol 98
Automatic locking 46
Automatic recirculated-air control 147
Automatic tailgate 41
Automatic transmission, see Steptronic transmission 77 AUTO program, automatic cli‐
mate control 147
AUTO program, intensity 147
Auto Start/Stop function 70
Average fuel consumption 91
Average speed 91
Axle loads, weights 229
B Backrest curvature, refer to Lumbar support 54
Backrest, seats 52
Backrest, width 54
Bad road trips 168
Band-aids, see First-aid kit 218
Bar for tow-starting/ towing 220
Battery replacement, vehicle battery 215
Battery replacement, vehicle remote control 35
Battery, vehicle 215
Belts, safety belts 56
Beverage holder, cu‐ pholder 162
BMW Assist 6
BMW Driver’s Guide App 6
BMW Homepage 6
BMW Internet page 6
BMW maintenance sys‐ tem 204
Bonus range, ECO PRO 177
Bottle holder, see Cu‐ pholder 162
Brake assistant 120
Brake discs, break-in 168
Brake force display 118
Brake lights, adaptive 118 Seite 232ReferenceEverything from A to Z232
Online Edition for Part no. 01 40 2 964 303 - VI/15
Page 235 of 242
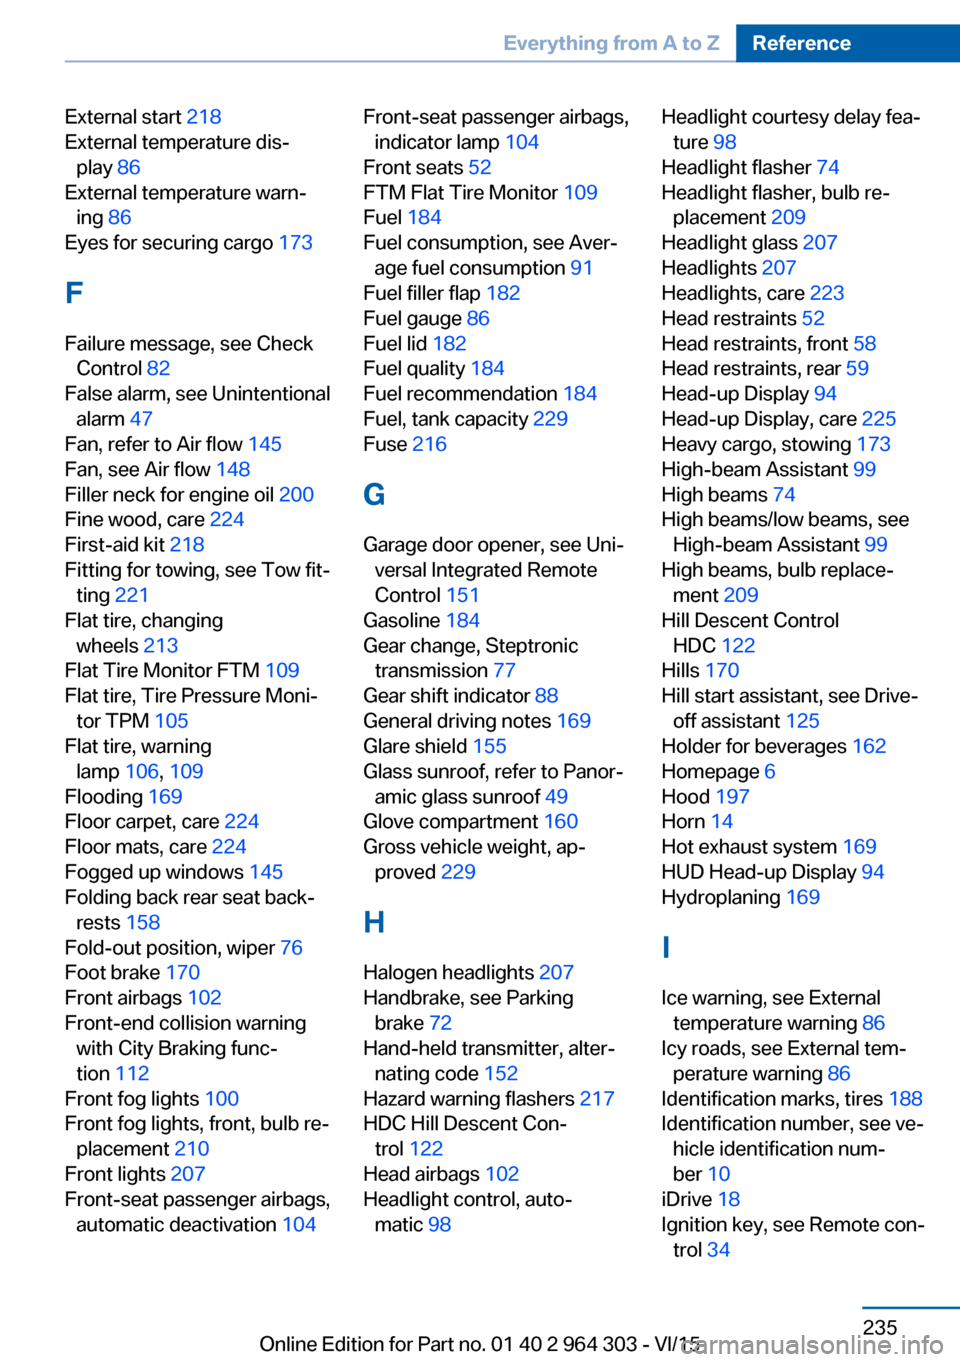
External start 218
External temperature dis‐ play 86
External temperature warn‐ ing 86
Eyes for securing cargo 173
F
Failure message, see Check Control 82
False alarm, see Unintentional alarm 47
Fan, refer to Air flow 145
Fan, see Air flow 148
Filler neck for engine oil 200
Fine wood, care 224
First-aid kit 218
Fitting for towing, see Tow fit‐ ting 221
Flat tire, changing wheels 213
Flat Tire Monitor FTM 109
Flat tire, Tire Pressure Moni‐ tor TPM 105
Flat tire, warning lamp 106, 109
Flooding 169
Floor carpet, care 224
Floor mats, care 224
Fogged up windows 145
Folding back rear seat back‐ rests 158
Fold-out position, wiper 76
Foot brake 170
Front airbags 102
Front-end collision warning with City Braking func‐
tion 112
Front fog lights 100
Front fog lights, front, bulb re‐ placement 210
Front lights 207
Front-seat passenger airbags, automatic deactivation 104 Front-seat passenger airbags,
indicator lamp 104
Front seats 52
FTM Flat Tire Monitor 109
Fuel 184
Fuel consumption, see Aver‐ age fuel consumption 91
Fuel filler flap 182
Fuel gauge 86
Fuel lid 182
Fuel quality 184
Fuel recommendation 184
Fuel, tank capacity 229
Fuse 216
G
Garage door opener, see Uni‐ versal Integrated Remote
Control 151
Gasoline 184
Gear change, Steptronic transmission 77
Gear shift indicator 88
General driving notes 169
Glare shield 155
Glass sunroof, refer to Panor‐ amic glass sunroof 49
Glove compartment 160
Gross vehicle weight, ap‐ proved 229
H
Halogen headlights 207
Handbrake, see Parking brake 72
Hand-held transmitter, alter‐ nating code 152
Hazard warning flashers 217
HDC Hill Descent Con‐ trol 122
Head airbags 102
Headlight control, auto‐ matic 98 Headlight courtesy delay fea‐
ture 98
Headlight flasher 74
Headlight flasher, bulb re‐ placement 209
Headlight glass 207
Headlights 207
Headlights, care 223
Head restraints 52
Head restraints, front 58
Head restraints, rear 59
Head-up Display 94
Head-up Display, care 225
Heavy cargo, stowing 173
High-beam Assistant 99
High beams 74
High beams/low beams, see High-beam Assistant 99
High beams, bulb replace‐ ment 209
Hill Descent Control HDC 122
Hills 170
Hill start assistant, see Drive- off assistant 125
Holder for beverages 162
Homepage 6
Hood 197
Horn 14
Hot exhaust system 169
HUD Head-up Display 94
Hydroplaning 169
I Ice warning, see External temperature warning 86
Icy roads, see External tem‐ perature warning 86
Identification marks, tires 188
Identification number, see ve‐ hicle identification num‐
ber 10
iDrive 18
Ignition key, see Remote con‐ trol 34 Seite 235Everything from A to ZReference235
Online Edition for Part no. 01 40 2 964 303 - VI/15
Page 236 of 242
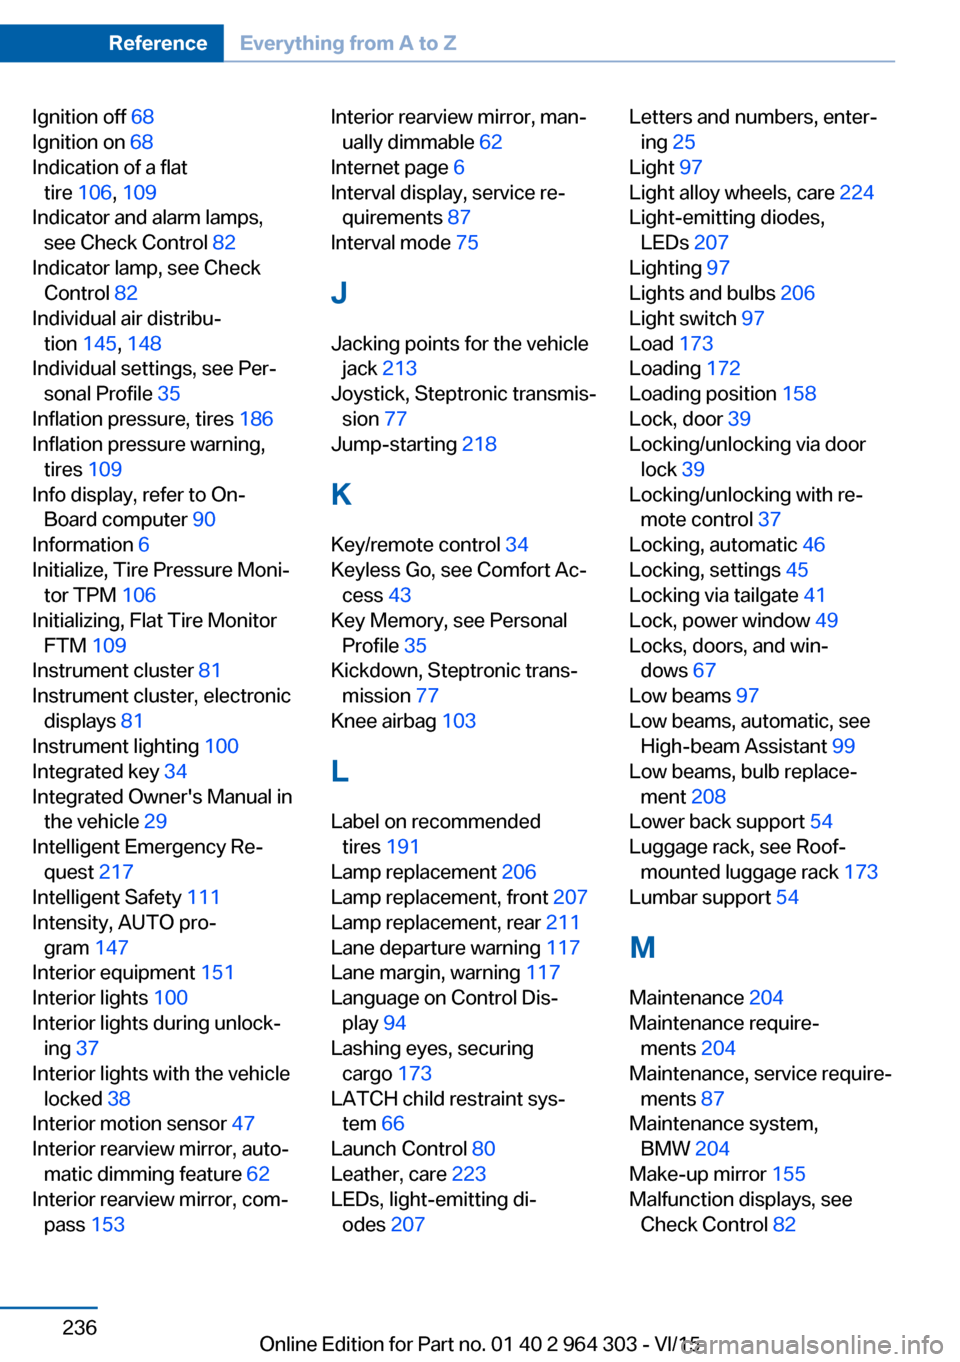
Ignition off 68
Ignition on 68
Indication of a flat tire 106 , 109
Indicator and alarm lamps, see Check Control 82
Indicator lamp, see Check Control 82
Individual air distribu‐ tion 145, 148
Individual settings, see Per‐ sonal Profile 35
Inflation pressure, tires 186
Inflation pressure warning, tires 109
Info display, refer to On- Board computer 90
Information 6
Initialize, Tire Pressure Moni‐ tor TPM 106
Initializing, Flat Tire Monitor FTM 109
Instrument cluster 81
Instrument cluster, electronic displays 81
Instrument lighting 100
Integrated key 34
Integrated Owner's Manual in the vehicle 29
Intelligent Emergency Re‐ quest 217
Intelligent Safety 111
Intensity, AUTO pro‐ gram 147
Interior equipment 151
Interior lights 100
Interior lights during unlock‐ ing 37
Interior lights with the vehicle locked 38
Interior motion sensor 47
Interior rearview mirror, auto‐ matic dimming feature 62
Interior rearview mirror, com‐ pass 153 Interior rearview mirror, man‐
ually dimmable 62
Internet page 6
Interval display, service re‐ quirements 87
Interval mode 75
J Jacking points for the vehicle jack 213
Joystick, Steptronic transmis‐ sion 77
Jump-starting 218
K
Key/remote control 34
Keyless Go, see Comfort Ac‐ cess 43
Key Memory, see Personal Profile 35
Kickdown, Steptronic trans‐ mission 77
Knee airbag 103
L Label on recommended tires 191
Lamp replacement 206
Lamp replacement, front 207
Lamp replacement, rear 211
Lane departure warning 117
Lane margin, warning 117
Language on Control Dis‐ play 94
Lashing eyes, securing cargo 173
LATCH child restraint sys‐ tem 66
Launch Control 80
Leather, care 223
LEDs, light-emitting di‐ odes 207 Letters and numbers, enter‐
ing 25
Light 97
Light alloy wheels, care 224
Light-emitting diodes, LEDs 207
Lighting 97
Lights and bulbs 206
Light switch 97
Load 173
Loading 172
Loading position 158
Lock, door 39
Locking/unlocking via door lock 39
Locking/unlocking with re‐ mote control 37
Locking, automatic 46
Locking, settings 45
Locking via tailgate 41
Lock, power window 49
Locks, doors, and win‐ dows 67
Low beams 97
Low beams, automatic, see High-beam Assistant 99
Low beams, bulb replace‐ ment 208
Lower back support 54
Luggage rack, see Roof- mounted luggage rack 173
Lumbar support 54
M
Maintenance 204
Maintenance require‐ ments 204
Maintenance, service require‐ ments 87
Maintenance system, BMW 204
Make-up mirror 155
Malfunction displays, see Check Control 82 Seite 236ReferenceEverything from A to Z236
Online Edition for Part no. 01 40 2 964 303 - VI/15