warning light BMW X3 3.0SI 2007 E83 User Guide
[x] Cancel search | Manufacturer: BMW, Model Year: 2007, Model line: X3 3.0SI, Model: BMW X3 3.0SI 2007 E83Pages: 139, PDF Size: 4.74 MB
Page 56 of 139
Technology for comfort, convenience and safety
54 3.Replace the damaged wheel, refer to
Wheel changes on page108.
Malfunction
The warning lamp lights up yellow. The
Flat Tire Monitor is malfunctioning or
out of order. Have the system checked
as soon as possible.
TPM Tire Pressure Monitor*
The concept
TPM controls the tire inflation pressure in the
four mounted wheels. The system notifies you
if the tire inflation pressure has fallen signifi-
cantly in one or more tires.
Functional requirement
To ensure the reliable signaling of a flat tire, the
system must be reset at the correct tire inflation
pressure.
Always use wheels equipped with TPM elec-
tronics, including a metal valve; otherwise, there
is no guarantee that the system will function
properly.
The system must be reset after every cor-
rection of tire inflation pressure and after
every tire or wheel change.<
System limits
TPM cannot warn you of sudden, serious
tire damage due to external factors.<
The system does not function properly if it has
not been reset, e.g. it may identify a tire as flat in
spite of the fact that the tire is filled to the cor-
rect inflation pressure.
The system is deactivated and is unable to
detect flat tires if a wheel not equipped with
TPM electronics has been mounted, e.g. a
compact wheel, or if TPM is experiencing tem-
porary interference from other systems or
devices that use the same frequency.
Resetting system
The system must be reset after every cor-
rection of tire inflation pressure and after
every tire or wheel change.<
1.Start engine, but do not begin to drive.
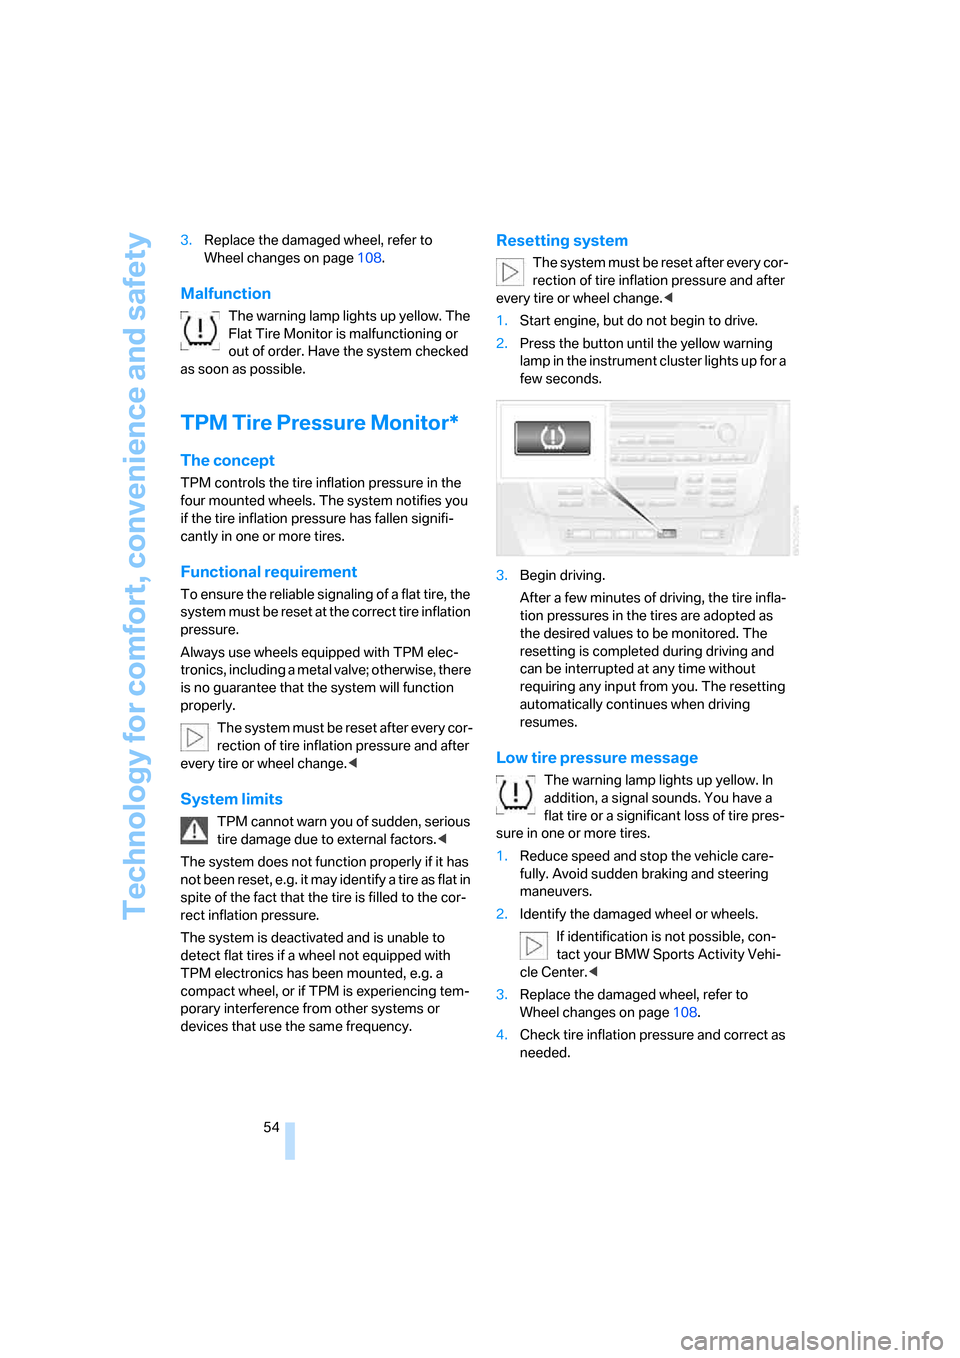
2.Press the button until the yellow warning
lamp in the instrument cluster lights up for a
few seconds.
3.Begin driving.
After a few minutes of driving, the tire infla-
tion pressures in the tires are adopted as
the desired values to be monitored. The
resetting is completed during driving and
can be interrupted at any time without
requiring any input from you. The resetting
automatically continues when driving
resumes.
Low tire pressure message
The warning lamp lights up yellow. In
addition, a signal sounds. You have a
flat tire or a significant loss of tire pres-
sure in one or more tires.
1.Reduce speed and stop the vehicle care-
fully. Avoid sudden braking and steering
maneuvers.
2.Identify the damaged wheel or wheels.
If identification is not possible, con-
tact your BMW Sports Activity Vehi-
cle Center.<
3.Replace the damaged wheel, refer to
Wheel changes on page108.
4.Check tire inflation pressure and correct as
needed.
Page 57 of 139
Reference
At a glance
Controls
Driving tips
Mobility
55
The compact wheel is not equipped with the
required TPM electronics and is not monitored
when mounted.
When driving with the compact wheel, the sys-
tem indicates a malfunction.
Have the damaged tire replaced by your BMW
Sports Activity Vehicle Center or a workshop
that is familiar with TPM and works in accor-
dance with BMW repair procedures, using
appropriately trained personnel.
Malfunction
The yellow warning lamp flashes and
then lights up continuously. Flat tires
cannot be detected.
Such a message is displayed in the following
situations:
>When a malfunction is occurring:
Have the system checked
>When a wheel without TPM electronics is
mounted, e.g. a compact wheel
>When TPM is experiencing temporary inter-
ference from other systems or devices that
use the same frequency
NHTSA/FMVSS-required explanation
of 138 Tire Pressure Monitoring
System
Each tire, including the spare, should be
checked monthly when cold and inflated to the
inflation pressure recommended by the vehicle
manufacturer on the vehicle placard or tire infla-
tion pressure label. If your vehicle has tires of a
different size than the size indicated on the
vehicle placard or tire inflation pressure label,
then you should determine the proper tire infla-
tion pressure for those tires. As an added safety
feature, your vehicle has been equipped with a
tire pressure monitoring system, TPMS, that
illuminates a low tire pressure warning lamp
when one or more of your tires are significantly
under-inflated. When the low tire pressure
warning lamp lights up, you should stop and
check your tires as soon as possible, and inflate
them to the proper pressure. Driving on a signif-
icantly underinflated tire causes the tire to over-
heat and can lead to tire failure. Underinflation also reduces fuel efficiency and tire tread life,
and may affect the vehicle’s handling and stop-
ping ability. Please note that the TPMS is not a
substitute for proper tire maintenance, and it is
the driver's responsibility to maintain correct
tire pressure, even if underinflation has not
reached the level to trigger illumination of the
TPMS low tire pressure warning lamp.
The TPMS malfunction indicator is combined
with the low tire pressure warning lamp. When
the system detects a malfunction, the warning
lamp will flash for approximately one minute and
then remain continuously illuminated. This
sequence will continue upon subsequent vehi-
cle startups as long as the malfunction exists.
When the malfunction indicator is illuminated,
the system may not be able to detect or signal
low tire pressure as intended. TPMS malfunc-
tions may occur for a variety of reasons, includ-
ing the installation of replacement or alternate
tires or wheels on the vehicle that prevent the
TPMS from functioning properly. Always check
the TPMS malfunction warning lamp after
replacing one or more tires or wheels on your
vehicle to ensure that the replacement or alter-
nate tires and wheels allow the TPMS to con-
tinue to function properly.Brake force display
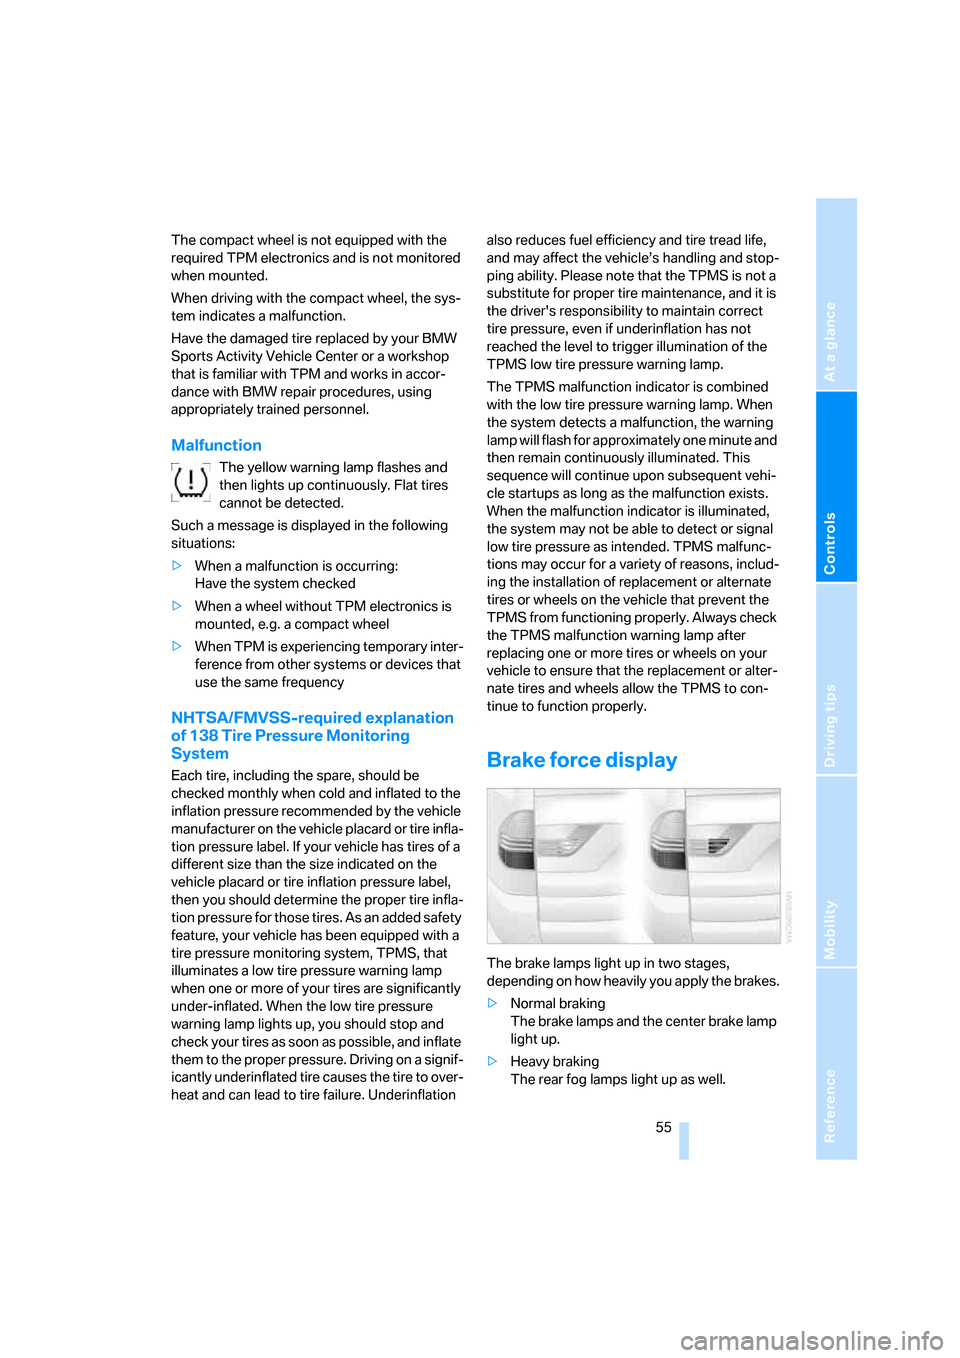
The brake lamps light up in two stages,
depending on how heavily you apply the brakes.
>Normal braking
The brake lamps and the center brake lamp
light up.
>Heavy braking
The rear fog lamps light up as well.
Page 58 of 139
Technology for comfort, convenience and safety
56
Airbags
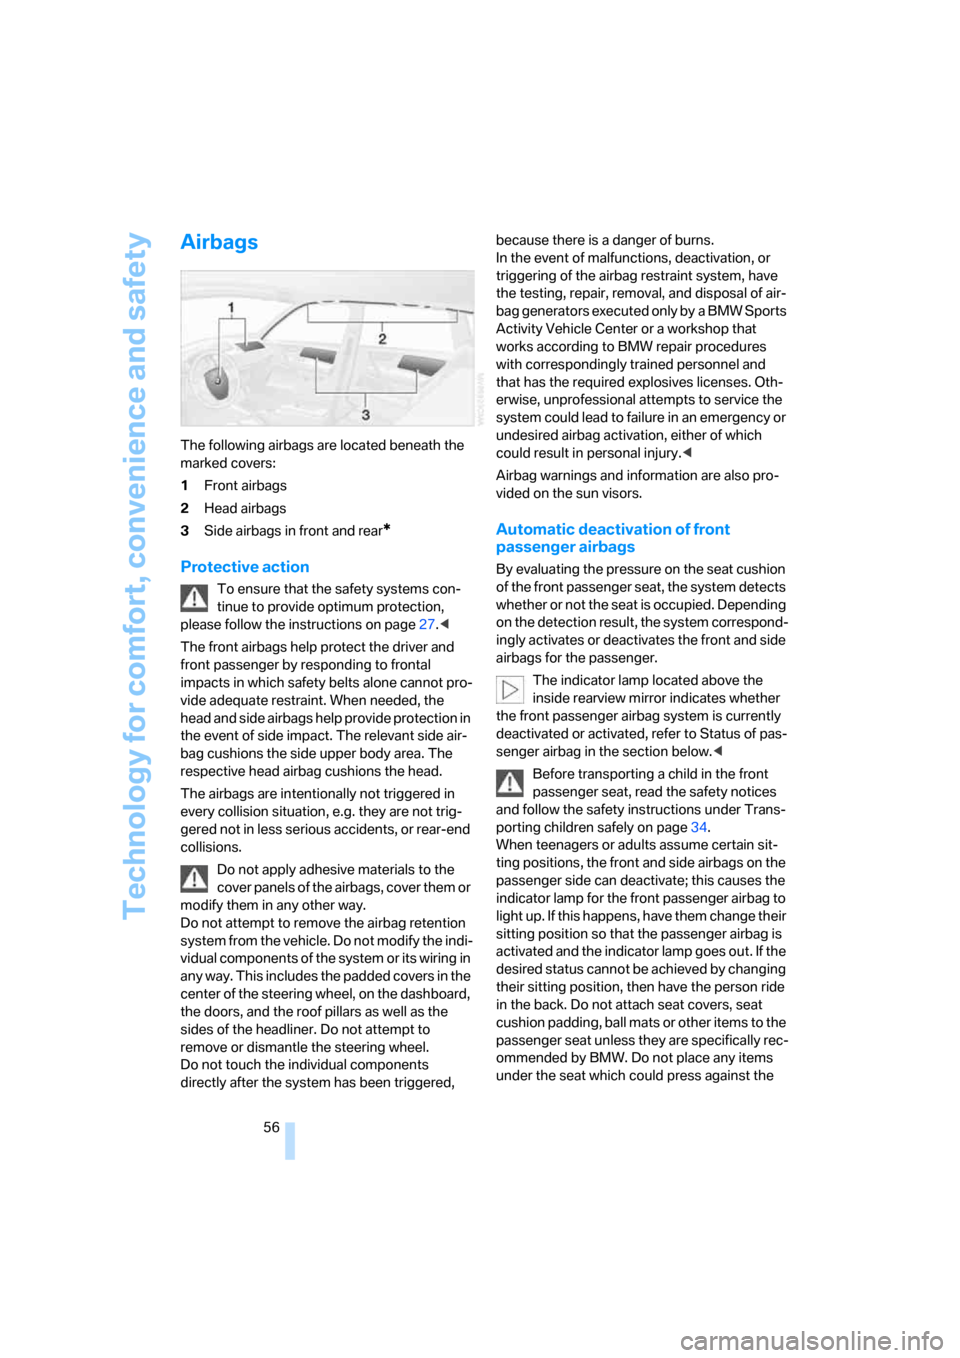
The following airbags are located beneath the
marked covers:
1Front airbags
2Head airbags
3Side airbags in front and rear
*
Protective action
To ensure that the safety systems con-
tinue to provide optimum protection,
please follow the instructions on page27.<
The front airbags help protect the driver and
front passenger by responding to frontal
impacts in which safety belts alone cannot pro-
vide adequate restraint. When needed, the
head and side airbags help provide protection in
the event of side impact. The relevant side air-
bag cushions the side upper body area. The
respective head airbag cushions the head.
The airbags are intentionally not triggered in
every collision situation, e.g. they are not trig-
gered not in less serious accidents, or rear-end
collisions.
Do not apply adhesive materials to the
cover panels of the airbags, cover them or
modify them in any other way.
Do not attempt to remove the airbag retention
system from the vehicle. Do not modify the indi-
vidual components of the system or its wiring in
any way. This includes the padded covers in the
center of the steering wheel, on the dashboard,
the doors, and the roof pillars as well as the
sides of the headliner. Do not attempt to
remove or dismantle the steering wheel.
Do not touch the individual components
directly after the system has been triggered, because there is a danger of burns.
In the event of malfunctions, deactivation, or
triggering of the airbag restraint system, have
the testing, repair, removal, and disposal of air-
bag generators executed only by a BMW Sports
Activity Vehicle Center or a workshop that
works according to BMW repair procedures
with correspondingly trained personnel and
that has the required explosives licenses. Oth-
erwise, unprofessional attempts to service the
system could lead to failure in an emergency or
undesired airbag activation, either of which
could result in personal injury.<
Airbag warnings and information are also pro-
vided on the sun visors.
Automatic deactivation of front
passenger airbags
By evaluating the pressure on the seat cushion
of the front passenger seat, the system detects
whether or not the seat is occupied. Depending
on the detection result, the system correspond-
ingly activates or deactivates the front and side
airbags for the passenger.
The indicator lamp located above the
inside rearview mirror indicates whether
the front passenger airbag system is currently
deactivated or activated, refer to Status of pas-
senger airbag in the section below.<
Before transporting a child in the front
passenger seat, read the safety notices
and follow the safety instructions under Trans-
porting children safely on page34.
When teenagers or adults assume certain sit-
ting positions, the front and side airbags on the
passenger side can deactivate; this causes the
indicator lamp for the front passenger airbag to
light up. If this happens, have them change their
sitting position so that the passenger airbag is
activated and the indicator lamp goes out. If the
desired status cannot be achieved by changing
their sitting position, then have the person ride
in the back. Do not attach seat covers, seat
cushion padding, ball mats or other items to the
passenger seat unless they are specifically rec-
ommended by BMW. Do not place any items
under the seat which could press against the
Page 59 of 139
Reference
At a glance
Controls
Driving tips
Mobility
57
seat from below. Otherwise, a correct analysis
of the seat cushion is not ensured.<
Status of passenger airbags
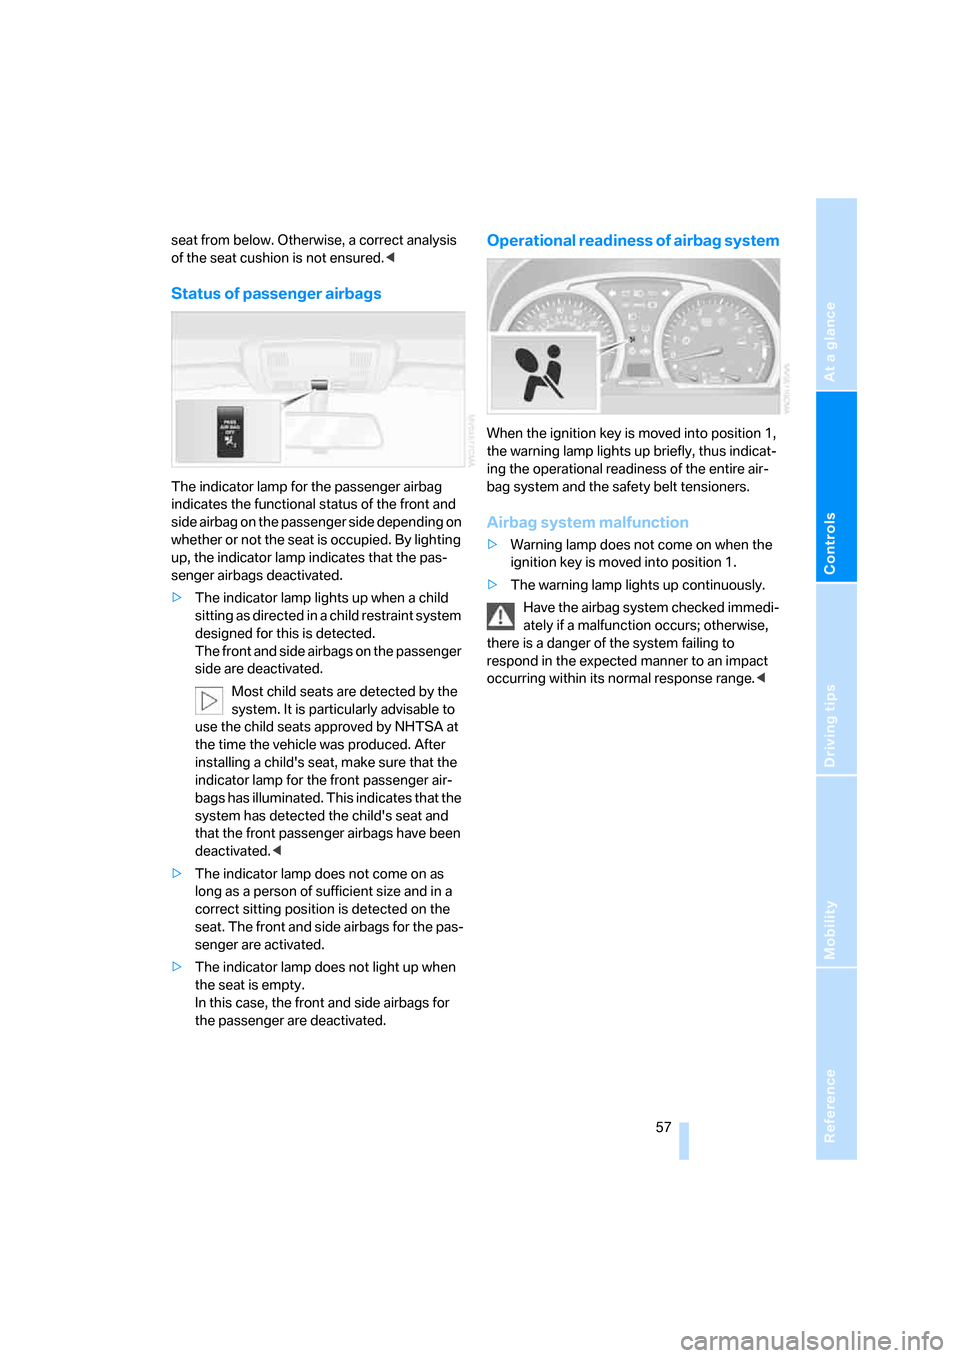
The indicator lamp for the passenger airbag
indicates the functional status of the front and
side airbag on the passenger side depending on
whether or not the seat is occupied. By lighting
up, the indicator lamp indicates that the pas-
senger airbags deactivated.
>The indicator lamp lights up when a child
sitting as directed in a child restraint system
designed for this is detected.
The front and side airbags on the passenger
side are deactivated.
Most child seats are detected by the
system. It is particularly advisable to
use the child seats approved by NHTSA at
the time the vehicle was produced. After
installing a child's seat, make sure that the
indicator lamp for the front passenger air-
bags has illuminated. This indicates that the
system has detected the child's seat and
that the front passenger airbags have been
deactivated.<
>The indicator lamp does not come on as
long as a person of sufficient size and in a
correct sitting position is detected on the
seat. The front and side airbags for the pas-
senger are activated.
>The indicator lamp does not light up when
the seat is empty.
In this case, the front and side airbags for
the passenger are deactivated.
Operational readiness of airbag system
When the ignition key is moved into position 1,
the warning lamp lights up briefly, thus indicat-
ing the operational readiness of the entire air-
bag system and the safety belt tensioners.
Airbag system malfunction
>Warning lamp does not come on when the
ignition key is moved into position 1.
>The warning lamp lights up continuously.
Have the airbag system checked immedi-
ately if a malfunction occurs; otherwise,
there is a danger of the system failing to
respond in the expected manner to an impact
occurring within its normal response range.<
Page 84 of 139
Things to remember when driving
82
Hills
To prevent overheating and reduced effi-
ciency of the brake system, drive long or
steep downhill grades in the gear in which the
least braking is required. Otherwise, even light
but continuous pressure on the brake can lead
to high temperatures, brake wear and possibly
even brake failure.<
The braking action of the engine can be further
intensified by downshifting, all the way down to
first gear if need be. This strategy helps you
avoid placing excessive loads on the brake sys-
tem. Downshifting in manual mode of automatic
transmission, refer to page40. When descend-
ing hills slowly, use HDC Hill Descent Control,
refer to page51.
Never drive with the clutch depressed,
with the transmission in neutral, or with
the engine switched off; otherwise, you will
have neither the braking action of the engine or
nor its power assistance to the brakes or steer-
ing.
Never allow floor mats, carpeting, or other arti-
cles to protrude into the area around the brake
or accelerator pedals and obstruct their move-
ment.<
Corrosion on brake rotors
When the vehicle is driven only occasionally,
during extended periods when the vehicle is not
used at all, and in operating conditions where
brake applications are less frequent, there is an
increased tendency for corrosion to form on
rotors, while contaminants accumulate on the
brake pads. This occurs because the minimal
pressure which must be exerted by the pads
during brake applications to clean the rotors is
not reached.
Should corrosion form on the brake rotors, the
brakes will tend to respond with a pulsating
effect that even extended application will fail to
cure.
Brake pads
The warning lamp lights up.
The brake pads have reached their min-
imum pad thickness. Have brake pads
replaced immediately.
Cargo loading
To avoid loading the tires beyond their
approved carrying capacity, never over-
load the vehicle. Overloading can lead to over-
heating of the tire and increases the rate at
which damage develops inside the tires. The
ultimate result can assume the form of a sudden
blow-out.<
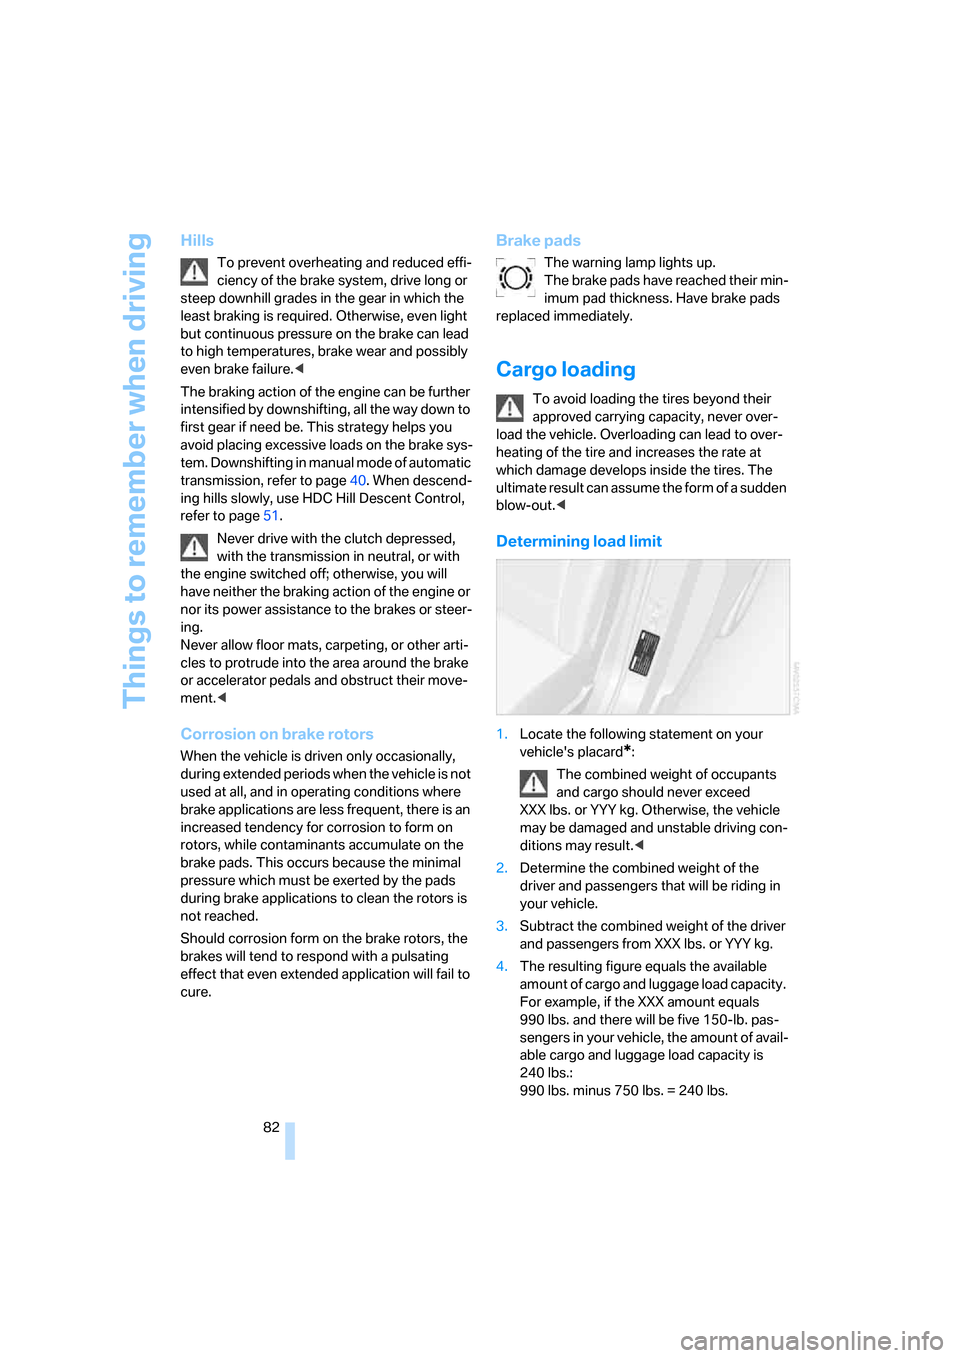
Determining load limit
1.Locate the following statement on your
vehicle's placard
*:
The combined weight of occupants
and cargo should never exceed
XXX lbs. or YYY kg. Otherwise, the vehicle
may be damaged and unstable driving con-
ditions may result.<
2.Determine the combined weight of the
driver and passengers that will be riding in
your vehicle.
3.Subtract the combined weight of the driver
and passengers from XXX lbs. or YYY kg.
4.The resulting figure equals the available
amount of cargo and luggage load capacity.
For example, if the XXX amount equals
990 lbs. and there will be five 150-lb. pas-
sengers in your vehicle, the amount of avail-
able cargo and luggage load capacity is
240 lbs.:
990 lbs. minus 750 lbs. = 240 lbs.
Page 90 of 139
Refueling
88
Refueling
Fuel cap
Opening
Always switch off the engine before
refueling. Otherwise, no fuel can be dis-
pensed into the tank and the Service Engine
Soon lamp lights up.<
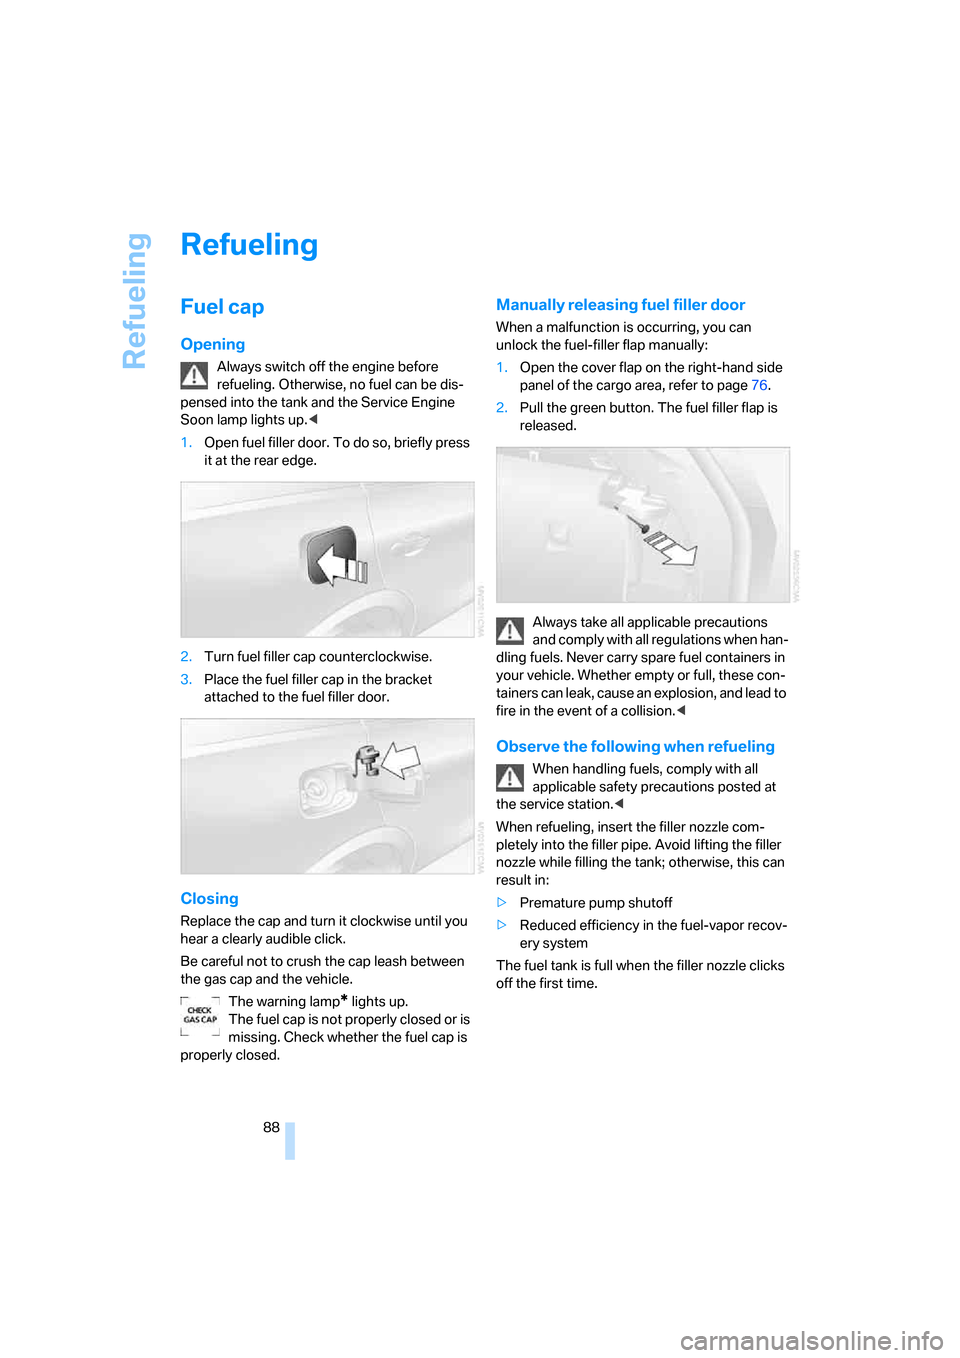
1.Open fuel filler door. To do so, briefly press
it at the rear edge.
2.Turn fuel filler cap counterclockwise.
3.Place the fuel filler cap in the bracket
attached to the fuel filler door.
Closing
Replace the cap and turn it clockwise until you
hear a clearly audible click.
Be careful not to crush the cap leash between
the gas cap and the vehicle.
The warning lamp
* lights up.
The fuel cap is not properly closed or is
missing. Check whether the fuel cap is
properly closed.
Manually releasing fuel filler door
When a malfunction is occurring, you can
unlock the fuel-filler flap manually:
1.Open the cover flap on the right-hand side
panel of the cargo area, refer to page76.
2.Pull the green button. The fuel filler flap is
released.
Always take all applicable precautions
and comply with all regulations when han-
dling fuels. Never carry spare fuel containers in
your vehicle. Whether empty or full, these con-
tainers can leak, cause an explosion, and lead to
fire in the event of a collision.<
Observe the following when refueling
When handling fuels, comply with all
applicable safety precautions posted at
the service station.<
When refueling, insert the filler nozzle com-
pletely into the filler pipe. Avoid lifting the filler
nozzle while filling the tank; otherwise, this can
result in:
>Premature pump shutoff
>Reduced efficiency in the fuel-vapor recov-
ery system
The fuel tank is full when the filler nozzle clicks
off the first time.
Page 101 of 139
Reference
At a glance
Controls
Driving tips
Mobility
99
Engine oil
Engine oil consumption depends on driving
style and operating conditions.
Warning lamp
Engine oil pressure
The warning lamp lights up red:
The engine oil pressure is too low.
Stop the vehicle immediately and
switch off the engine. Check the engine oil level
and top off as needed. If the oil level is correct:
Have the system checked immediately.
Do not continue driving. The engine could
be damaged because of inadequate lubri-
cation.<
Engine oil level
The warning lamp lights up yellow dur-
ing driving. An acoustic signal also
sounds and "+1.0 " is displayed in the
instrument cluster, refer to page99.
The oil level is at its absolute minimum; top off
engine oil as soon as possible. Until then, do not
drive more than approx. 125 miles/200 km.
The warning lamp lights up yellow after
the engine is switched off. In addition, a
signal sounds.
Top off engine oil at the earliest opportunity,
e.g. with your next refueling.
The warning lamp lights up yellow
within 30 seconds after starting the
engine:
The oil level sensor has failed. It is not possible
to take a current or meaningful measurement.
Have the system checked as soon as possible.
Checking oil level
Your vehicle is equipped with an electronic oil
level control.
For the most precise possible display of the oil
level, the engine must be at operating tempera-
ture, i.e. after at least 6.5 miles/10 km of unin-
terrupted driving. You can have the oil level dis-
played while you drive or while the vehicle is standing on a flat surface with the engine run-
ning.
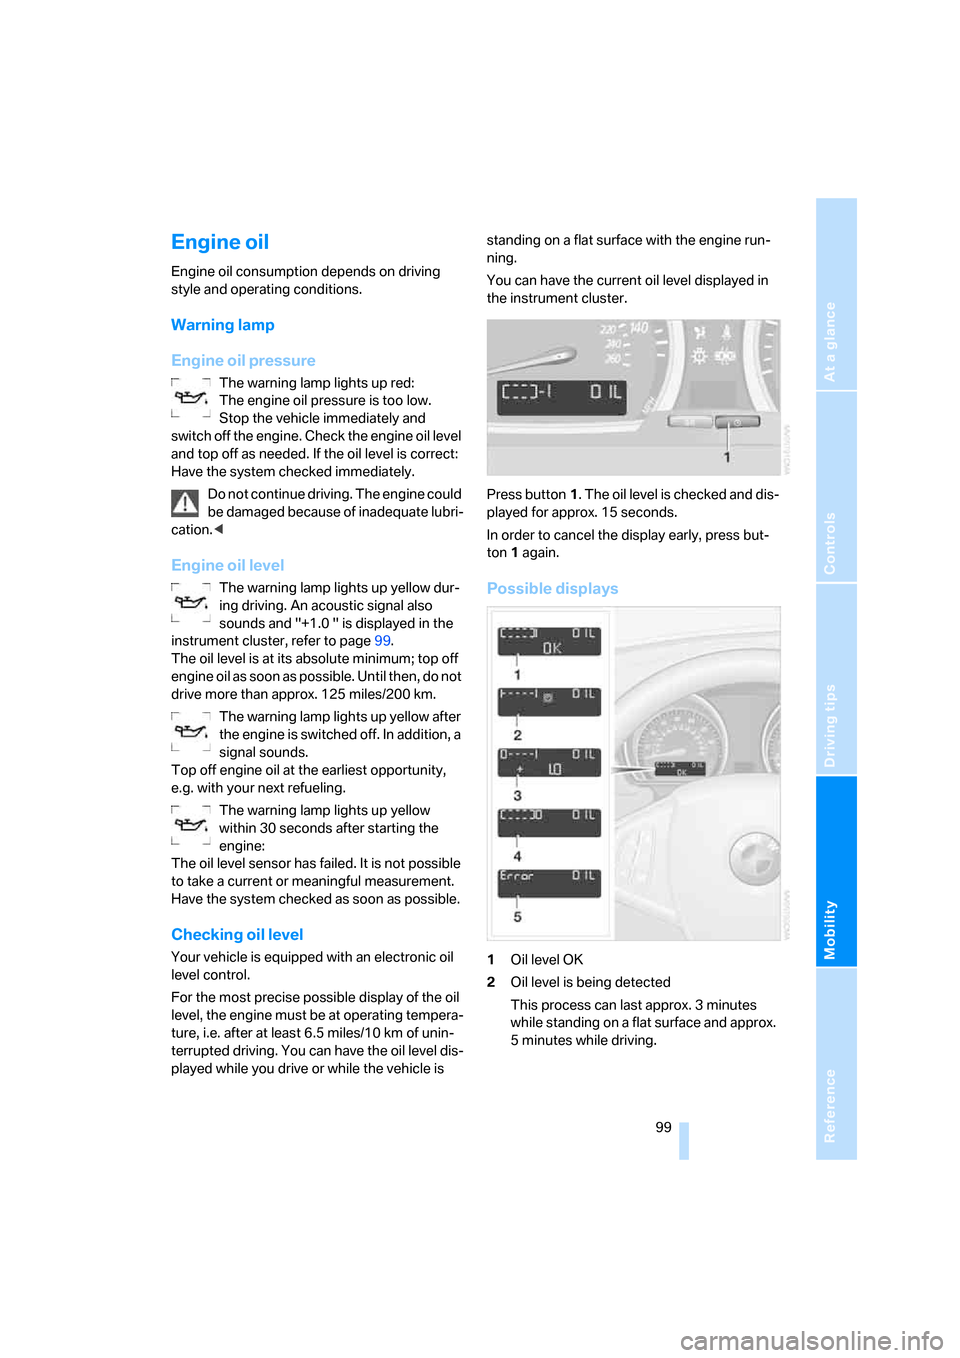
You can have the current oil level displayed in
the instrument cluster.
Press button1. The oil level is checked and dis-
played for approx. 15 seconds.
In order to cancel the display early, press but-
ton 1 again.
Possible displays
1Oil level OK
2Oil level is being detected
This process can last approx. 3 minutes
while standing on a flat surface and approx.
5 minutes while driving.
Page 102 of 139
Under the hood
100 3Oil level at minimum
A t yo ur e a r li es t o p p ortunity, add 1 US quart/
1 liter engine oil, also refer to Adding engine
oil.
4Oil level too high
Have vehicle checked immediately;
otherwise, overfilled oil can lead to
engine damage.<
5Oil level sensor has failed
It is not possible to take a current or mean-
ingful measurement.
Do not add engine oil. It is possible to con-
tinue driving. Have the system checked as
soon as possible.
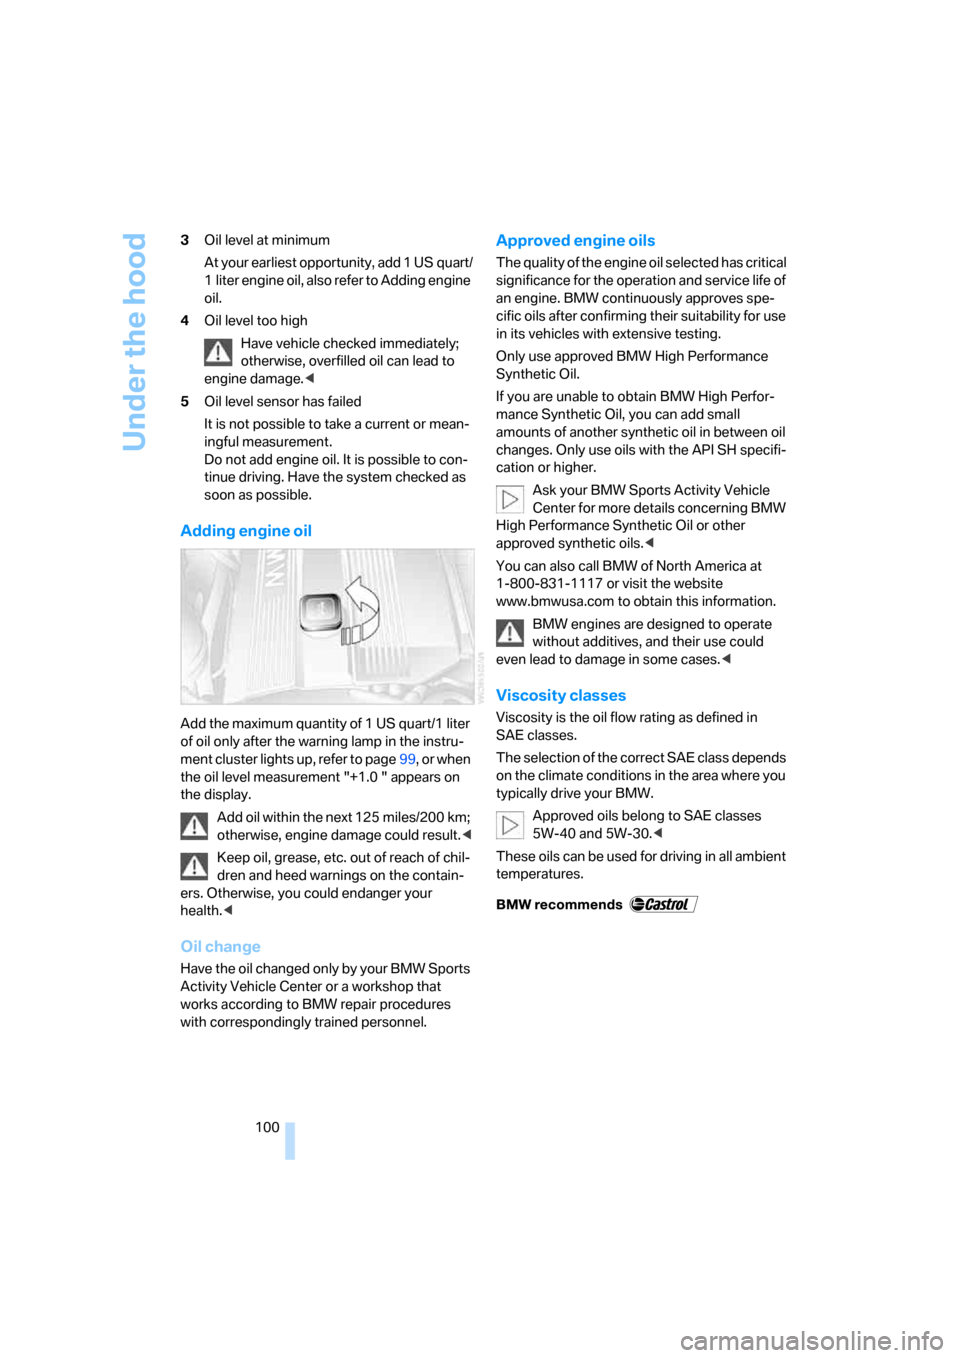
Adding engine oil
Add the maximum quantity of 1 US quart/1 liter
of oil only after the warning lamp in the instru-
ment cluster lights up, refer to page99, or when
the oil level measurement "+1.0 " appears on
the display.
Add oil within the next 125 miles/200 km;
otherwise, engine damage could result.<
Keep oil, grease, etc. out of reach of chil-
dren and heed warnings on the contain-
ers. Otherwise, you could endanger your
health.<
Oil change
Have the oil changed only by your BMW Sports
Activity Vehicle Center or a workshop that
works according to BMW repair procedures
with correspondingly trained personnel.
Approved engine oils
The quality of the engine oil selected has critical
significance for the operation and service life of
an engine. BMW continuously approves spe-
cific oils after confirming their suitability for use
in its vehicles with extensive testing.
Only use approved BMW High Performance
Synthetic Oil.
If you are unable to obtain BMW High Perfor-
mance Synthetic Oil, you can add small
amounts of another synthetic oil in between oil
changes. Only use oils with the API SH specifi-
cation or higher.
Ask your BMW Sports Activity Vehicle
Center for more details concerning BMW
High Performance Synthetic Oil or other
approved synthetic oils.<
You can also call BMW of North America at
1-800-831-1117 or visit the website
www.bmwusa.com to obtain this information.
BMW engines are designed to operate
without additives, and their use could
even lead to damage in some cases.<
Viscosity classes
Viscosity is the oil flow rating as defined in
SAE classes.
The selection of the correct SAE class depends
on the climate conditions in the area where you
typically drive your BMW.
Approved oils belong to SAE classes
5W-40 and 5W-30.<
These oils can be used for driving in all ambient
temperatures.
Page 103 of 139
Reference
At a glance
Controls
Driving tips
Mobility
101
Coolant
Warning lamp
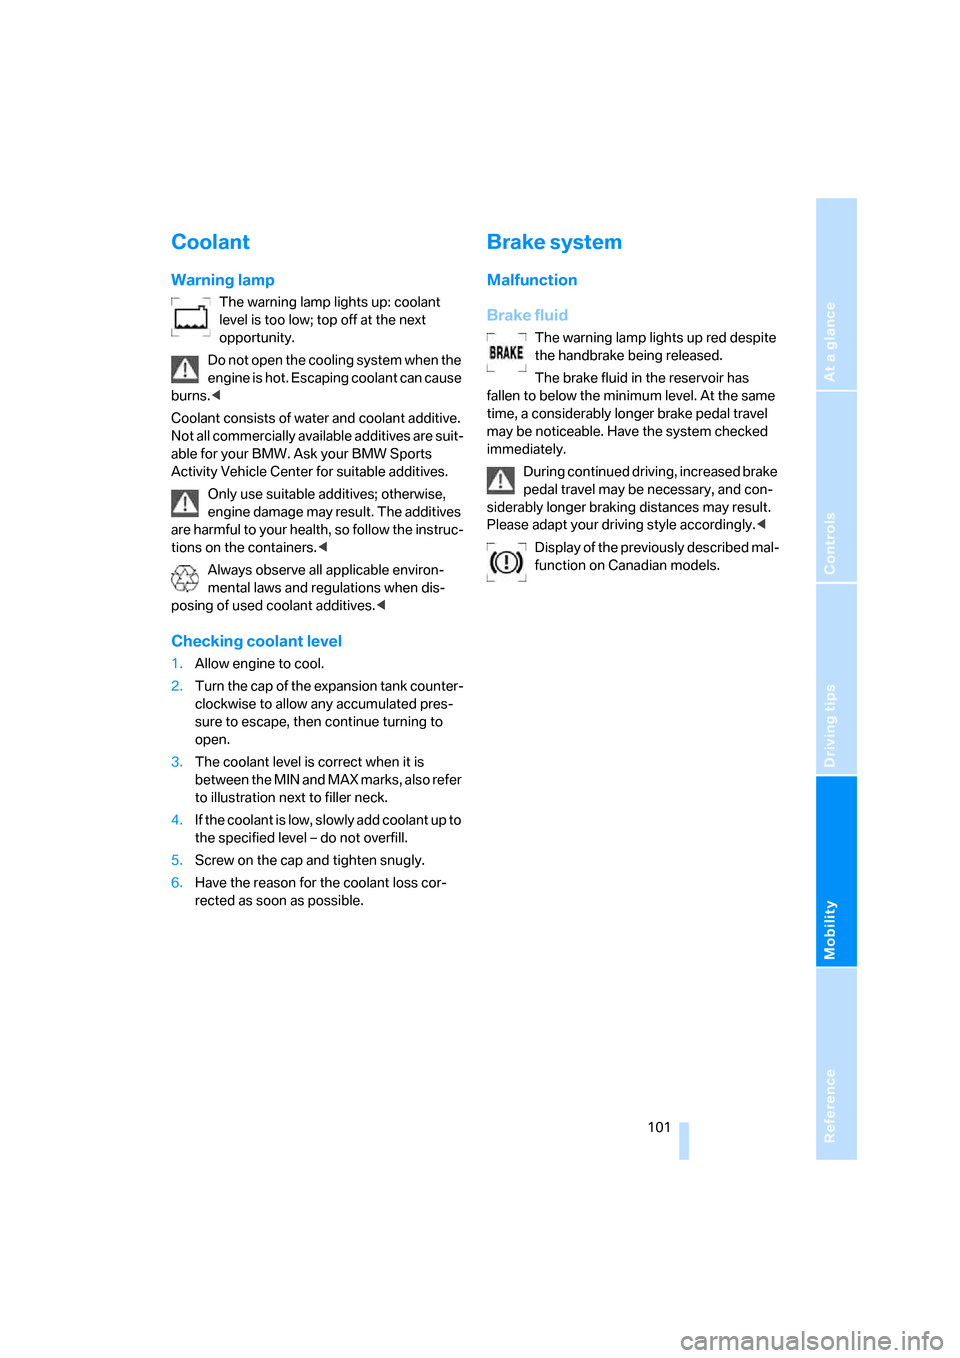
The warning lamp lights up: coolant
level is too low; top off at the next
opportunity.
Do not open the cooling system when the
engine is hot. Escaping coolant can cause
burns.<
Coolant consists of water and coolant additive.
Not all commercially available additives are suit-
able for your BMW. Ask your BMW Sports
Activity Vehicle Center for suitable additives.
Only use suitable additives; otherwise,
engine damage may result. The additives
are harmful to your health, so follow the instruc-
tions on the containers.<
Always observe all applicable environ-
mental laws and regulations when dis-
posing of used coolant additives.<
Checking coolant level
1.Allow engine to cool.
2.Turn the cap of the expansion tank counter-
clockwise to allow any accumulated pres-
sure to escape, then continue turning to
open.
3.The coolant level is correct when it is
between the MIN and MAX marks, also refer
to illustration next to filler neck.
4.If the coolant is low, slowly add coolant up to
the specified level – do not overfill.
5.Screw on the cap and tighten snugly.
6.Have the reason for the coolant loss cor-
rected as soon as possible.
Brake system
Malfunction
Brake fluid
The warning lamp lights up red despite
the handbrake being released.
The brake fluid in the reservoir has
fallen to below the minimum level. At the same
time, a considerably longer brake pedal travel
may be noticeable. Have the system checked
immediately.
During continued driving, increased brake
pedal travel may be necessary, and con-
siderably longer braking distances may result.
Please adapt your driving style accordingly.<
Display of the previously described mal-
function on Canadian models.
Page 105 of 139
Reference
At a glance
Controls
Driving tips
Mobility
103
Emissions values
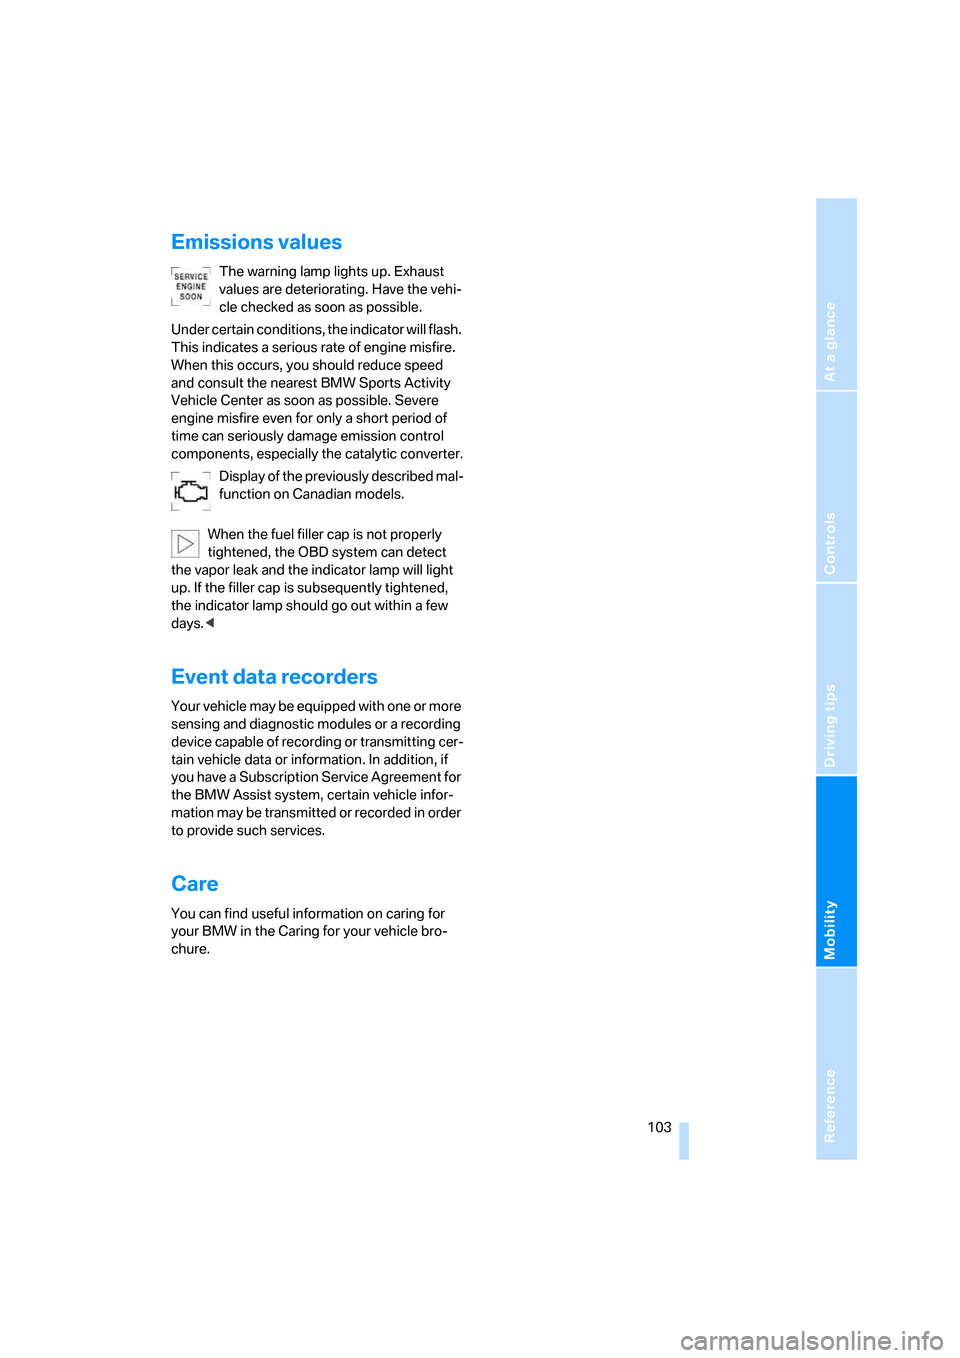
The warning lamp lights up. Exhaust
values are deteriorating. Have the vehi-
cle checked as soon as possible.
Under certain conditions, the indicator will flash.
This indicates a serious rate of engine misfire.
When this occurs, you should reduce speed
and consult the nearest BMW Sports Activity
Vehicle Center as soon as possible. Severe
engine misfire even for only a short period of
time can seriously damage emission control
components, especially the catalytic converter.
Display of the previously described mal-
function on Canadian models.
When the fuel filler cap is not properly
tightened, the OBD system can detect
the vapor leak and the indicator lamp will light
up. If the filler cap is subsequently tightened,
the indicator lamp should go out within a few
days.<
Event data recorders
Your vehicle may be equipped with one or more
sensing and diagnostic modules or a recording
device capable of recording or transmitting cer-
tain vehicle data or information. In addition, if
you have a Subscription Service Agreement for
the BMW Assist system, certain vehicle infor-
mation may be transmitted or recorded in order
to provide such services.
Care
You can find useful information on caring for
your BMW in the Caring for your vehicle bro-
chure.