display BMW X5 2016 F15 User Guide
[x] Cancel search | Manufacturer: BMW, Model Year: 2016, Model line: X5, Model: BMW X5 2016 F15Pages: 275, PDF Size: 6.46 MB
Page 24 of 275
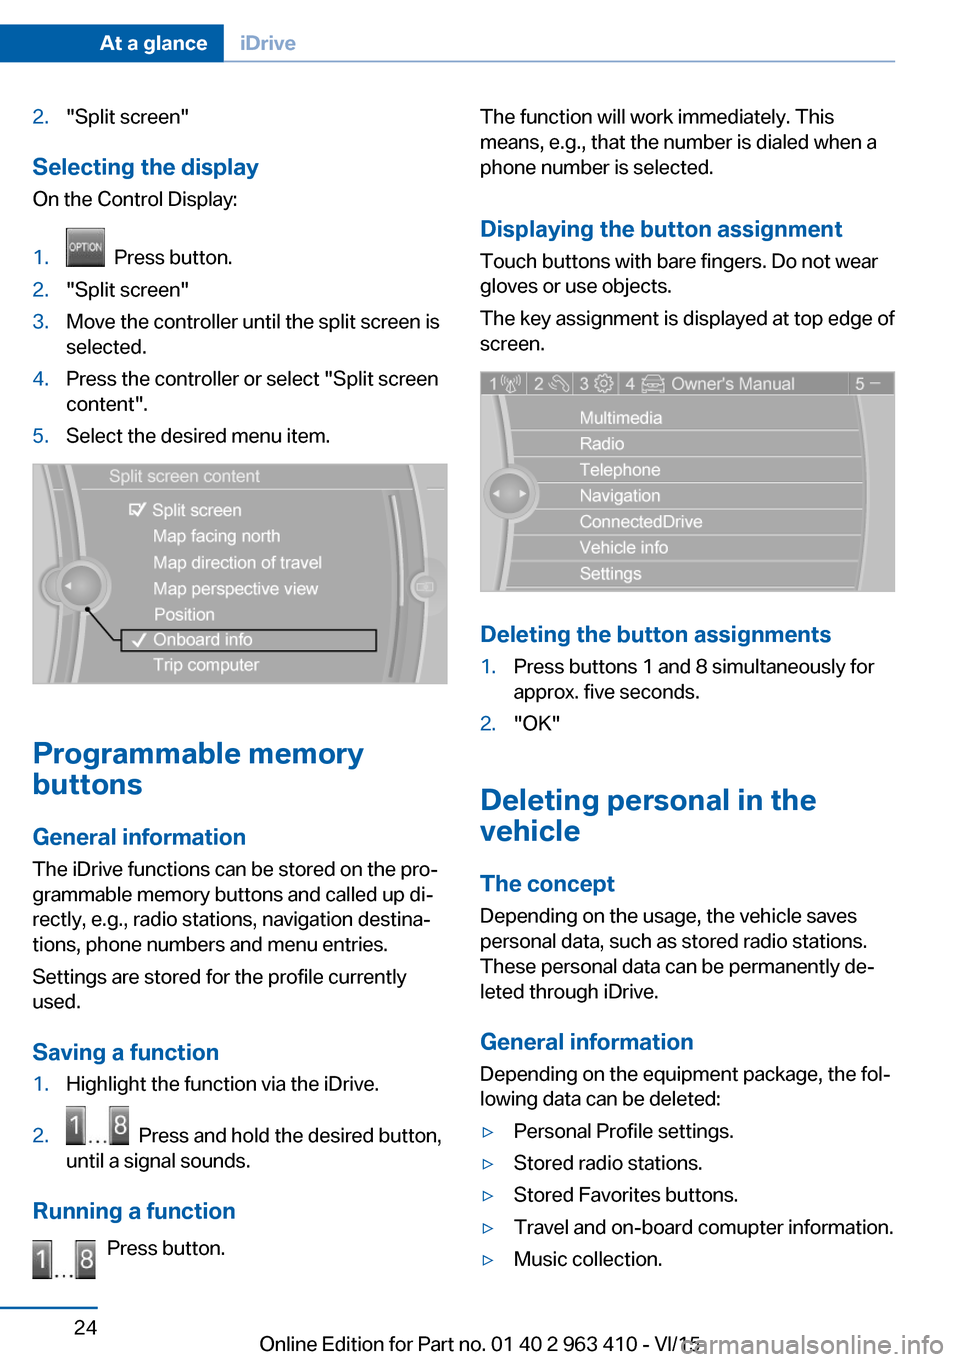
2."Split screen"
Selecting the display
On the Control Display:
1. Press button.2."Split screen"3.Move the controller until the split screen is
selected.4.Press the controller or select "Split screen
content".5.Select the desired menu item.
Programmable memory
buttons
General information
The iDrive functions can be stored on the pro‐
grammable memory buttons and called up di‐
rectly, e.g., radio stations, navigation destina‐
tions, phone numbers and menu entries.
Settings are stored for the profile currently
used.
Saving a function
1.Highlight the function via the iDrive.2. Press and hold the desired button,
until a signal sounds.
Running a function
Press button.
The function will work immediately. This
means, e.g., that the number is dialed when a
phone number is selected.
Displaying the button assignment
Touch buttons with bare fingers. Do not wear
gloves or use objects.
The key assignment is displayed at top edge of
screen.
Deleting the button assignments
1.Press buttons 1 and 8 simultaneously for
approx. five seconds.2."OK"
Deleting personal in the
vehicle
The concept
Depending on the usage, the vehicle saves
personal data, such as stored radio stations.
These personal data can be permanently de‐
leted through iDrive.
General information
Depending on the equipment package, the fol‐
lowing data can be deleted:
▷Personal Profile settings.▷Stored radio stations.▷Stored Favorites buttons.▷Travel and on-board comupter information.▷Music collection.Seite 24At a glanceiDrive24
Online Edition for Part no. 01 40 2 963 410 - VI/15
Page 25 of 275
▷Navigation, e.g. stored destinations.▷Phone book.▷Online data, e.g. Favorites, cookies.▷Voice notes▷Login accounts.▷RemoteApp smartphone tethering.
Altogether, the deletion of the data can take up
to 30 minutes.
Functional requirement Data can only be deleted while stationary.
Deleting data Heed and follow the instructions on the Con‐
trol Display.
1.Switch on the ignition.2."Settings"3.Open "Options".4."Delete personal data"5."Continue"6."OK"
Entering letters and numbers
General information
On the Control Display:
1.Turn the controller: select letters or num‐
bers.2.Select additional letters or numbers if
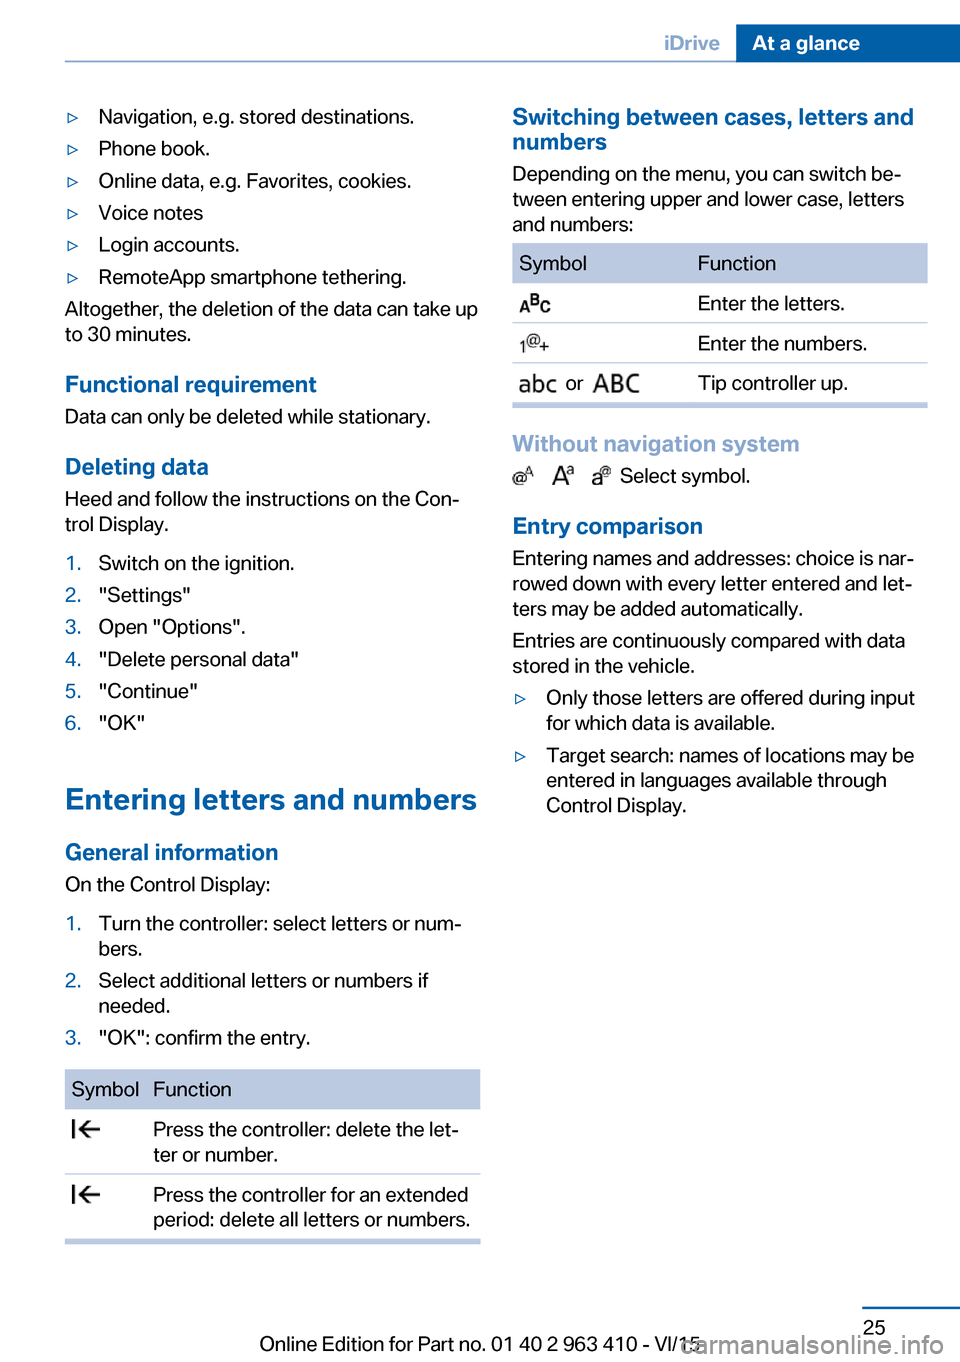
needed.3."OK": confirm the entry.SymbolFunction Press the controller: delete the let‐
ter or number. Press the controller for an extended
period: delete all letters or numbers.Switching between cases, letters and
numbers
Depending on the menu, you can switch be‐
tween entering upper and lower case, letters
and numbers:SymbolFunction Enter the letters. Enter the numbers. or Tip controller up.
Without navigation system
Select symbol.
Entry comparison
Entering names and addresses: choice is nar‐
rowed down with every letter entered and let‐
ters may be added automatically.
Entries are continuously compared with data
stored in the vehicle.
▷Only those letters are offered during input
for which data is available.▷Target search: names of locations may be
entered in languages available through
Control Display.Seite 25iDriveAt a glance25
Online Edition for Part no. 01 40 2 963 410 - VI/15
Page 26 of 275
Voice activation systemVehicle features and options
This chapter describes all standard, country-
specific and optional features offered with the
series. It also describes features that are not
necessarily available in your car, e. g., due to
the selected options or country versions. This
also applies to safety-related functions and
systems. The respectively applicable country
provisions must be observed when using the
respective features and systems.
The concept▷Most functions displayed on the Control
Display can be operated by voice com‐
mands via the voice activation system. The
system supports you with announcements
during input.▷Functions that can only be used when the
vehicle is stationary cannot be used via the
voice activation system.▷The system uses a special microphone on
the driver's side.▷›...‹ Verbal instructions in the Owner's
Manual to use with the voice activation
system.
Requirements
Via the Control Display, set a language that is
also supported by the voice activation system
so that the spoken commands can be identi‐
fied.
Set the language, refer to page 101.
Using voice activation
Activating the voice activation system1. Press button on the steering
wheel.2.Wait for the signal.3.Say the command.
A command that is recognized by the voice
activation system is announced and dis‐
played in the instrument cluster.
This symbol in the instrument cluster indi‐
cates that the voice activation system is active.
If no other commands are available, use func‐
tion via iDrive.
Terminating the voice activation
system
Briefly press the button on the steer‐
ing wheel or ›Cancel‹.
Possible commands Most menu items on the Control Display can
be voiced as commands.
The available commands depend on the menu
that is currently displayed on the Control Dis‐
play.
There are short commands for many functions.
You may select lists such as phone lists via
voice activation. Read these lists out loud ex‐
actly as they show in the respective list.
Having possible commands read aloud You can have available commands read out
loud for you: ›Voice commands‹.
E. g. if the "Settings" menu is displayed, the commands for the settings are read out loud.
Seite 26At a glanceVoice activation system26
Online Edition for Part no. 01 40 2 963 410 - VI/15
Page 29 of 275
Integrated Owner's Manual in the vehicleVehicle features and optionsThis chapter describes all standard, country-
specific and optional features offered with the
series. It also describes features that are not
necessarily available in your car, e. g., due to
the selected options or country versions. This
also applies to safety-related functions and
systems. The respectively applicable country
provisions must be observed when using the
respective features and systems.
Integrated Owner's Manual
in the vehicle
The Integrated Owner's Manual can be dis‐
played on the Control Display. It specifically
describes features and functions found in the
vehicle.
Components of the Integrated
Owner's Manual
The Integrated Owner's Manual consists of
three parts, which offer various levels of infor‐
mation or possible access.
Quick Reference Guide The Quick Reference Guide provides informa‐
tion how to operate the car, how to use basic
vehicle functions or what to do in case of a
breakdown. This information can also be dis‐
played while driving.
Search by images
Image search provides information and de‐
scriptions. This is helpful when the terminol‐
ogy for a feature is not at hand.
Owner's Manual Search for information and descriptions by en‐
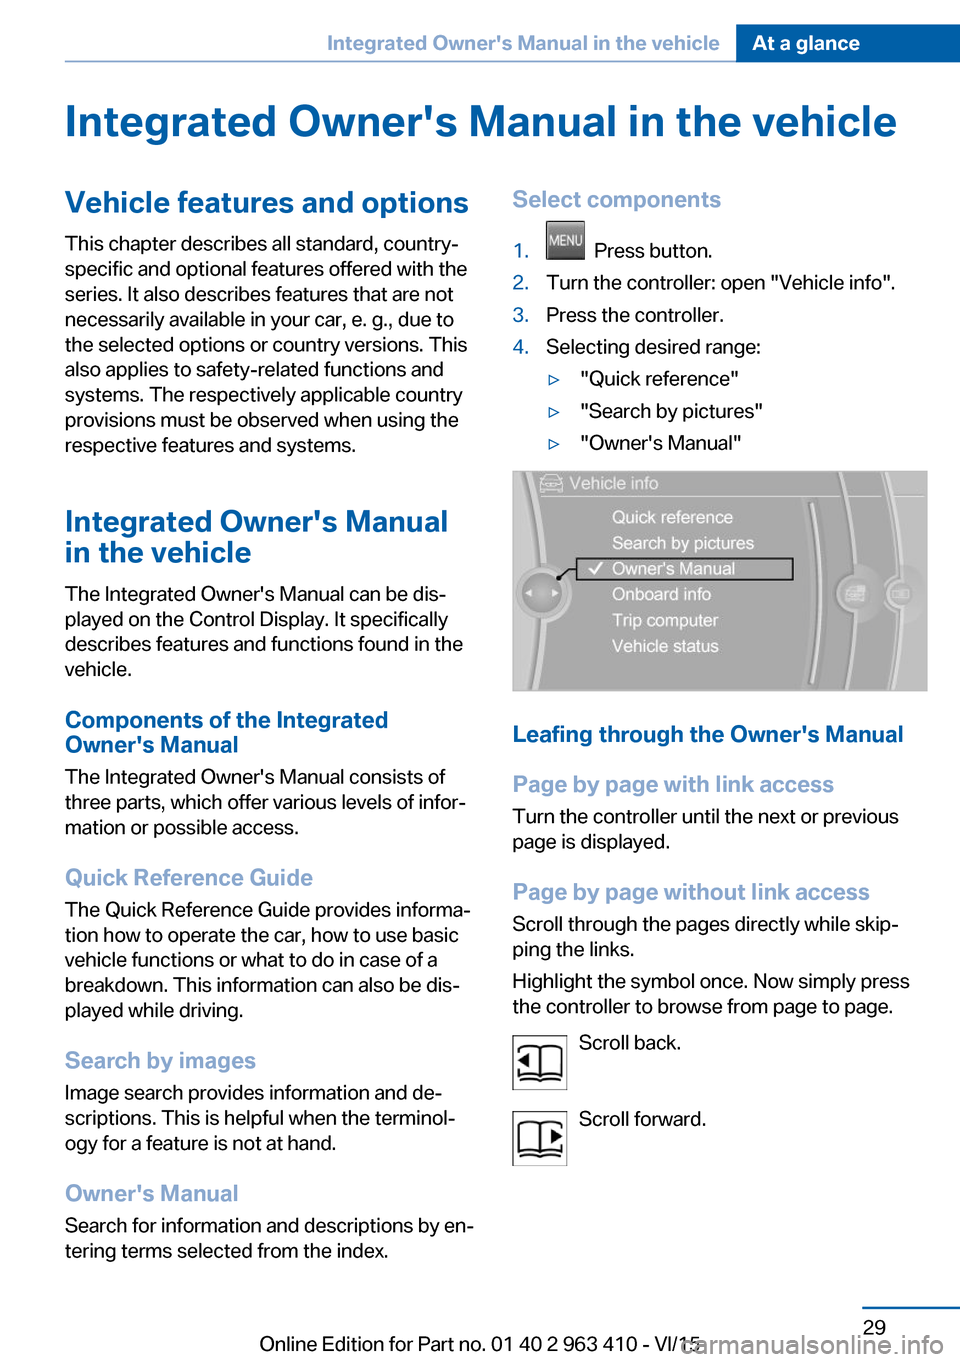
tering terms selected from the index.Select components1. Press button.2.Turn the controller: open "Vehicle info".3.Press the controller.4.Selecting desired range:▷"Quick reference"▷"Search by pictures"▷"Owner's Manual"
Leafing through the Owner's Manual
Page by page with link access
Turn the controller until the next or previous
page is displayed.
Page by page without link access
Scroll through the pages directly while skip‐
ping the links.
Highlight the symbol once. Now simply press
the controller to browse from page to page.
Scroll back.
Scroll forward.
Seite 29Integrated Owner's Manual in the vehicleAt a glance29
Online Edition for Part no. 01 40 2 963 410 - VI/15
Page 30 of 275
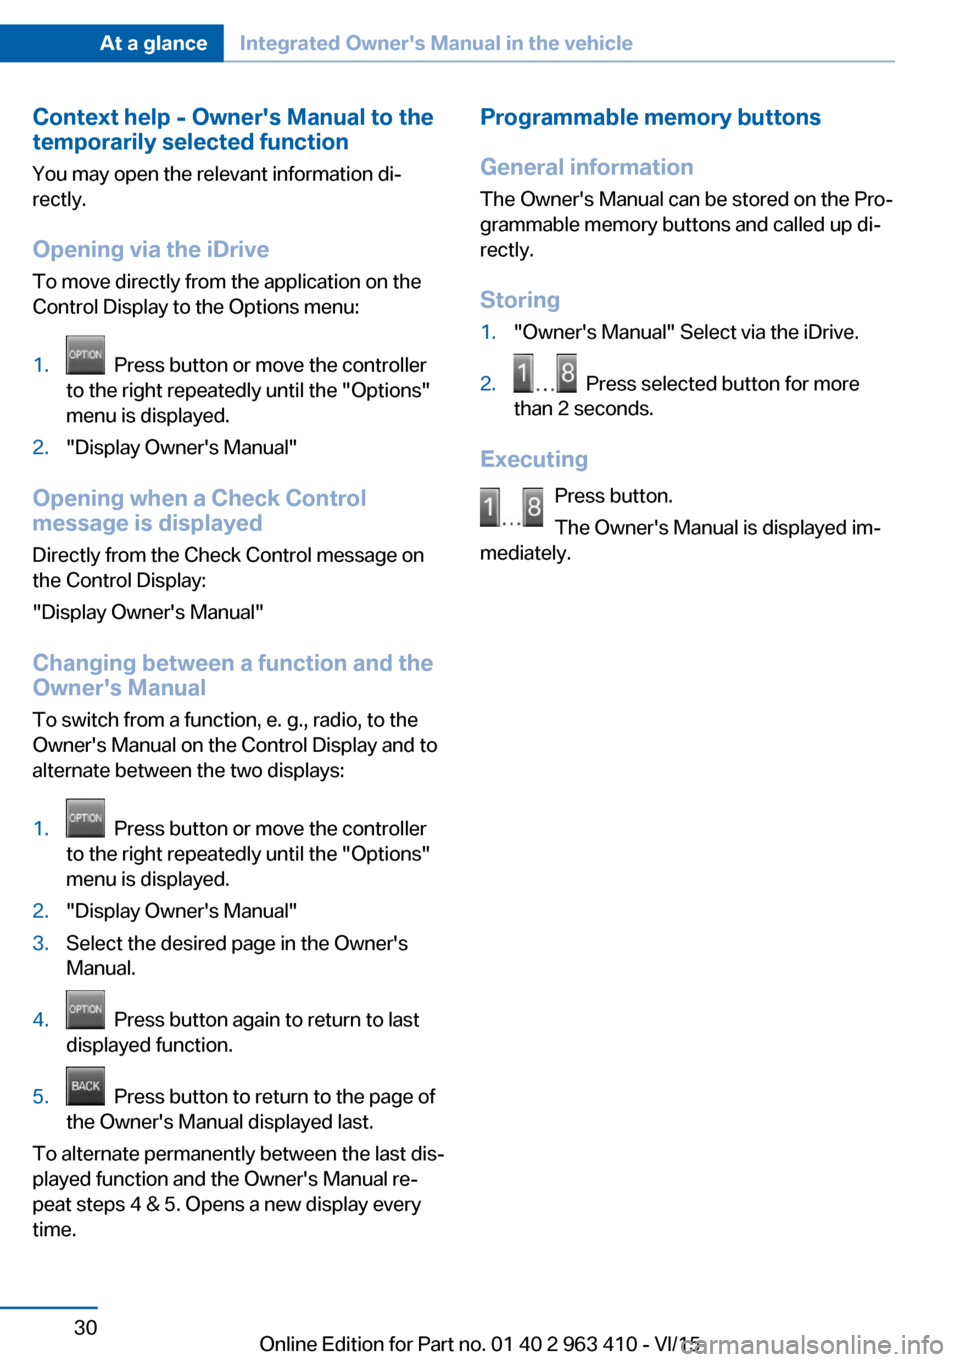
Context help - Owner's Manual to the
temporarily selected function
You may open the relevant information di‐
rectly.
Opening via the iDrive
To move directly from the application on the
Control Display to the Options menu:1. Press button or move the controller
to the right repeatedly until the "Options"
menu is displayed.2."Display Owner's Manual"
Opening when a Check Control
message is displayed
Directly from the Check Control message on
the Control Display:
"Display Owner's Manual"
Changing between a function and the
Owner's Manual
To switch from a function, e. g., radio, to the
Owner's Manual on the Control Display and to
alternate between the two displays:
1. Press button or move the controller
to the right repeatedly until the "Options"
menu is displayed.2."Display Owner's Manual"3.Select the desired page in the Owner's
Manual.4. Press button again to return to last
displayed function.5. Press button to return to the page of
the Owner's Manual displayed last.
To alternate permanently between the last dis‐
played function and the Owner's Manual re‐
peat steps 4 & 5. Opens a new display every
time.
Programmable memory buttons
General information
The Owner's Manual can be stored on the Pro‐
grammable memory buttons and called up di‐
rectly.
Storing1."Owner's Manual" Select via the iDrive.2. Press selected button for more
than 2 seconds.
Executing
Press button.
The Owner's Manual is displayed im‐
mediately.
Seite 30At a glanceIntegrated Owner's Manual in the vehicle30
Online Edition for Part no. 01 40 2 963 410 - VI/15
Page 35 of 275
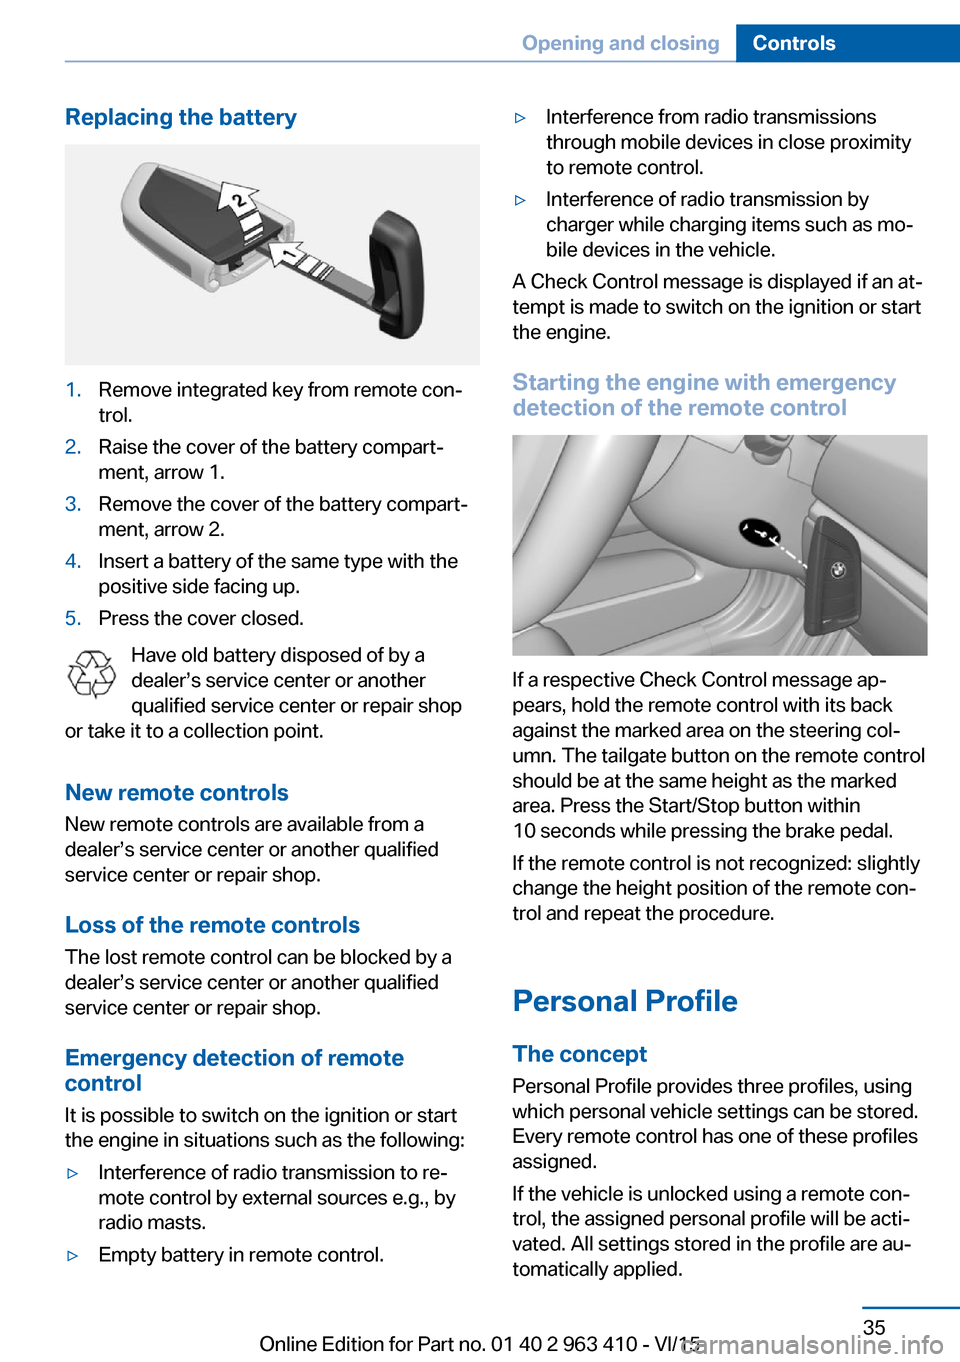
Replacing the battery1.Remove integrated key from remote con‐
trol.2.Raise the cover of the battery compart‐
ment, arrow 1.3.Remove the cover of the battery compart‐
ment, arrow 2.4.Insert a battery of the same type with the
positive side facing up.5.Press the cover closed.
Have old battery disposed of by a
dealer’s service center or another
qualified service center or repair shop
or take it to a collection point.
New remote controlsNew remote controls are available from a
dealer’s service center or another qualified
service center or repair shop.
Loss of the remote controls
The lost remote control can be blocked by a
dealer’s service center or another qualified
service center or repair shop.
Emergency detection of remote
control
It is possible to switch on the ignition or start
the engine in situations such as the following:
▷Interference of radio transmission to re‐
mote control by external sources e.g., by
radio masts.▷Empty battery in remote control.▷Interference from radio transmissions
through mobile devices in close proximity
to remote control.▷Interference of radio transmission by
charger while charging items such as mo‐
bile devices in the vehicle.
A Check Control message is displayed if an at‐
tempt is made to switch on the ignition or start
the engine.
Starting the engine with emergency
detection of the remote control
If a respective Check Control message ap‐
pears, hold the remote control with its back
against the marked area on the steering col‐
umn. The tailgate button on the remote control
should be at the same height as the marked
area. Press the Start/Stop button within
10 seconds while pressing the brake pedal.
If the remote control is not recognized: slightly
change the height position of the remote con‐
trol and repeat the procedure.
Personal Profile
The concept Personal Profile provides three profiles, using
which personal vehicle settings can be stored.
Every remote control has one of these profiles
assigned.
If the vehicle is unlocked using a remote con‐
trol, the assigned personal profile will be acti‐
vated. All settings stored in the profile are au‐
tomatically applied.
Seite 35Opening and closingControls35
Online Edition for Part no. 01 40 2 963 410 - VI/15
Page 36 of 275
If several drivers use their own remote control,
the vehicle will adjust the personal settings
during unlocking. These settings are also re‐
stored, if the vehicle has been used in the
meantime by a person with a different remote
control.
Changes to the settings are automatically
saved in the personal profile.
Three personal profiles and a guest profile can
be created.
Adjusting
The settings for the following systems and
functions are saved in the active profile. The
scope of storable settings is country- and
equipment-dependable.▷Unlocking and locking.▷Lights.▷Climate control.▷Radio.▷Instrument cluster.▷Programmable memory buttons.▷Volumes, tone.▷Control Display.▷Navigation.▷Park Distance Control PDC.▷Rearview camera▷Side View.▷Head-up Display.▷Driving Dynamics Control.▷Driver's seat position, exterior mirror posi‐
tion, steering wheel position.▷Cruise control.▷Intelligent Safety.▷Active Blind Spot Detection.▷Night vision.Profile management
Opening profiles Regardless of the remote control in use a dif‐
ferent profile may be activated.
About iDrive:1."Settings"2."Profiles"3.Select a profile.▷All settings stored in the called-up profile
are automatically applied.▷The called-up profile is assigned to the re‐
mote control being used at the time.▷If the profile is already assigned to a differ‐
ent remote control, this profile will apply to
both remote controls. It cannot be differen‐
tiated anymore between the settings for
the two remote controls.
Renaming profiles
A personal name can be assigned to every pro‐
file to avoid confusion between the profiles.
On the Control Display:
1."Settings"2."Profiles"3.Open "Options".4."Rename current profile"
Resetting profiles The settings of the active profile are reset to
their default values.
On the Control Display:
1."Settings"2."Profiles"3.Open "Options".4."Reset current profile"
Exporting profiles Most settings of the active profile can be ex‐
ported.
Seite 36ControlsOpening and closing36
Online Edition for Part no. 01 40 2 963 410 - VI/15
Page 37 of 275
This can be helpful for securing and retrieving
personal settings, before delivering the vehicle
to a workshop, e.g. Profiles can be taken to an‐
other vehicle equipped with the Personal Pro‐
file function.
The following export options are available:▷Via BMW Online.▷Via the USB port to a USB device.
Popular file systems for USB devices are
supported. FAT32 and exFAT are the rec‐
ommended formats for profile export.
Other formats may not support the export.
Export is made via the USB port to a USB de‐
vice. Popular file systems for USB devices are
supported. FAT32 and exFAT are the recom‐
mended formats for profile export. Other for‐
mats may not support the export.
On the Control Display:
1."Settings"2."Profiles"3."Export profile"4.BMW Online: "BMW Online"
USB interface: "USB device"
Importing profiles
Profiles exported via BMW Online can also be
imported via BMW Online.
Profiles stored on a USB device can be im‐
ported via the USB interface.
Existing settings are overwritten with the im‐
ported profile.
On the Control Display:
1."Settings"2."Profiles"3."Import profile"4.BMW Online: "BMW Online"
USB interface: "USB device"Using the guest profile
The guest profile is for individual settings that
are saved in none of the three personal pro‐
files.
This can be useful for drivers who are using
the vehicle temporarily and do not have their
own profile.
On the Control Display:1."Settings"2."Profiles"3."Guest"
The guest profile cannot be renamed. It is not
assigned to the current remote control.
Display profile list during start
The profile list can be displayed during each
start to select the desired profile.
On the Control Display:
1."Settings"2."Profiles"3.Open "Options".4."Display user list at startup"
Using the remote control
Information WARNING
People or animals in the vehicle can lock
the doors from the inside and lock themselves
in. The vehicle can then not be opened from
the outside. There is risk of injuries. Take the
remote control along so that the vehicle can be
opened from the outside.◀
Unlocking Press button on the remote control.
Depending on the settings, refer to page 44,
the following access points are unlocked.
Seite 37Opening and closingControls37
Online Edition for Part no. 01 40 2 963 410 - VI/15
Page 54 of 275
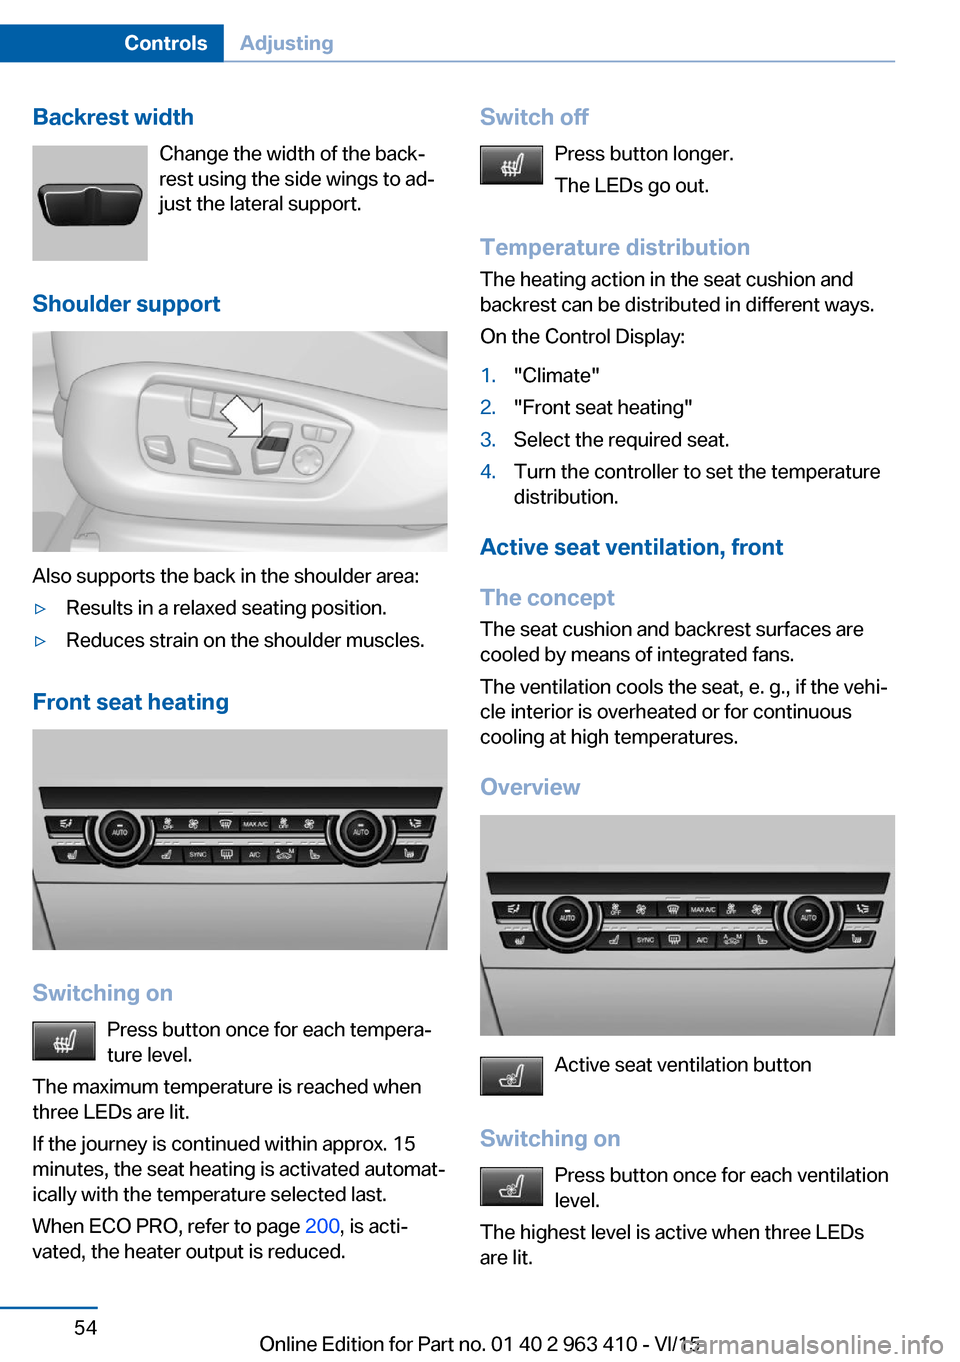
Backrest widthChange the width of the back‐
rest using the side wings to ad‐
just the lateral support.
Shoulder support
Also supports the back in the shoulder area:
▷Results in a relaxed seating position.▷Reduces strain on the shoulder muscles.
Front seat heating
Switching on Press button once for each tempera‐
ture level.
The maximum temperature is reached when
three LEDs are lit.
If the journey is continued within approx. 15
minutes, the seat heating is activated automat‐
ically with the temperature selected last.
When ECO PRO, refer to page 200, is acti‐
vated, the heater output is reduced.
Switch off
Press button longer.
The LEDs go out.
Temperature distribution
The heating action in the seat cushion and
backrest can be distributed in different ways.
On the Control Display:1."Climate"2."Front seat heating"3.Select the required seat.4.Turn the controller to set the temperature
distribution.
Active seat ventilation, front
The concept The seat cushion and backrest surfaces are
cooled by means of integrated fans.
The ventilation cools the seat, e. g., if the vehi‐
cle interior is overheated or for continuous
cooling at high temperatures.
Overview
Active seat ventilation button
Switching on Press button once for each ventilation
level.
The highest level is active when three LEDs
are lit.
Seite 54ControlsAdjusting54
Online Edition for Part no. 01 40 2 963 410 - VI/15
Page 56 of 275
When the middle section is folded down,
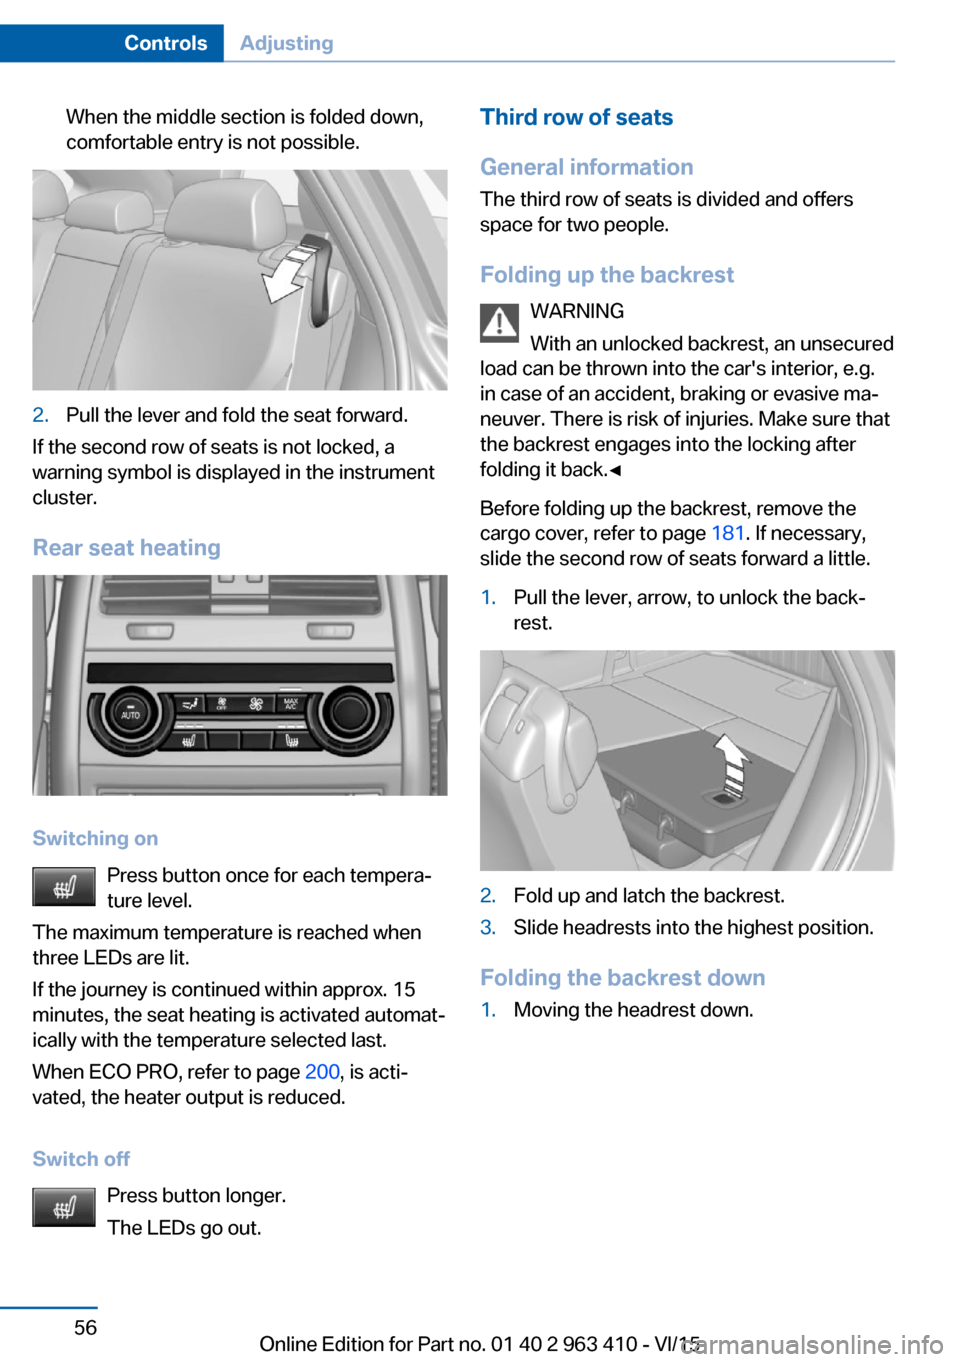
comfortable entry is not possible.2.Pull the lever and fold the seat forward.
If the second row of seats is not locked, a
warning symbol is displayed in the instrument
cluster.
Rear seat heating
Switching on Press button once for each tempera‐
ture level.
The maximum temperature is reached when
three LEDs are lit.
If the journey is continued within approx. 15
minutes, the seat heating is activated automat‐
ically with the temperature selected last.
When ECO PRO, refer to page 200, is acti‐
vated, the heater output is reduced.
Switch off Press button longer.
The LEDs go out.
Third row of seats
General information
The third row of seats is divided and offers
space for two people.
Folding up the backrest WARNING
With an unlocked backrest, an unsecured
load can be thrown into the car's interior, e.g.
in case of an accident, braking or evasive ma‐
neuver. There is risk of injuries. Make sure that
the backrest engages into the locking after
folding it back.◀
Before folding up the backrest, remove the
cargo cover, refer to page 181. If necessary,
slide the second row of seats forward a little.1.Pull the lever, arrow, to unlock the back‐
rest.2.Fold up and latch the backrest.3.Slide headrests into the highest position.
Folding the backrest down
1.Moving the headrest down.Seite 56ControlsAdjusting56
Online Edition for Part no. 01 40 2 963 410 - VI/15