remote control BMW X5 3.0I 2001 Owners Manual
[x] Cancel search | Manufacturer: BMW, Model Year: 2001, Model line: X5 3.0I, Model: BMW X5 3.0I 2001Pages: 223, PDF Size: 2.66 MB
Page 10 of 223
Contents
Overview
Controls and features
Cockpit 16
Instrument cluster 18
Indicator and warning lamps 22
Multifunction steering wheel 26
Sports steering wheel 27
Hazard warning flashers 28
Warning triangle 28
First-aid kit 28
Refueling 29
Fuel specifications 30
Tire inflation pressure 30
Locks and security systems:
Keys34
Electronic vehicle immobilizer 35
Central locking system 36
Opening and closing – from the outside 36
Using the key 36
Using the remote control 37
Opening and closing – from the inside 40
Liftgate 41
Tailgate 41
Alarm system 43
Electric power windows 45
Sliding/Tilt sunroof with glass moonroof 46
Adjustments:
Seats48
Steering wheel 52
Mirrors 53
Seat, mirror and steering wheel memory 55
Car Memory, Key Memory 56
Passenger safety systems:
Safety belts57
Airbags 58
Transporting children safely 61
Driving:
Steering/Ignition lock64
Starting the engine 64
Switching off the engine 65
Parking brake 66
Manual transmission 67
Automatic transmission with Steptronic 68
Turn signal indicator/Headlamp flasher 70
Washer/Wiper system 71
Rear window defroster 73
Cruise control 74
Everything under control:
Odometer, outside temperature
display 76
Tachometer 77
Energy control 77
Fuel gauge 77
Coolant temperature gauge 78
Service Interval Display 78
Check Control 79
Computer 82
Multi-Information display (MID) 84
Digital clock in the MID 85
Computer in the MID 88
Contents
Page 32 of 223
32n
Locks and security systems:
Keys 34
Electronic vehicle immobilizer 35
Central locking system 36
Opening and closing – from the outside 36
Using the key 36
Using the remote control 37
Opening and closing – from the inside 40
Liftgate 41
Tailgate 41
Alarm system 43
Electric power windows 45
Sliding/Tilt sunroof with glass moonroof 46
Adjustments:
Seats 48
Steering wheel 52
Mirrors 53
Seat, mirror and steering wheel memory 55
Car Memory, Key Memory 56
Passenger safety systems:
Safety belts 57
Airbags 58
Transporting children safely 61Driving:
Steering/Ignition lock
64
Starting the engine 64
Switching off the engine 65
Parking brake 66
Manual transmission 67
Automatic transmission with Steptronic 68
Turn signal indicator/Headlamp flasher 70
Washer/Wiper system/Rain sensor 71
Rear window defroster 73
Cruise control 74
Everything under control:
Odometer, outside temperature display 76
Tachometer 77
Energy control 77
Fuel gauge 77
Coolant temperature gauge 78
Service Interval Display 78
Check Control 79
Computer 82
Multi-Information Display
(MID) 84
Digital clock in the MID 85
Computer in the MID 88
Controls
Page 34 of 223
34nKeys
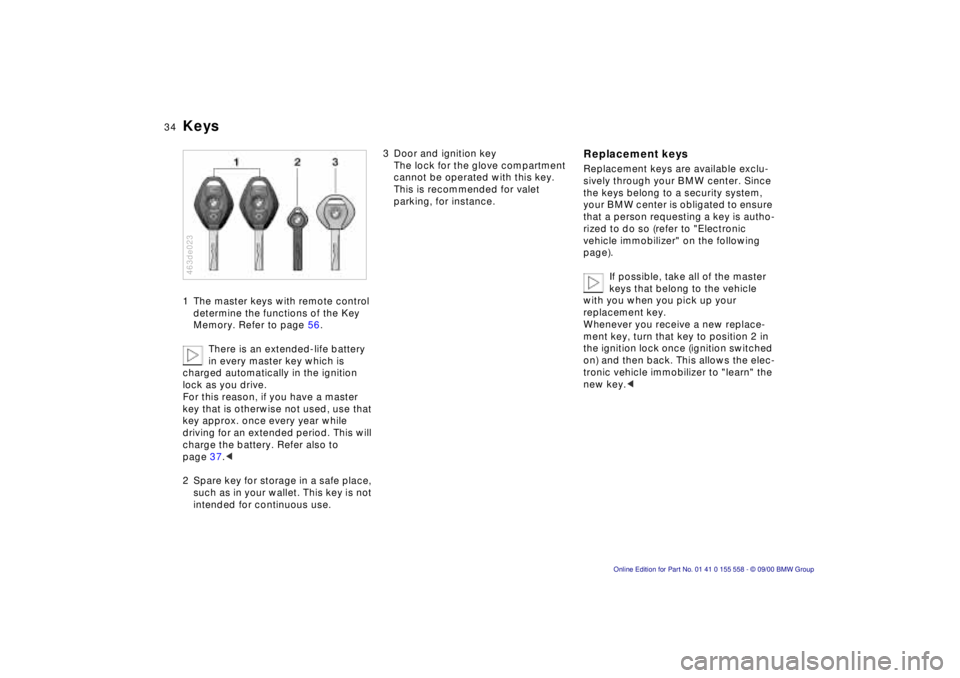
1 The master keys with remote control
determine the functions of the Key
Memory. Refer to page 56.
There is an extended-life battery
in every master key which is
charged automatically in the ignition
lock as you drive.
For this reason, if you have a master
key that is otherwise not used, use that
key approx. once every year while
driving for an extended period. This will
charge the battery. Refer also to
page 37.<
2 Spare key for storage in a safe place, such as in your wallet. This key is not
intended for continuous use.
463de023
3 Door and ignition keyThe lock for the glove compartment
cannot be operated with this key.
This is recommended for valet
parking, for instance. Replacement keys
Replacement keys are available exclu-
sively through your BMW center. Since
the keys belong to a security system,
your BMW center is obligated to ensure
that a person requesting a key is autho-
rized to do so (refer to "Electronic
vehicle immobilizer" on the following
page).
If possible, take all of the master
keys that belong to the vehicle
with you when you pick up your
replacement key.
Whenever you receive a new replace-
ment key, turn that key to position 2 in
the ignition lock once (ignition switched
on) and then back. This allows the elec-
tronic vehicle immobilizer to "learn" the
new key. <
Page 36 of 223
36nCentral locking system Opening and closing – from the outside
The concept
The central locking system is ready for
operation as soon as you close the front
doors. The system engages and
releases the locks on the
>doors
> liftgate/tailgate
> fuel filler door.
The central locking system can be
operated
> from outside via the driver's door lock
as well as via the remote control.
> from inside via the button for the
central locking system.
If the system is locked from inside, the
fuel filler door remains unlocked. Refer
to page 40.
When the system is actuated from
outside of the vehicle, the anti-theft
protection is actuated simultaneously.
The alarm system is also activated or
deactivated.
In the event of an accident, the central
locking system unlocks automatically
(only those doors which were not
locked separately with the safety lock
buttons). Refer to page 40. In addition,
the hazard warning flashers and interior
lamps come on.
Using the key
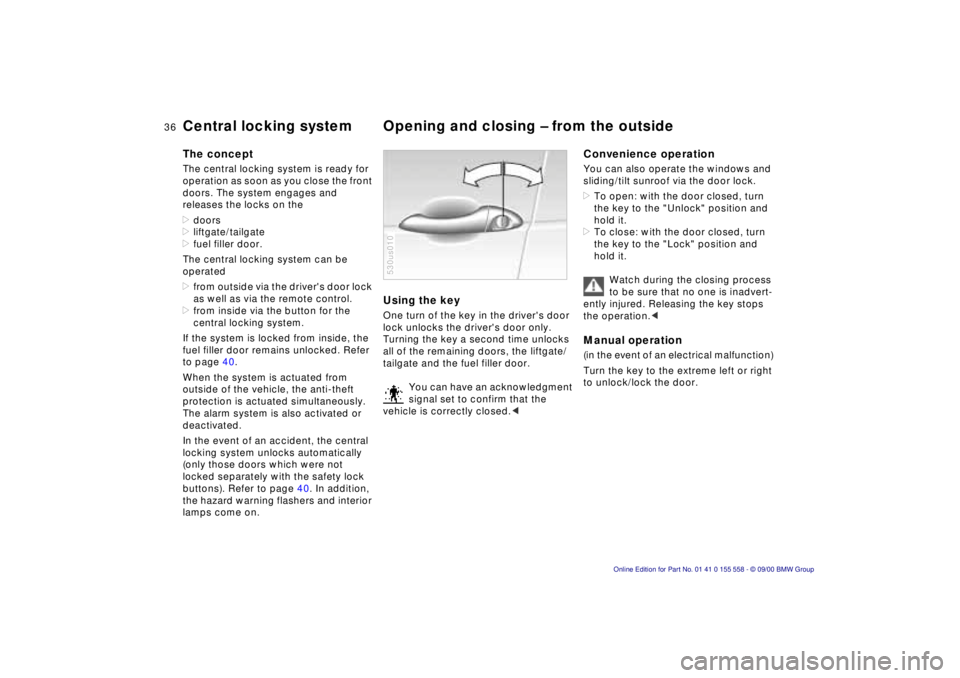
One turn of the key in the driver's door
lock unlocks the driver's door only.
Turning the key a second time unlocks
all of the remaining doors, the liftgate/
tailgate and the fuel filler door.
You can have an acknowledgment
signal set to confirm that the
vehicle is correctly closed. <
530us010
Convenience operation
You can also operate the windows and
sliding/tilt sunroof via the door lock.
> To open: with the door closed, turn
the key to the "Unlock" position and
hold it.
> To close: with the door closed, turn
the key to the "Lock" position and
hold it.
Watch during the closing process
to be sure that no one is inadvert-
ently injured. Releasing the key stops
the operation. <
Manual operation
(in the event of an electrical malfunction)
Turn the key to the extreme left or right
to unlock/lock the door.
Page 37 of 223
Index
Data
Technology
Repairs
Car care
Controls
Overview
37nOpening and closing – from the outside
Using the remote control
The remote control offers you optimal
convenience in using your vehicle's
locking system while also providing
three exclusive supplementary features:
>Switch on the interior lamps, refer to
page 38.
With this function, you can also
"search for" your vehicle — when
parked in an underground garage, for
instance.
> Open the liftgate, refer to page 39.
The liftgate will open slightly, regard-
less of whether it was previously
locked or unlocked.
> Panic mode
In case of danger, you can trigger an
alarm.
When the vehicle is unlocked, the anti-
theft protection is deactivated and the
alarm system is disarmed; when the
vehicle is locked, the systems are acti-
vated or armed.
The interior lamps are switched on
when the vehicle is unlocked.
You can have an acknowledgment
signal set to confirm that the
vehicle is correctly closed. <
Master keys
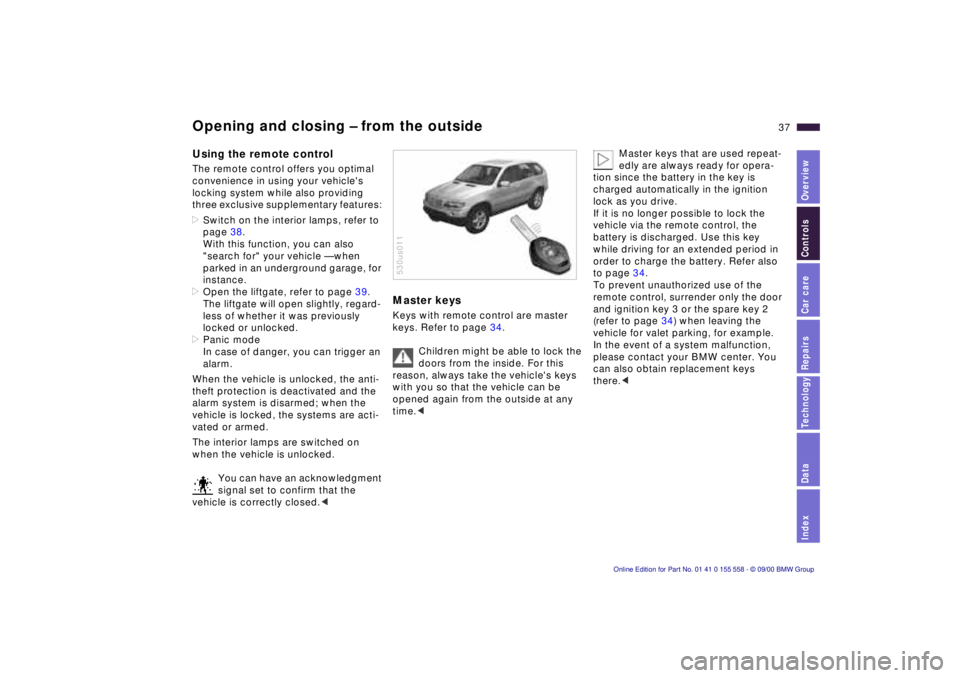
Keys with remote control are master
keys. Refer to page 34.
Children might be able to lock the
doors from the inside. For this
reason, always take the vehicle's keys
with you so that the vehicle can be
opened again from the outside at any
time. <
530us011
Master keys that are used repeat-
edly are always ready for opera-
tion since the battery in the key is
charged automatically in the ignition
lock as you drive.
If it is no longer possible to lock the
vehicle via the remote control, the
battery is discharged. Use this key
while driving for an extended period in
order to charge the battery. Refer also
to page 34.
To prevent unauthorized use of the
remote control, surrender only the door
and ignition key 3 or the spare key 2
(refer to page 34) when leaving the
vehicle for valet parking, for example.
In the event of a system malfunction,
please contact your BMW center. You
can also obtain replacement keys
there. <
Page 39 of 223
Index
Data
Technology
Repairs
Car care
Controls
Overview
39nOpening and closing – from the outside
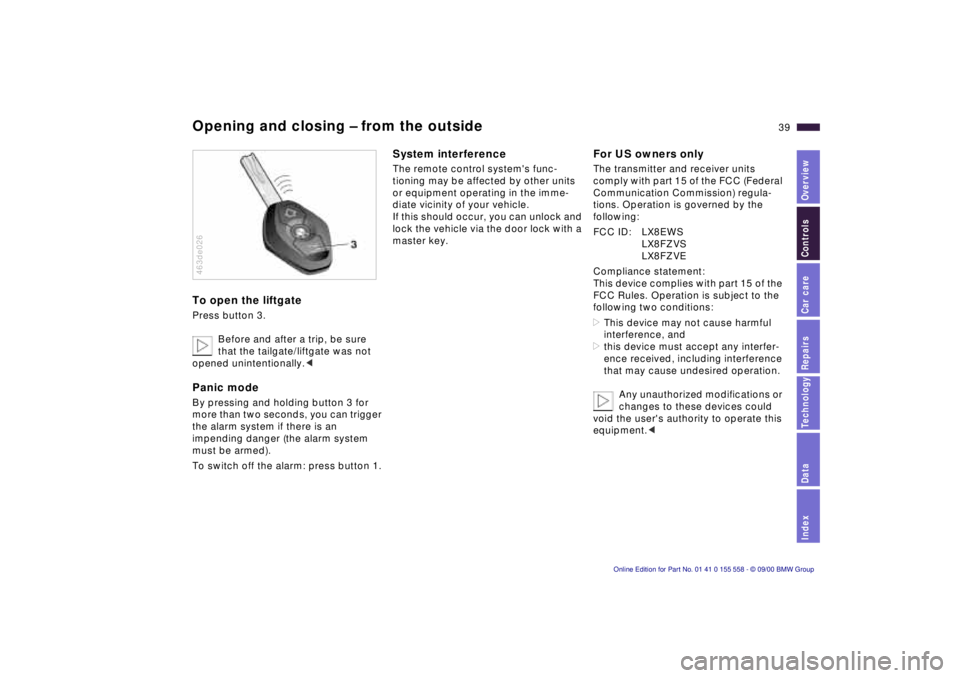
To open the liftgate
Press button 3.
Before and after a trip, be sure
that the tailgate/liftgate was not
opened unintentionally. <
Panic mode
By pressing and holding button 3 for
more than two seconds, you can trigger
the alarm system if there is an
impending danger (the alarm system
must be armed).
To switch off the alarm: press button 1.
463de026
System interference
The remote control system's func-
tioning may be affected by other units
or equipment operating in the imme-
diate vicinity of your vehicle.
If this should occur, you can unlock and
lock the vehicle via the door lock with a
master key.
For US owners only
The transmitter and receiver units
comply with part 15 of the FCC (Federal
Communication Commission) regula-
tions. Operation is governed by the
following:
FCC ID: LX8EWS
LX8FZVS
LX8FZVE
Compliance statement:
This device complies with part 15 of the
FCC Rules. Operation is subject to the
following two conditions:
> This device may not cause harmful
interference, and
> this device must accept any interfer-
ence received, including interference
that may cause undesired operation.
Any unauthorized modifications or
changes to these devices could
void the user's authority to operate this
equipment. <
Page 43 of 223
Index
Data
Technology
Repairs
Car care
Controls
Overview
43nAlarm system
The concept
The vehicle alarm system responds:
>When a door, the hood, or the liftgate
is opened.
> To movement inside the vehicle (inte-
rior motion sensor).
> To variations in the vehicle tilt sensor
such as occur during attempts to
steal the wheels or tow the vehicle.
> To interruption of battery voltage.
The system responds to unauthorized
vehicle entry and attempted theft by
simultaneously activating the following:
> Sounding an acoustical alarm for
30 seconds.
> The hazard warning flashers are acti-
vated for approx. five minutes.
> The high beams flash on and off in
the same rhythm.
To activate and deactivate the
alarm system
When the vehicle is locked or unlocked
with the key or the remote control, the
alarm system is also simultaneously
armed or disarmed.
The interior motion sensor is activated
approx. 30 seconds after you have
finished locking the vehicle.
The system indicates that it has been
correctly armed by switching on the
hazard flashers for a single cycle and by
emitting an acoustical signal.
You can have different acknowl-
edgment signals set to confirm
system arming and disarming. <
You can still open the liftgate after the
system has been armed by pressing
button 3 of the remote control. Refer to
page 39. When you close the liftgate, it
is secured again.
Indicator lamp displays
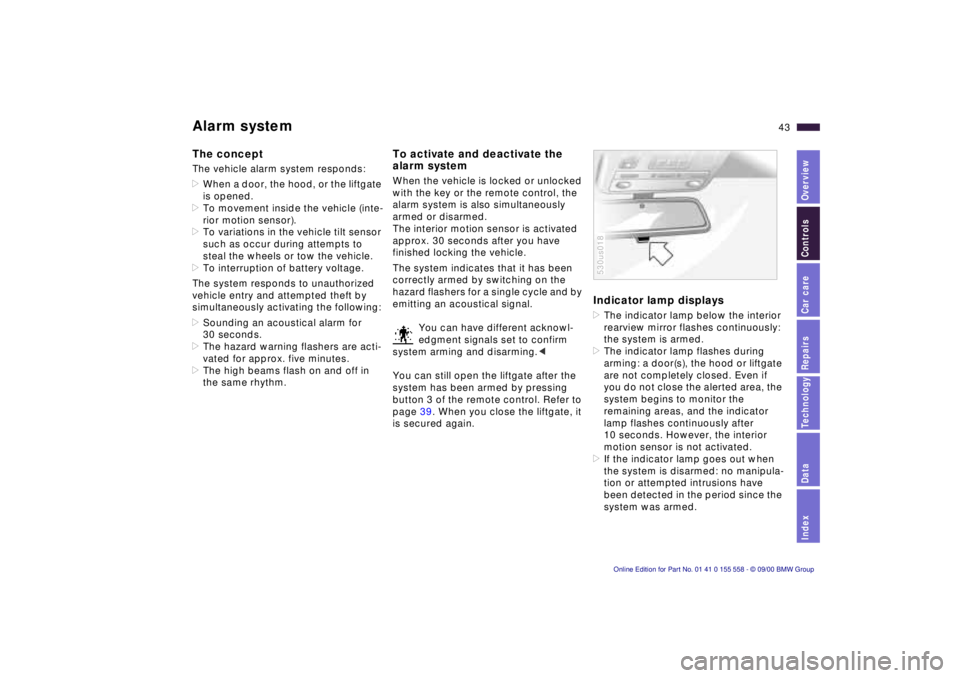
> The indicator lamp below the interior
rearview mirror flashes continuously:
the system is armed.
> The indicator lamp flashes during
arming: a door(s), the hood or liftgate
are not completely closed. Even if
you do not close the alerted area, the
system begins to monitor the
remaining areas, and the indicator
lamp flashes continuously after
10 seconds. However, the interior
motion sensor is not activated.
> If the indicator lamp goes out when
the system is disarmed: no manipula-
tion or attempted intrusions have
been detected in the period since the
system was armed.
530us018
Page 44 of 223
44nAlarm system
>If the indicator lamp flashes for
10 seconds when the system is
disarmed: an attempted entry has
been detected in the period since the
system was armed.
Following triggering of an alarm, the
indicator lamp will flash continuously.
Avoiding unintentional alarms
The tilt alarm sensor and interior motion
sensor may be switched off at the same
time. To prevent a false alarm from
being triggered (in garages with
elevator ramps, for instance), or when
the vehicle is transported by trailer or
train:
Actuate the lock (= arm the system)
twice; in other words, press button 2 of
the remote control twice in succession
(refer to page 38). You may also actuate
the locks twice with the key (refer to
page 36).
The indicator lamp lights up briefly and
then flashes continuously. The tilt alarm
sensor and the interior motion sensor
are deactivated as long as the system is
armed.
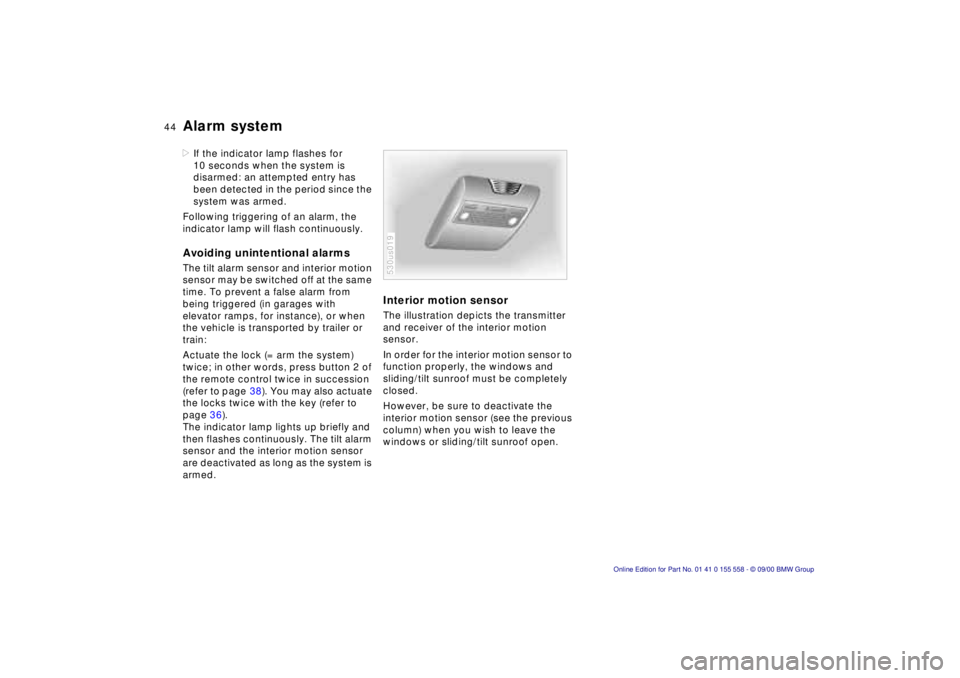
Interior motion sensor
The illustration depicts the transmitter
and receiver of the interior motion
sensor.
In order for the interior motion sensor to
function properly, the windows and
sliding/tilt sunroof must be completely
closed.
However, be sure to deactivate the
interior motion sensor (see the previous
column) when you wish to leave the
windows or sliding/tilt sunroof open.
530us019
Page 45 of 223
Index
Data
Technology
Repairs
Car care
Controls
Overview
45nElectric power windows
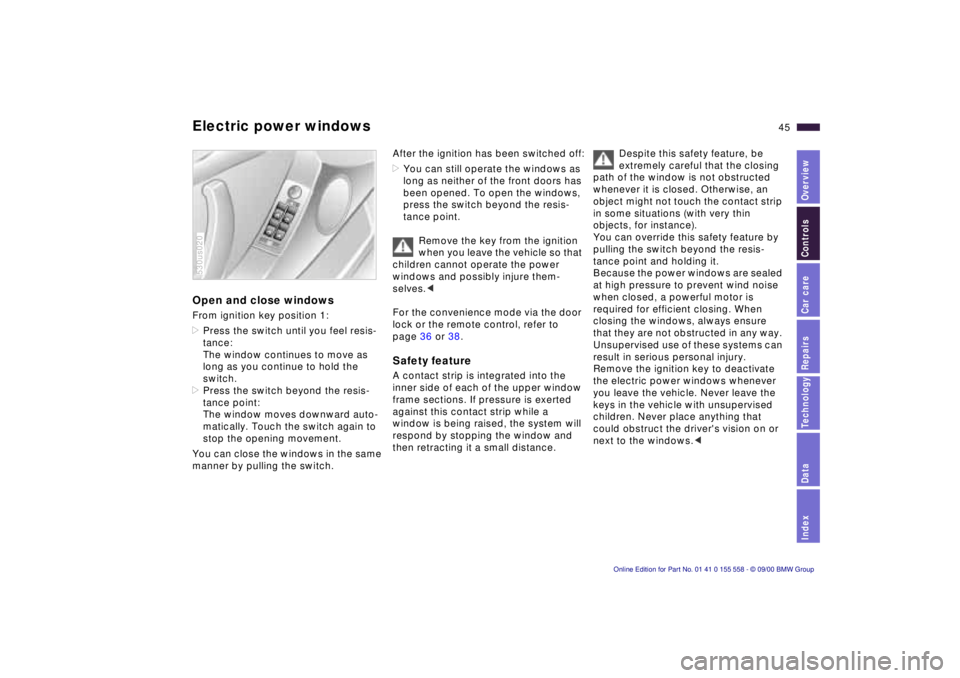
Open and close windows
From ignition key position 1:
>Press the switch until you feel resis-
tance:
The window continues to move as
long as you continue to hold the
switch.
> Press the switch beyond the resis-
tance point:
The window moves downward auto-
matically. Touch the switch again to
stop the opening movement.
You can close the windows in the same
manner by pulling the switch.
530us020
After the ignition has been switched off:
> You can still operate the windows as
long as neither of the front doors has
been opened. To open the windows,
press the switch beyond the resis-
tance point.
Remove the key from the ignition
when you leave the vehicle so that
children cannot operate the power
windows and possibly injure them-
selves. <
For the convenience mode via the door
lock or the remote control, refer to
page 36 or 38.
Safety feature
A contact strip is integrated into the
inner side of each of the upper window
frame sections. If pressure is exerted
against this contact strip while a
window is being raised, the system will
respond by stopping the window and
then retracting it a small distance.
Despite this safety feature, be
extremely careful that the closing
path of the window is not obstructed
whenever it is closed. Otherwise, an
object might not touch the contact strip
in some situations (with very thin
objects, for instance).
You can override this safety feature by
pulling the switch beyond the resis-
tance point and holding it.
Because the power windows are sealed
at high pressure to prevent wind noise
when closed, a powerful motor is
required for efficient closing. When
closing the windows, always ensure
that they are not obstructed in any way.
Unsupervised use of these systems can
result in serious personal injury.
Remove the ignition key to deactivate
the electric power windows whenever
you leave the vehicle. Never leave the
keys in the vehicle with unsupervised
children. Never place anything that
could obstruct the driver's vision on or
next to the windows. <
Page 46 of 223
46nElectric power windows Sliding/Tilt sunroof with glass moonroof*
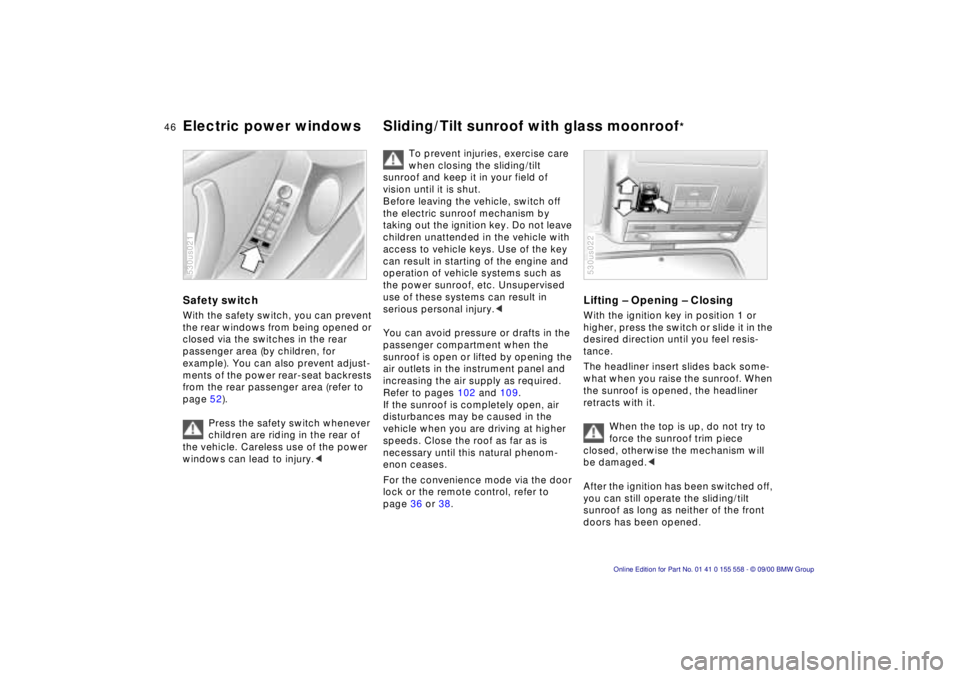
Safety switch
With the safety switch, you can prevent
the rear windows from being opened or
closed via the switches in the rear
passenger area (by children, for
example). You can also prevent adjust-
ments of the power rear-seat backrests
from the rear passenger area (refer to
page 52).
Press the safety switch whenever
children are riding in the rear of
the vehicle. Careless use of the power
windows can lead to injury. <
530us021
To prevent injuries, exercise care
when closing the sliding/tilt
sunroof and keep it in your field of
vision until it is shut.
Before leaving the vehicle, switch off
the electric sunroof mechanism by
taking out the ignition key. Do not leave
children unattended in the vehicle with
access to vehicle keys. Use of the key
can result in starting of the engine and
operation of vehicle systems such as
the power sunroof, etc. Unsupervised
use of these systems can result in
serious personal injury. <
You can avoid pressure or drafts in the
passenger compartment when the
sunroof is open or lifted by opening the
air outlets in the instrument panel and
increasing the air supply as required.
Refer to pages 102 and 109.
If the sunroof is completely open, air
disturbances may be caused in the
vehicle when you are driving at higher
speeds. Close the roof as far as is
necessary until this natural phenom-
enon ceases.
For the convenience mode via the door
lock or the remote control, refer to
page 36 or 38.
Lifting – Opening – Closing
With the ignition key in position 1 or
higher, press the switch or slide it in the
desired direction until you feel resis-
tance.
The headliner insert slides back some-
what when you raise the sunroof. When
the sunroof is opened, the headliner
retracts with it.
When the top is up, do not try to
force the sunroof trim piece
closed, otherwise the mechanism will
be damaged. <
After the ignition has been switched off,
you can still operate the sliding/tilt
sunroof as long as neither of the front
doors has been opened.
530us022