buttons BMW X5 3.0I 2002 User Guide
[x] Cancel search | Manufacturer: BMW, Model Year: 2002, Model line: X5 3.0I, Model: BMW X5 3.0I 2002Pages: 185, PDF Size: 2.7 MB
Page 87 of 185
87n
OverviewControlsMaintenanceRepairsDataIndex
Computer
** * * in the MID
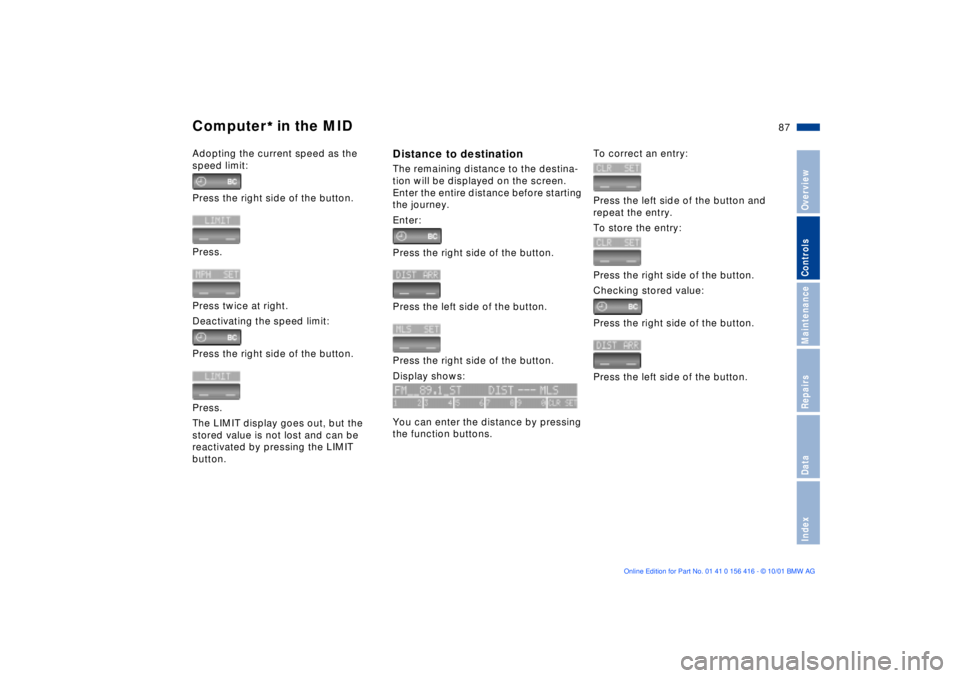
Adopting the current speed as the
speed limit:
Press the right side of the button.
Press.
Press twice at right.
Deactivating the speed limit:
Press the right side of the button.
Press.
The LIMIT display goes out, but the
stored value is not lost and can be
reactivated by pressing the LIMIT
button.
Distance to destinationThe remaining distance to the destina-
tion will be displayed on the screen.
Enter the entire distance before starting
the journey.
Enter:
Press the right side of the button.
Press the left side of the button.
Press the right side of the button.
Display shows:
You can enter the distance by pressing
the function buttons.
To correct an entry:
Press the left side of the button and
repeat the entry.
To store the entry:
Press the right side of the button.
Checking stored value:
Press the right side of the button.
Press the left side of the button.
Page 89 of 185
89n
OverviewControlsMaintenanceRepairsDataIndex
Computer
** * * in the MID
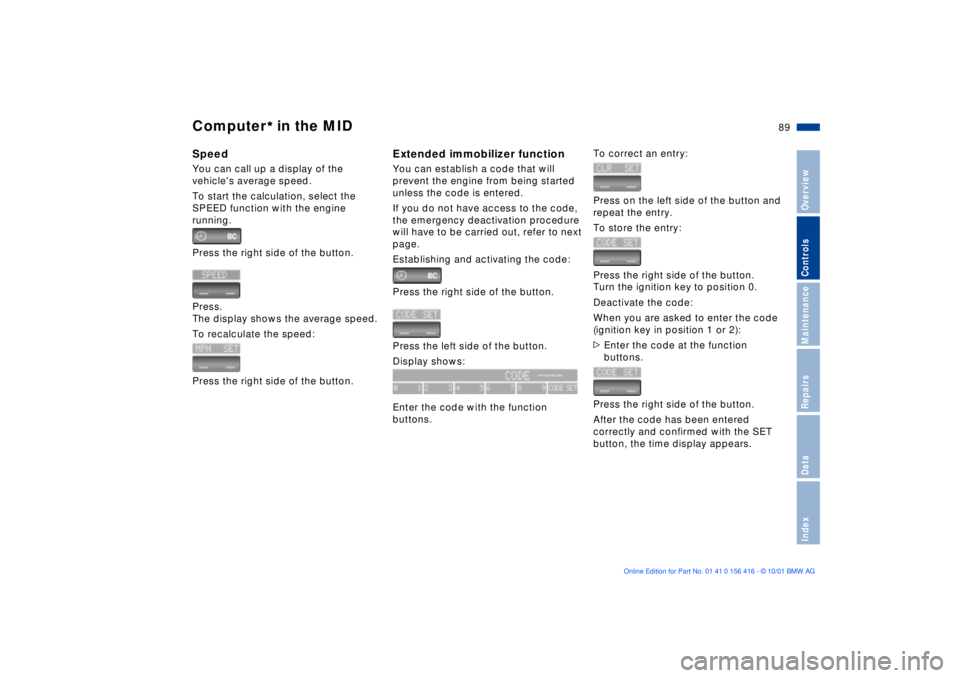
Speed You can call up a display of the
vehicle's average speed.
To start the calculation, select the
SPEED function with the engine
running.
Press the right side of the button.
Press.
The display shows the average speed.
To recalculate the speed:
Press the right side of the button.
Extended immobilizer functionYou can establish a code that will
prevent the engine from being started
unless the code is entered.
If you do not have access to the code,
the emergency deactivation procedure
will have to be carried out, refer to next
page.
Establishing and activating the code:
Press the right side of the button.
Press the left side of the button.
Display shows:
Enter the code with the function
buttons.
To correct an entry:
Press on the left side of the button and
repeat the entry.
To store the entry:
Press the right side of the button.
Turn the ignition key to position 0.
Deactivate the code:
When you are asked to enter the code
(ignition key in position 1 or 2):
>Enter the code at the function
buttons.
Press the right side of the button.
After the code has been entered
correctly and confirmed with the SET
button, the time display appears.
Page 90 of 185
90n
Computer
** * * in the MID
After three incorrect code entries, or
three attempts to start the engine
without a code entry, the alarm will
sound for 30 seconds on vehicles fitted
with an alarm system.
Deactivating the alarm in an
emergency:
If you have forgotten the code, proceed
as follows:
1. Disconnect the battery, wait approx.
2 minutes, then reconnect it. Note
that on vehicles with an alarm
system, the alarm will sound
2. Set the ignition key to position 1:
The time display will count down for
the next ten minutes
3. After ten minutes, start the engine.
If the code becomes available
again in the meantime, it can be
entered during the waiting period after
pressing the CODE button.<
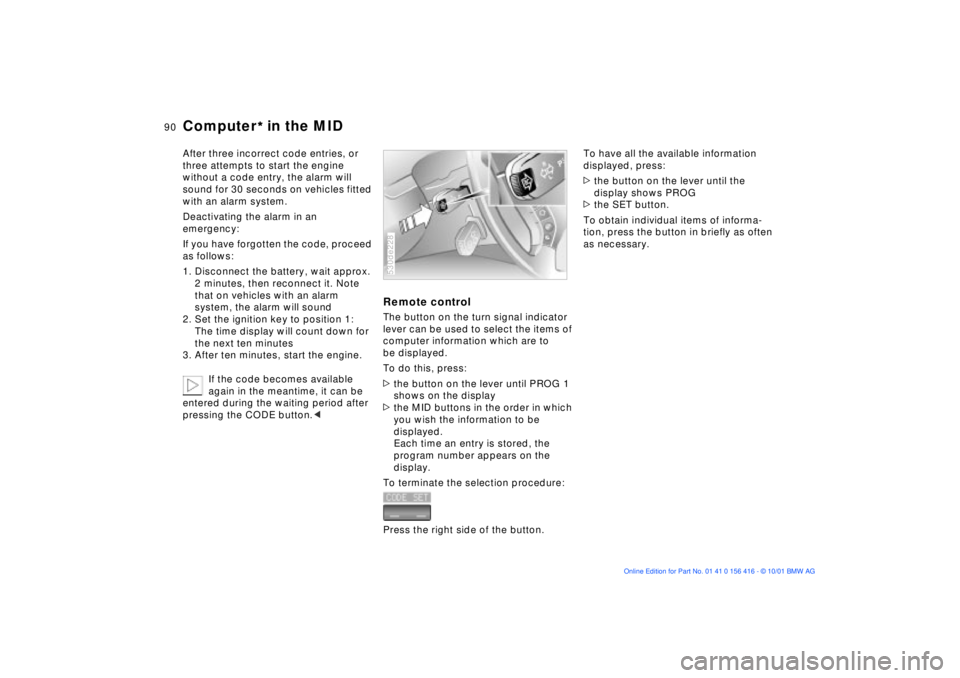
Remote control The button on the turn signal indicator
lever can be used to select the items of
computer information which are to
be displayed.
To do this, press:
>the button on the lever until PROG 1
shows on the display
>the MID buttons in the order in which
you wish the information to be
displayed.
Each time an entry is stored, the
program number appears on the
display.
To terminate the selection procedure:
Press the right side of the button.530de228
To have all the available information
displayed, press:
>the button on the lever until the
display shows PROG
>the SET button.
To obtain individual items of informa-
tion, press the button in briefly as often
as necessary.
Page 104 of 185
104n
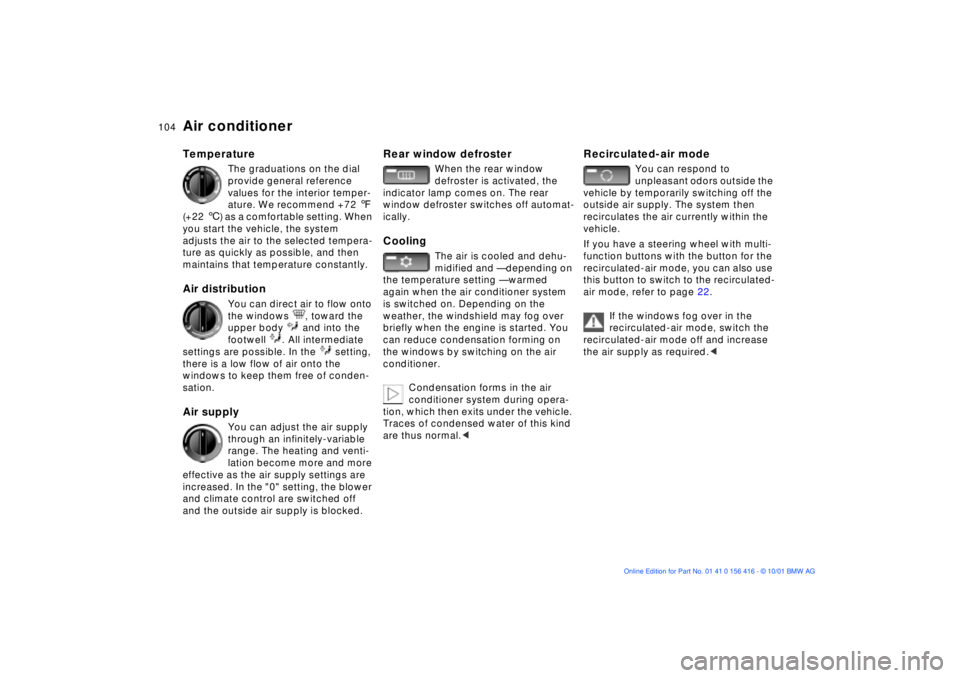
Air conditioner Temperature
The graduations on the dial
provide general reference
values for the interior temper-
ature. We recommend +72 7
(+22 6) as a comfortable setting. When
you start the vehicle, the system
adjusts the air to the selected tempera-
ture as quickly as possible, and then
maintains that temperature constantly.
Air distribution
You can direct air to flow onto
the windows , toward the
upper body and into the
footwell . All intermediate
settings are possible. In the setting,
there is a low flow of air onto the
windows to keep them free of conden-
sation.
Air supply
You can adjust the air supply
through an infinitely-variable
range. The heating and venti-
lation become more and more
effective as the air supply settings are
increased. In the "0" setting, the blower
and climate control are switched off
and the outside air supply is blocked.
Rear window defroster
When the rear window
defroster is activated, the
indicator lamp comes on. The rear
window defroster switches off automat-
ically.
Cooling
The air is cooled and dehu-
midified and Ñ depending on
the temperature setting Ñ warmed
again when the air conditioner system
is switched on. Depending on the
weather, the windshield may fog over
briefly when the engine is started. You
can reduce condensation forming on
the windows by switching on the air
conditioner.
Condensation forms in the air
conditioner system during opera-
tion, which then exits under the vehicle.
Traces of condensed water of this kind
are thus normal.<
Recirculated-air mode
You can respond to
unpleasant odors outside the
vehicle by temporarily switching off the
outside air supply. The system then
recirculates the air currently within the
vehicle.
If you have a steering wheel with multi-
function buttons with the button for the
recirculated-air mode, you can also use
this button to switch to the recirculated-
air mode, refer to page 22.
If the windows fog over in the
recirculated-air mode, switch the
recirculated-air mode off and increase
the air supply as required.<
Page 109 of 185
109n
OverviewControlsMaintenanceRepairsDataIndex
Automatic climate control
*
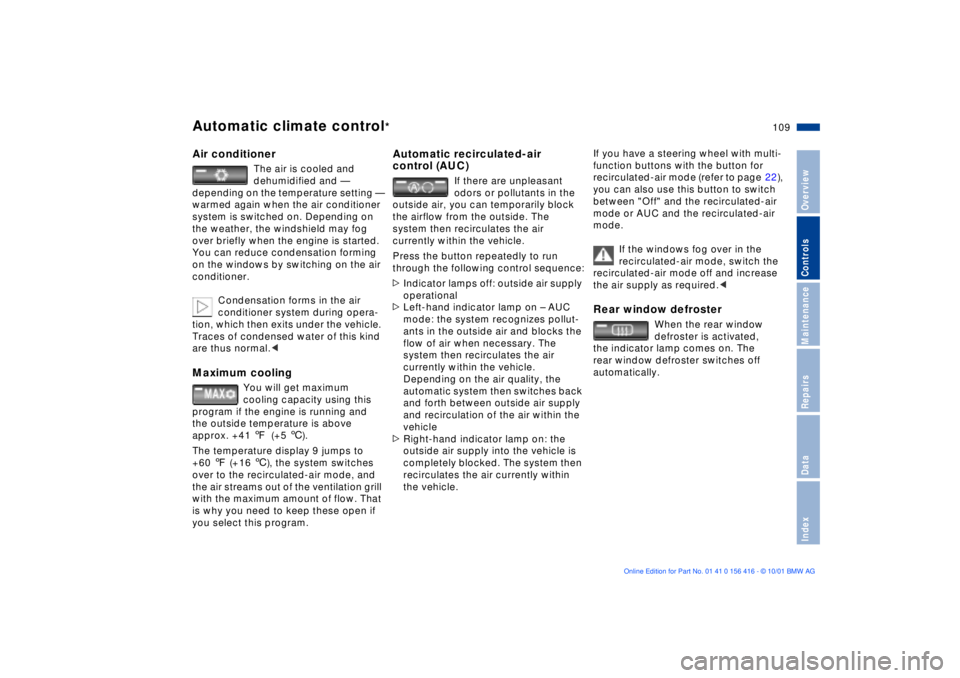
Air conditioner
The air is cooled and
dehumidified and Ñ
depending on the temperature setting Ñ
warmed again when the air conditioner
system is switched on. Depending on
the weather, the windshield may fog
over briefly when the engine is started.
You can reduce condensation forming
on the windows by switching on the air
conditioner.
Condensation forms in the air
conditioner system during opera-
tion, which then exits under the vehicle.
Traces of condensed water of this kind
are thus normal.<
Maximum cooling
You will get maximum
cooling capacity using this
program if the engine is running and
the outside temperature is above
approx. +41 7(+5 6).
The temperature display 9 jumps to
+60 7 (+16 6), the system switches
over to the recirculated-air mode, and
the air streams out of the ventilation grill
with the maximum amount of flow. That
is why you need to keep these open if
you select this program.
Automatic recirculated-air
control (AUC)
If there are unpleasant
odors or pollutants in the
outside air, you can temporarily block
the airflow from the outside. The
system then recirculates the air
currently within the vehicle.
Press the button repeatedly to run
through the following control sequence:
>Indicator lamps off: outside air supply
operational
>Left-hand indicator lamp on Ð AUC
mode: the system recognizes pollut-
ants in the outside air and blocks the
flow of air when necessary. The
system then recirculates the air
currently within the vehicle.
Depending on the air quality, the
automatic system then switches back
and forth between outside air supply
and recirculation of the air within the
vehicle
>Right-hand indicator lamp on: the
outside air supply into the vehicle is
completely blocked. The system then
recirculates the air currently within
the vehicle.
If you have a steering wheel with multi-
function buttons with the button for
recirculated-air mode (refer to page 22),
you can also use this button to switch
between "Off" and the recirculated-air
mode or AUC and the recirculated-air
mode.
If the windows fog over in the
recirculated-air mode, switch the
recirculated-air mode off and increase
the air supply as required.< Rear window defroster
When the rear window
defroster is activated,
the indicator lamp comes on. The
rear window defroster switches off
automatically.
Page 179 of 185
Everything from A to Z
179n
OverviewControlsMaintenanceRepairsDataIndex
JJack157, 158, 160
Jump-starting164tKKey Memory61
Keys30
Keys with radio remote
control30
Kickdown mode67LLamps and bulbs153
Lashing eyes38, 127
LATCH child-restraint
system60
Lead-free gasoline25
Length171
License plate lamps
bulb replacement156t
Liftgate36
opening from the
inside36
radio control operation33
release following an
electrical
malfunction36t, 38t
Lighter118
LIGHTS ON warning100
Load-securing devices127
Louvers103, 106Low beams100
automatic100
bulb replacement153t
Low-fuel warning lamp75
Lug bolts160
Lug wrench157t
Luggage net38
Luggage straps38
Lumbar support46
MM+S radial tires140
Maintenance76t, 147t
Maintenance System147
Malfunction displays77t
Manual operation
doors31t
fuel filler door24
liftgate36t
sliding/tilt sunroof43t
tailgate38t
Manual transmission65
Master key30
Maximum cooling109
Mechanical seat45
Memory50
driver's seat50
mirrors50
steering wheel50
Messages concerning
system malfunctions77Microfilter105, 111
MID (Multi-Information
Display)82
digital clock83
Mirror defrosting53
Mirror memory50
Mirrors53
Modifications,
technical10, 148
Monitoring inflation
pressure, tires98
Moonroof42
Multifunction buttons,
steering wheel22
Multi-Information Display
(MID)82
digital clock83
NNavigation system, refer to
the separate Owner's
ManualOOBD interface socket149
Odometer74
Oil
additives144
consumption144t
dipstick144t
grades144Oil change interval, refer to
the Service and Warranty
Information Booklet (US
models) or to the Warranty
and Service Guide Booklet
(Canadian models)
Oil level19
indicator lamp19
Oil pressure, indicator
lamp18
OILSERVICE76
Onboard computer, refer to
the separate Owner's
Manual
Onboard Diagnostic (OBD)
system149
Onboard tool kit152t
Opening and closing
from the inside35
from the outside31
using the key31
using the remote
control32
Outlets, ventilation103, 106
Outside temperature
display74
in the computer80
Page 180 of 185
Everything from A to ZPPark Distance Control
(PDC)91
Parking aid91
Parking brake19, 64
Parking lamps100
Passenger side mirror tilt
function51
PDC (Park Distance
Control)91
"Please fasten safety belt"
warning lamp19
Poor driving conditions133
Power loss
sliding/tilt sunroof43t
Power outlets
flashlight125t
other appliances125t
vacuum cleaner125t
Power rating170
Power rear-seat
backrests48
Power windows40
safety switch41
Pull-out cargo floor126RRain sensor69
RDC (Tire Pressure
Monitor)98
warning lamp18, 20Reading lamps102
Rear backrests, folding
down122
Rear lamps155t
Rear passenger area climate
control110
Rear seats, power48
Rear window
defroster104, 109
Rear window wiper71
blade replacement152t
Rear-seat backrest, folding
down122
Rear-seat backrests,
power48
Rearview mirror53
Rechargeable flashlight116
Recirculated-air
mode104, 109
Reclining seat44
Refueling24, 183
Releasing
hood141t
tailgate following an
electrical
malfunction38t
Reminder signal (Memo)84
Remote control32
computer90
Removal aid for the spare
wheel159tRemoving condensation
from the
windows105t, 108t
Replacing
antifreeze, radiator145t
bulbs153t
fuses163t
tires137t
windshield wiper
blades152t
Reporting Safety Defects11
Reservoir, washer
system143t
Residual heat107, 110
Restraint systems58
Reverse65
Rims139
Roof load capacity172
Roof-mounted luggage
rack128
SSafety belts49
height adjustment49
Safety Defects, reporting11
Safety lock buttons35
Seat adjustment44
Seat belts49
Seat, electric power46
Seat heating51
Seat, mechanical45Seat memory50
Seat, mirror and steering
wheel memory50
Securing cargo38, 127
Selector lever, automatic
transmission66
Service and Warranty
Information Booklet (US
models)147
Service Engine Soon
indicator lamp20
Service Interval
Display76, 147
Set temperature108t
Shiftlock66
Shoulder support47
Side airbags55
Side Impact Head Protection
System55
Side lamps100
bulb replacement154t
Sitting correctly44
Ski bag120
Sliding/tilt sunroof42
closing following an
electrical
malfunction43t
convenience operation31
power loss43t
remote control33
Snow chains140
Page 181 of 185
Everything from A to Z
181n
OverviewControlsMaintenanceRepairsDataIndex
Socket
power supplies119t
vacuum cleaner119t
Spare key30
Spare tire158t
Spare wheel158
removal aid159t
Speaker117
Special features of winter
tires140
Special wash program70
Speed89
Speed control71
Speed limit86, 87
Speedometer15, 17
Sports seat45
Standing lamps101
Starting assistance164t
Starting
problems63t, 164t
Starting the engine62, 63
Steering wheel
adjustment52
adjustment, automatic52
heating53
lock62
memory50
Steering wheel with
multifunction buttons22
Steptronic66
Stopwatch84Storage compartments116
in the cargo area124
Summer tires139
Sunroof42
Sunshades112
Switching off the engine64
Switching off the vehicle64
Switch-on times
input85
Symbols8
Synthetic oils144
System malfunction
indicators77
TTachometer75
Tail lamps155t
bulb replacement155t
Tailgate37
opening from the
outside36
radio control operation33
release following an
electrical
malfunction38t
Tank capacity173
Technical
modifications10, 148
Telephone preparation117Temperature display,
outside
temperature74, 80
Temperature gauge76
Temperature
layering105, 110
Temperature setting108t
Thigh support
adjustment45
Third brake lamp156
Tilt alarm33
Tilt alarm sensor40
Tilt function, passenger side
mirror51
Time
calling up83
changing83
of arrival, estimated88
Timer
refer to Stopwatch
refer also to the Owner's
Manual for the Onboard
Computer
Tire136
damage136t
pressure monitoring98
renewal137
tread136
Tire inflation
pressures26, 136
monitoring98
table27Tire Pressure Monitor
(RDC)98
warning lamp18, 20
Tire Quality Grading138
Tools152t
Torque170
Tow fittings166t
Towing the vehicle166t
Tow-starting166t
Track width171
Traction Control System,
refer to DSC92
Transmission65, 66
Transporting children
safely58
Tread depth, tires136
Trip odometer74
Turn signal indicator69
bulb replacement154t
Turning circle171
UUniform Tire Quality Grading
(UTQR)138
Universal Transmitter113
Used batteries,
disposal162
Used oil, disposal144t