sensor BMW X5 3.0I 2002 Owners Manual
[x] Cancel search | Manufacturer: BMW, Model Year: 2002, Model line: X5 3.0I, Model: BMW X5 3.0I 2002Pages: 185, PDF Size: 2.7 MB
Page 4 of 185
Contents
© 2001 Bayerische Motoren Werke
Aktiengesellschaft
Munich, Germany
Reprinting, including excerpts, only with the
written consent of BMW AG, Munich.
Order no. 01 41 0 156 416
US English IX/2001
Printed in Germany
Printed on environmentally friendly paper
(bleached without chlorine, suitable for recycling).
Overview
Controls and features
Cockpit14
Instrument cluster15
Indicator and warning lamps18
Steering wheel with multifunction
buttons22
Warning triangle23
First-aid kit23
Refueling24
Fuel specifications25
Tire inflation pressures26
Locks and security systems:
Keys30
Central locking system30
Opening and closing
Ð via the door lock31
Opening and closing
Ð via the remote control32
Opening and closing
Ð from the inside35
Liftgate36
Tailgate37
Alarm system39
Electric power windows40
Sliding/tilt sunroof with glass
moonroof42
Adjustments:
Correct sitting posture44
Seats44
Mechanical seat45
Power seat46
Head restraints47
Power rear-seat backrest
adjustment48
Safety belt49
Seat, mirror and steering wheel
memory50
Seat heating51
Adjusting steering wheel52
Steering wheel heating53
Mirrors53
Passenger safety systems:
Airbags55
Transporting children safely58
Vehicle Memory, Key
Memory61
Driving:
Ignition lock62
Starting the engine62
Switching off the engine64
Parking brake64
Manual transmission65
Automatic transmission with
Steptronic66
Indicator/Headlamp flasher68
Washer/Wiper system/Rain
sensor69
Cruise control71
Everything under control:
Odometer, outside temperature
display74
Tachometer75
Energy control75
Fuel gauge75
Coolant temperature gauge76
Service Interval Display76
Check Control77
Computer80
Multi-Information Display
(MID)82
Digital clock in the MID83
Computer in the MID86
Inhalt
Page 25 of 185
25n
OverviewControlsMaintenanceRepairsDataIndex
Refueling Fuel specifications As long as the filler nozzle is used prop-
erly, the fuel tank is full whenever the
nozzle shuts off the first time.
To prevent damage to the cata-
lytic converter, do not drive until
the fuel tank is empty.<
Tank capacity: approx. 24.6 gal.
(approx. 93 liters), with a reserve
capacity of
>6-cylinder engine: approx. 2.0 gal.
(approx. 8 liters)
>8-cylinder engine: approx. 2.5 gal.
(approx. 10 liters).
Close the filler cap carefully after
refueling until a "click" is heard.
While closing, be sure not to squeeze
the strap which is fastened to the cap.
A loose or missing cap will activate the
message "CHECK FILLER CAP" in the
Check Control
* or the "Check Filler
Cap" lamp
*.<
The engine uses lead-free gasoline
only.
Required fuel:
>Premium Unleaded Gasoline,
min. 91 AKI.
AKI = Anti Knock Index
Do not use leaded fuels. The use
of leaded fuels will cause perma-
nent damage to the system's oxygen
sensor and the catalytic converter.<
Page 32 of 185
32n
Opening and closing Ð via the remote controlThe conceptThe remote control offers you optimal
convenience in using your vehicle's
locking system while also providing
three exclusive supplementary features:
>Switch on the interior lamps, refer to
page 33.
With this function, you can also
"search for" your vehicle Ñ when
parked in an underground garage, for
instance
>Open the liftgate, refer to page 33.
The liftgate will open slightly, regard-
less of whether it was previously
locked or unlocked
>Panic mode, refer to page 33.
In case of danger, you can trigger an
alarm.
Whenever you unlock (lock) the vehicle,
you simultaneously deactivate (activate)
the anti-theft system, disarm (arm) the
alarm system and switch the interior
lamps on (off).
You can have an acknowledgment
signal set to confirm that the
vehicle is correctly closed.<
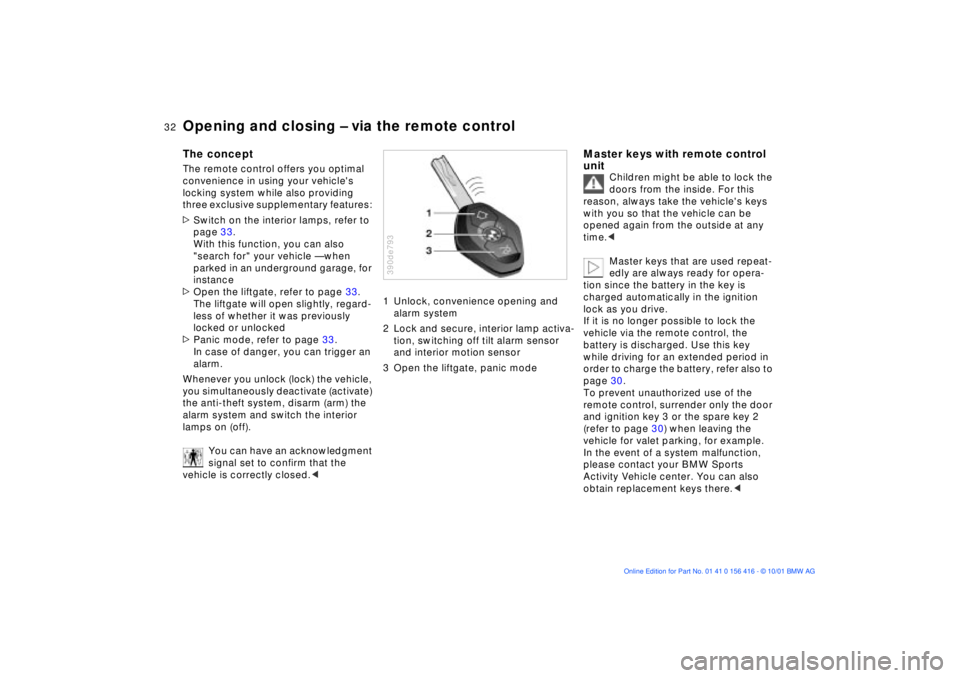
1 Unlock, convenience opening and
alarm system
2 Lock and secure, interior lamp activa-
tion, switching off tilt alarm sensor
and interior motion sensor
3 Open the liftgate, panic mode390de793
Master keys with remote control
unit
Children might be able to lock the
doors from the inside. For this
reason, always take the vehicle's keys
with you so that the vehicle can be
opened again from the outside at any
time.<
Master keys that are used repeat-
edly are always ready for opera-
tion since the battery in the key is
charged automatically in the ignition
lock as you drive.
If it is no longer possible to lock the
vehicle via the remote control, the
battery is discharged. Use this key
while driving for an extended period in
order to charge the battery, refer also to
page 30.
To prevent unauthorized use of the
remote control, surrender only the door
and ignition key 3 or the spare key 2
(refer to page 30) when leaving the
vehicle for valet parking, for example.
In the event of a system malfunction,
please contact your BMW Sports
Activity Vehicle center. You can also
obtain replacement keys there.<
Page 33 of 185
33n
OverviewControlsMaintenanceRepairsDataIndex
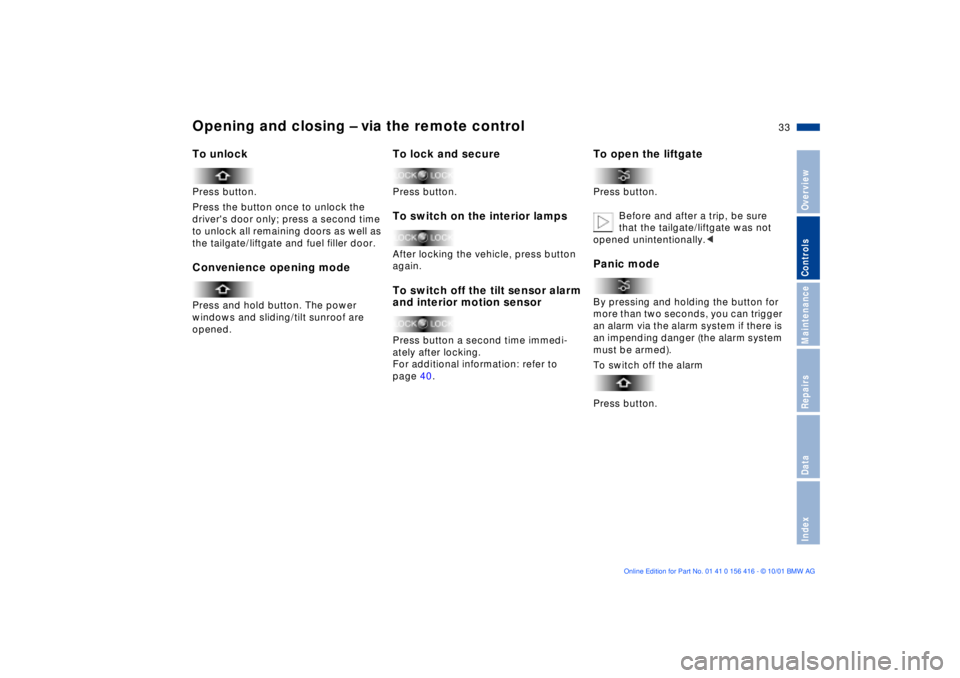
Opening and closing Ð via the remote controlTo unlock Press button.
Press the button once to unlock the
driver's door only; press a second time
to unlock all remaining doors as well as
the tailgate/liftgate and fuel filler door. Convenience opening mode Press and hold button. The power
windows and sliding/tilt sunroof are
opened.
To lock and secure Press button. To switch on the interior lamps After locking the vehicle, press button
again. To switch off the tilt sensor alarm
and interior motion sensorPress button a second time immedi-
ately after locking.
For additional information: refer to
page 40.
To open the liftgate Press button.
Before and after a trip, be sure
that the tailgate/liftgate was not
opened unintentionally.< Panic modeBy pressing and holding the button for
more than two seconds, you can trigger
an alarm via the alarm system if there is
an impending danger (the alarm system
must be armed).
To switch off the alarm
Press button.
Page 39 of 185
39n
OverviewControlsMaintenanceRepairsDataIndex
Alarm system The concept The vehicle alarm system responds:
>When a door, the hood, or the liftgate
is opened
>To movement inside the vehicle (inte-
rior motion sensor)
>To variations in the vehicle tilt angle
such as occur during attempts to
steal the wheels or tow the vehicle
>To interruption of battery voltage.
The system responds to unauthorized
vehicle entry and attempted theft by
simultaneously activating the following:
>Sounding an acoustical alarm for
30 seconds
>The hazard warning flashers are acti-
vated for approx. five minutes
>The high beams flash on and off in
the same rhythm.
To arm and disarm the alarm
system When the vehicle is locked or unlocked
with the key or the remote control, the
alarm system is also simultaneously
armed or disarmed.
You can have different acknowl-
edgment signals set to confirm
system arming and disarming.<
You can still open the liftgate after the
system has been armed by pressing the
button of the remote control, refer to
page 33. When you close the liftgate, it
is secured again.
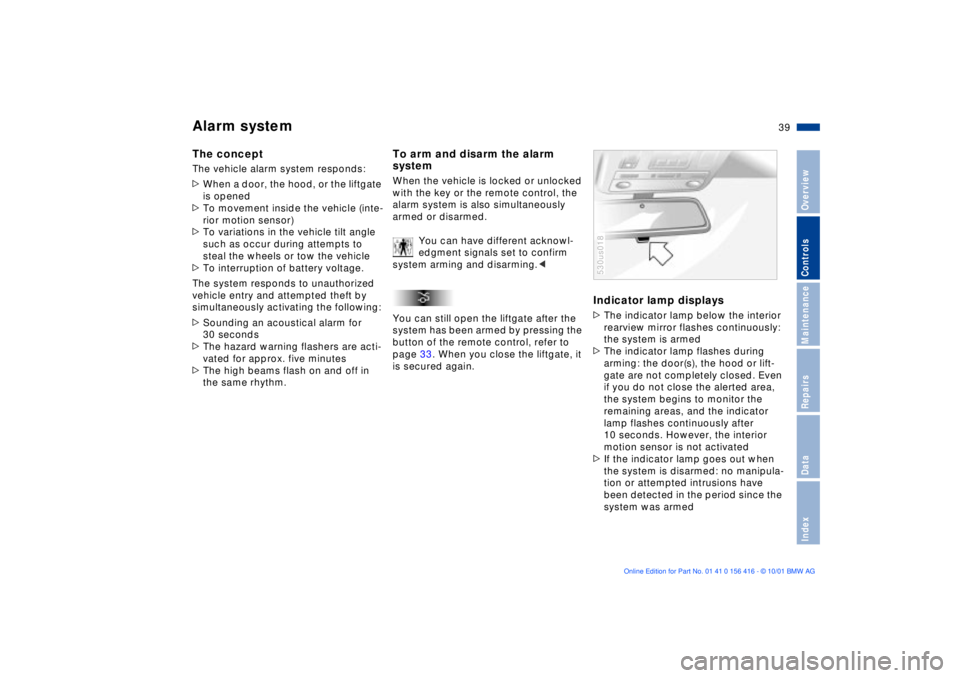
Indicator lamp displays>The indicator lamp below the interior
rearview mirror flashes continuously:
the system is armed
>The indicator lamp flashes during
arming: the door(s), the hood or lift-
gate are not completely closed. Even
if you do not close the alerted area,
the system begins to monitor the
remaining areas, and the indicator
lamp flashes continuously after
10 seconds. However, the interior
motion sensor is not activated
>If the indicator lamp goes out when
the system is disarmed: no manipula-
tion or attempted intrusions have
been detected in the period since the
system was armed530us018
Page 40 of 185
40n
Alarm system Electric power windows >If the indicator lamp flashes for
10 seconds when the system is
disarmed: an attempted entry has
been detected in the period since the
system was armed.
Following triggering of an alarm, the
indicator lamp will flash continuously. Avoiding unintentional alarmsThe tilt alarm sensor and interior motion
sensor may be switched off at the same
time. To prevent a false alarm from
being triggered (in garages with
elevator ramps, for instance), or when
the vehicle is transported by trailer or
train:
Actuate (= arm the system) the lock
twice; in other words, press button 2 of
the remote control twice in succession,
refer to page 33. You may also actuate
the locks twice with the key, refer to
page 31.
The indicator lamp lights up briefly and
then flashes continuously. The tilt alarm
sensor and the interior motion sensor
are deactivated as long as the system is
armed.
Interior motion sensor In order for the interior motion sensor to
function properly, the windows and
sliding/tilt sunroof must be completely
closed.
However, be sure to switch off the inte-
rior motion sensor (see the previous
column) when you
>leave children or animals in the
vehicle
>intend to leave the windows or
sliding/tilt sunroof open.
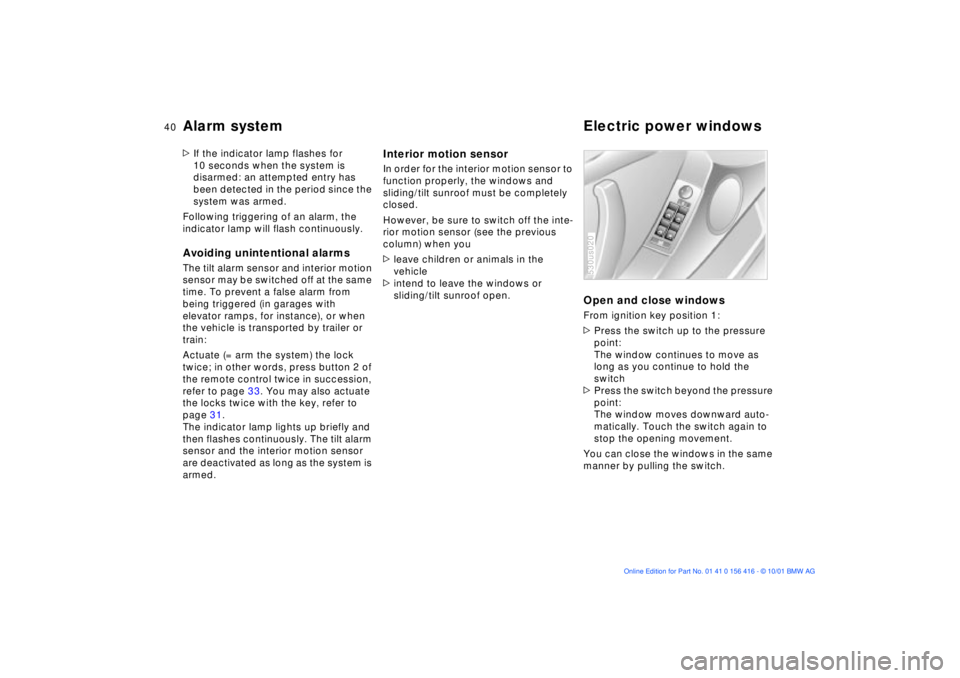
Open and close windowsFrom ignition key position 1:
>Press the switch up to the pressure
point:
The window continues to move as
long as you continue to hold the
switch
>Press the switch beyond the pressure
point:
The window moves downward auto-
matically. Touch the switch again to
stop the opening movement.
You can close the windows in the same
manner by pulling the switch.530us020
Page 69 of 185
69n
OverviewControlsMaintenanceRepairsDataIndex
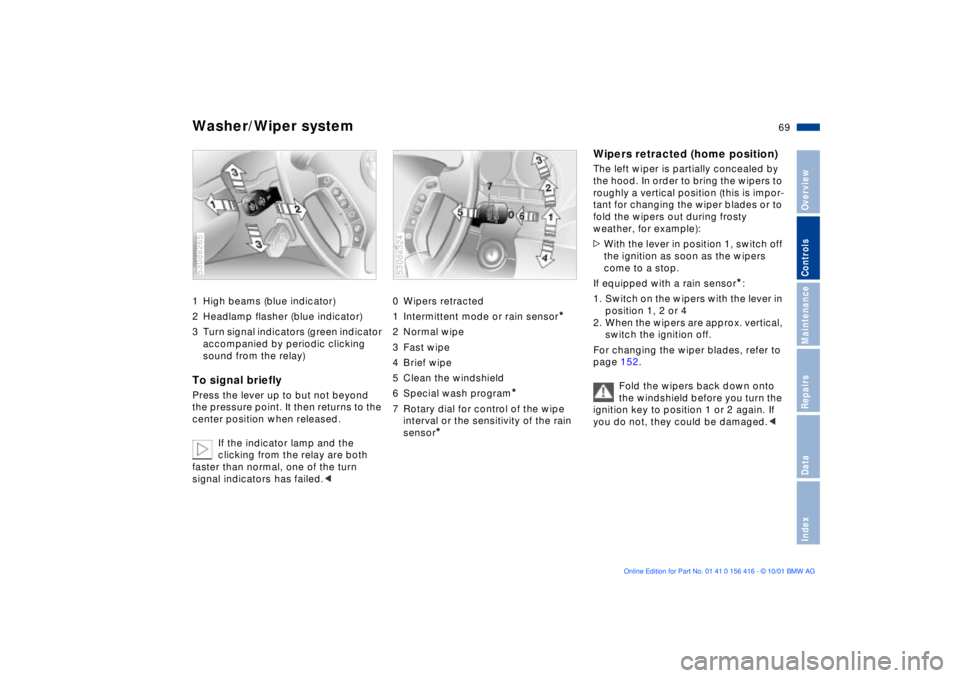
Washer/Wiper system 1 High beams (blue indicator)
2 Headlamp flasher (blue indicator)
3 Turn signal indicators (green indicator
accompanied by periodic clicking
sound from the relay)To signal brieflyPress the lever up to but not beyond
the pressure point. It then returns to the
center position when released.
If the indicator lamp and the
clicking from the relay are both
faster than normal, one of the turn
signal indicators has failed.< 530de265
0 Wipers retracted
1 Intermittent mode or rain sensor
*
2 Normal wipe
3 Fast wipe
4 Brief wipe
5 Clean the windshield
6 Special wash program
*
7 Rotary dial for control of the wipe
interval or the sensitivity of the rain
sensor
*
530de324
Wipers retracted (home position)The left wiper is partially concealed by
the hood. In order to bring the wipers to
roughly a vertical position (this is impor-
tant for changing the wiper blades or to
fold the wipers out during frosty
weather, for example):
>With the lever in position 1, switch off
the ignition as soon as the wipers
come to a stop.
If equipped with a rain sensor
*:
1. Switch on the wipers with the lever in
position 1, 2 or 4
2. When the wipers are approx. vertical,
switch the ignition off.
For changing the wiper blades, refer to
page 152.
Fold the wipers back down onto
the windshield before you turn the
ignition key to position 1 or 2 again. If
you do not, they could be damaged.<
Page 70 of 185
70n
Washer/Wiper system Intermittent mode or rain sensor
*
Intermittent mode:
You can set the wipe interval to four
stages with rotary dial 7.
In addition, the wipe interval is varied
automatically depending on road
speed.
Rain sensor:
The rain sensor is positioned on the
windshield, directly in front of the inte-
rior rearview mirror.
To activate the rain sensor:
Move the lever to position 1 with the
ignition key in position 1 or higher. The
wipers travel once across the wind-
shield, regardless of the weather
conditions.
You can leave the lever permanently in
position 1. It is then only necessary to
activate the rain sensor from ignition
key position 1 and up. To do this, turn
rotary dial 7 briefly.
To adjust the sensitivity of the rain
sensor:
Turn rotary dial 7.
Deactivating the rain sensor:
Move lever to position 0.Switch the rain sensor off in auto-
matic car washes. If you do not,
damage may occur if the wipers switch
on unintentionally.<
Normal wipe The system switches automatically to
intermittent mode when the vehicle is
not moving (not on vehicles with rain
sensor
*).
Fast wipe The wipers operate at normal speed
when the vehicle is not moving (not on
vehicles with rain sensor
*).
Clean the windshield The system sprays washer fluid against
the windshield and activates the wipers
for a brief period. Special wash program
*
As at 5; there are also several additional
wash cycles, and the headlamps are
cleaned
*.
This program is recommended after you
have driven on extremely dirty roads.
Clean the headlamps
*
>With the special wash program 6
>With every fifth actuation of clean the
windshield 5 when the vehicle's
lighting is switched on.
Do not use the washers if there is
any danger that the fluid will
freeze on the windshield. If you do so,
your vision could be obscured. For this
reason, use an antifreeze agent, refer to
page 143.
Do not use the washers when the reser-
voir is empty. This could cause damage
to the washer pump.< Windshield washer jetsThe windshield washer jets are warmed
automatically when the ignition key is in
position 2.
Page 91 of 185
91n
OverviewControlsMaintenanceRepairsDataIndex
The concept The PDC assists you when you are
parking. Acoustical signals inform you
of the distance to an obstacle. To do
this, four ultrasonic sensors in the front
and rear bumpers each measure the
distance to the nearest object. The
detection range of the front sensors
and the two sensors located at the
ends of the rear bumper is approxi-
mately 2 ft (60 cm), while the rear
center sensors can detect objects to a
distance of roughly 5 ft (1.50 m).Automatic functionThe system starts to operate auto-
matically about one second after you
select reverse with the ignition key in
position 2.
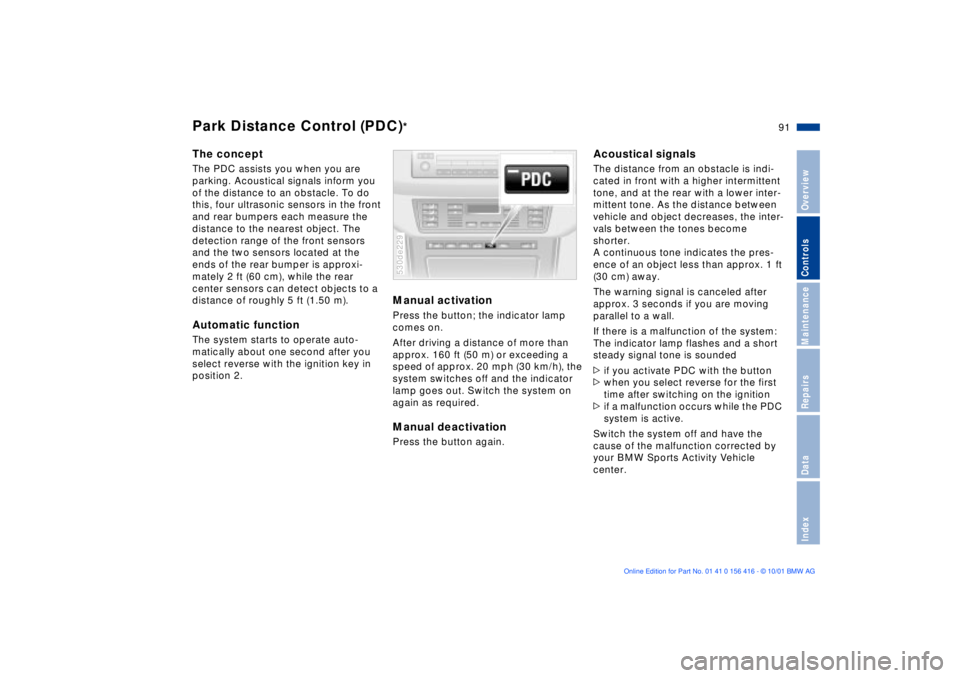
Manual activation Press the button; the indicator lamp
comes on.
After driving a distance of more than
approx. 160 ft (50 m) or exceeding a
speed of approx. 20 mph (30 km/h), the
system switches off and the indicator
lamp goes out. Switch the system on
again as required. Manual deactivationPress the button again. 530de229
Acoustical signals The distance from an obstacle is indi-
cated in front with a higher intermittent
tone, and at the rear with a lower inter-
mittent tone. As the distance between
vehicle and object decreases, the inter-
vals between the tones become
shorter.
A continuous tone indicates the pres-
ence of an object less than approx. 1 ft
(30 cm) away.
The warning signal is canceled after
approx. 3 seconds if you are moving
parallel to a wall.
If there is a malfunction of the system:
The indicator lamp flashes and a short
steady signal tone is sounded
>if you activate PDC with the button
>when you select reverse for the first
time after switching on the ignition
>if a malfunction occurs while the PDC
system is active.
Switch the system off and have the
cause of the malfunction corrected by
your BMW Sports Activity Vehicle
center.
Park Distance Control (PDC)
*
Page 92 of 185
92n
PDC
* Dynamic Stability Control (DSC)
The PDC system does not remove
the driver's personal responsibility
for evaluating the distance between the
vehicle and any obstacles. Even when
sensors are involved, there is a blind
spot in which objects cannot be
detected. This applies especially in
those cases where the system
approaches the physical constraints of
ultrasonic measurement, as occurs with
tow bars and trailer couplings, and in
the vicinity of thin or wedge-shaped
objects.
Certain sources of sound, such as a
loud radio, could drown out the PDC
signal tone.<
Keep the sensors clean and free
of ice or snow in order to ensure
that they continue to operate effectively.
Do not apply high pressure spray to the
sensors for a prolonged period of time.
Maintain an adequate distance of more
than 4 in (10 cm).<
The concept DSC maintains vehicle stability, even in
critical driving situations.
The system optimizes vehicle stability
during acceleration and when starting
from a full stop, as well as optimizing
traction. In addition, it recognizes
unstable vehicle conditions, such as
understeering or oversteering, and, as
far as is possible within the laws of
physics, keeps the vehicle on a steady
course by adapting the rpms and brake
applications to the individual wheels.
The system starts up automatically
each time you start the engine.
Indicator lamp
The indicator lamp in the instru-
ment cluster goes out shortly
after you switch on the ignition,
refer to page 20.
Indicator lamp ßashes:
The system is active and governs drive
and braking force.
If the indicator lamp fails to go out after
the engine is started, or comes on
during normal driving and stays on:
The system is either defective or was
switched off with the button: the stabi-
lizing applications described to the left
are no longer available. The vehicle will
remain completely operational,
however, without DSC.
Consult your BMW Sports Activity
Vehicle center to have the system
repaired.