ESP BMW X5 3.0I 2003 User Guide
[x] Cancel search | Manufacturer: BMW, Model Year: 2003, Model line: X5 3.0I, Model: BMW X5 3.0I 2003Pages: 183, PDF Size: 2.31 MB
Page 72 of 183

72n
Cruise control
*
To decelerate Press button
Ð briefly:
When cruise control is active, every
brief touch of the button reduces the
speed by approx. 0.6 mph/1 km/h.
Press and hold button
Ð:
With the cruise control active, the
system automatically reduces the
throttle opening to slow the vehicle.
When you release the button, the
system maintains and stores the cur-
rent speed.
To interrupt the cruise control When the system is activated, press
button 1. The indicator lamp stays on.
You can use the cruise control again
whenever required by calling up the
speed that was stored last.
In addition, the system is automatically
interrupted in response to the following
conditions:
>When you apply pressure to the
brake pedal
>When you apply pressure to the
clutch pedal or when you move the
automatic transmission selector lever
from Drive to Neutral
>If you exceed or fall below the con-
trolled speed for an extended period,
by depressing the accelerator, for
example.
To recall the stored setting Press button:
The vehicle accelerates to and main-
tains the last speed stored.
Page 91 of 183
91n
OverviewControlsMaintenanceRepairsDataIndex
PDC
* Dynamic Stability Control DSC
The PDC system does not remove
the driver's personal responsibility
for evaluating the distance between the
vehicle and any objects. Even when
sensors are involved, there is a blind
spot in which objects cannot be
detected. This applies especially in
those cases where the system
approaches the physical constraints of
ultrasonic measurement, as occurs with
tow bars and trailer couplings, and in
the vicinity of thin or wedge-shaped
objects. Similarly, low objects that have
already been detected - e.g. a curb-
stone - may disappear out of the range
of the sensors before a continuous tone
is emitted.
Loud sources of sound, inside and out-
side the vehicle, could drown out the
PDC signal tone.<
Keep the sensors clean and free
of ice or snow in order to ensure
that they continue to operate effectively.
Do not apply high pressure spray to the
sensors for a prolonged period of time.
Maintain an adequate distance of more
than 4 in/10 cm.<
The concept DSC maintains vehicle stability, even in
critical driving situations.
The system optimizes vehicle stability
during acceleration and when starting
from a full stop, as well as optimizing
traction. In addition, it recognizes
unstable vehicle conditions, such as
understeering or oversteering, and, as
far as is possible within the laws of
physics, keeps the vehicle on a steady
course by adapting the rpms and brake
applications to the individual wheels.
The system starts up automatically
each time you start the engine.
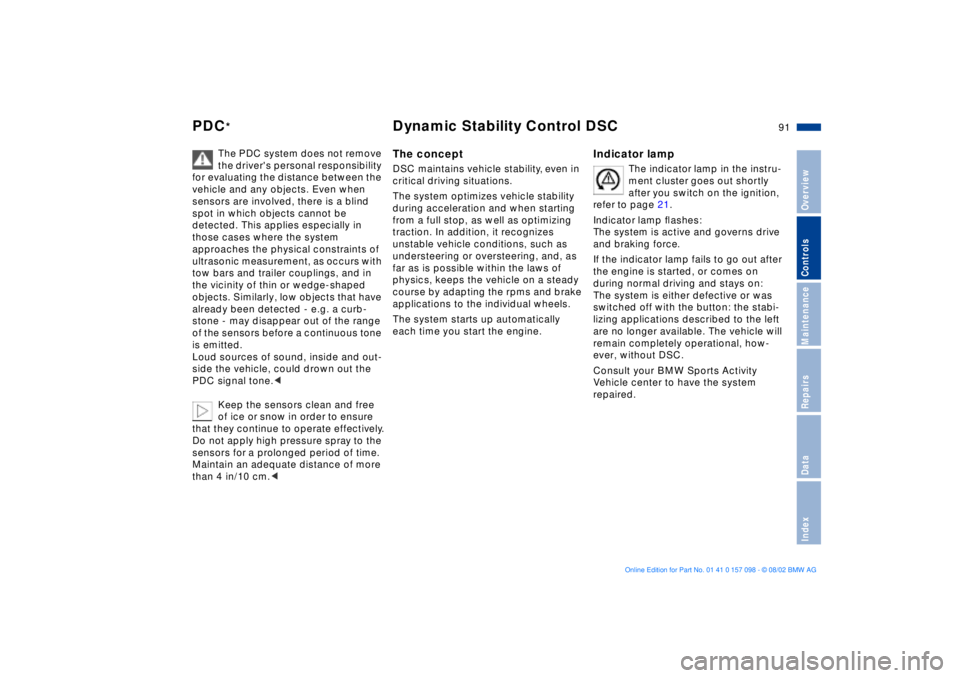
Indicator lamp
The indicator lamp in the instru-
ment cluster goes out shortly
after you switch on the ignition,
refer to page 21.
Indicator lamp ßashes:
The system is active and governs drive
and braking force.
If the indicator lamp fails to go out after
the engine is started, or comes on
during normal driving and stays on:
The system is either defective or was
switched off with the button: the stabi-
lizing applications described to the left
are no longer available. The vehicle will
remain completely operational, how-
ever, without DSC.
Consult your BMW Sports Activity
Vehicle center to have the system
repaired.
Page 92 of 183
92n
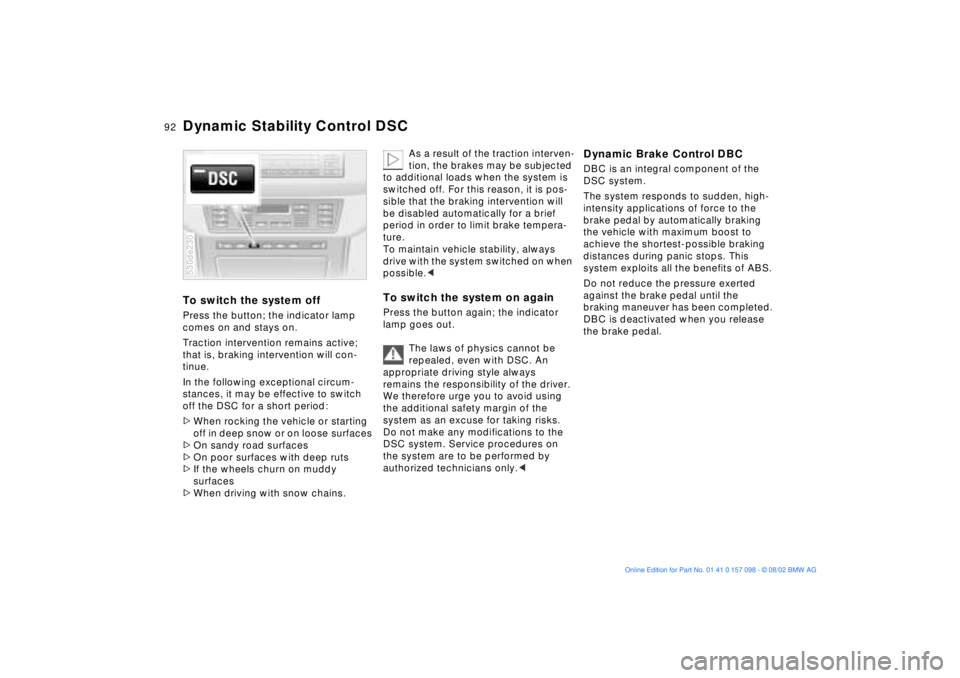
Dynamic Stability Control DSCTo switch the system offPress the button; the indicator lamp
comes on and stays on.
Traction intervention remains active;
that is, braking intervention will con-
tinue.
In the following exceptional circum-
stances, it may be effective to switch
off the DSC for a short period:
>When rocking the vehicle or starting
off in deep snow or on loose surfaces
>On sandy road surfaces
>On poor surfaces with deep ruts
>If the wheels churn on muddy
surfaces
>When driving with snow chains. 530de230
As a result of the traction interven-
tion, the brakes may be subjected
to additional loads when the system is
switched off. For this reason, it is pos-
sible that the braking intervention will
be disabled automatically for a brief
period in order to limit brake tempera-
ture.
To maintain vehicle stability, always
drive with the system switched on when
possible.<
To switch the system on againPress the button again; the indicator
lamp goes out.
The laws of physics cannot be
repealed, even with DSC. An
appropriate driving style always
remains the responsibility of the driver.
We therefore urge you to avoid using
the additional safety margin of the
system as an excuse for taking risks.
Do not make any modifications to the
DSC system. Service procedures on
the system are to be performed by
authorized technicians only.<
Dynamic Brake Control DBCDBC is an integral component of the
DSC system.
The system responds to sudden, high-
intensity applications of force to the
brake pedal by automatically braking
the vehicle with maximum boost to
achieve the shortest-possible braking
distances during panic stops. This
system exploits all the benefits of ABS.
Do not reduce the pressure exerted
against the brake pedal until the
braking maneuver has been completed.
DBC is deactivated when you release
the brake pedal.
Page 94 of 183

94n
Self-leveling suspension
*
2-axle self-leveling suspension
*
The warning lamp for the self-
leveling suspension comes on,
or the message Ð SELFLEVEL
SUSP.INACT Ð appears in the Check
Control: there is a malfunction in the
self-leveling suspension.
Stop and inspect the vehicle. If it is
riding significantly lower in the rear than
in the front, or if it is sitting at an incline
Ð left rear compared to right rear - con-
sult the nearest BMW Sports Activity
Vehicle center. Drive with appropriate
caution in the meantime. The vehicle
has reduced ground clearance or
driving comfort is noticeably reduced.
Even if the attitude of the vehicle is
normal, you should consult the nearest
BMW Sports Activity Vehicle center if
the warning lamp indicates a system
malfunction.
The conceptYour vehicle is equipped with 2-axle
self-leveling suspension acting on both
the front and rear suspension. This
system combines automatic self-lev-
eling, which compensates for variations
in front-to-rear load-distribution pat-
terns, with a selection feature allowing
drivers to choose from among several
ride-height options.
You may choose from among the fol-
lowing ride heights:
>Standard
The standard setting is intended for
most operating conditions, including
trailer towing
>Off-Road
Higher ride height for increased
ground clearance
>Access
Lowers vehicle for more convenient
cargo handling or easier passenger
ingress and exitsChanges in ride height are initiated
either manually, using the control
button, refer to page 95, or automati-
cally in response to specific speeds.
When the ride height is selected manu-
ally, the driver has the additional option
of revising the ride-height selection by
entering a new command during the
adjustment process.
When the vehicle is stationary, the
system executes ride-height changes in
both directions (up and down) when-
ever the doors are closed. The tailgate/
liftgate may be open. The system raises
the vehicle only when the engine is run-
ning.
The system's automatic self-leveling
feature automatically compensates for
variations in the vehicle's load.
Frequent changes in ride height
initiated at short intervals can
overheat the compressor, causing the
system to briefly suspend active opera-
tion.<
Page 95 of 183
95n
OverviewControlsMaintenanceRepairsDataIndex
2-axle self-leveling suspension
*
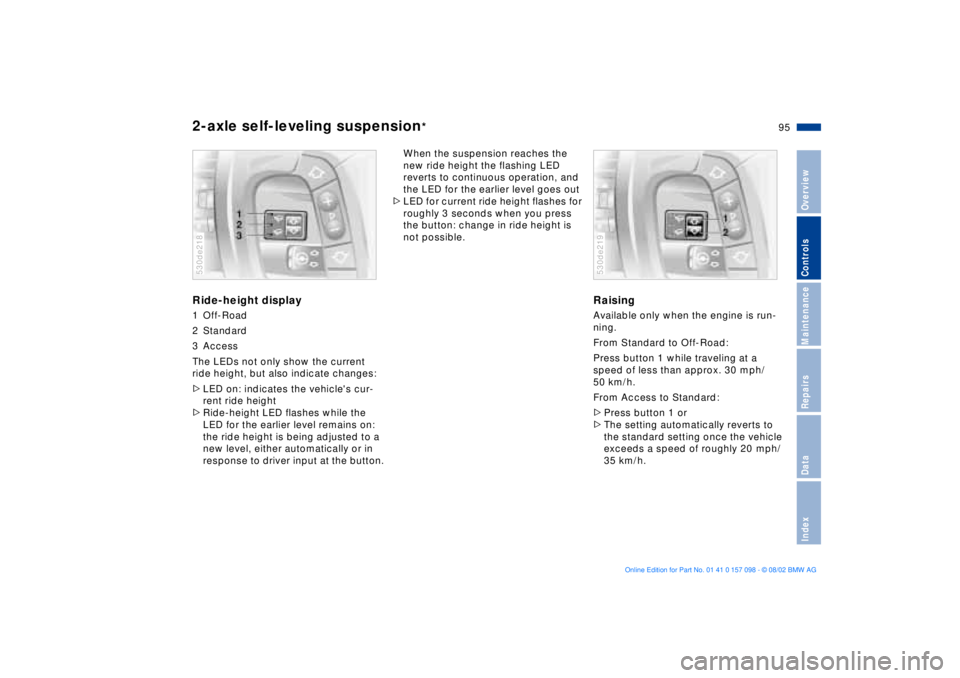
Ride-height display1 Off-Road
2 Standard
3 Access
The LEDs not only show the current
ride height, but also indicate changes:
>LED on: indicates the vehicle's cur-
rent ride height
>Ride-height LED flashes while the
LED for the earlier level remains on:
the ride height is being adjusted to a
new level, either automatically or in
response to driver input at the button.530de218
When the suspension reaches the
new ride height the flashing LED
reverts to continuous operation, and
the LED for the earlier level goes out
>LED for current ride height flashes for
roughly 3 seconds when you press
the button: change in ride height is
not possible.
RaisingAvailable only when the engine is run-
ning.
From Standard to Off-Road:
Press button 1 while traveling at a
speed of less than approx. 30 mph/
50 km/h.
From Access to Standard:
>Press button 1 or
>The setting automatically reverts to
the standard setting once the vehicle
exceeds a speed of roughly 20 mph/
35 km/h.530de219
Page 99 of 183
99n
OverviewControlsMaintenanceRepairsDataIndex
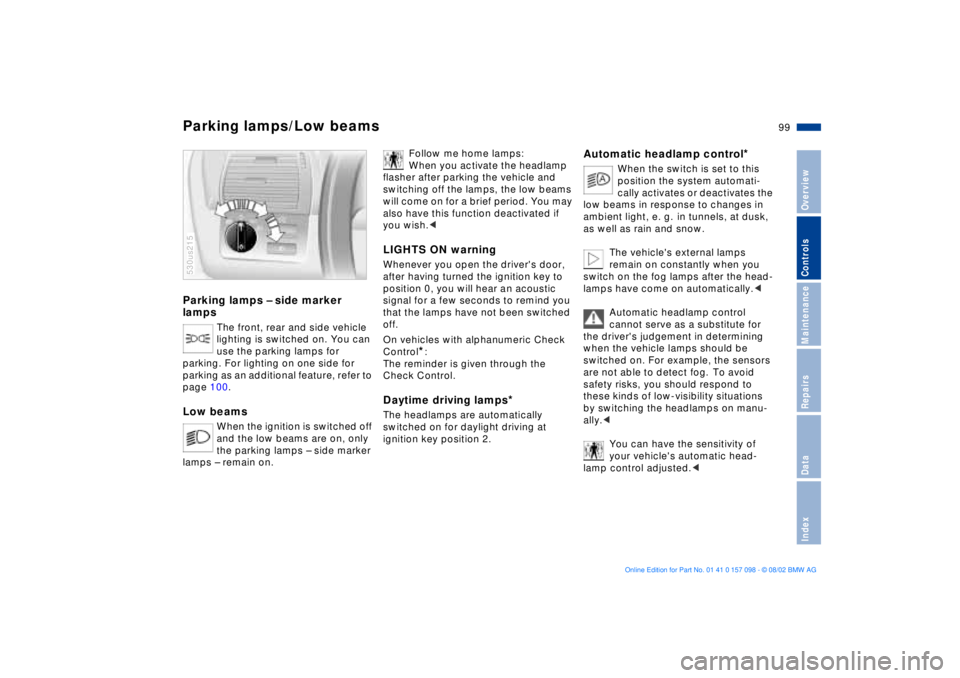
Parking lamps Ð side marker
lamps
The front, rear and side vehicle
lighting is switched on. You can
use the parking lamps for
parking. For lighting on one side for
parking as an additional feature, refer to
page 100.
Low beams
When the ignition is switched off
and the low beams are on, only
the parking lamps Ð side marker
lamps Ð remain on.
530us215
Follow me home lamps:
When you activate the headlamp
flasher after parking the vehicle and
switching off the lamps, the low beams
will come on for a brief period. You may
also have this function deactivated if
you wish.<
LIGHTS ON warningWhenever you open the driver's door,
after having turned the ignition key to
position 0, you will hear an acoustic
signal for a few seconds to remind you
that the lamps have not been switched
off.
On vehicles with alphanumeric Check
Control
*:
The reminder is given through the
Check Control.
Daytime driving lamps
*
The headlamps are automatically
switched on for daylight driving at
ignition key position 2.
Automatic headlamp control
*
When the switch is set to this
position the system automati-
cally activates or deactivates the
low beams in response to changes in
ambient light, e. g. in tunnels, at dusk,
as well as rain and snow.
The vehicle's external lamps
remain on constantly when you
switch on the fog lamps after the head-
lamps have come on automatically.<
Automatic headlamp control
cannot serve as a substitute for
the driver's judgement in determining
when the vehicle lamps should be
switched on. For example, the sensors
are not able to detect fog. To avoid
safety risks, you should respond to
these kinds of low-visibility situations
by switching the headlamps on manu-
ally.<
You can have the sensitivity of
your vehicle's automatic head-
lamp control adjusted.<
Parking lamps/Low beams
Page 103 of 183
103n
OverviewControlsMaintenanceRepairsDataIndex
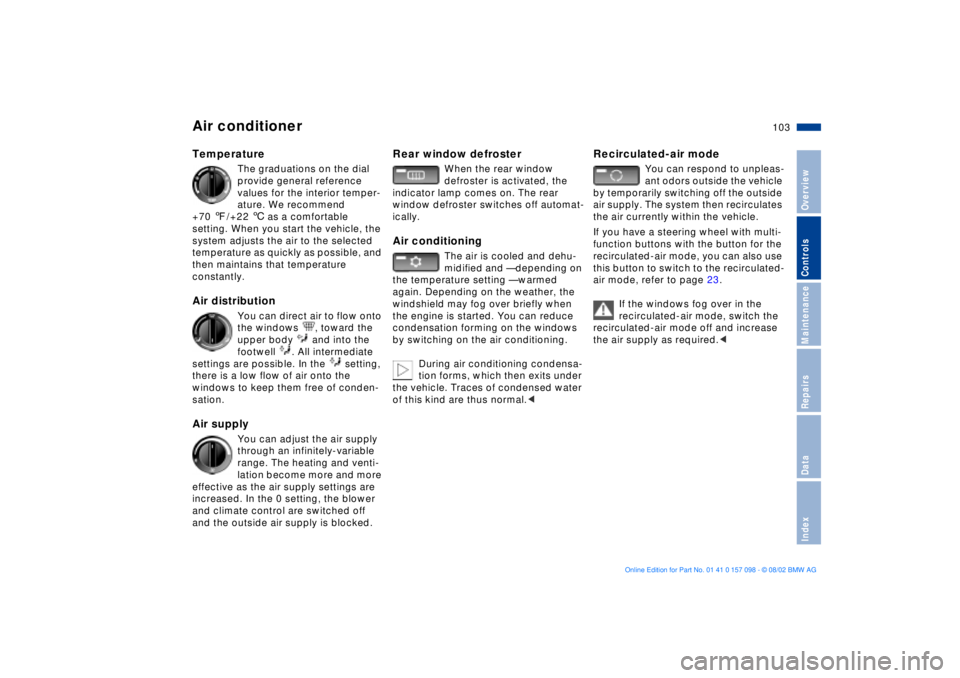
Air conditioner Temperature
The graduations on the dial
provide general reference
values for the interior temper-
ature. We recommend
+70 7/+22 6 as a comfortable
setting. When you start the vehicle, the
system adjusts the air to the selected
temperature as quickly as possible, and
then maintains that temperature
constantly.
Air distribution
You can direct air to flow onto
the windows , toward the
upper body and into the
footwell . All intermediate
settings are possible. In the setting,
there is a low flow of air onto the
windows to keep them free of conden-
sation.
Air supply
You can adjust the air supply
through an infinitely-variable
range. The heating and venti-
lation become more and more
effective as the air supply settings are
increased. In the 0 setting, the blower
and climate control are switched off
and the outside air supply is blocked.
Rear window defroster
When the rear window
defroster is activated, the
indicator lamp comes on. The rear
window defroster switches off automat-
ically.
Air conditioning
The air is cooled and dehu-
midified and Ñ depending on
the temperature setting Ñ warmed
again. Depending on the weather, the
windshield may fog over briefly when
the engine is started. You can reduce
condensation forming on the windows
by switching on the air conditioning.
During air conditioning condensa-
tion forms, which then exits under
the vehicle. Traces of condensed water
of this kind are thus normal.<
Recirculated-air mode
You can respond to unpleas-
ant odors outside the vehicle
by temporarily switching off the outside
air supply. The system then recirculates
the air currently within the vehicle.
If you have a steering wheel with multi-
function buttons with the button for the
recirculated-air mode, you can also use
this button to switch to the recirculated-
air mode, refer to page 23.
If the windows fog over in the
recirculated-air mode, switch the
recirculated-air mode off and increase
the air supply as required.<
Page 113 of 183
113n
OverviewControlsMaintenanceRepairsDataIndex
BMW Universal TransmitterChecking for the conversion code To determine whether the original
hand-held transmitter is provided with
a conversion-code system, you may
either read the instructions for the orig-
inal hand-held transmitter or program a
channel key as described on the next
page Ð left-hand column under
Programming.
Then press and hold the programmed
channel key of the BMW Universal
Transmitter. If the indicator lamp of the
BMW Universal Transmitter flashes for
two seconds and then comes on
steadily, the original hand-held trans-
mitter is provided with a conversion-
code system. With a conversion-code
system, program the channel keys as
described on the next page Ð right-hand
column under Programming a hand-
held transmitter with conversion code.
If you have additional questions,
please consult your BMW Sports
Activity Vehicle center or call
1-800-355-3515.
You can also visit this website:
www.bmwusa.com.<
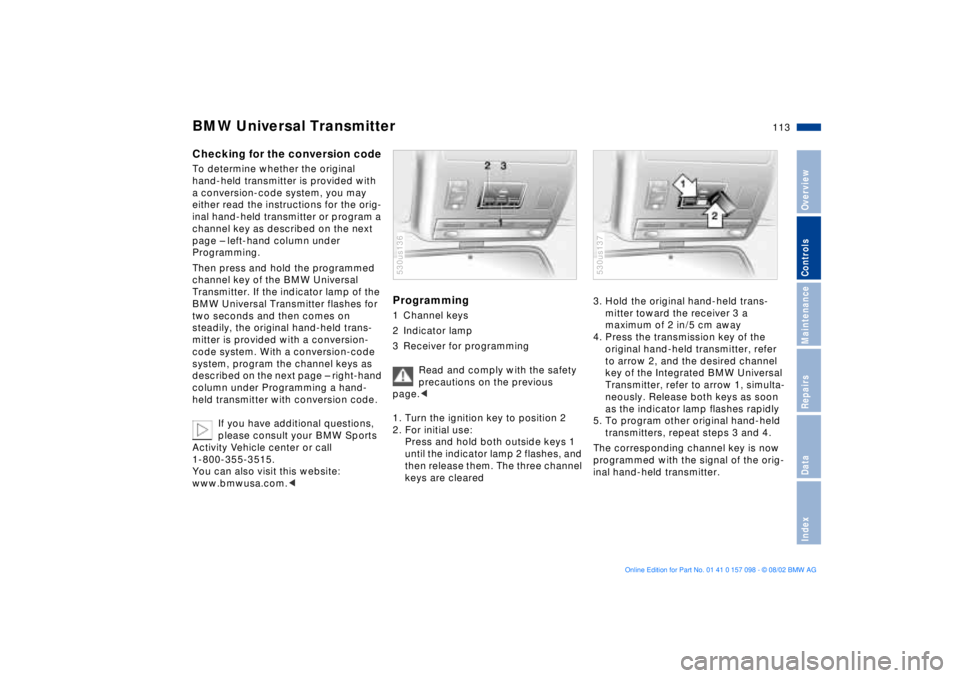
Programming 1 Channel keys
2 Indicator lamp
3 Receiver for programming
Read and comply with the safety
precautions on the previous
page.<
1. Turn the ignition key to position 2
2. For initial use:
Press and hold both outside keys 1
until the indicator lamp 2 flashes, and
then release them. The three channel
keys are cleared 530us136
3. Hold the original hand-held trans-
mitter toward the receiver 3 a
maximum of 2 in/5 cm away
4. Press the transmission key of the
original hand-held transmitter, refer
to arrow 2, and the desired channel
key of the Integrated BMW Universal
Transmitter, refer to arrow 1, simulta-
neously. Release both keys as soon
as the indicator lamp flashes rapidly
5. To program other original hand-held
transmitters, repeat steps 3 and 4.
The corresponding channel key is now
programmed with the signal of the orig-
inal hand-held transmitter. 530us137
Page 127 of 183
127n
OverviewControlsMaintenanceRepairsDataIndex
Roof-mounted luggage rack
*
A special rack system is available as an
optional extra for your BMW. Please
comply with the precautions included
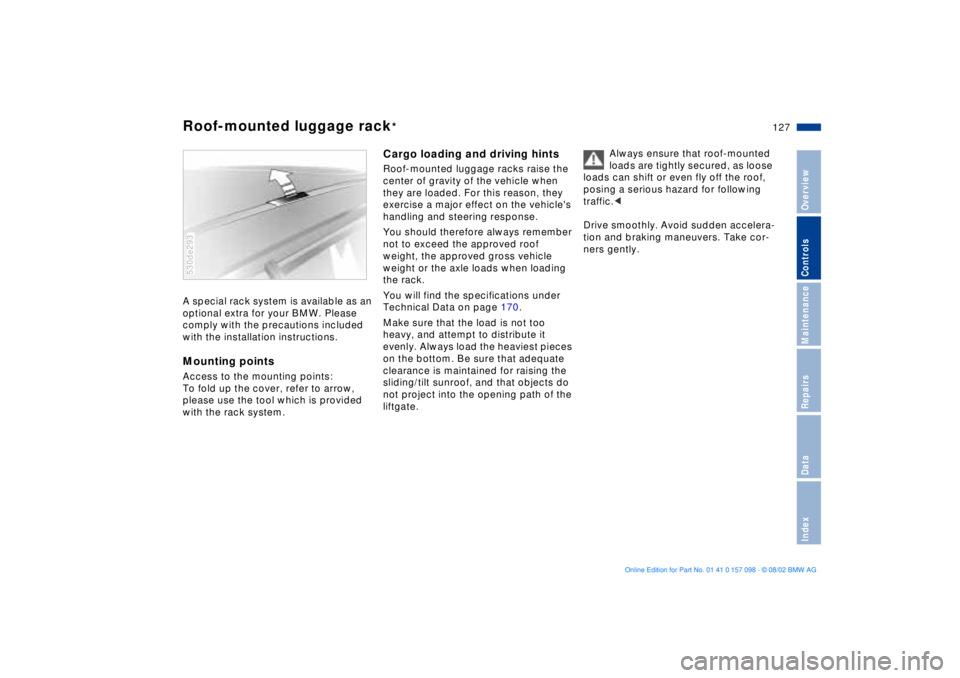
with the installation instructions.Mounting pointsAccess to the mounting points:
To fold up the cover, refer to arrow,
please use the tool which is provided
with the rack system.530de293
Cargo loading and driving hintsRoof-mounted luggage racks raise the
center of gravity of the vehicle when
they are loaded. For this reason, they
exercise a major effect on the vehicle's
handling and steering response.
You should therefore always remember
not to exceed the approved roof
weight, the approved gross vehicle
weight or the axle loads when loading
the rack.
You will find the specifications under
Technical Data on page 170.
Make sure that the load is not too
heavy, and attempt to distribute it
evenly. Always load the heaviest pieces
on the bottom. Be sure that adequate
clearance is maintained for raising the
sliding/tilt sunroof, and that objects do
not project into the opening path of the
liftgate. Always ensure that roof-mounted
loads are tightly secured, as loose
loads can shift or even fly off the roof,
posing a serious hazard for following
traffic.<
Drive smoothly. Avoid sudden accelera-
tion and braking maneuvers. Take cor-
ners gently.
Page 133 of 183

133n
OverviewControlsMaintenanceRepairsDataIndex
Brake systemDisc brakesWhen the vehicle is driven only occa-
sionally, during extended periods when
the vehicle is not used at all, and in
operating conditions where brake appli-
cations are less frequent, there is an
increased tendency for corrosion of the
rotors and accumulation of contamina-
tion on the brake pads. This occurs
because the minimal pressure which
must be exerted by the pads to clean
the discs by brake applications is not
reached.
If the brake rotors are corroded, they
will tend to respond to braking with a
pulsating effect which even extended
application will fail to cure.
When driving in wet conditions and in
heavy rain, it is advisable to apply light
pressure to the brake pedal from time
to time. Watch traffic conditions to
ensure that this maneuver does not
endanger other road users. The heat
which is generated by the brake appli-
cations helps to dry the brake pads and
rotors. The braking force is then imme-
diately available when required.Extended or steep mountain descents
should be driven in the gear in which
only minimal periodic brake application
is required. This avoids excessive strain
on the brakes and possible impairment
of the braking effect.
Do not coast with the clutch
depressed or with the transmis-
sion or selector lever in neutral. Do not
drive with the engine switched off. The
engine provides no braking effect when
the clutch is depressed or the transmis-
sion is in neutral, and there is no
power-assist for braking or steering
when the engine is not running.
BMW recommends having brake
inspections performed at a BMW
Sports Activity Vehicle center only. If
you do not, parts of the four-wheel
drive system could be damaged.
Never allow floor mats, carpets or any
other objects to protrude into the area
around the accelerator, clutch and
brake pedals and obstruct their move-
ment.<
Brake pads
For your own safety: use only
brake pads that BMW has
released for your particular vehicle
model. BMW cannot evaluate non-
approved brake pads to determine if
they are suited for use, and therefore
cannot ensure the operating safety of
the vehicle if they are installed.<