wheel BMW X5 3.0I 2004 E53 Owner's Manual
[x] Cancel search | Manufacturer: BMW, Model Year: 2004, Model line: X5 3.0I, Model: BMW X5 3.0I 2004 E53Pages: 200, PDF Size: 3.91 MB
Page 6 of 200
Contents
© 2004 Bayerische Motoren Werke
Aktiengesellschaft
Munich, Germany
Reprinting, including excerpts,
only with the written consent of
BMW AG, Munich.
Order No. 01 41 0 158 286
US English III/04
Printed in Germany
Printed on environmentally friendly paper,
bleached without chlorine, suitable for recycling.
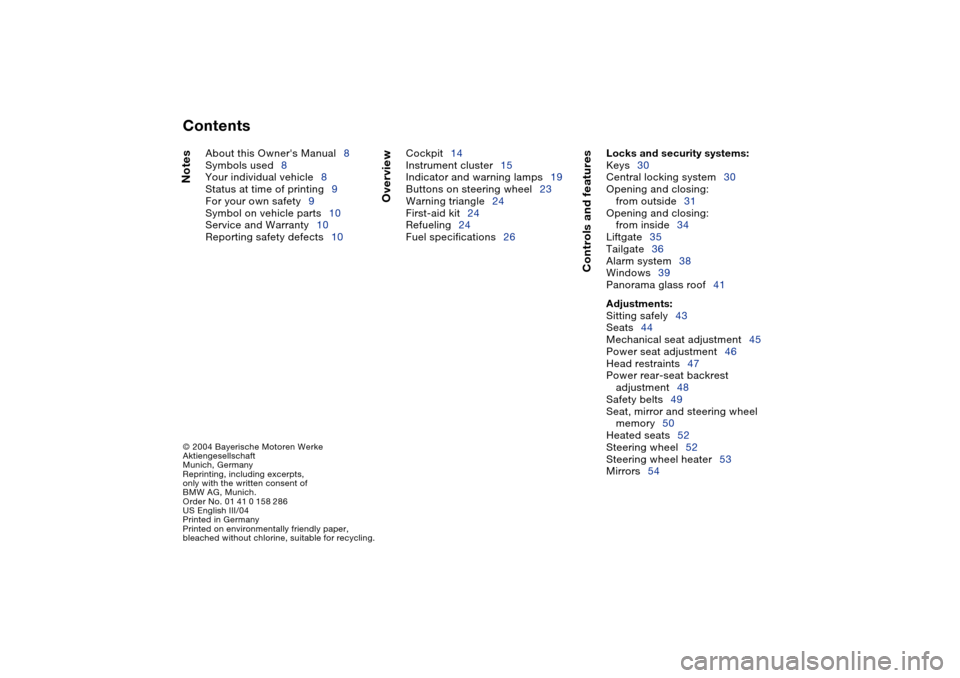
Notes
Overview
Controls and features
About this Owner's Manual8
Symbols used8
Your individual vehicle8
Status at time of printing9
For your own safety9
Symbol on vehicle parts10
Service and Warranty10
Reporting safety defects10Cockpit14
Instrument cluster15
Indicator and warning lamps19
Buttons on steering wheel23
Warning triangle24
First-aid kit24
Refueling24
Fuel specifications26
Locks and security systems:
Keys30
Central locking system30
Opening and closing:
from outside31
Opening and closing:
from inside34
Liftgate35
Tailgate36
Alarm system38
Windows39
Panorama glass roof41
Adjustments:
Sitting safely43
Seats44
Mechanical seat adjustment45
Power seat adjustment46
Head restraints47
Power rear-seat backrest
adjustment48
Safety belts49
Seat, mirror and steering wheel
memory50
Heated seats52
Steering wheel52
Steering wheel heater53
Mirrors54
Contents
Page 8 of 200
Contents
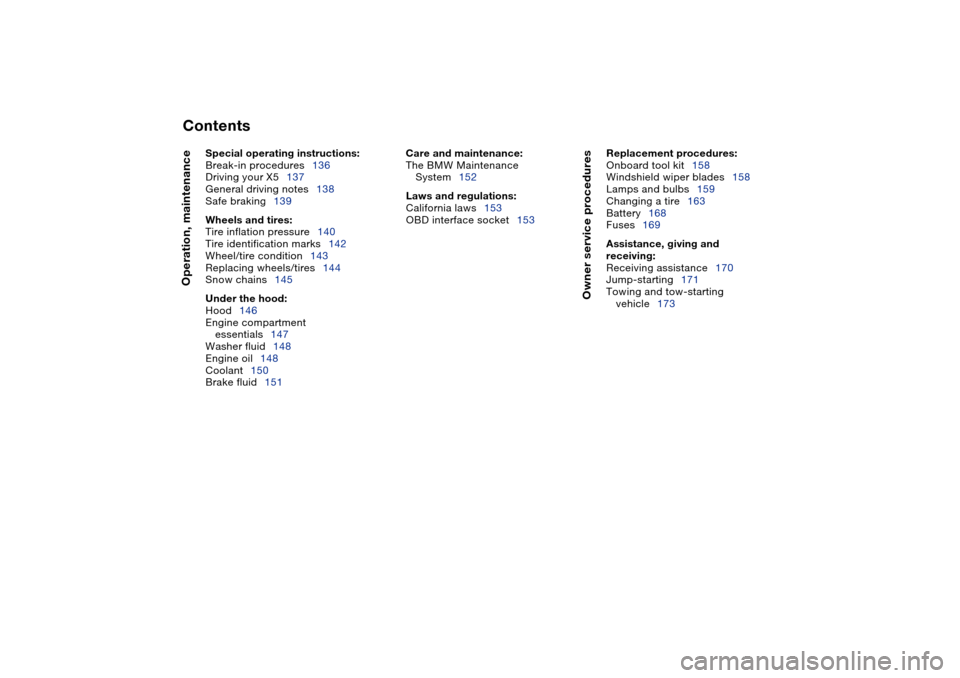
Operation, maintenance
Owner service procedures
Special operating instructions:
Break-in procedures136
Driving your X5137
General driving notes138
Safe braking139
Wheels and tires:
Tire inflation pressure140
Tire identification marks142
Wheel/tire condition143
Replacing wheels/tires144
Snow chains145
Under the hood:
Hood146
Engine compartment
essentials147
Washer fluid148
Engine oil148
Coolant150
Brake fluid151
Care and maintenance:
The BMW Maintenance
System152
Laws and regulations:
California laws153
OBD interface socket153
Replacement procedures:
Onboard tool kit158
Windshield wiper blades158
Lamps and bulbs159
Changing a tire163
Battery168
Fuses169
Assistance, giving and
receiving:
Receiving assistance170
Jump-starting171
Towing and tow-starting
vehicle173
Page 11 of 200
9n
OverviewControlsMaintenanceRepairsDataIndex
Status at time of printing
BMW pursues a policy of continuous,
ongoing development that is conceived
to ensure that our vehicles continue to
embody the highest quality and safety
standards combined with advanced,
state-of-the-art technology. In isolated
cases, the features described in this
Owner's Manual could differ from those
on your vehicle for this reason.
For your own safety
Maintenance and repair:
Advanced technology, e. g. the
use of modern materials and high-
performance electronics, requires spe-
cially adapted maintenance and repair
methods. Therefore, only have corre-
sponding work on your BMW carried
out by a BMW Sports Activity Vehicle
center or a workshop that works
according to BMW repair procedures
with correspondingly trained personnel.
If work is carried out improperly there is
a danger of consequential damage and
the related safety risks.<
Parts and accessories:
For your own safety, use genuine
parts and accessories approved
by BMW.
When you purchase accessories tested
and approved by BMW and Genuine
BMW Parts, you simultaneously acquire
the assurance that they have been thor-
oughly tested by BMW to ensure opti-
mum performance when installed on
your vehicle.
BMW warrants these parts to be free
from defects in material and workman-
ship.
BMW will not accept any liability for
damages resulting from installation of
parts and accessories not approved by
BMW.
BMW cannot test every product on the
market to determine whether it can be
used on a BMW safely and without risk
to either the vehicle, its operation, or its
occupants.
Genuine BMW Parts, BMW Accessories
and other products approved by BMW,
together with professional advice on
using these items, are available from all
BMW Sports Activity Vehicle centers.
Installation and operation of non-BMW
approved accessories such as alarms,
radios, amplifiers, radar detectors,
wheels, suspension components, brake
dust shields, telephones – including
operation of any portable phone from
within the vehicle without using an
externally mounted antenna – or trans-
ceiver equipment such as CB, walkie-
talkie, ham radio or similar accessories,
may cause extensive damage to the
vehicle, compromise its safety, interfere
with the vehicle's electrical system or
affect the validity of the BMW Limited
Warranty. Refer to your BMW Sports
Activity Vehicle center for additional
information.<
Status at time of printing
Notes
Page 16 of 200
14n
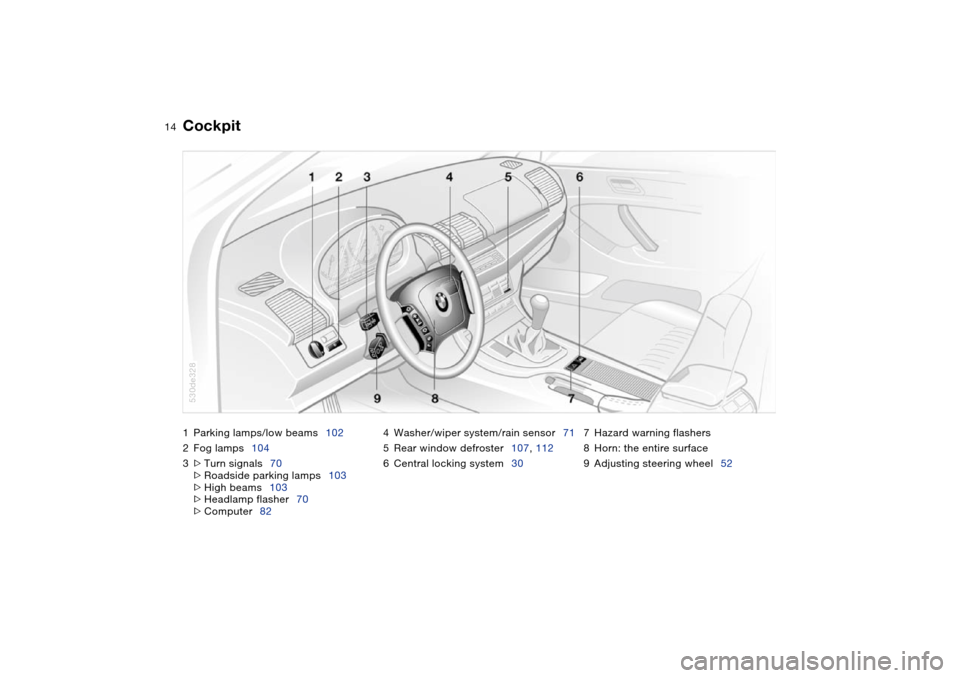
1Parking lamps/low beams102
2Fog lamps104
3>
Turn signals70
>
Roadside parking lamps103
>
High beams103
>
Headlamp flasher70
>
Computer824Washer/wiper system/rain sensor71
5Rear window defroster107, 112
6Central locking system307Hazard warning flashers
8Horn: the entire surface
9Adjusting steering wheel52
Cockpit
530de328
Page 24 of 200
22n
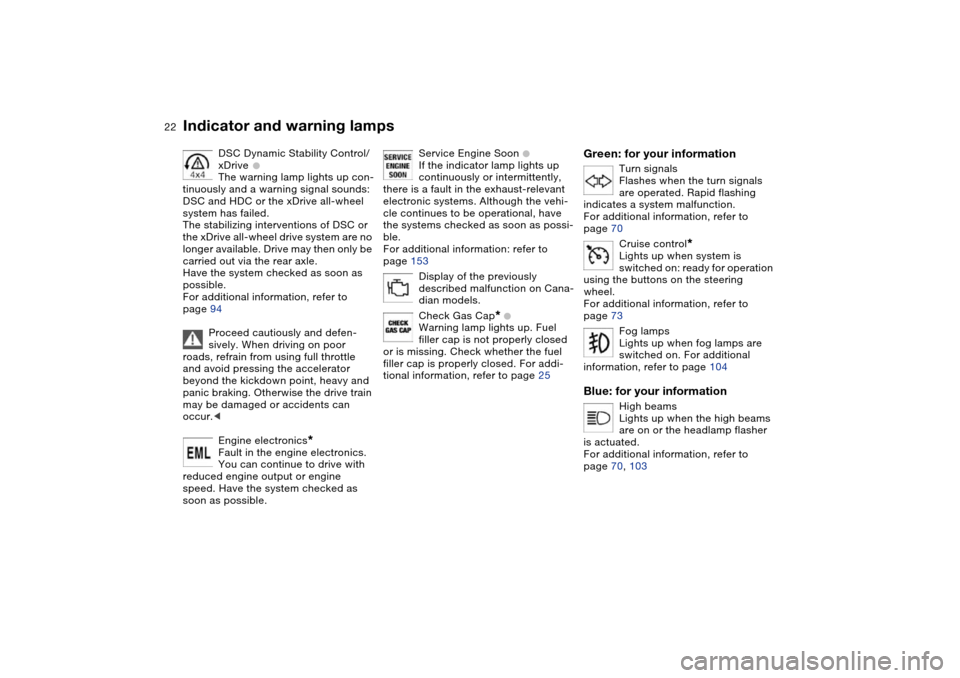
Indicator and warning lamps
DSC Dynamic Stability Control/
xDrive
+
The warning lamp lights up con-
tinuously and a warning signal sounds:
DSC and HDC or the xDrive all-wheel
system has failed.
The stabilizing interventions of DSC or
the xDrive all-wheel drive system are no
longer available. Drive may then only be
carried out via the rear axle.
Have the system checked as soon as
possible.
For additional information, refer to
page 94
Proceed cautiously and defen-
sively. When driving on poor
roads, refrain from using full throttle
and avoid pressing the accelerator
beyond the kickdown point, heavy and
panic braking. Otherwise the drive train
may be damaged or accidents can
occur.<
Engine electronics
*
Fault in the engine electronics.
You can continue to drive with
reduced engine output or engine
speed. Have the system checked as
soon as possible.
Service Engine Soon
+
If the indicator lamp lights up
continuously or intermittently,
there is a fault in the exhaust-relevant
electronic systems. Although the vehi-
cle continues to be operational, have
the systems checked as soon as possi-
ble.
For additional information: refer to
page 153
Display of the previously
described malfunction on Cana-
dian models.
Check Gas Cap
* +
Warning lamp lights up. Fuel
filler cap is not properly closed
or is missing. Check whether the fuel
filler cap is properly closed. For addi-
tional information, refer to page 25
Green: for your information
Turn signals
Flashes when the turn signals
are operated. Rapid flashing
indicates a system malfunction.
For additional information, refer to
page 70
Cruise control
*
Lights up when system is
switched on: ready for operation
using the buttons on the steering
wheel.
For additional information, refer to
page 73
Fog lamps
Lights up when fog lamps are
switched on. For additional
information, refer to page 104
Blue: for your information
High beams
Lights up when the high beams
are on or the headlamp flasher
is actuated.
For additional information, refer to
page 70, 103
Page 25 of 200
23n
OverviewControlsMaintenanceRepairsDataIndex
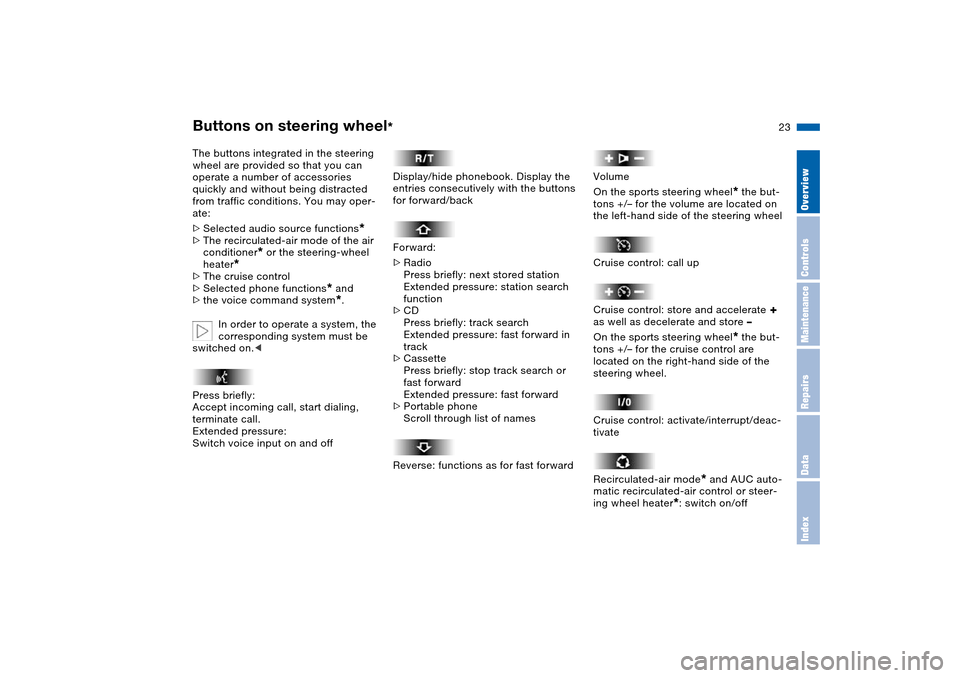
Buttons on steering wheel
*
The buttons integrated in the steering
wheel are provided so that you can
operate a number of accessories
quickly and without being distracted
from traffic conditions. You may oper-
ate:
>Selected audio source functions
*
>The recirculated-air mode of the air
conditioner
* or the steering-wheel
heater
*
>The cruise control
>Selected phone functions
* and
>the voice command system*.
In order to operate a system, the
corresponding system must be
switched on.<
Press briefly:
Accept incoming call, start dialing,
terminate call.
Extended pressure:
Switch voice input on and off
Display/hide phonebook. Display the
entries consecutively with the buttons
for forward/back
Forward:
>Radio
Press briefly: next stored station
Extended pressure: station search
function
>CD
Press briefly: track search
Extended pressure: fast forward in
track
>Cassette
Press briefly: stop track search or
fast forward
Extended pressure: fast forward
>Portable phone
Scroll through list of names
Reverse: functions as for fast forward
Volume
On the sports steering wheel
* the but-
tons +/– for the volume are located on
the left-hand side of the steering wheel
Cruise control: call up
Cruise control: store and accelerate
+
as well as decelerate and store –
On the sports steering wheel
* the but-
tons +/– for the cruise control are
located on the right-hand side of the
steering wheel.
Cruise control: activate/interrupt/deac-
tivate
Recirculated-air mode
* and AUC auto-
matic recirculated-air control or steer-
ing wheel heater
*: switch on/off
Page 40 of 200
38n
Alarm system The concept The vehicle alarm system responds:
>When a door, the hood, or the liftgate
is opened
>To movement in the vehicle interior:
interior motion sensor
>To variations in the vehicle tilt angle
such as occur during attempts to
steal the wheels or tow the vehicle
>To interruption of battery voltage.
The system responds to unauthorized
vehicle entry and attempted theft by
simultaneously activating the following:
>Sounding an acoustical alarm for
30 seconds
>The hazard warning flashers are acti-
vated for approx. five minutes
>The high beams flash on and off in
the same rhythm.
Arming and disarming alarm
system When you lock or unlock the vehicle,
either with the remote control or at the
door lock, the alarm system is armed or
disarmed at the same time.
You can have different acknowl-
edgment signals set to confirm
arming and disarming.<
The liftgate can also be opened with the
system armed using the button on the
remote control, refer to page 31. The
liftgate is locked again when closed.
Pressing the button longer triggers the
alarm: panic mode, refer to page 32.
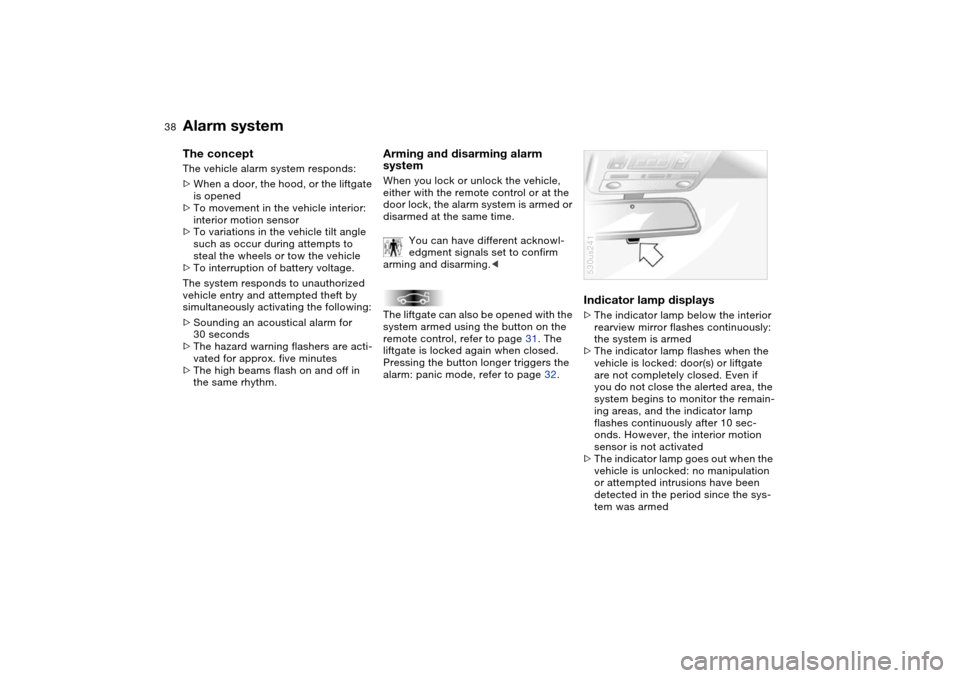
Indicator lamp displays >The indicator lamp below the interior
rearview mirror flashes continuously:
the system is armed
>The indicator lamp flashes when the
vehicle is locked: door(s) or liftgate
are not completely closed. Even if
you do not close the alerted area, the
system begins to monitor the remain-
ing areas, and the indicator lamp
flashes continuously after 10 sec-
onds. However, the interior motion
sensor is not activated
>The indicator lamp goes out when the
vehicle is unlocked: no manipulation
or attempted intrusions have been
detected in the period since the sys-
tem was armed530us241
Page 41 of 200
39n
OverviewControlsMaintenanceRepairsDataIndex
Alarm system Windows>The indicator lamp flashes for
10 seconds after the vehicle is
unlocked: an attempted entry has
been detected in the period since the
system was armed.
Following triggering of an alarm, the
indicator lamp will flash continuously. Tilt alarm sensor and
interior motion sensor Tilt alarm sensor:
The tilt of the vehicle is monitored. The
alarm system reacts, for example, if
someone attempts to steal the wheels
or tow the vehicle.
Interior motion sensor:
In order for the interior motion sensor to
function properly, the windows and
panorama glass roof ‹must be com-
pletely closed.
Avoiding unintentional alarms The tilt alarm sensor and interior motion
sensor may be switched off at the same
time. This prevents unintentional
alarms, e.g. in the following situations:
>In duplex garages
>When transporting on car-carrying
trains
>If animals are to remain in the vehicle.
Switching off the tilt alarm sensor and
interior motion sensor:
Press the button on the remote control
twice consecutively.
The indicator lamp lights up briefly and
then flashes continuously. The tilt alarm
sensor and the interior motion sensor
are switched off up to the next unlock-
ing and locking actions.
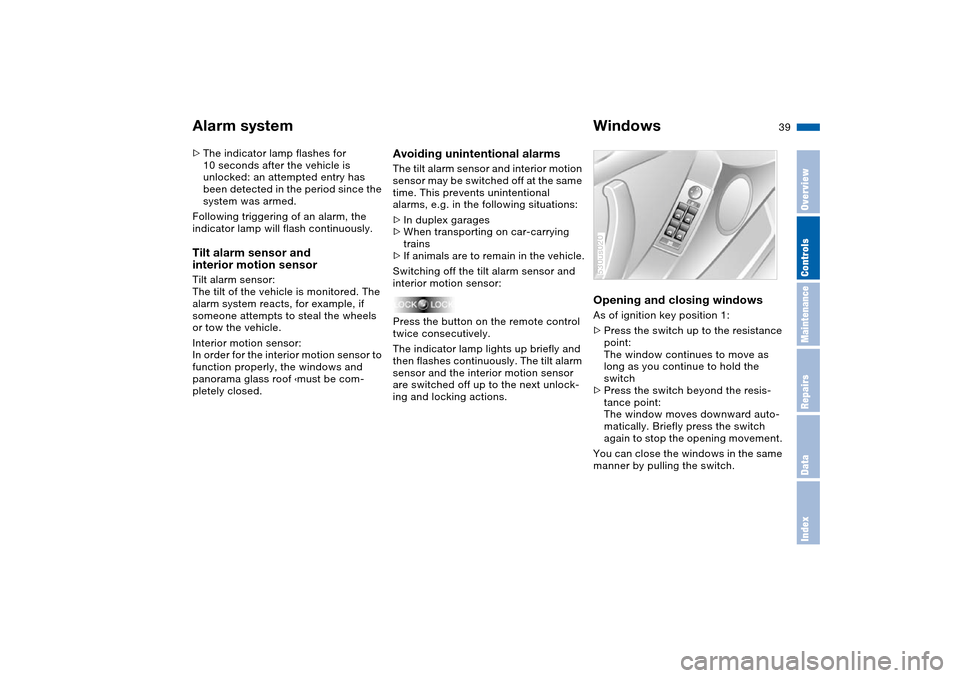
Opening and closing windows As of ignition key position 1:
>Press the switch up to the resistance
point:
The window continues to move as
long as you continue to hold the
switch
>Press the switch beyond the resis-
tance point:
The window moves downward auto-
matically. Briefly press the switch
again to stop the opening movement.
You can close the windows in the same
manner by pulling the switch.530us020
Page 45 of 200
43n
OverviewControlsMaintenanceRepairsDataIndex
The ideal sitting position can make a
vital contribution to relaxed driving that
is as fatigue-free as possible. The sit-
ting position also plays an important
role together with the safety belts and
airbags in providing occupants with
maximum levels of passive safety in an
accident. To ensure that the safety sys-
tems operate with optimized efficiency,
we strongly urge you to observe the
instructions contained in the following
section.
For additional information on transport-
ing children safely, refer to page 59.Sitting safely with airbags
Always maintain an adequate dis-
tance between yourself and the
airbags. Always hold the steering wheel
by its rim with hands at the 9 o'clock
and 3 o'clock positions to minimize the
risk of injuries to your hands and arms
in the event of airbag deployment.
No one and nothing is to come between
the airbags and the seat occupant. Do
not use the cover of the front airbag on
the front passenger side as a storage
area. Make sure that the front passen-
ger is correctly seated and does not
rest feet or legs on the instrument clus-
ter, otherwise leg injuries can occur if
the knee and front airbag are triggered.
Never let an occupant's head rest near
or on a side airbag because the inflating
airbag could cause a serious or fatal
injury.<
Even if you adhere to all the instructions
injuries resulting from contact with air-
bags cannot be fully excluded, depend-
ing on the circumstances. The ignition
and inflation noise may provoke a mild –
usually temporary – hearing loss in
extremely sensitive individuals.
For airbag locations and additional
information on airbags, refer to
page 57.Sitting safely with safety belts Fasten your safety belt before starting
any trip. Airbags complement the safety
belt as an additional safety device, but
they do not represent a substitute.
Your vehicle has five seats that are all
equipped with a safety belt.
At all times, occupants should sit
upright and be properly restrained
– infants and small children in appropri-
ate child-restraint systems; larger chil-
dren and adults using the safety belts.
Even pregnant women should also
always wear the safety belt and espe-
cially ensure that the lap belt is posi-
tioned low on the hip and does not
press on the lower body.
Only one person should ever wear a
safety belt, and infants and children
may not be seated on the lap of another
passenger.
Do not route the belt across your neck,
or run it across sharp edges. Be sure
that the belt does not become caught
or jammed. Avoid twisting the belt while
routing it firmly across the hips and
shoulder. Do not allow the belt to rest
against hard or fragile objects. Other-
wise, in the event of a frontal impact, a
loose lap belt could slide over your
hips, leading to abdominal injury. Avoid
wearing clothing that prevents the belt
from fitting properly and pull the lap belt
periodically to readjust the tension
across your shoulder in order to avoid a
reduction in the retention effect of the
safety belt.<
For instructions on operating the safety
belt, refer to page 49.
Sitting safely
Page 52 of 200
50n
Seat, mirror and steering wheel memory
*
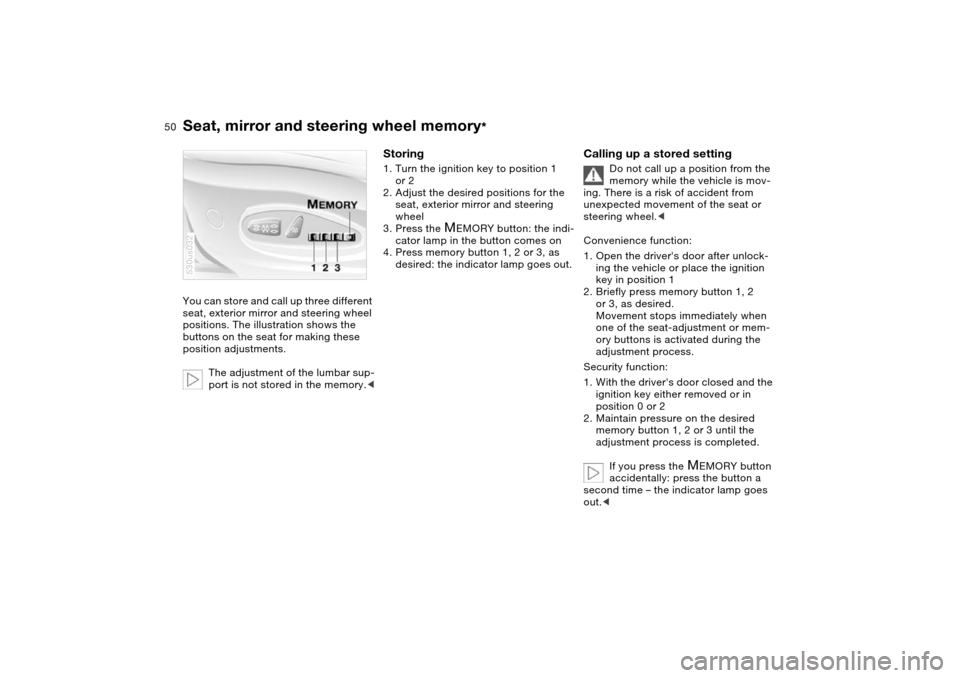
You can store and call up three different
seat, exterior mirror and steering wheel
positions. The illustration shows the
buttons on the seat for making these
position adjustments.
The adjustment of the lumbar sup-
port is not stored in the memory.<530us032
Storing 1. Turn the ignition key to position 1
or 2
2. Adjust the desired positions for the
seat, exterior mirror and steering
wheel
3. Press the
M
EMORY button: the indi-
cator lamp in the button comes on
4. Press memory button 1, 2 or 3, as
desired: the indicator lamp goes out.
Calling up a stored setting
Do not call up a position from the
memory while the vehicle is mov-
ing. There is a risk of accident from
unexpected movement of the seat or
steering wheel.<
Convenience function:
1. Open the driver's door after unlock-
ing the vehicle or place the ignition
key in position 1
2. Briefly press memory button 1, 2
or 3, as desired.
Movement stops immediately when
one of the seat-adjustment or mem-
ory buttons is activated during the
adjustment process.
Security function:
1. With the driver's door closed and the
ignition key either removed or in
position 0 or 2
2. Maintain pressure on the desired
memory button 1, 2 or 3 until the
adjustment process is completed.
If you press the
M
EMORY button
accidentally: press the button a
second time – the indicator lamp goes
out.<