mirror controls BMW X5 3.0I 2005 E53 Owner's Manual
[x] Cancel search | Manufacturer: BMW, Model Year: 2005, Model line: X5 3.0I, Model: BMW X5 3.0I 2005 E53Pages: 200, PDF Size: 3.55 MB
Page 4 of 200
Contents© 2004 Bayerische Motoren Werke
Aktiengesellschaft
Munich, Germany
Reprinting, including excerpts,
only with the written consent of
BMW AG, Munich.
Order No. 01 41 0 158 701
US English IX/04
Printed in Germany
Printed on environmentally friendly paper,
bleached without chlorine, suitable for recycling.Notes
Overview
Controls and features
About this Owner's Manual8
Symbols used8
Your individual vehicle8
Status at time of printing9
For your own safety9
Symbol on vehicle parts10
Service and Warranty10
Reporting safety defects11Cockpit14
Instrument cluster15
Indicator and warning lamps19
Buttons on steering wheel23
Warning triangle24
First-aid kit24
Refueling24
Fuel specifications26Locks and security systems:
Keys30
Central locking system30
Opening and closing:
from outside31
Opening and closing:
from inside34
Liftgate35
Tailgate36
Alarm system38
Windows39
Panorama glass sunroof41
Adjustments:
Sitting safely43
Seats44
Mechanical seat adjustment45
Power seat adjustment46
Head restraints47
Power rear-seat backrest
adjustment48
Safety belts49
Seat, mirror and steering wheel
memory50
Heated seats52
Steering wheel52
Steering wheel heater53
Mirrors54
Page 51 of 200
51n
OverviewControlsMaintenanceRepairsDataIndex
Seat, mirror and steering wheel memory
*
Calling up a stored setting
Do not call up a position from the
memory while the vehicle is mov-
ing. There is a risk of accident from
unexpected movement of the seat or
steering wheel.<
Convenience function:
1. Open the driver's door after unlock-
ing the vehicle or place the ignition
key in position 1
2. Briefly press memory button 1, 2
or 3, as desired.
Movement stops immediately when
one of the seat-adjustment or mem-
ory buttons is activated during the
adjustment process.
Security function:
1. With the driver's door closed and the
ignition key either removed or in
position 0 or 2
2. Maintain pressure on the desired
memory button 1, 2 or 3 until the
adjustment process is completed.
If you press the
M
EMORY button
accidentally: press the button a
second time – the indicator lamp goes
out.<
You can have your vehicle pro-
grammed to automatically dial in
your own individual adjustment settings
for the seat, mirrors and steering wheel
whenever you use your personal
remote control to unlock the vehicle.<
If you make use of this adjust-
ment, be sure that the footwell
behind the driver's seat is unobstructed
before unlocking the vehicle. If you fail
to do so, any persons or objects behind
the seat could be injured or damaged
by a rearward movement of the seat.<
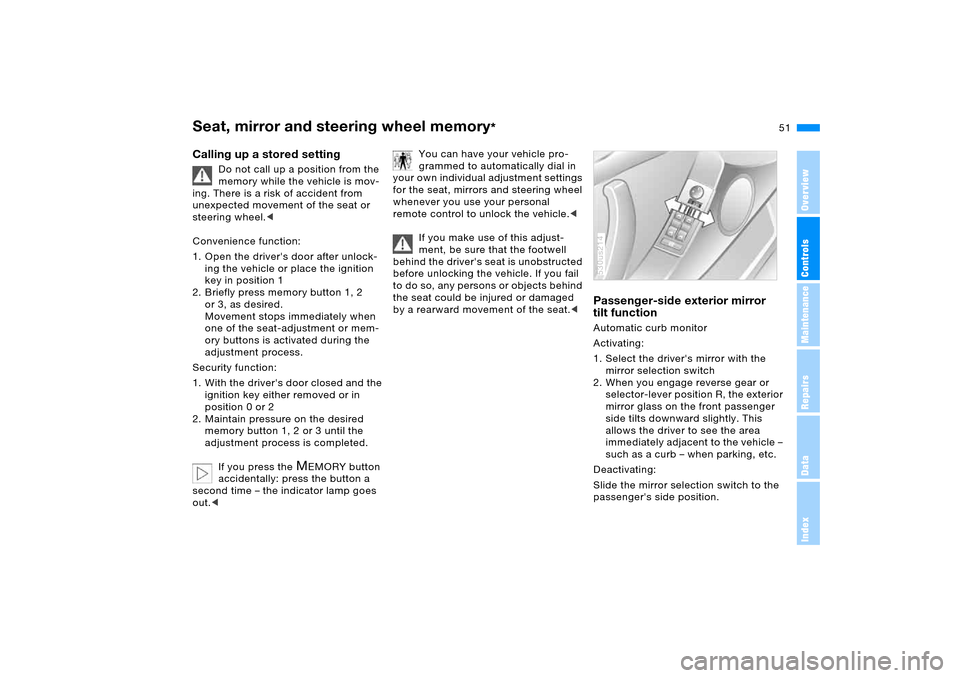
Passenger-side exterior mirror
tilt function Automatic curb monitor
Activating:
1. Select the driver's mirror with the
mirror selection switch
2. When you engage reverse gear or
selector-lever position R, the exterior
mirror glass on the front passenger
side tilts downward slightly. This
allows the driver to see the area
immediately adjacent to the vehicle –
such as a curb – when parking, etc.
Deactivating:
Slide the mirror selection switch to the
passenger's side position.530us214
Page 53 of 200
53n
OverviewControlsMaintenanceRepairsDataIndex
Steering wheel Steering wheel heater
*
Automatic steering wheel
adjustmentonly in conjunction with seat, mirror and
steering wheel memory
In or der to m a ke it e asie r t o get in to an d
out of the vehicle, the steering wheel
automatically moves into the top posi-
tion and returns to the driving or mem-
ory position.
This automatic feature is controlled by
the position of the ignition key and by
the driver's door.
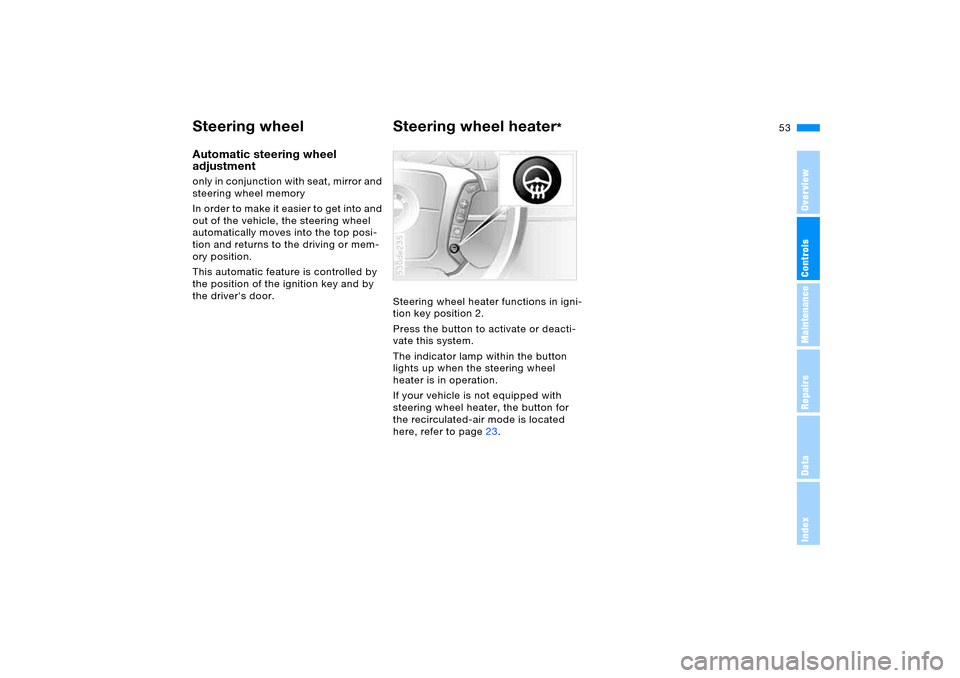
Steering wheel heater functions in igni-
tion key position 2.
Press the button to activate or deacti-
vate this system.
The indicator lamp within the button
lights up when the steering wheel
heater is in operation.
If your vehicle is not equipped with
steering wheel heater, the button for
the recirculated-air mode is located
here, refer to page23.
530de235
Page 55 of 200
55n
OverviewControlsMaintenanceRepairsDataIndex
MirrorsInterior rearview mirror To reduce glare from vehicles behind
you when you are driving at night, tilt
the mirror by turning the button. 530us244
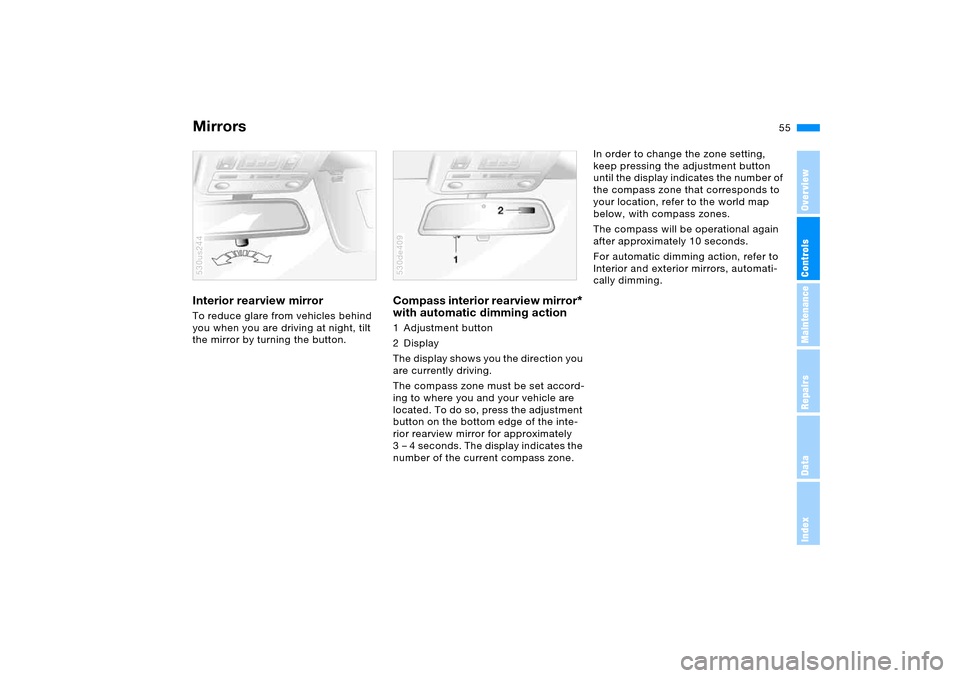
Compass interior rearview mirror
*
with automatic dimming action
1 Adjustment button
2Display
The display shows you the direction you
are currently driving.
The compass zone must be set accord-
ing to where you and your vehicle are
located. To do so, press the adjustment
button on the bottom edge of the inte-
rior rearview mirror for approximately
3 – 4 seconds. The display indicates the
number of the current compass zone.530de409
In order to change the zone setting,
keep pressing the adjustment button
until the display indicates the number of
the compass zone that corresponds to
your location, refer to the world map
below, with compass zones.
The compass will be operational again
after approximately 10 seconds.
For automatic dimming action, refer to
Interior and exterior mirrors, automati-
cally dimming.
Page 63 of 200
63n
OverviewControlsMaintenanceRepairsDataIndex
Vehicle Memory, Key Memory How the system functions You have probably frequently wished
that you could configure individual
functions of your vehicle to reflect your
own personal requirements. In engi-
neering your vehicle, BMW has
included several user-defined func-
tions in the vehicle's design. Your
BMW Sports Activity Vehicle center can
make these settings for you.
There are vehicle and person-related
adjustments: Vehicle Memory and Key
Memory. You can have up to four differ-
ent basic positions configured for four
different persons. The only requirement
is that each person uses his or her own
remote control key.
When your vehicle is unlocked with the
remote control, the vehicle recognizes
the individual user by means of a data
exchange with the key, and makes
adjustments accordingly.
In order for you to distinguish between
the master keys with remote control,
color-coded decals are supplied
together with the keys.
What the system can doYour BMW Sports Activity Vehicle cen-
ter can provide you with details on the
capabilities of the Vehicle Memory and
Key Memory systems.
You will see this symbol through-
out the Owner's Manual. It is to
remind you at appropriate places of the
settings that are available to you.<
Following configuration of the
memory functions, vehicle opera-
tion may differ from the description in
the Owner's Manual. Should you want
to sell your BMW some day, please
remember to have the memory func-
tions reset to the default state.<
Examples for Vehicle Memory:
>Various signals that can serve as
acknowledgment for locking and
unlocking the vehicle, refer to
pages31, 33
>Deactivating/activating the Pathway
lighting function, refer to page103.
Examples for Key Memory:
>Automatic adjustment of the driver's
seat, exterior mirror and steering
wheel with settings stored in the
memory for the individual driver when
the vehicle is unlocked, refer to
page51
>Calling up customized settings for
the automatic climate control when
unlocking the vehicle, refer to
page112.
Page 71 of 200
OverviewControlsMaintenanceRepairsDataIndex
71n
Washer/wiper system/rain sensor
*
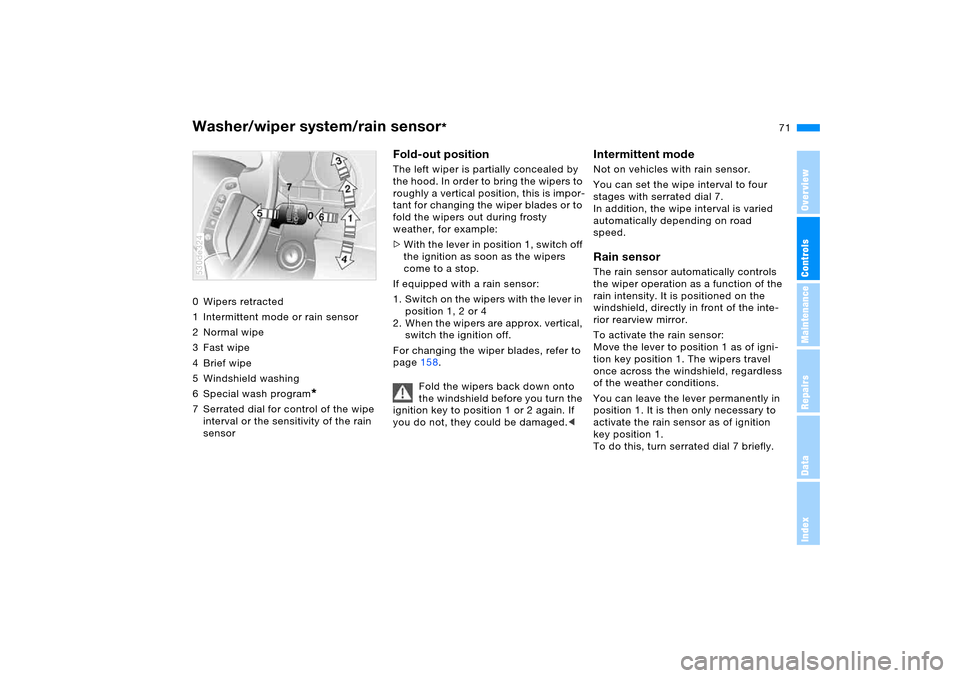
0 Wipers retracted
1 Intermittent mode or rain sensor
2Normal wipe
3Fast wipe
4Brief wipe
5 Windshield washing
6 Special wash program
*
7 Serrated dial for control of the wipe
interval or the sensitivity of the rain
sensor530de324
Fold-out positionThe left wiper is partially concealed by
the hood. In order to bring the wipers to
roughly a vertical position, this is impor-
tant for changing the wiper blades or to
fold the wipers out during frosty
weather, for example:
>With the lever in position 1, switch off
the ignition as soon as the wipers
come to a stop.
If equipped with a rain sensor:
1. Switch on the wipers with the lever in
position 1, 2 or 4
2. When the wipers are approx. vertical,
switch the ignition off.
For changing the wiper blades, refer to
page158.
Fold the wipers back down onto
the windshield before you turn the
ignition key to position 1 or 2 again. If
you do not, they could be damaged.<
Intermittent mode Not on vehicles with rain sensor.
You can set the wipe interval to four
stages with serrated dial 7.
In addition, the wipe interval is varied
automatically depending on road
speed. Rain sensor The rain sensor automatically controls
the wiper operation as a function of the
rain intensity. It is positioned on the
windshield, directly in front of the inte-
rior rearview mirror.
To activate the rain sensor:
Move the lever to position 1 as of igni-
tion key position 1. The wipers travel
once across the windshield, regardless
of the weather conditions.
You can leave the lever permanently in
position 1. It is then only necessary to
activate the rain sensor as of ignition
key position 1.
To do this, turn serrated dial 7 briefly.
Page 137 of 200
137n
OverviewControlsMaintenanceRepairsDataIndex
General driving notesClosing liftgate/tailgate
Operate the vehicle only when the
tailgate and liftgate are completely
closed. Otherwise, exhaust fumes
could enter into the passenger com-
partment.<
However, if special circumstances
should make it absolutely necessary
to operate the vehicle with the liftgate/
tailgate open:
1. Close all windows and the panorama
glass sunroof
2. Increase the air supply for the air
conditioner or automatic climate
control to a high level, refer to
page108 or112.
Hot exhaust system
Extreme temperatures occur at
the catalytic converter on this and
every catalyst-equipped vehicle. Do not
remove the heat shields installed adja-
cent to various sections of the exhaust
system, and never apply undercoating
to them. When driving, standing at idle
and while parking take care to avoid
possible contact between a hot exhaust
system and any highly flammable mate-
rials such as hay, leaves, grass etc.
Otherwise there is a danger of ignition
and of a fire with the risk of serious inju-
ries and damage.
mobile radio devices such as por-
table phones inside the vehicle unless
they are directly connected to the
external antenna. Otherwise, it is
impossible to prevent a mutual interfer-
ence of the vehicle electronics with the
portable phone device. Also, there is no
guarantee that the radiation generated
by the transmission will be conveyed
out from the interior of the vehicle.<
When vehicle is parked Condensation forms in the air condi-
tioner system during operation, and
then exits under the vehicle. Traces of
water on the ground are therefore nor-
mal.Brakes
Do not drive with your foot resting
on the brake pedal. Even light but
consistent pedal pressure can lead to
excessively high temperatures, brake
wear and possibly even brake failure.<
Road hazards
If road hazards, obstacles or curbs
are unavoidable, only drive over
them very slowly and carefully, as oth-
erwise the wheels and suspension
parts, especially on vehicles fitted with
low profile tires, can be damaged.<
For more information on wheels and
tires, refer to page144.
Before driving into a car washFold in the exterior mirrors, refer to
page54, as otherwise they could be
damaged due to the width of the vehi-
cle.Hydroplaning
When driving on wet or slushy
roads, reduce road speed. If you
do not, a wedge of water can form
between tires and road surface. This
state can cause a partial or total loss of
contact with the road surface, of brak-
ing control and of control over the vehi-
cle.<
Page 169 of 200
169n
OverviewControlsMaintenanceRepairsDataIndex
Vehicle battery FusesPower failure Following a temporary power failure,
e.g. in the case of a flat battery, some
equipment is subject to restricted use
and must be reinitialized. Individual set-
tings are also lost and must be updated
again:
>Seat, mirror and steering wheel
memory
The positions must be newly stored,
refer to page50
>Time and date
Have to be updated, refer to page85
>Activation time for independent venti-
lation
Has to be updated again, refer to
page87.
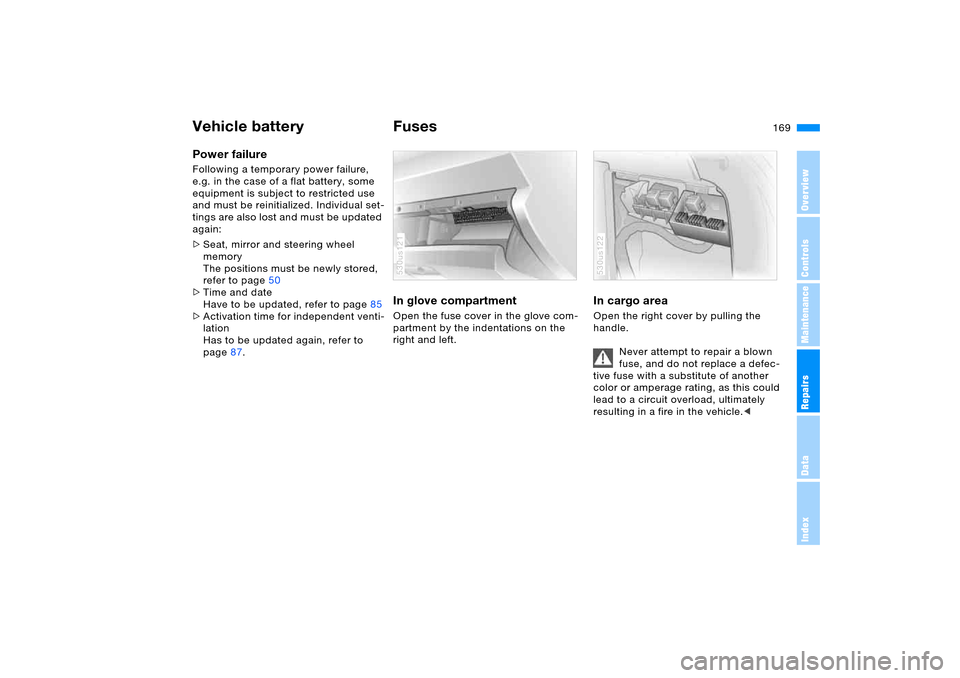
In glove compartment Open the fuse cover in the glove com-
partment by the indentations on the
right and left.530us121
In cargo area Open the right cover by pulling the
handle.
Never attempt to repair a blown
fuse, and do not replace a defec-
tive fuse with a substitute of another
color or amperage rating, as this could
lead to a circuit overload, ultimately
resulting in a fire in the vehicle.<530us122
Page 186 of 200
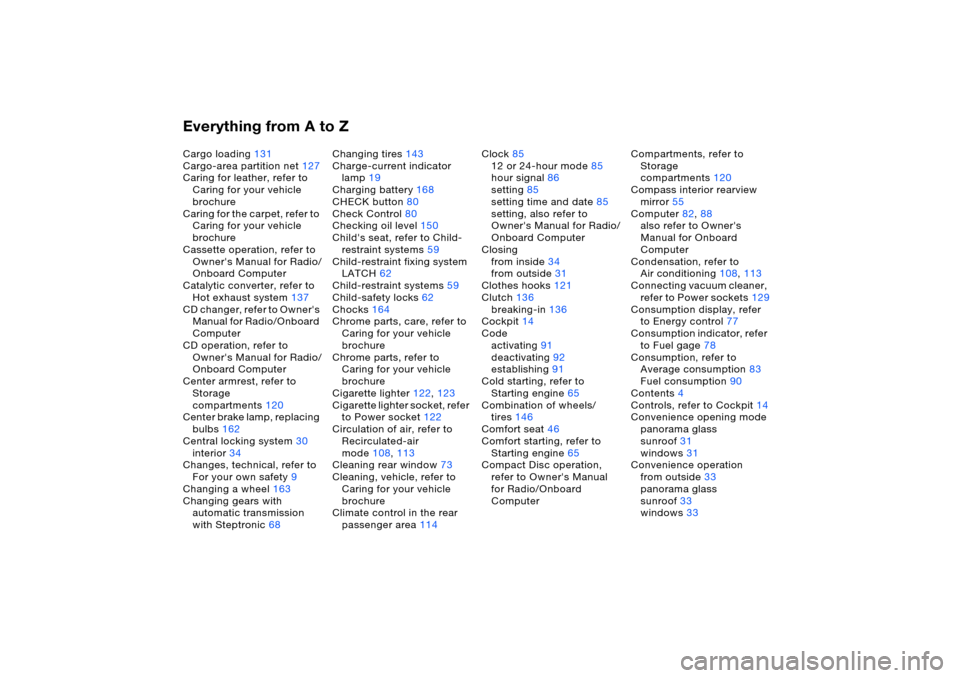
Everything from A to ZCargo loading131
Cargo-area partition net127
Caring for leather, refer to
Caring for your vehicle
brochure
Caring for the carpet, refer to
Caring for your vehicle
brochure
Cassette operation, refer to
Owner's Manual for Radio/
Onboard Computer
Catalytic converter, refer to
Hot exhaust system137
CD changer, refer to Owner's
Manual for Radio/Onboard
Computer
CD operation, refer to
Owner's Manual for Radio/
Onboard Computer
Center armrest, refer to
Storage
compartments120
Center brake lamp, replacing
bulbs162
Central locking system30
interior34
Changes, technical, refer to
For your own safety9
Changing a wheel163
Changing gears with
automatic transmission
with Steptronic68Changing tires143
Charge-current indicator
lamp19
Charging battery168
CHECK button80
Check Control80
Checking oil level150
Child's seat, refer to Child-
restraint systems59
Child-restraint fixing system
LATCH62
Child-restraint systems59
Child-safety locks62
Chocks164
Chrome parts, care, refer to
Caring for your vehicle
brochure
Chrome parts, refer to
Caring for your vehicle
brochure
Cigarette lighter122,123
Cigarette lighter socket, refer
to Power socket122
Circulation of air, refer to
Recirculated-air
mode108,113
Cleaning rear window73
Cleaning, vehicle, refer to
Caring for your vehicle
brochure
Climate control in the rear
passenger area114Clock85
12 or 24-hour mode85
hour signal86
setting85
setting time and date85
setting, also refer to
Owner's Manual for Radio/
Onboard Computer
Closing
from inside34
from outside31
Clothes hooks121
Clutch136
breaking-in136
Cockpit14
Code
activating91
deactivating92
establishing91
Cold starting, refer to
Starting engine65
Combination of wheels/
tires146
Comfort seat46
Comfort starting, refer to
Starting engine65
Compact Disc operation,
refer to Owner's Manual
for Radio/Onboard
ComputerCompartments, refer to
Storage
compartments120
Compass interior rearview
mirror55
Computer82,88
also refer to Owner's
Manual for Onboard
Computer
Condensation, refer to
Air conditioning108,113
Connecting vacuum cleaner,
refer to Power sockets129
Consumption display, refer
to Energy control77
Consumption indicator, refer
to Fuel gage78
Consumption, refer to
Average consumption83
Fuel consumption90
Contents4
Controls, refer to Cockpit14
Convenience opening mode
panorama glass
sunroof31
windows31
Convenience operation
from outside33
panorama glass
sunroof33
windows33
Page 189 of 200
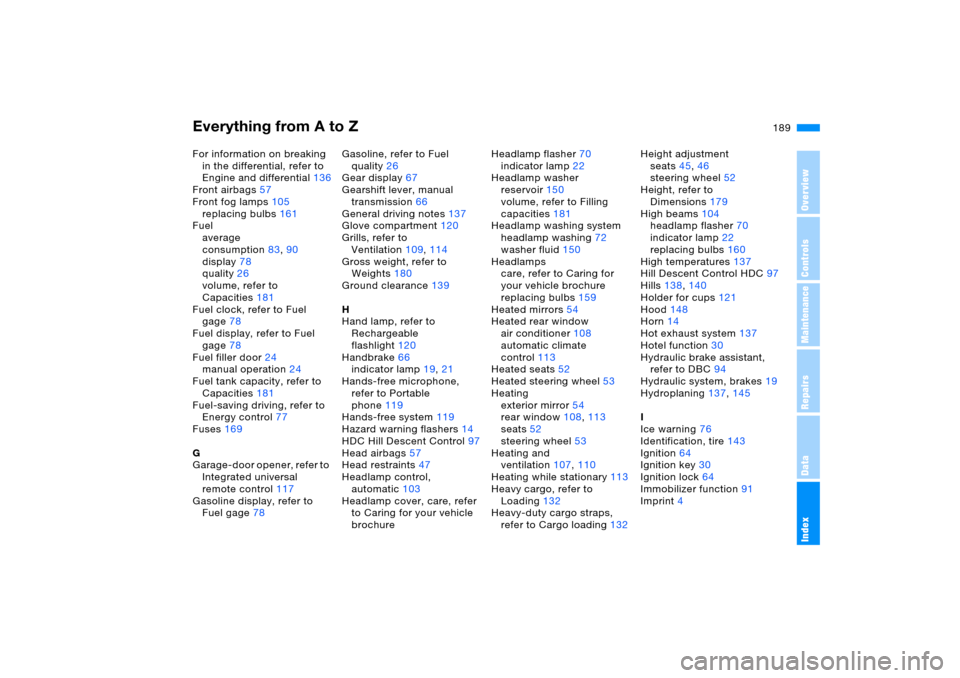
Everything from A to Z
189n
OverviewControlsMaintenanceRepairsDataIndex
For information on breaking
in the differential, refer to
Engine and differential136
Front airbags57
Front fog lamps105
replacing bulbs161
Fuel
average
consumption83,90
display78
quality26
volume, refer to
Capacities181
Fuel clock, refer to Fuel
gage78
Fuel display, refer to Fuel
gage78
Fuel filler door24
manual operation24
Fuel tank capacity, refer to
Capacities181
Fuel-saving driving, refer to
Energy control77
Fuses169
G
Garage-door opener, refer to
Integrated universal
remote control117
Gasoline display, refer to
Fuel gage78Gasoline, refer to Fuel
quality26
Gear display67
Gearshift lever, manual
transmission66
General driving notes137
Glove compartment120
Grills, refer to
Ventilation109,114
Gross weight, refer to
Weights180
Ground clearance139
H
Hand lamp, refer to
Rechargeable
flashlight120
Handbrake66
indicator lamp19,21
Hands-free microphone,
refer to Portable
phone119
Hands-free system119
Hazard warning flashers14
HDC Hill Descent Control97
Head airbags57
Head restraints47
Headlamp control,
automatic103
Headlamp cover, care, refer
to Caring for your vehicle
brochureHeadlamp flasher70
indicator lamp22
Headlamp washer
reservoir150
volume, refer to Filling
capacities181
Headlamp washing system
headlamp washing72
washer fluid150
Headlamps
care, refer to Caring for
your vehicle brochure
replacing bulbs159
Heated mirrors54
Heated rear window
air conditioner108
automatic climate
control113
Heated seats52
Heated steering wheel53
Heating
exterior mirror54
rear window108,113
seats52
steering wheel53
Heating and
ventilation107,110
Heating while stationary113
Heavy cargo, refer to
Loading132
Heavy-duty cargo straps,
refer to Cargo loading132Height adjustment
seats45,46
steering wheel52
Height, refer to
Dimensions179
High beams104
headlamp flasher70
indicator lamp22
replacing bulbs160
High temperatures137
Hill Descent Control HDC97
Hills138,140
Holder for cups121
Hood148
Horn14
Hot exhaust system137
Hotel function30
Hydraulic brake assistant,
refer to DBC94
Hydraulic system, brakes19
Hydroplaning137,145
I
Ice warning76
Identification, tire143
Ignition64
Ignition key30
Ignition lock64
Immobilizer function91
Imprint4