Turn signal BMW X5 3.0I 2006 E53 User Guide
[x] Cancel search | Manufacturer: BMW, Model Year: 2006, Model line: X5 3.0I, Model: BMW X5 3.0I 2006 E53Pages: 202, PDF Size: 4.13 MB
Page 79 of 202
79n
OverviewControlsMaintenanceRepairsDataIndex
Check Control Computer>TRANS. FAILSAFE PROG
*
Please consult the nearest BMW
Sports Activity Vehicle center, refer to
page67
>CHECK BRAKE LININGS
Have the brake pads inspected by
your BMW Sports Activity Vehicle
center, refer to page140
>CHECK COOLANT LEVEL
Coolant too low, top off at the next
opportunity, refer to page154
>ENGINE FAILSAFE PROG
Fault in the engine electronics.
You can continue to drive with
reduced engine output or engine
speed.
Please have the system inspected by
your BMW Sports Activity Vehicle
center.
Displays after completion of trip All of the malfunctions registered during
the trip appear consecutively when the
ignition key is turned to position 0.
The following displays will appear when
appropriate:
>LIGHTS ON
>KEY IN IGNITION LOCK
>CHECK ENGINE OIL LEV
Replenish engine oil at the next
opportunity, e.g. while refueling, refer
to page152. This display appears when you open
the driver's door after parking the vehi-
cle. A supplementary acoustic signal
also sounds.
Status messages remain available with
the CHECK button 3 for a period of
approx. three minutes after the display
goes out and the key is removed from
the ignition lock. If there are multiple
messages, press the CHECK button
repeatedly to view them all in
sequence.
Checking Check Control Press the CHECK button 3 with the
ignition key in position 2:
CHECK CONTROL OK appears on the
display.
No malfunctions are present in the
monitored systems. Computer You can find a description of the com-
puter below and on page85 as well as
in the Owner's Manual for Onboard
Computer.
You can have the Check Control
and computer messages dis-
played in a different language.<
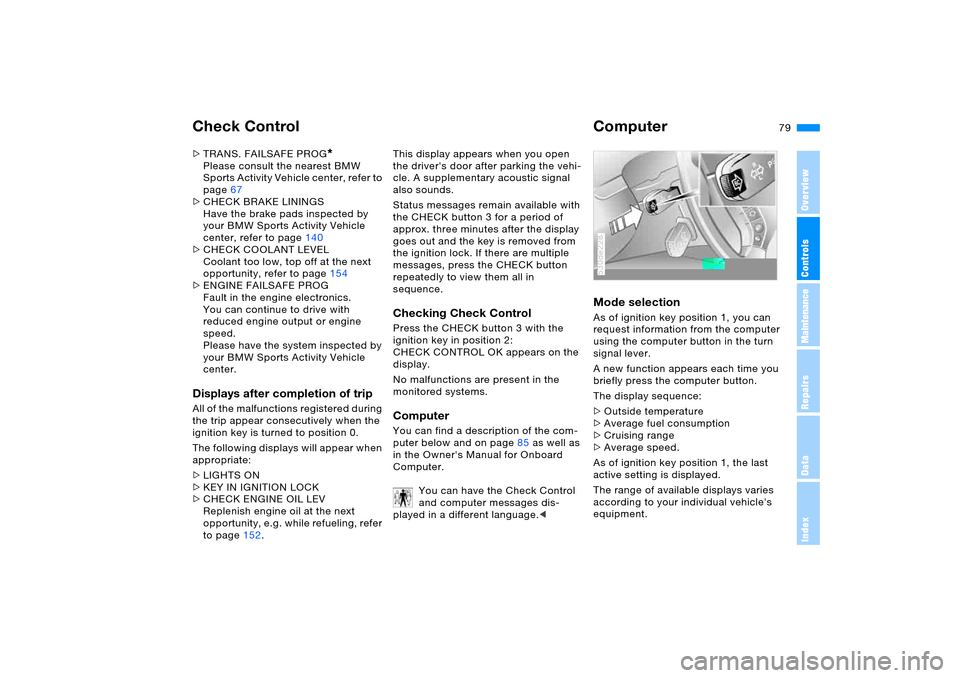
Mode selection As of ignition key position 1, you can
request information from the computer
using the computer button in the turn
signal lever.
A new function appears each time you
briefly press the computer button.
The display sequence:
>Outside temperature
>Average fuel consumption
>Cruising range
>Average speed.
As of ignition key position 1, the last
active setting is displayed.
The range of available displays varies
according to your individual vehicle's
equipment.530de228
Page 80 of 202
80n
ComputerOutside temperature and
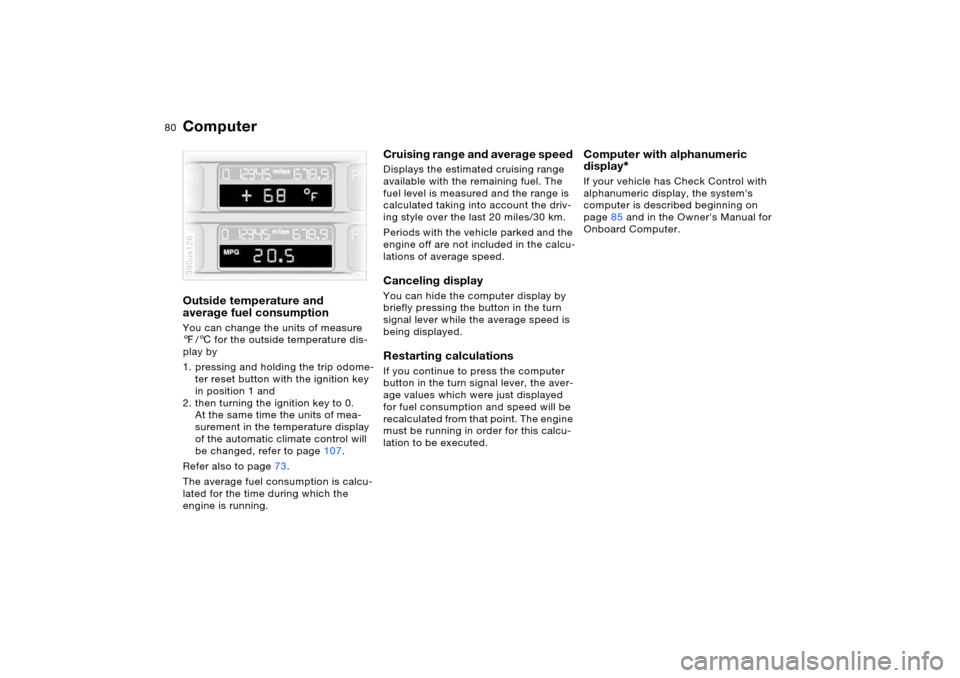
average fuel consumption You can change the units of measure
7/6 for the outside temperature dis-
play by
1. pressing and holding the trip odome-
ter reset button with the ignition key
in position 1 and
2. then turning the ignition key to 0.
At the same time the units of mea-
surement in the temperature display
of the automatic climate control will
be changed, refer to page107.
Refer also to page73.
The average fuel consumption is calcu-
lated for the time during which the
engine is running.390us126
Cruising range and average speed Displays the estimated cruising range
available with the remaining fuel. The
fuel level is measured and the range is
calculated taking into account the driv-
ing style over the last 20 miles/30 km.
Periods with the vehicle parked and the
engine off are not included in the calcu-
lations of average speed.Canceling display You can hide the computer display by
briefly pressing the button in the turn
signal lever while the average speed is
being displayed. Restarting calculations If you continue to press the computer
button in the turn signal lever, the aver-
age values which were just displayed
for fuel consumption and speed will be
recalculated from that point. The engine
must be running in order for this calcu-
lation to be executed.
Computer with alphanumeric
display
*
If your vehicle has Check Control with
alphanumeric display, the system's
computer is described beginning on
page85 and in the Owner's Manual for
Onboard Computer.
Page 83 of 202
83n
OverviewControlsMaintenanceRepairsDataIndex
Digital clock in MIDReminder signal You can program a reminder signal –
memo – to be heard every hour, so that
you are sure not to miss a news broad-
cast.
Press the left side of the button.
Press the button:
MEMO OFF appears on the display for
entry and request buttons, and the tone
symbol will appear in the upper right of
the display.
A signal is then heard 15 seconds
before each hour.
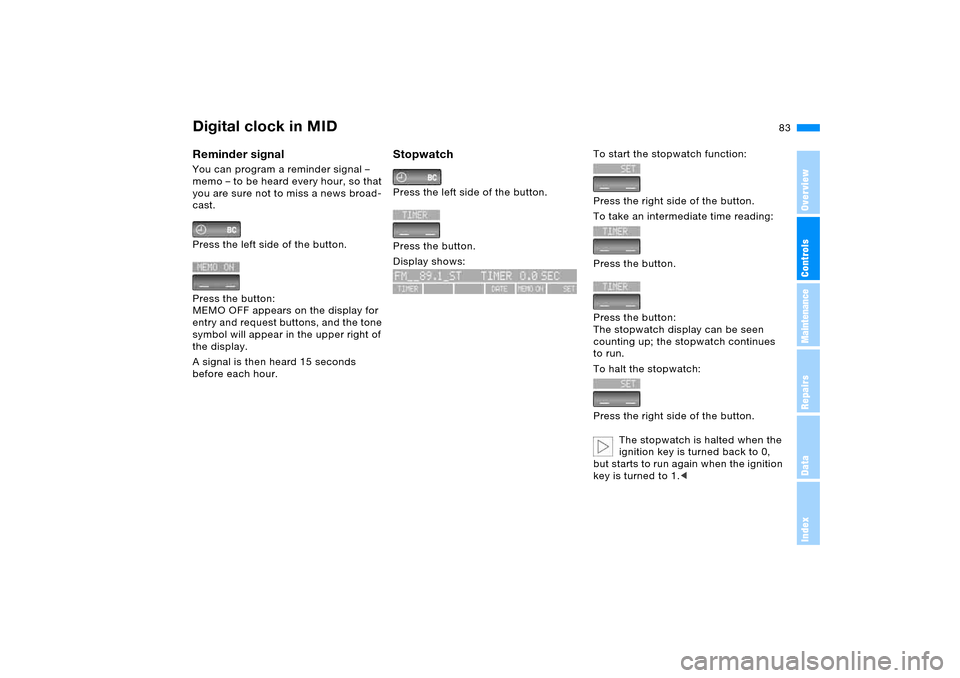
Stopwatch Press the left side of the button.
Press the button.
Display shows:
To start the stopwatch function:
Press the right side of the button.
To take an intermediate time reading:
Press the button.
Press the button:
The stopwatch display can be seen
counting up; the stopwatch continues
to run.
To halt the stopwatch:
Press the right side of the button.
The stopwatch is halted when the
ignition key is turned back to 0,
but starts to run again when the ignition
key is turned to 1.<
Page 89 of 202
89n
OverviewControlsMaintenanceRepairsDataIndex
Computer
* in MID
After three incorrect code entries, or
three attempts to start the engine with-
out a code entry, the alarm will sound
for 30 seconds on vehicles fitted with
an alarm system.
Deactivating the alarm in an emer-
gency:
If you have forgotten the code, proceed
as follows:
1. Disconnect the battery, wait approx.
2 minutes, then reconnect it. Note
that on vehicles with an alarm sys-
tem, the alarm will sound
2. Set the ignition key to position 1: the
time display will count down for the
next ten minutes
3. After ten minutes, start the engine.
If the code becomes available
again in the meantime, it can be
entered during the waiting period after
pressing the CODE button.<
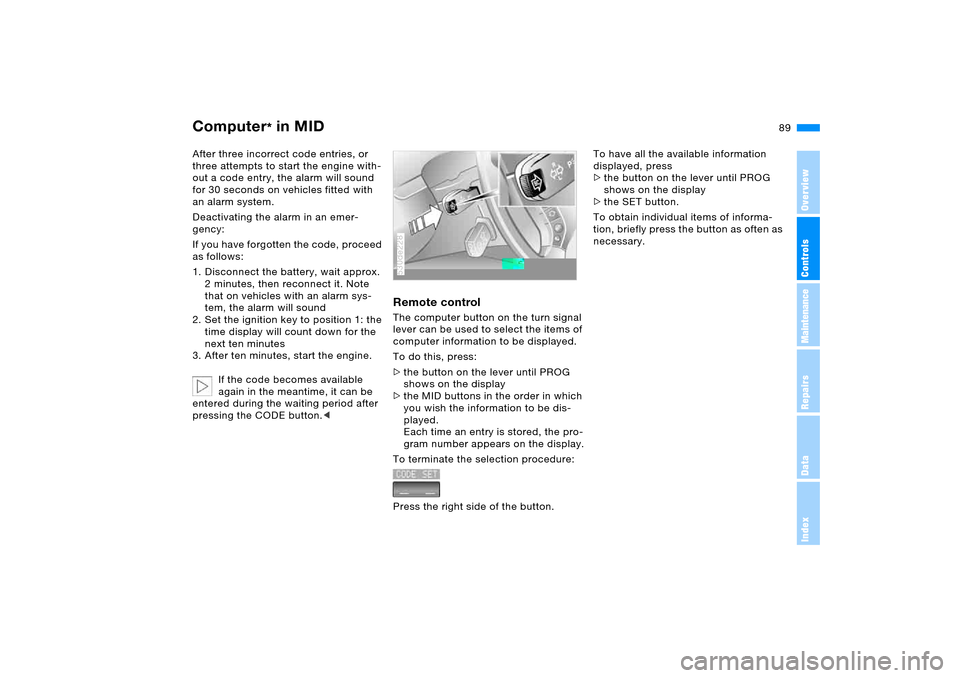
Remote controlThe computer button on the turn signal
lever can be used to select the items of
computer information to be displayed.
To do this, press:
>the button on the lever until PROG
shows on the display
>the MID buttons in the order in which
you wish the information to be dis-
played.
Each time an entry is stored, the pro-
gram number appears on the display.
To terminate the selection procedure:
Press the right side of the button.530de228
To have all the available information
displayed, press
>the button on the lever until PROG
shows on the display
>the SET button.
To obtain individual items of informa-
tion, briefly press the button as often as
necessary.
Page 100 of 202
100n
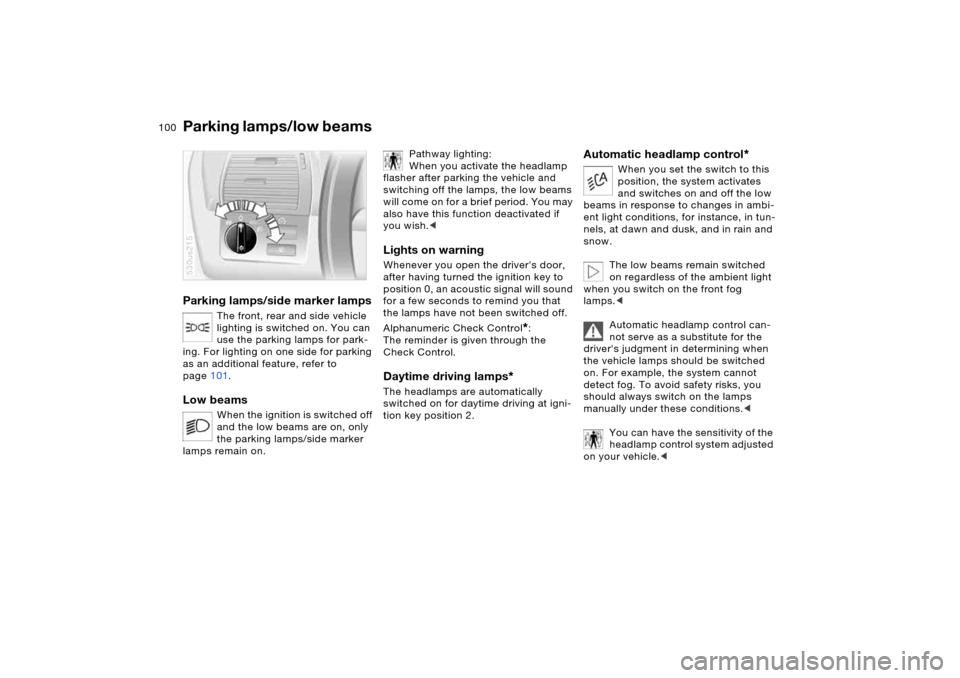
Parking lamps/side marker lamps
The front, rear and side vehicle
lighting is switched on. You can
use the parking lamps for park-
ing. For lighting on one side for parking
as an additional feature, refer to
page101.
Low beams
When the ignition is switched off
and the low beams are on, only
the parking lamps/side marker
lamps remain on.
530us215
Pathway lighting:
When you activate the headlamp
flasher after parking the vehicle and
switching off the lamps, the low beams
will come on for a brief period. You may
also have this function deactivated if
you wish.<
Lights on warning Whenever you open the driver's door,
after having turned the ignition key to
position 0, an acoustic signal will sound
for a few seconds to remind you that
the lamps have not been switched off.
Alphanumeric Check Control
*:
The reminder is given through the
Check Control.
Daytime driving lamps
*
The headlamps are automatically
switched on for daytime driving at igni-
tion key position 2.
Automatic headlamp control
*
When you set the switch to this
position, the system activates
and switches on and off the low
beams in response to changes in ambi-
ent light conditions, for instance, in tun-
nels, at dawn and dusk, and in rain and
snow.
The low beams remain switched
on regardless of the ambient light
when you switch on the front fog
lamps.<
Automatic headlamp control can-
not serve as a substitute for the
driver's judgment in determining when
the vehicle lamps should be switched
on. For example, the system cannot
detect fog. To avoid safety risks, you
should always switch on the lamps
manually under these conditions.<
You can have the sensitivity of the
headlamp control system adjusted
on your vehicle.<
Parking lamps/low beams
Page 101 of 202
101n
OverviewControlsMaintenanceRepairsDataIndex
Adaptive Head Light
*
High beams/roadside parking lamps
The concept Adaptive Head Light is a variable head-
lamp control system that enables better
illumination of the road surface.
Depending on the steering angle and
other assumptions, the light from the
headlamp follows the course of the
road.Activating Adaptive Head Light
In ignition key position 2, turn
the light switch to the position
'Automatic headlamp control',
refer to page100.
To avoid blinding oncoming traffic, the
Adaptive Head Light
>is not active when driving in reverse
>is active only when pointing toward
the passenger side.
MalfunctionsThe LED next to the symbol for auto-
matic headlamp control flashes. Adap-
tive Head Light is faulty or has failed.
Have the system checked as soon as
possible.
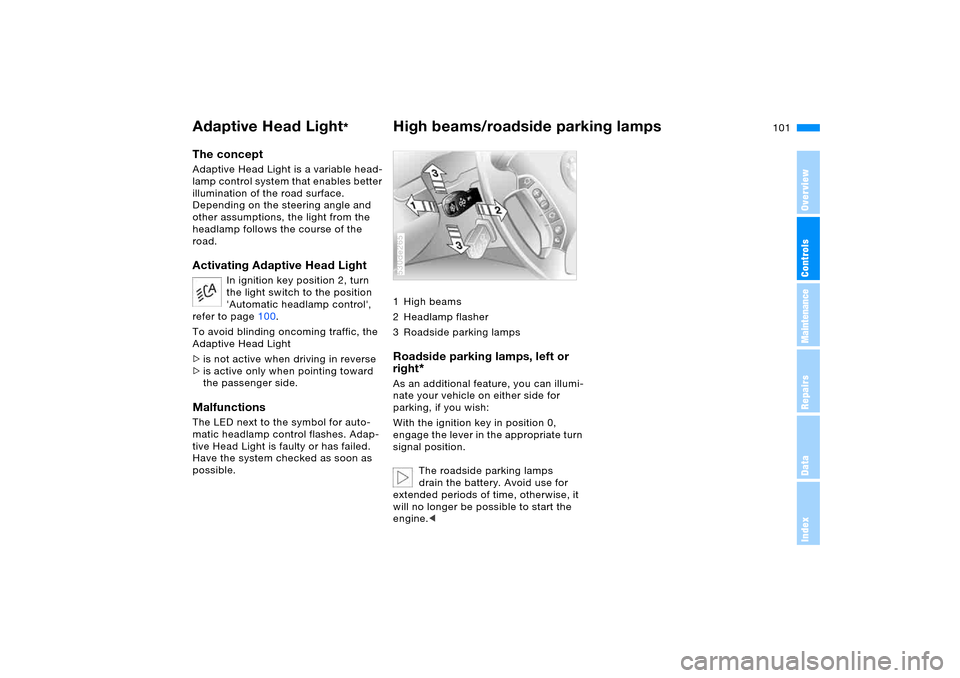
1High beams
2Headlamp flasher
3 Roadside parking lamps Roadside parking lamps, left or
right
*
As an additional feature, you can illumi-
nate your vehicle on either side for
parking, if you wish:
With the ignition key in position 0,
engage the lever in the appropriate turn
signal position.
The roadside parking lamps
drain the battery. Avoid use for
extended periods of time, otherwise, it
will no longer be possible to start the
engine.<530de265
Page 162 of 202
162n
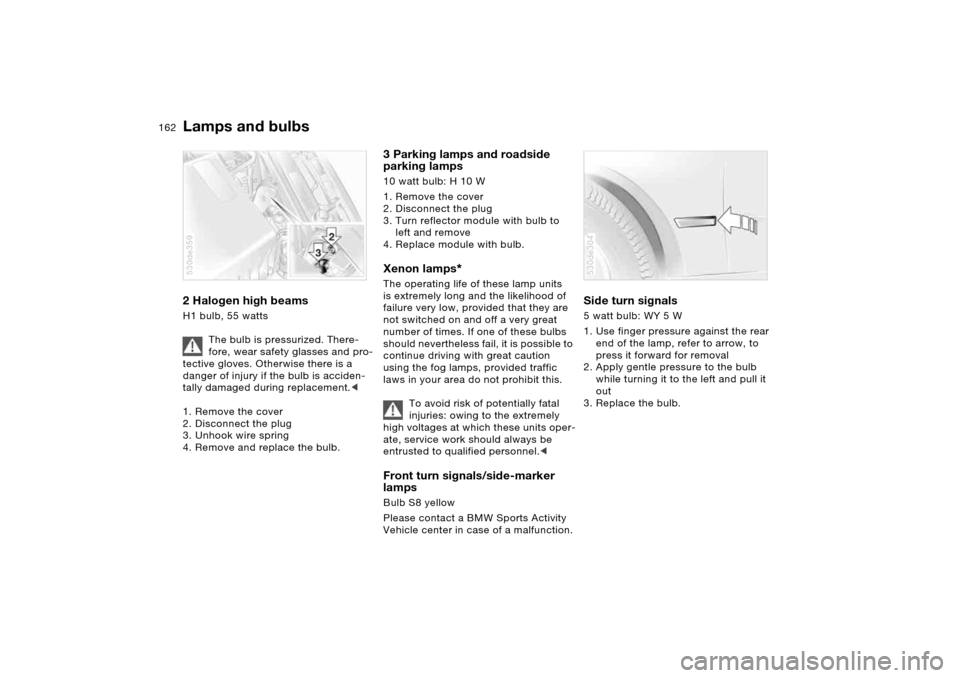
Lamps and bulbs 2 Halogen high beams H1 bulb, 55 watts
The bulb is pressurized. There-
fore, wear safety glasses and pro-
tective gloves. Otherwise there is a
danger of injury if the bulb is acciden-
tally damaged during replacement.<
1. Remove the cover
2. Disconnect the plug
3. Unhook wire spring
4. Remove and replace the bulb. 530de359
3 Parking lamps and roadside
parking lamps 10 watt bulb: H 10 W
1. Remove the cover
2. Disconnect the plug
3. Turn reflector module with bulb to
left and remove
4. Replace module with bulb.Xenon lamps
*
The operating life of these lamp units
is extremely long and the likelihood of
failure very low, provided that they are
not switched on and off a very great
number of times. If one of these bulbs
should nevertheless fail, it is possible to
continue driving with great caution
using the fog lamps, provided traffic
laws in your area do not prohibit this.
To avoid risk of potentially fatal
injuries: owing to the extremely
high voltages at which these units oper-
ate, service work should always be
entrusted to qualified personnel.< Front turn signals/side-marker
lamps Bulb S8 yellow
Please contact a BMW Sports Activity
Vehicle center in case of a malfunction.
Side turn signals 5 watt bulb: WY 5 W
1. Use finger pressure against the rear
end of the lamp, refer to arrow, to
press it forward for removal
2. Apply gentle pressure to the bulb
while turning it to the left and pull it
out
3. Replace the bulb.530de304
Page 163 of 202
163n
OverviewControlsMaintenanceRepairsDataIndex
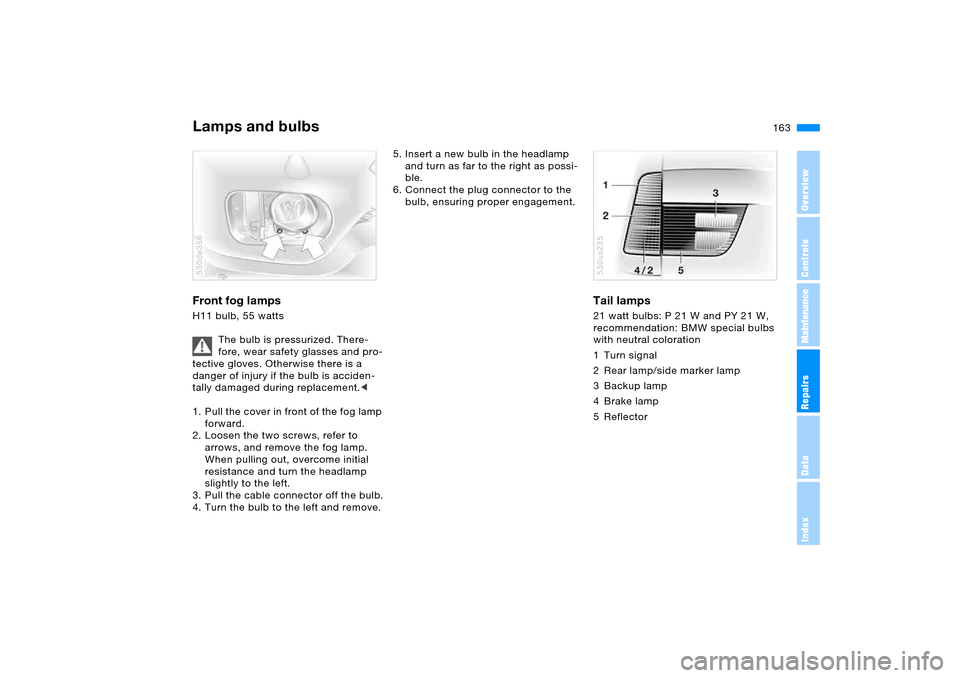
Lamps and bulbs Front fog lamps H11 bulb, 55 watts
The bulb is pressurized. There-
fore, wear safety glasses and pro-
tective gloves. Otherwise there is a
danger of injury if the bulb is acciden-
tally damaged during replacement.<
1. Pull the cover in front of the fog lamp
forward.
2. Loosen the two screws, refer to
arrows, and remove the fog lamp.
When pulling out, overcome initial
resistance and turn the headlamp
slightly to the left.
3. Pull the cable connector off the bulb.
4. Turn the bulb to the left and remove.530de356
5. Insert a new bulb in the headlamp
and turn as far to the right as possi-
ble.
6. Connect the plug connector to the
bulb, ensuring proper engagement.
Tail lamps 21 watt bulbs: P 21 W and PY 21 W,
recommendation: BMW special bulbs
with neutral coloration
1 Turn signal
2 Rear lamp/side marker lamp
3 Backup lamp
4Brake lamp
5Reflector 530us235
Page 189 of 202
Everything from A to Z
189n
OverviewControlsMaintenanceRepairsDataIndex
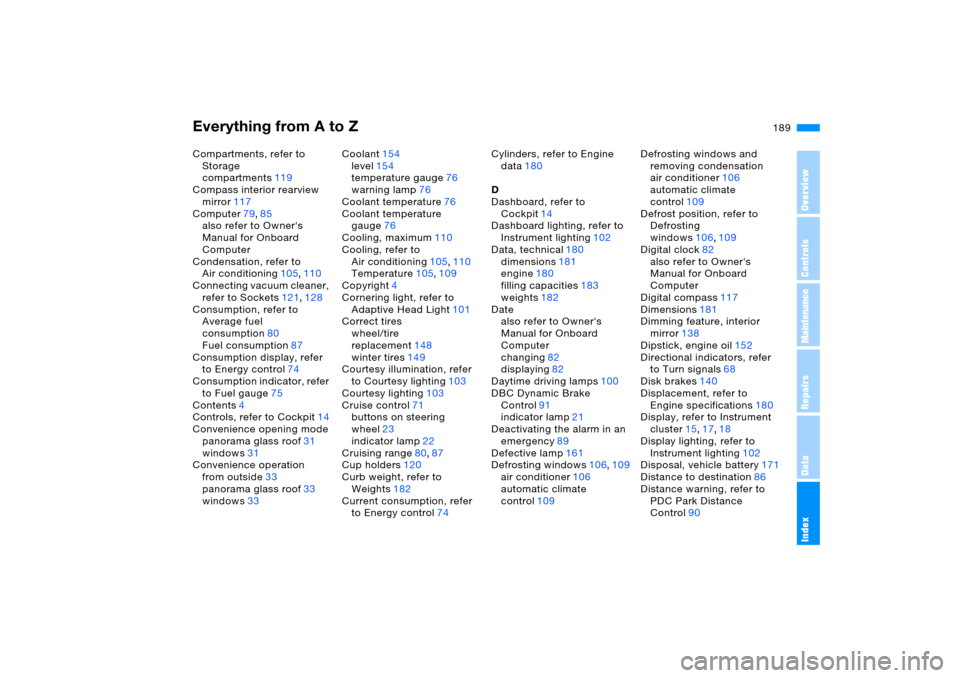
Compartments, refer to
Storage
compartments119
Compass interior rearview
mirror117
Computer79,85
also refer to Owner's
Manual for Onboard
Computer
Condensation, refer to
Air conditioning105,110
Connecting vacuum cleaner,
refer to Sockets121,128
Consumption, refer to
Average fuel
consumption80
Fuel consumption87
Consumption display, refer
to Energy control74
Consumption indicator, refer
to Fuel gauge75
Contents4
Controls, refer to Cockpit14
Convenience opening mode
panorama glass roof31
windows31
Convenience operation
from outside33
panorama glass roof33
windows33Coolant154
level154
temperature gauge76
warning lamp76
Coolant temperature76
Coolant temperature
gauge76
Cooling, maximum110
Cooling, refer to
Air conditioning105,110
Temperature105,109
Copyright4
Cornering light, refer to
Adaptive Head Light101
Correct tires
wheel/tire
replacement148
winter tires149
Courtesy illumination, refer
to Courtesy lighting103
Courtesy lighting103
Cruise control71
buttons on steering
wheel23
indicator lamp22
Cruising range80
,87
Cup holders120
Curb weight, refer to
Weights182
Current consumption, refer
to Energy control74Cylinders, refer to Engine
data180
D
Dashboard, refer to
Cockpit14
Dashboard lighting, refer to
Instrument lighting102
Data, technical180
dimensions181
engine180
filling capacities183
weights182
Date
also refer to Owner's
Manual for Onboard
Computer
changing82
displaying82
Daytime driving lamps100
DBC Dynamic Brake
Control91
indicator lamp21
Deactivating the alarm in an
emergency89
Defective lamp161
Defrosting windows106,109
air conditioner106
automatic climate
control109Defrosting windows and
removing condensation
air conditioner106
automatic climate
control109
Defrost position, refer to
Defrosting
windows106,109
Digital clock82
also refer to Owner's
Manual for Onboard
Computer
Digital compass117
Dimensions181
Dimming feature, interior
mirror138
Dipstick, engine oil152
Directional indicators, refer
to Turn signals68
Disk brakes140
Displacement, refer to
Engine specifications180
Display, refer to Instrument
cluster15,17,18
Display lighting, refer to
Instrument lighting102
Disposal, vehicle battery171
Distance to destination86
Distance warning, refer to
PDC Park Distance
Control90
Page 194 of 202
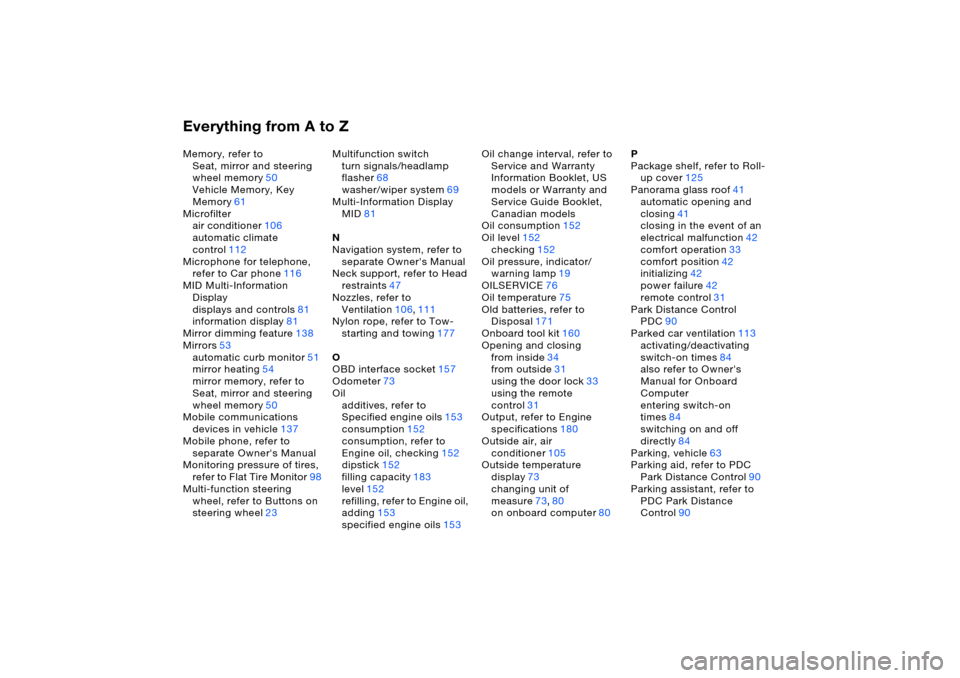
Everything from A to ZMemory, refer to
Seat, mirror and steering
wheel memory50
Vehicle Memory, Key
Memory61
Microfilter
air conditioner106
automatic climate
control112
Microphone for telephone,
refer to Car phone116
MID Multi-Information
Display
displays and controls81
information display81
Mirror dimming feature138
Mirrors53
automatic curb monitor51
mirror heating54
mirror memory, refer to
Seat, mirror and steering
wheel memory50
Mobile communications
devices in vehicle137
Mobile phone, refer to
separate Owner's Manual
Monitoring pressure of tires,
refer to Flat Tire Monitor98
Multi-function steering
wheel, refer to Buttons on
steering wheel23Multifunction switch
turn signals/headlamp
flasher68
washer/wiper system69
Multi-Information Display
MID81
N
Navigation system, refer to
separate Owner's Manual
Neck support, refer to Head
restraints47
Nozzles, refer to
Ventilation106,111
Nylon rope, refer to Tow-
starting and towing177
O
OBD interface socket157
Odometer73
Oil
additives, refer to
Specified engine oils153
consumption152
consumption, refer to
Engine oil, checking152
dipstick152
filling capacity183
level152
refilling, refer to Engine oil,
adding153
specified engine oils153Oil change interval, refer to
Service and Warranty
Information Booklet, US
models or Warranty and
Service Guide Booklet,
Canadian models
Oil consumption
152
Oil level152
checking152
Oil pressure, indicator/
warning lamp19
OILSERVICE76
Oil temperature75
Old batteries, refer to
Disposal171
Onboard tool kit160
Opening and closing
from inside34
from outside31
using the door lock33
using the remote
control31
Output, refer to Engine
specifications180
Outside air, air
conditioner105
Outside temperature
display73
changing unit of
measure73,80
on onboard computer80P
Package shelf, refer to Roll-
up cover125
Panorama glass roof41
automatic opening and
closing41
closing in the event of an
electrical malfunction42
comfort operation33
comfort position42
initializing42
power failure42
remote control31
Park Distance Control
PDC90
Parked car ventilation113
activating/deactivating
switch-on times84
also refer to Owner's
Manual for Onboard
Computer
entering switch-on
times84
switching on and off
directly84
Parking, vehicle63
Parking aid, refer to PDC
Park Distance Control90
Parking assistant, refer to
PDC Park Distance
Control90