change time BMW X5 3.0I 2006 E53 Owner's Manual
[x] Cancel search | Manufacturer: BMW, Model Year: 2006, Model line: X5 3.0I, Model: BMW X5 3.0I 2006 E53Pages: 202, PDF Size: 4.13 MB
Page 73 of 202
73n
OverviewControlsMaintenanceRepairsDataIndex
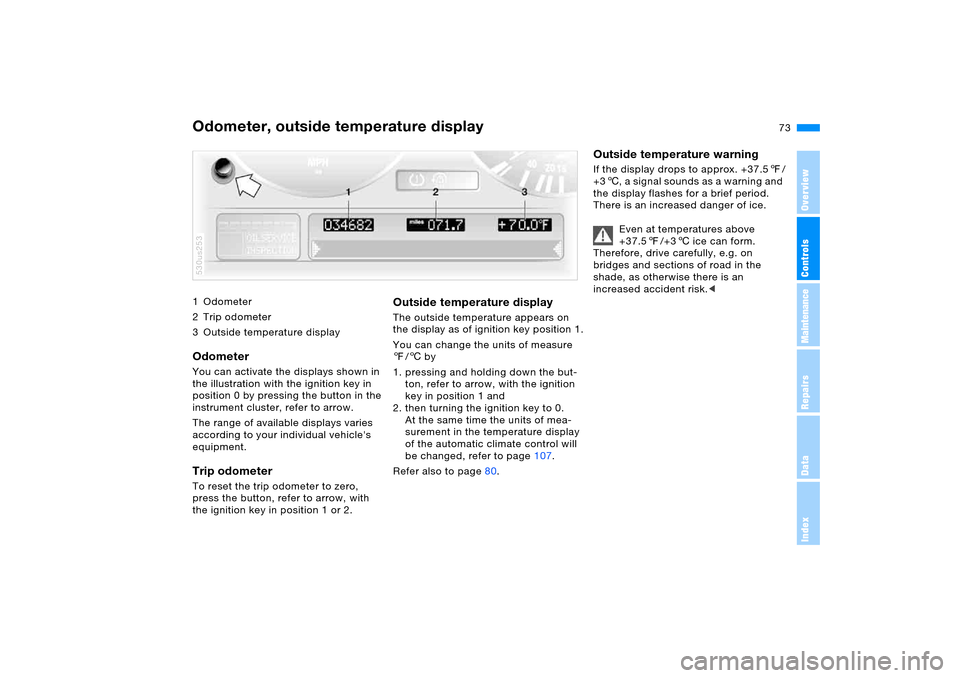
1Odometer
2 Trip odometer
3 Outside temperature displayOdometer You can activate the displays shown in
the illustration with the ignition key in
position 0 by pressing the button in the
instrument cluster, refer to arrow.
The range of available displays varies
according to your individual vehicle's
equipment.Trip odometer To reset the trip odometer to zero,
press the button, refer to arrow, with
the ignition key in position 1 or 2. 530us253
Outside temperature display The outside temperature appears on
the display as of ignition key position 1.
You can change the units of measure
7/6 by
1. pressing and holding down the but-
ton, refer to arrow, with the ignition
key in position 1 and
2. then turning the ignition key to 0.
At the same time the units of mea-
surement in the temperature display
of the automatic climate control will
be changed, refer to page107.
Refer also to page80.
Outside temperature warning If the display drops to approx. +37.57/
+36, a signal sounds as a warning and
the display flashes for a brief period.
There is an increased danger of ice.
Even at temperatures above
+37.57/+36 ice can form.
Therefore, drive carefully, e.g. on
bridges and sections of road in the
shade, as otherwise there is an
increased accident risk.<
Odometer, outside temperature display
Page 80 of 202
80n
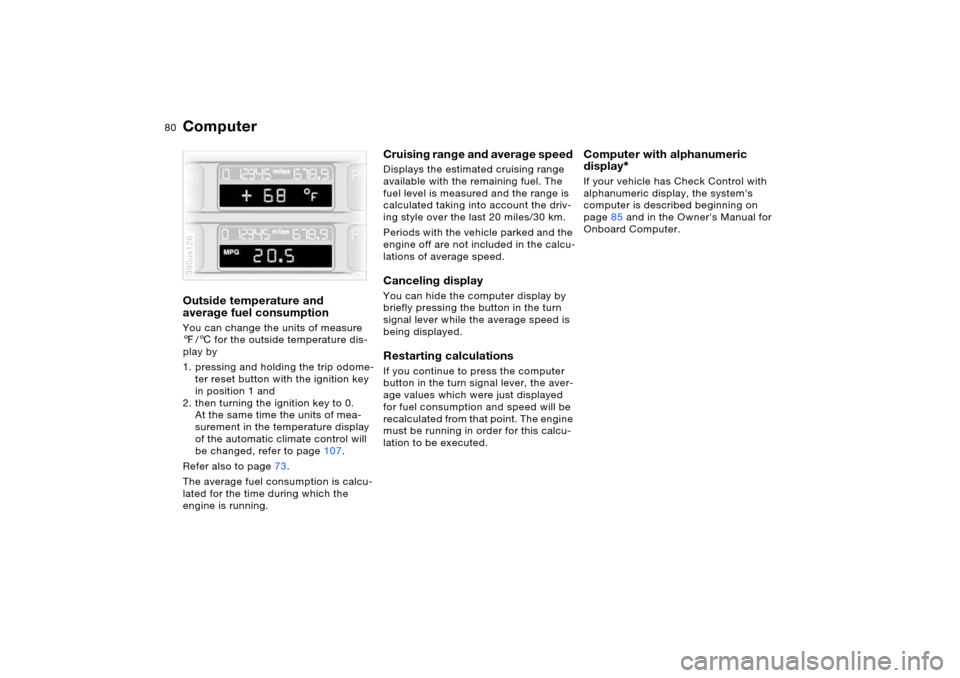
ComputerOutside temperature and
average fuel consumption You can change the units of measure
7/6 for the outside temperature dis-
play by
1. pressing and holding the trip odome-
ter reset button with the ignition key
in position 1 and
2. then turning the ignition key to 0.
At the same time the units of mea-
surement in the temperature display
of the automatic climate control will
be changed, refer to page107.
Refer also to page73.
The average fuel consumption is calcu-
lated for the time during which the
engine is running.390us126
Cruising range and average speed Displays the estimated cruising range
available with the remaining fuel. The
fuel level is measured and the range is
calculated taking into account the driv-
ing style over the last 20 miles/30 km.
Periods with the vehicle parked and the
engine off are not included in the calcu-
lations of average speed.Canceling display You can hide the computer display by
briefly pressing the button in the turn
signal lever while the average speed is
being displayed. Restarting calculations If you continue to press the computer
button in the turn signal lever, the aver-
age values which were just displayed
for fuel consumption and speed will be
recalculated from that point. The engine
must be running in order for this calcu-
lation to be executed.
Computer with alphanumeric
display
*
If your vehicle has Check Control with
alphanumeric display, the system's
computer is described beginning on
page85 and in the Owner's Manual for
Onboard Computer.
Page 82 of 202
82n
Digital clock in MID
To avoid endangering yourself or
other road users, only make
entries when the vehicle is stationary.<
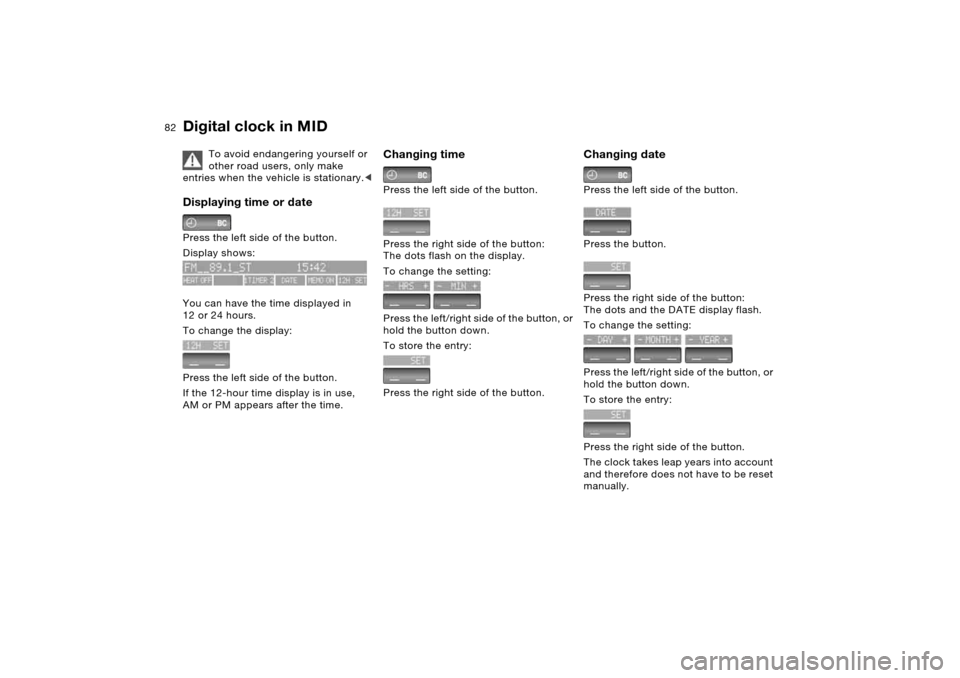
Displaying time or date Press the left side of the button.
Display shows:
You can have the time displayed in
12 or 24 hours.
To change the display:
Press the left side of the button.
If the 12-hour time display is in use,
AM or PM appears after the time.
Changing time Press the left side of the button.
Press the right side of the button:
The dots flash on the display.
To change the setting:
Press the left/right side of the button, or
hold the button down.
To store the entry:
Press the right side of the button.
Changing date Press the left side of the button.
Press the button.
Press the right side of the button:
The dots and the DATE display flash.
To change the setting:
Press the left/right side of the button, or
hold the button down.
To store the entry:
Press the right side of the button.
The clock takes leap years into account
and therefore does not have to be reset
manually.
Page 84 of 202
84n
Digital clock in MIDEntering switch-on times for
parked car ventilation You can enter two different switch-on
times.
The ventilation will switch off automati-
cally after 30 minutes.
Please follow the instructions for
operating the parked car ventila-
tion that start on page113.<
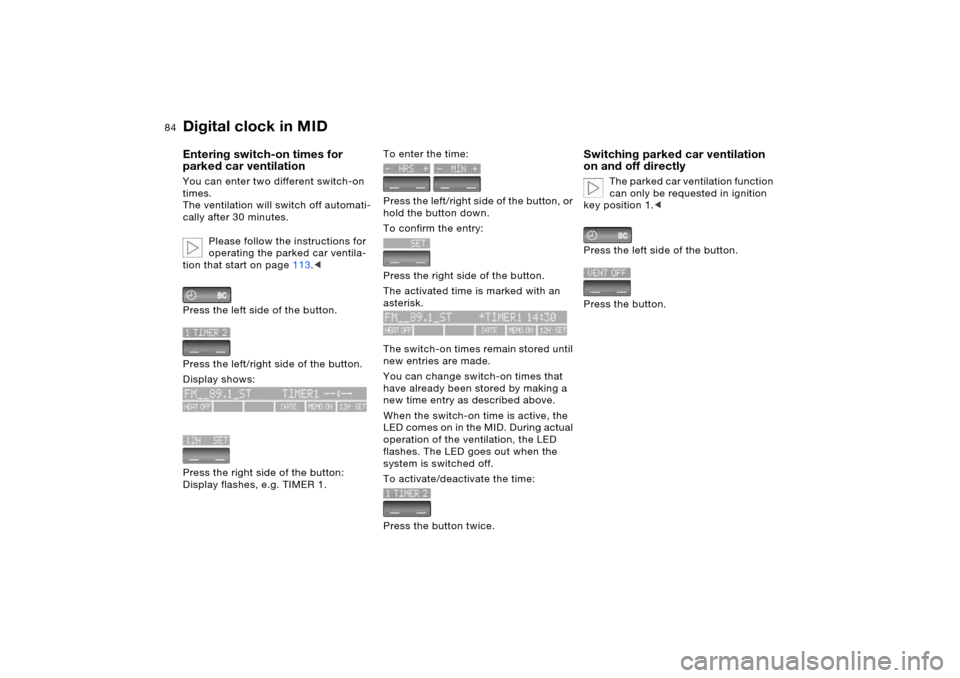
Press the left side of the button.
Press the left/right side of the button.
Display shows:
Press the right side of the button:
Display flashes, e.g. TIMER 1.
To enter the time:
Press the left/right side of the button, or
hold the button down.
To confirm the entry:
Press the right side of the button.
The activated time is marked with an
asterisk.
The switch-on times remain stored until
new entries are made.
You can change switch-on times that
have already been stored by making a
new time entry as described above.
When the switch-on time is active, the
LED comes on in the MID. During actual
operation of the ventilation, the LED
flashes. The LED goes out when the
system is switched off.
To activate/deactivate the time:
Press the button twice.
Switching parked car ventilation
on and off directly
The parked car ventilation function
can only be requested in ignition
key position 1.<
Press the left side of the button.
Press the button.
Page 99 of 202
99n
OverviewControlsMaintenanceRepairsDataIndex
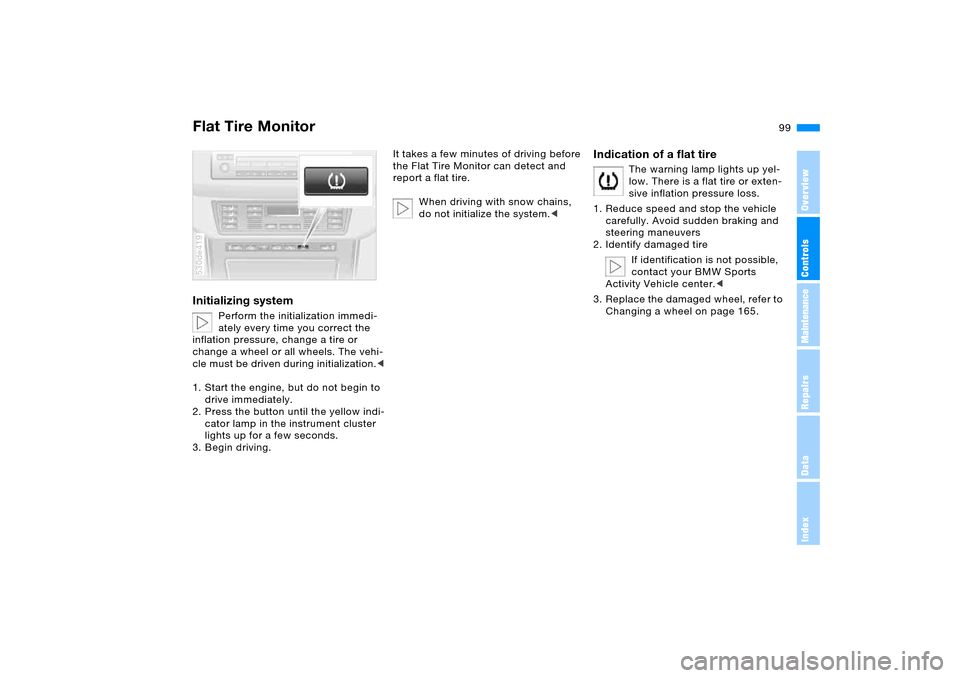
Flat Tire MonitorInitializing system
Perform the initialization immedi-
ately every time you correct the
inflation pressure, change a tire or
change a wheel or all wheels. The vehi-
cle must be driven during initialization.<
1. Start the engine, but do not begin to
drive immediately.
2. Press the button until the yellow indi-
cator lamp in the instrument cluster
lights up for a few seconds.
3. Begin driving.
530de419
It takes a few minutes of driving before
the Flat Tire Monitor can detect and
report a flat tire.
When driving with snow chains,
do not initialize the system.<
Indication of a flat tire
The warning lamp lights up yel-
low. There is a flat tire or exten-
sive inflation pressure loss.
1. Reduce speed and stop the vehicle
carefully. Avoid sudden braking and
steering maneuvers
2. Identify damaged tire
If identification is not possible,
contact your BMW Sports
Activity Vehicle center.<
3. Replace the damaged wheel, refer to
Changing a wheel on page 165.
Page 100 of 202
100n
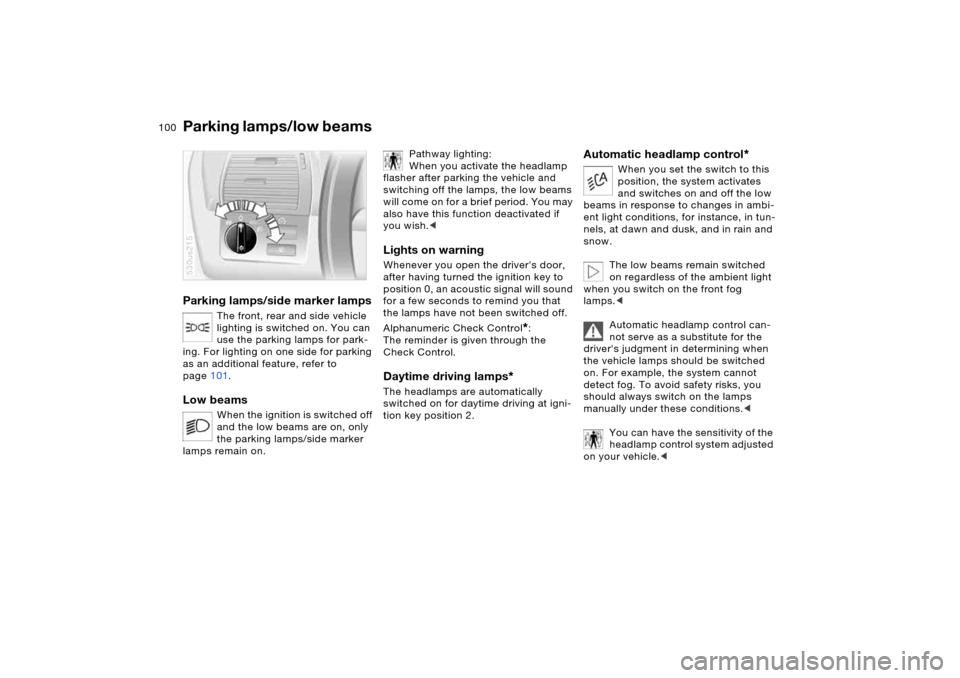
Parking lamps/side marker lamps
The front, rear and side vehicle
lighting is switched on. You can
use the parking lamps for park-
ing. For lighting on one side for parking
as an additional feature, refer to
page101.
Low beams
When the ignition is switched off
and the low beams are on, only
the parking lamps/side marker
lamps remain on.
530us215
Pathway lighting:
When you activate the headlamp
flasher after parking the vehicle and
switching off the lamps, the low beams
will come on for a brief period. You may
also have this function deactivated if
you wish.<
Lights on warning Whenever you open the driver's door,
after having turned the ignition key to
position 0, an acoustic signal will sound
for a few seconds to remind you that
the lamps have not been switched off.
Alphanumeric Check Control
*:
The reminder is given through the
Check Control.
Daytime driving lamps
*
The headlamps are automatically
switched on for daytime driving at igni-
tion key position 2.
Automatic headlamp control
*
When you set the switch to this
position, the system activates
and switches on and off the low
beams in response to changes in ambi-
ent light conditions, for instance, in tun-
nels, at dawn and dusk, and in rain and
snow.
The low beams remain switched
on regardless of the ambient light
when you switch on the front fog
lamps.<
Automatic headlamp control can-
not serve as a substitute for the
driver's judgment in determining when
the vehicle lamps should be switched
on. For example, the system cannot
detect fog. To avoid safety risks, you
should always switch on the lamps
manually under these conditions.<
You can have the sensitivity of the
headlamp control system adjusted
on your vehicle.<
Parking lamps/low beams
Page 109 of 202
109n
OverviewControlsMaintenanceRepairsDataIndex
Automatic climate control
*
Tips for pleasant drivingFor nearly all conditions, AUTO pro-
gram 6 offers the optimal air distribution
and airflow volume. Select the interior
temperature that is comfortable for you.
Detailed setting options are described
for you in the following section.
Your BMW Sports Activity Vehicle
center can program the settings of
your vehicle in such a manner that,
when you unlock the vehicle with your
individualized key, your own personal-
ized setting for the automatic climate
control is initiated.< Automatic air distribution
The AUTO program
adjusts the airflow and dis-
tribution patterns for you while also
using your preselected temperature
setting as the basis for adjusting the
interior climate to adapt to external
influences: summer, winter.
Individual air distribution
You can cancel the AUTO
program by selecting spe-
cific air distribution patterns
for your personal comfort,
the automatic air supply
remains in operation. You can direct air
to flow onto the windows , toward
the upper body , and into the foot-
well . You can reactivate the auto-
matic air distribution mode by pressing
the AUTO button.
Temperature
Set the desired tempera-
ture individually on the
driver's and front passen-
ger side.
The automatic climate control adjusts
this temperature as quickly as possible
at any time of year, if necessary with the
maximum cooling or heating capacity,
and then keeps it constant.
When switching between differ-
ent temperature settings in rapid
succession, the automatic climate con-
trol does not have sufficient time to
adjust the set temperature.<
To change the units of measure in the
display 7/6, refer to page73 or80.Air supply
In the AUTO program,
the air supply is automati-
cally controlled, and AUTO appears on
the display 9, refer to overview on
page107. You can vary the air supply
by pressing the left or right half of the
button. When your setting is displayed
as bars, the automatic air supply is
switched off. Automatic air distribution
maintains its setting. You can reactivate
the automatic air supply by pressing the
AUTO button.
When you press the left side of the but-
ton during operation at minimum blower
speed, all displays are canceled: the
blower, heating and air conditioner are
switched off. The outside air supply is
closed. You can switch the system back
on by pressing any button of the auto-
matic climate control, except the MAX
button 16.
Defrosting windows and removing
condensation
Quickly remove ice and
condensation from the
windshield and front side windows.
Page 155 of 202
155n
OverviewControlsMaintenanceRepairsDataIndex
Coolant Brake fluid4. When necessary, slowly add coolant
until the correct level is reached; do
not overfill.
5. Close the cap and tighten snugly.
6. Have the cause of the coolant loss
corrected as soon as possible.
Brake fluid level
If the warning lamp lights up
or
the message CHECK BRAKE
FLUID appears in the Check
Control: stop immediately. The
brake fluid in the reservoir has
fallen to below the minimum
level.
Add brake fluid The brake fluid reservoir is located
under the microfilter housing trim panel
on the driver's side of the vehicle. For
adding brake fluid or for determining
and correcting the cause of brake fluid
loss, consult your BMW Sports Activity
Vehicle center. Your BMW Sports Activ-
ity Vehicle center is familiar with the
specifications for factory-approved
DOT 4 brake fluids.
Brake fluid loss may result in extended
brake pedal travel. For this situation,
refer to the notes on page140.
Brake fluid is hygroscopic, that is,
it absorbs moisture from the air
over time.
In order to ensure the safety and reli-
ability of the brake system, have the
brake fluid changed every two years by
a BMW Sports Activity Vehicle center.
Refer also to the Service and Warranty
Information Booklet for US models or
the Warranty and Service Guide Book-
let for Canadian models.
Brake fluid is toxic and also damages
vehicle paintwork. Always store these
agents in tightly-closed original con-
tainers kept well away from the reach of
children.
Do not spill the fluid and do not refill the
brake fluid reservoir to beyond the MAX
mark. The brake fluid could ignite upon
contact with hot engine parts and cause
serious burns.<
Always observe all applicable
environmental rules and regula-
tions when disposing of used brake
fluid.<
Page 156 of 202
156n
The BMW Maintenance System helps
maintain the road and driving safety of
your BMW.
Please keep in mind that regular main-
tenance is not only necessary for the
safety of your vehicle, but also plays a
significant role in maintaining the resale
value of the vehicle.
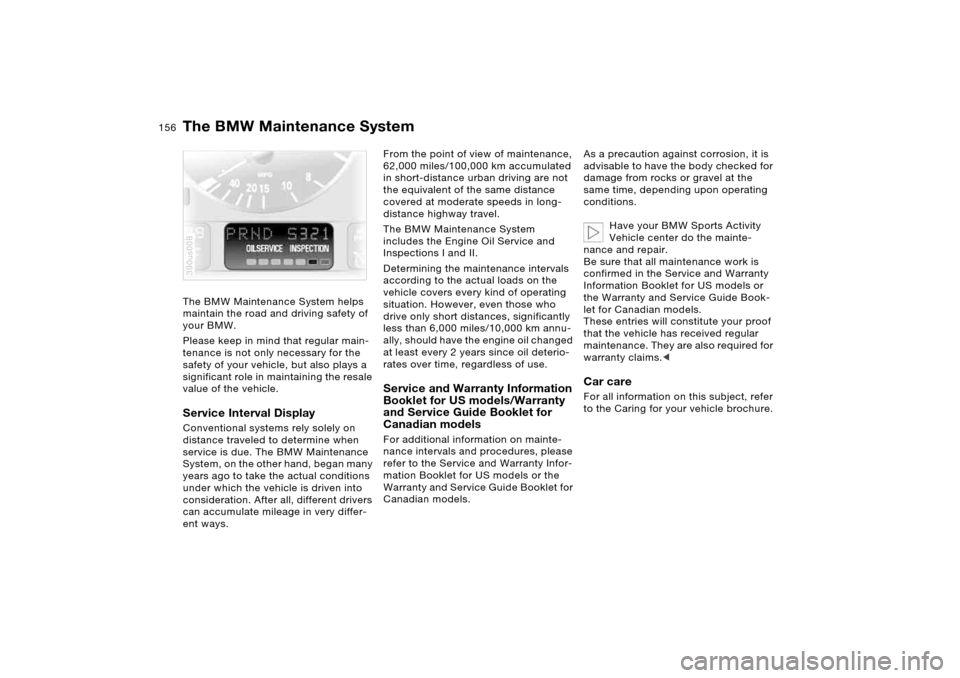
Service Interval Display Conventional systems rely solely on
distance traveled to determine when
service is due. The BMW Maintenance
System, on the other hand, began many
years ago to take the actual conditions
under which the vehicle is driven into
consideration. After all, different drivers
can accumulate mileage in very differ-
ent ways.390us008
From the point of view of maintenance,
62,000 miles/100,000 km accumulated
in short-distance urban driving are not
the equivalent of the same distance
covered at moderate speeds in long-
distance highway travel.
The BMW Maintenance System
includes the Engine Oil Service and
Inspections I and II.
Determining the maintenance intervals
according to the actual loads on the
vehicle covers every kind of operating
situation. However, even those who
drive only short distances, significantly
less than 6,000 miles/10,000 km annu-
ally, should have the engine oil changed
at least every 2 years since oil deterio-
rates over time, regardless of use. Service and Warranty Information
Booklet for US models/Warranty
and Service Guide Booklet for
Canadian models For additional information on mainte-
nance intervals and procedures, please
refer to the Service and Warranty Infor-
mation Booklet for US models or the
Warranty and Service Guide Booklet for
Canadian models. As a precaution against corrosion, it is
advisable to have the body checked for
damage from rocks or gravel at the
same time, depending upon operating
conditions.
Have your BMW Sports Activity
Vehicle center do the mainte-
nance and repair.
Be sure that all maintenance work is
confirmed in the Service and Warranty
Information Booklet for US models or
the Warranty and Service Guide Book-
let for Canadian models.
These entries will constitute your proof
that the vehicle has received regular
maintenance. They are also required for
warranty claims.<
Car careFor all information on this subject, refer
to the Caring for your vehicle brochure.
The BMW Maintenance System
Page 188 of 202
Everything from A to ZCargo area124
capacity182
cover, refer to Roll-up
cover125
emergency operation,
refer to Unlocking
manually35,36
enlarging124
floor cover127
lamps103
lid, refer to Liftgate/
tailgate35,36
opening, remote control31
opening/closing, refer to
Liftgate35
opening/closing, refer to
Tailgate36
opening from inside35
opening from outside35
Cargo-area partition net125
Cargo bay, refer to Cargo
area124
Cargo floor, pull-out128
Cargo loading130
Caring for leather, refer to
Caring for your vehicle
brochure
Caring for the carpet, refer to
Caring for your vehicle
brochure
Car keys, refer to Keys30Car phone, refer to separate
Owner's Manual
Car phone provision116
Car radio, refer to Owner's
Manual for Radio/Onboard
Computer
Car wash, refer to Caring for
your vehicle brochure
Cassette operation, refer to
Owner's Manual for Radio/
Onboard Computer
CD changer, refer to Owner's
Manual for Radio/Onboard
Computer
CD operation, refer to
Owner's Manual for Radio/
Onboard Computer
Center armrest, refer to
Storage
compartments119
Center brake lamp, replacing
bulbs164
Central locking system30
interior34
Changes, technical, refer to
For your own safety9
Changing a wheel165
Changing gears with
automatic transmission
with Steptronic66
Changing tires145Changing wheels
compact wheel167
spare wheel167
Charge-current indicator
lamp19
Charging battery171
CHECK button77
Check Control77
Child's seat, refer to Child-
restraint systems57
Child-restraint fixing system
LATCH59
Child-restraint systems57
Child-safety locks60
Chocks166
Chrome parts, care, refer to
Caring for your vehicle
brochure
Cigarette lighter121,122
Cigarette lighter socket, refer
to Socket121
Circulation of air, refer to
Recirculated-air
mode105,110
Cleaning, vehicle, refer to
Caring for your vehicle
brochure
Cleaning rear window71
Climate control in the rear
passenger area111Clock82
12 or 24-hour mode82
hour signal83
setting82
setting, also refer to
Owner's Manual for Radio/
Onboard Computer
setting time and date82
Closing
from inside34
from outside31
Clothes hooks120
Clutch136
breaking-in136
Cockpit14
Code
activating88
deactivating89
establishing88
Cold starting, refer to
Starting engine63
Combination of wheels/
tires148
Comfort seat46
Comfort starting, refer to
Starting engine63
Compact Disc operation,
refer to Owner's Manual
for Radio/Onboard
Computer
Compact wheel, changing
wheels167