sensor BMW X5 4.4I 2001 Owners Manual
[x] Cancel search | Manufacturer: BMW, Model Year: 2001, Model line: X5 4.4I, Model: BMW X5 4.4I 2001Pages: 223, PDF Size: 2.66 MB
Page 12 of 223

Contents
Operation, care and maintenanceOwner service proceduresAdvanced technology
Under the hood:
Hood 151
Engine compartment 152
Washer fluid 156
Washer nozzles 156
Engine oil 157
Coolant 160
Brake fluid 161
Vehicle Identification Number 161
Care and maintenance:
The BMW Maintenance
System 162
Caring for your vehicle 163
Airbags 168
Vehicle storage 168
Laws and regulations:
Technical modifications 169
California Proposition 65 Warning 169
OBD interface socket 170
Replacement procedures:
Onboard tool kit174
Windshield wiper blades 174
Lamps and bulbs 175
Changing a wheel 180
Battery 185
Fuses 187
In case of electrical
malfunction:
Fuel filler door 188
Sliding/Tilt sunroof 188
Liftgate 188
Tailgate 189
Assistance, giving and
receiving:
Jump-starting 190
Towing the vehicle 191 Airbags
196
Adaptive Transmission Control (ATC) 196
Four-wheel drive 197
Dynamic Stability Control (DSC) 197
Radio reception 198
Safety belt tensioner 198
DSP sound system 199
Rearview mirrors with automatic dimmer 199
Rain sensor 200
Front axle 200
Integrated rear suspension 201
Level control system 201
Xenon lamps 202
Page 30 of 223
30nFuel specifications Tire inflation pressure
The engine uses lead-free gasoline
only.
Required fuel:
>Premium Unleaded Gasoline,
min. 91 AKI.
AKI = Anti Knock Index
Do not use leaded fuels. The use
of leaded fuels will cause perma-
nent damage to the system's oxygen
sensor and the catalytic converter. <
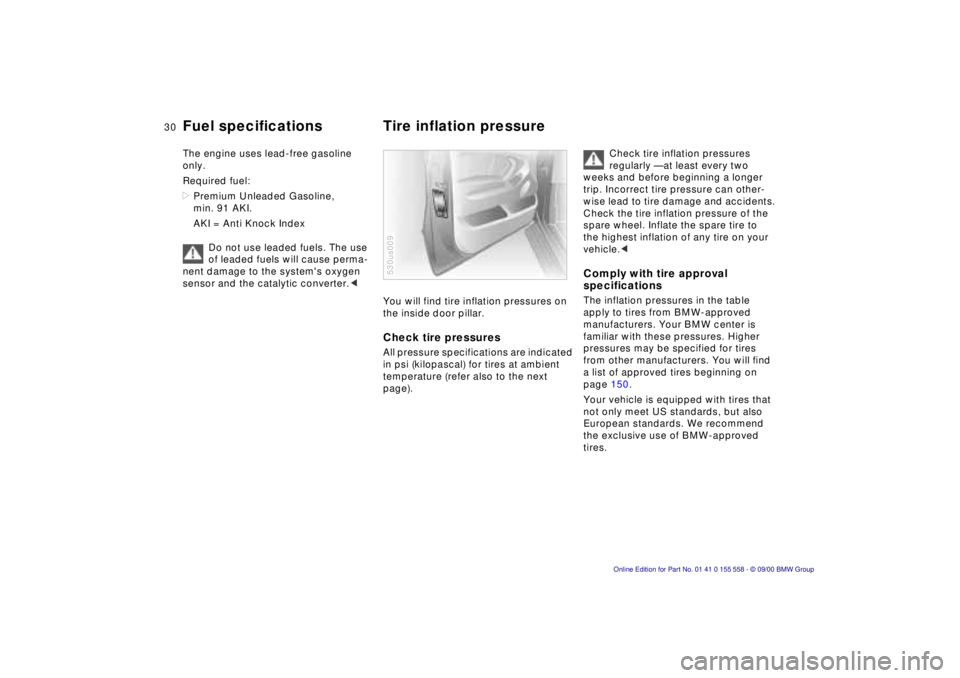
You will find tire inflation pressures on
the inside door pillar.
Check tire pressures
All pressure specifications are indicated
in psi (kilopascal) for tires at ambient
temperature (refer also to the next
page).
530us009
Check tire inflation pressures
regularly — at least every two
weeks and before beginning a longer
trip. Incorrect tire pressure can other-
wise lead to tire damage and accidents.
Check the tire inflation pressure of the
spare wheel. Inflate the spare tire to
the highest inflation of any tire on your
vehicle. <
Comply with tire approval
specifications
The inflation pressures in the table
apply to tires from BMW-approved
manufacturers. Your BMW center is
familiar with these pressures. Higher
pressures may be specified for tires
from other manufacturers. You will find
a list of approved tires beginning on
page 150.
Your vehicle is equipped with tires that
not only meet US standards, but also
European standards. We recommend
the exclusive use of BMW-approved
tires.
Page 32 of 223
32n
Locks and security systems:
Keys 34
Electronic vehicle immobilizer 35
Central locking system 36
Opening and closing – from the outside 36
Using the key 36
Using the remote control 37
Opening and closing – from the inside 40
Liftgate 41
Tailgate 41
Alarm system 43
Electric power windows 45
Sliding/Tilt sunroof with glass moonroof 46
Adjustments:
Seats 48
Steering wheel 52
Mirrors 53
Seat, mirror and steering wheel memory 55
Car Memory, Key Memory 56
Passenger safety systems:
Safety belts 57
Airbags 58
Transporting children safely 61Driving:
Steering/Ignition lock
64
Starting the engine 64
Switching off the engine 65
Parking brake 66
Manual transmission 67
Automatic transmission with Steptronic 68
Turn signal indicator/Headlamp flasher 70
Washer/Wiper system/Rain sensor 71
Rear window defroster 73
Cruise control 74
Everything under control:
Odometer, outside temperature display 76
Tachometer 77
Energy control 77
Fuel gauge 77
Coolant temperature gauge 78
Service Interval Display 78
Check Control 79
Computer 82
Multi-Information Display
(MID) 84
Digital clock in the MID 85
Computer in the MID 88
Controls
Page 38 of 223
38nOpening and closing – from the outside
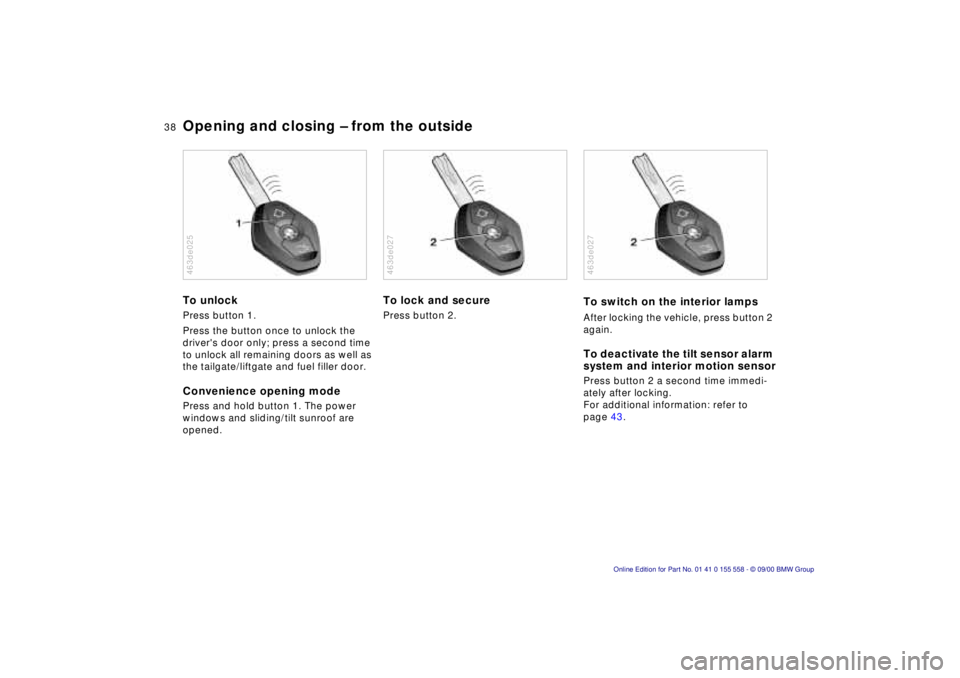
To unlock
Press button 1.
Press the button once to unlock the
driver's door only; press a second time
to unlock all remaining doors as well as
the tailgate/liftgate and fuel filler door.
Convenience opening mode
Press and hold button 1. The power
windows and sliding/tilt sunroof are
opened.
463de025
To lock and secure
Press button 2.
463de027
To switch on the interior lamps
After locking the vehicle, press button 2
again.
To deactivate the tilt sensor alarm
system and interior motion sensor
Press button 2 a second time immedi-
ately after locking.
For additional information: refer to
page 43.
463de027
Page 43 of 223
Index
Data
Technology
Repairs
Car care
Controls
Overview
43nAlarm system
The concept
The vehicle alarm system responds:
>When a door, the hood, or the liftgate
is opened.
> To movement inside the vehicle (inte-
rior motion sensor).
> To variations in the vehicle tilt sensor
such as occur during attempts to
steal the wheels or tow the vehicle.
> To interruption of battery voltage.
The system responds to unauthorized
vehicle entry and attempted theft by
simultaneously activating the following:
> Sounding an acoustical alarm for
30 seconds.
> The hazard warning flashers are acti-
vated for approx. five minutes.
> The high beams flash on and off in
the same rhythm.
To activate and deactivate the
alarm system
When the vehicle is locked or unlocked
with the key or the remote control, the
alarm system is also simultaneously
armed or disarmed.
The interior motion sensor is activated
approx. 30 seconds after you have
finished locking the vehicle.
The system indicates that it has been
correctly armed by switching on the
hazard flashers for a single cycle and by
emitting an acoustical signal.
You can have different acknowl-
edgment signals set to confirm
system arming and disarming. <
You can still open the liftgate after the
system has been armed by pressing
button 3 of the remote control. Refer to
page 39. When you close the liftgate, it
is secured again.
Indicator lamp displays
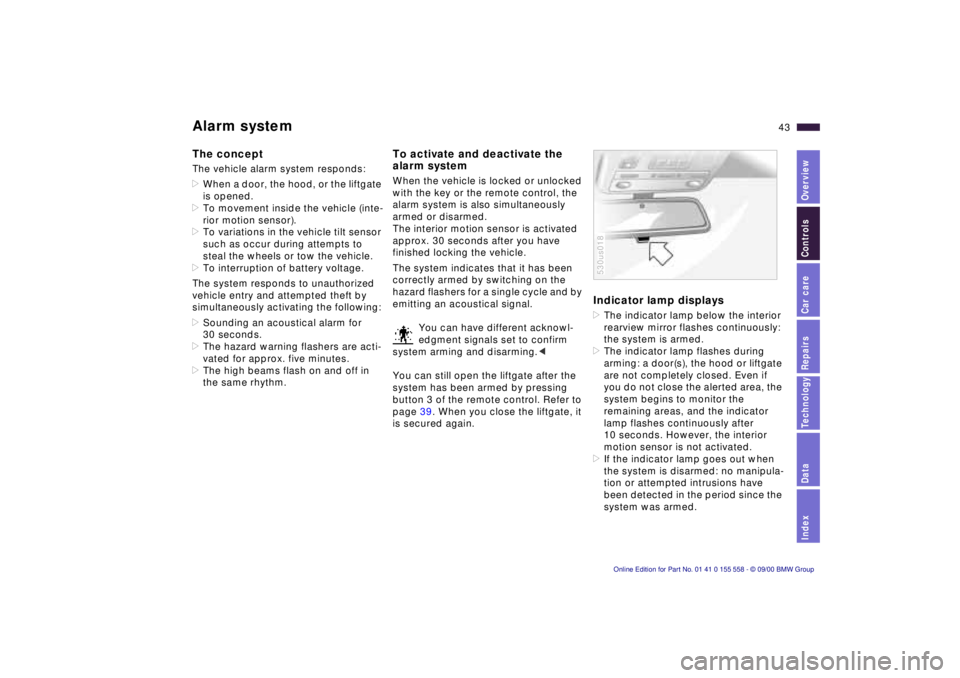
> The indicator lamp below the interior
rearview mirror flashes continuously:
the system is armed.
> The indicator lamp flashes during
arming: a door(s), the hood or liftgate
are not completely closed. Even if
you do not close the alerted area, the
system begins to monitor the
remaining areas, and the indicator
lamp flashes continuously after
10 seconds. However, the interior
motion sensor is not activated.
> If the indicator lamp goes out when
the system is disarmed: no manipula-
tion or attempted intrusions have
been detected in the period since the
system was armed.
530us018
Page 44 of 223
44nAlarm system
>If the indicator lamp flashes for
10 seconds when the system is
disarmed: an attempted entry has
been detected in the period since the
system was armed.
Following triggering of an alarm, the
indicator lamp will flash continuously.
Avoiding unintentional alarms
The tilt alarm sensor and interior motion
sensor may be switched off at the same
time. To prevent a false alarm from
being triggered (in garages with
elevator ramps, for instance), or when
the vehicle is transported by trailer or
train:
Actuate the lock (= arm the system)
twice; in other words, press button 2 of
the remote control twice in succession
(refer to page 38). You may also actuate
the locks twice with the key (refer to
page 36).
The indicator lamp lights up briefly and
then flashes continuously. The tilt alarm
sensor and the interior motion sensor
are deactivated as long as the system is
armed.
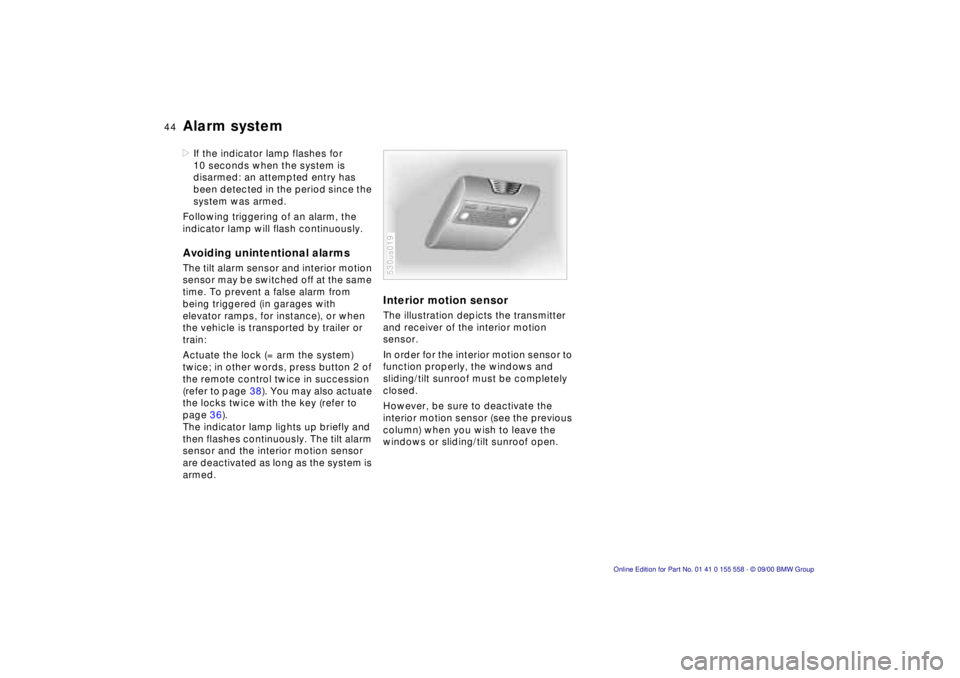
Interior motion sensor
The illustration depicts the transmitter
and receiver of the interior motion
sensor.
In order for the interior motion sensor to
function properly, the windows and
sliding/tilt sunroof must be completely
closed.
However, be sure to deactivate the
interior motion sensor (see the previous
column) when you wish to leave the
windows or sliding/tilt sunroof open.
530us019
Page 71 of 223
Index
Data
Technology
Repairs
Car care
Controls
Overview
71nWasher/Wiper system
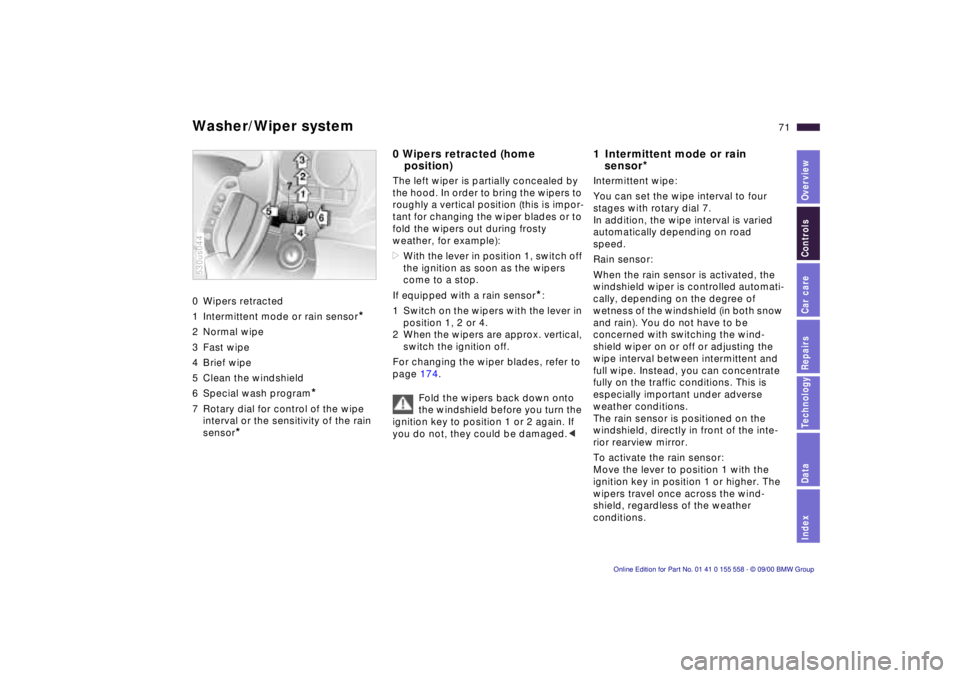
0 Wipers retracted
1 Intermittent mode or rain sensor
*
2 Normal wipe
3 Fast wipe
4 Brief wipe
5 Clean the windshield
6 Special wash program
*
7 Rotary dial for control of the wipe interval or the sensitivity of the rain
sensor
*
530us044
0 Wipers retracted (home position)
The left wiper is partially concealed by
the hood. In order to bring the wipers to
roughly a vertical position (this is impor-
tant for changing the wiper blades or to
fold the wipers out during frosty
weather, for example):
> With the lever in position 1, switch off
the ignition as soon as the wipers
come to a stop.
If equipped with a rain sensor
*:
1 Switch on the wipers with the lever in position 1, 2 or 4.
2 When the wipers are approx. vertical, switch the ignition off.
For changing the wiper blades, refer to
page 174.
Fold the wipers back down onto
the windshield before you turn the
ignition key to position 1 or 2 again. If
you do not, they could be damaged. <
1 Intermittent mode or rain
sensor
*
Intermittent wipe:
You can set the wipe interval to four
stages with rotary dial 7.
In addition, the wipe interval is varied
automatically depending on road
speed.
Rain sensor:
When the rain sensor is activated, the
windshield wiper is controlled automati-
cally, depending on the degree of
wetness of the windshield (in both snow
and rain). You do not have to be
concerned with switching the wind-
shield wiper on or off or adjusting the
wipe interval between intermittent and
full wipe. Instead, you can concentrate
fully on the traffic conditions. This is
especially important under adverse
weather conditions.
The rain sensor is positioned on the
windshield, directly in front of the inte-
rior rearview mirror.
To activate the rain sensor:
Move the lever to position 1 with the
ignition key in position 1 or higher. The
wipers travel once across the wind-
shield, regardless of the weather
conditions.
Page 72 of 223
72nWasher/Wiper system
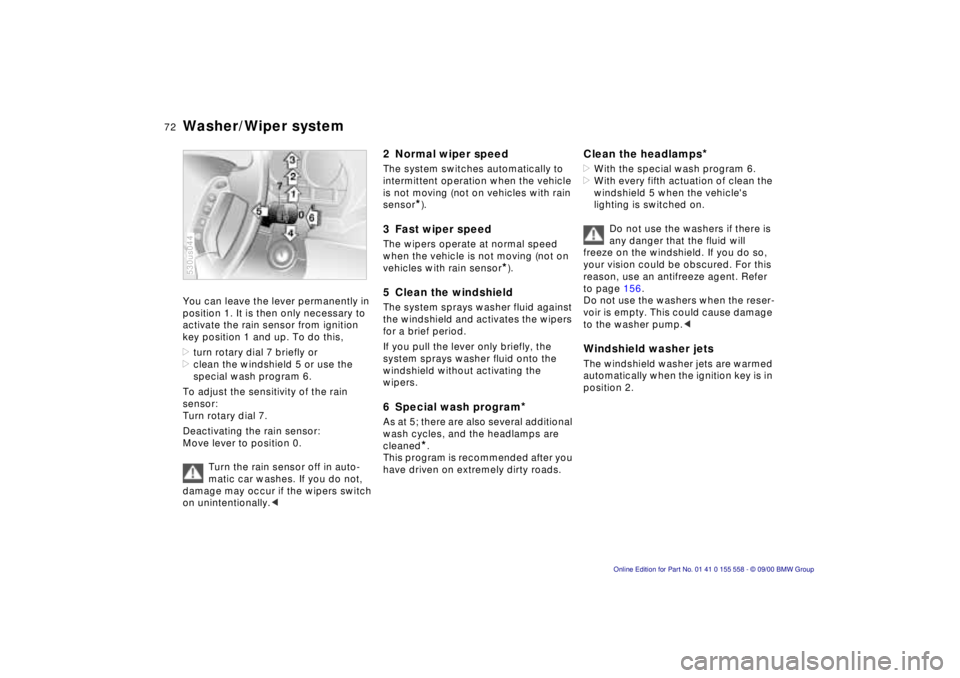
You can leave the lever permanently in
position 1. It is then only necessary to
activate the rain sensor from ignition
key position 1 and up. To do this,
>turn rotary dial 7 briefly or
> clean the windshield 5 or use the
special wash program 6.
To adjust the sensitivity of the rain
sensor:
Turn rotary dial 7.
Deactivating the rain sensor:
Move lever to position 0.
Turn the rain sensor off in auto-
matic car washes. If you do not,
damage may occur if the wipers switch
on unintentionally. <
530us044
2 Normal wiper speed
The system switches automatically to
intermittent operation when the vehicle
is not moving (not on vehicles with rain
sensor
*).
3 Fast wiper speed
The wipers operate at normal speed
when the vehicle is not moving (not on
vehicles with rain sensor
*).
5 Clean the windshield
The system sprays washer fluid against
the windshield and activates the wipers
for a brief period.
If you pull the lever only briefly, the
system sprays washer fluid onto the
windshield without activating the
wipers.
6 Special wash program*
As at 5; there are also several additional
wash cycles, and the headlamps are
cleaned
*.
This program is recommended after you
have driven on extremely dirty roads.
Clean the headlamps*
> With the special wash program 6.
> With every fifth actuation of clean the
windshield 5 when the vehicle's
lighting is switched on.
Do not use the washers if there is
any danger that the fluid will
freeze on the windshield. If you do so,
your vision could be obscured. For this
reason, use an antifreeze agent. Refer
to page 156.
Do not use the washers when the reser-
voir is empty. This could cause damage
to the washer pump. <
Windshield washer jets
The windshield washer jets are warmed
automatically when the ignition key is in
position 2.
Page 93 of 223
IndexDataTechnologyRepairsCar careControlsOverview
93n
The conceptThe PDC assists you when you are
parking. Acoustical signals inform you
of the distance to an obstacle. To do
this, four ultrasonic sensors in the front
and rear bumpers measure the distance
to the nearest object. The monitoring
range for the front sensors as well as
the two rear corner sensors ends
approx. 2 ft (60 cm) behind the
respective bumper. The center sensors
in the rear have a range of approx. 5 ft
(1.50 meters). Automatic functionThe system starts to operate auto-
matically about one second after you
select reverse with the ignition key in
position 2.
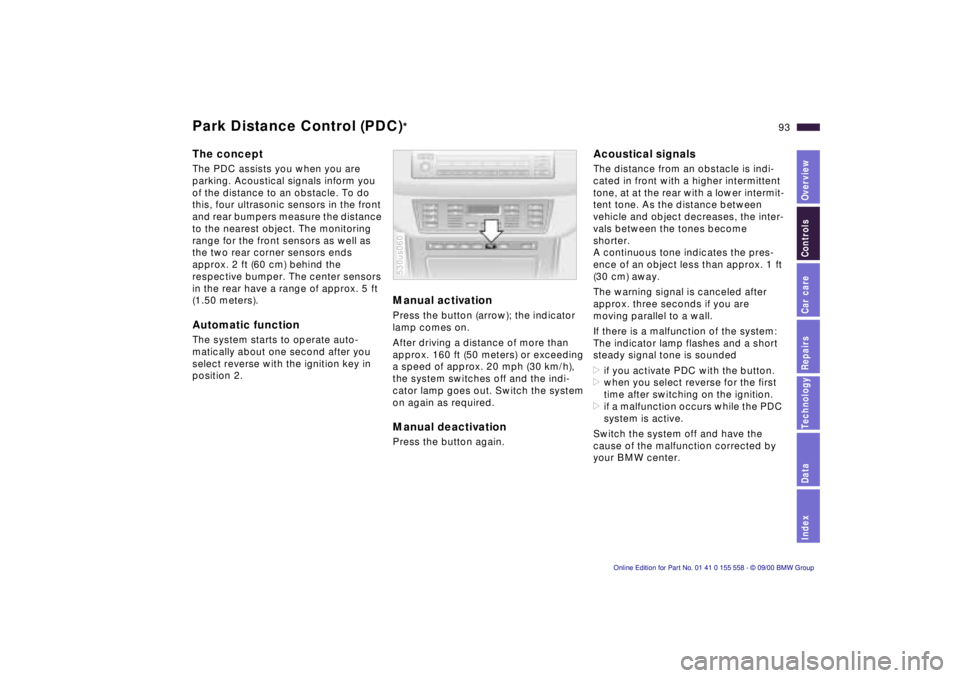
Manual activationPress the button (arrow); the indicator
lamp comes on.
After driving a distance of more than
approx. 160 ft (50 meters) or exceeding
a speed of approx. 20 mph (30 km/h),
the system switches off and the indi-
cator lamp goes out. Switch the system
on again as required. Manual deactivationPress the button again. 530us060
Acoustical signalsThe distance from an obstacle is indi-
cated in front with a higher intermittent
tone, at at the rear with a lower intermit-
tent tone. As the distance between
vehicle and object decreases, the inter-
vals between the tones become
shorter.
A continuous tone indicates the pres-
ence of an object less than approx. 1 ft
(30 cm) away.
The warning signal is canceled after
approx. three seconds if you are
moving parallel to a wall.
If there is a malfunction of the system:
The indicator lamp flashes and a short
steady signal tone is sounded
>if you activate PDC with the button.
>when you select reverse for the first
time after switching on the ignition.
>if a malfunction occurs while the PDC
system is active.
Switch the system off and have the
cause of the malfunction corrected by
your BMW center.
Park Distance Control (PDC)
*
Page 94 of 223
94n
PDC
*
Dynamic Stability Control (DSC)
The PDC system does not remove
the driver's personal responsibility
for evaluating the distance between the
vehicle and any obstacles. Even when
sensors are involved, there is a blind
spot in which objects cannot be
detected. This applies especially in
those cases where the system
approaches the physical constraints of
ultrasonic measurement, as occurs with
tow bars and trailer couplings, and in
the vicinity of thin and painted objects.
Certain sources of sound, such as a
loud radio, could drown out the PDC
signal tone.<
Keep the sensors clean and free
of ice or snow in order to ensure
that they continue to operate effectively.
Do not apply high pressure spray to the
sensors for a prolonged period of time.
Maintain an adequate distance of more
than 4 in (10 cm).<
The concept DSC maintains vehicle stability, even in
critical driving situations.
The system optimizes vehicle stability
during acceleration and when starting
from a full stop, as well as optimizing
traction. In addition, it recognizes
unstable vehicle conditions, such as
understeering or oversteering, and, as
far as is possible within the laws of
physics, keeps the car on a steady
course by adapting the RPMs and
brake applications to the individual
wheels.
The system starts up automatically
each time you start the engine.
Indicator lamp
The indicator lamp in the instru-
ment cluster goes out shortly
after you switch on the ignition.
Refer to page 24.
Indicator lamp flashes:
The system is active and governs drive
and braking force.
If the indicator lamp fails to go out after
the engine is started, or comes on
during normal driving and stays on:
The system is either defective or was
switched off with the button: the stabi-
lizing applications described to the left
are no longer available. The vehicle will
remain completely operational,
however, without DSC.
Consult your BMW center to have the
system repaired.