check engine light BMW X5 4.4I 2004 E53 User Guide
[x] Cancel search | Manufacturer: BMW, Model Year: 2004, Model line: X5 4.4I, Model: BMW X5 4.4I 2004 E53Pages: 200, PDF Size: 3.91 MB
Page 139 of 200
137n
OverviewControlsMaintenanceRepairsDataIndex
Driving your X5 On bad roads When you are driving on bad roads,
there are a few points which you should
strictly observe — for your own safety,
for that of your passengers, and for the
safety of the vehicle:
Driving on unpaved terrain can
cause damage to the vehicle.<
>Always adapt the driving speed to the
road conditions. The rougher or
steeper the road surface is, the lower
the speed should be
>You can operate your vehicle on
uphill and downhill gradients with a
maximum slope of 50 %. If you want
to drive on uphill or downhill gradi-
ents of this kind, make sure before-
hand that the engine oil and coolant
levels are near the max mark. Refer
to pages 148 and 150.
Use the HDC Hill Descent Control on
steep downhill gradients, refer to
page 96.
It is possible to start off on gradients
of up to 32 %.
The permitted side tilt is also 50 %
>While driving, watch carefully for
obstacles such as rocks or holes. Try
to avoid these obstacles whenever
possible
>Please note that, for example on
crests and bumpy roads, the body
can make ground contact.
The ground clearance of the vehicle
is:
– 8 in/200 mm with up to four persons
– 7 in/180 mm fully loaded, without
self-leveling suspension
>Only drive through water up to a
maximum depth of 20 in/50 cm and
only at walking speed, making sure
not to stop in the process.
After leaving the water, press on the
footbrake gently several times while
driving at a low speed. The brake
applications will help to dry the
brakes, thus preventing a reduction in
braking performance caused by the
moisture.
Back onto paved road In recommending that you observe the
following points after driving on adverse
road surfaces, it is not as a beauty
treatment for your BMW. Instead, it is
intended for the maintenance of driving
safety:
>Clean the largest accumulations of
dirt from the body and check the
underbody for damage
>Clean mud, snow, ice etc. from the
wheels and tires and check the
wheels for damage
>Check to determine whether rocks,
gravel or accumulations of dirt on the
brake rotors and calipers could influ-
ence braking performance. Remove
all such foreign objects
>In order to clean the brake rotors,
apply the footbrake gently several
times while driving at a low speed.
Be sure that following traffic is not
endangered by this
>For cleaning the handbrake, apply
the lever slightly at approx. 25 mph/
40 km/h and continue to drive for
approx. 200 yards/200 meters, pro-
vided that traffic conditions allow you
to do so.
Page 153 of 200
151n
OverviewControlsMaintenanceRepairsDataIndex
Brake fluidBrake fluid level
If the warning lamp lights up
or the message "CHECK
BRAKE FLUID" appears in the
Check Control: stop immedi-
ately. The brake fluid in the res-
ervoir has fallen to below the
minimum level.
Add brake fluid The brake fluid reservoir is located
under the microfilter housing trim panel
on the driver's side of the vehicle. For
adding brake fluid or for determining
and correcting the cause of brake fluid
loss, consult your BMW Sports Activity
Vehicle center. Your BMW Sports
Activity Vehicle center is familiar with
the specifications for factory-approved
DOT 4 brake fluids.
Brake fluid loss may result in extended
brake pedal travel. For this situation,
refer to the notes on page 139.
Brake fluid is hygroscopic, that is,
it absorbs moisture from the air
over time.
In order to ensure the safety and reli-
ability of the brake system, have the
brake fluid changed every two years by
a BMW Sports Activity Vehicle center.
Refer also to the Service and Warranty
Information Booklet for US models or
the Warranty and Service Guide Book-
let for Canadian models.
Brake fluid is toxic and also damages
vehicle paintwork. Always store these
agents in tightly-closed original con-
tainers kept well away from the reach of
children.
Do not spill the fluid and do not refill the
brake fluid reservoir to beyond the MAX
mark. The brake fluid could ignite upon
contact with hot engine parts and
cause serious burns.<
Always observe all applicable
environmental rules and regula-
tions when disposing of used brake
fluid.<
Page 156 of 200
154n
OBD interface socket
An illuminated indicator lamp
informs you of the need for ser-
vice, not of the need to stop the
vehicle. However, the systems should
be checked by your BMW Sports Activ-
ity Vehicle center at the earliest possi-
ble opportunity.
Display of the previously
described malfunction on Cana-
dian models.
Under certain conditions, the indicator
lamp will blink or flash. This indicates a
rather severe level of engine misfire.
When this occurs, you should reduce
speed and consult the nearest BMW
Sports Activity Vehicle center as soon
as possible. Severe engine misfire over
only a short period of time can seriously
damage emission control components,
especially the catalytic converter.
When the filler cap is not properly
tightened, the OBD system can
detect the vapor leak and the indicator
lamp will light up. If the filler cap is sub-
sequently tightened, the indicator lamp
should go out within a few days.<
Page 170 of 200
168n
Changing a wheel Battery 10. Screw in the remaining lug bolts.
Tighten all the bolts securely in a
diagonal pattern
11. Lower the jack and remove it from
beneath the vehicle
12. Tighten the lug bolts in a diagonal
pattern
13. Check and correct the tire inflation
pressure at the earliest opportunity.
After mounting the spare wheel or
correcting the inflation pressure,
reinitialize the Flat Tire Monitor,
refer to page 100.
Protect valve stems and valves from dirt
using screw-on valve stem caps. Dirt in
the valve stems frequently leads to slow
leaks.
The vehicle jack is designed for
changing wheels only. Do not
attempt to raise another vehicle model
with it or to raise any load of any kind.
To do so could cause accidents and
personal injury.
To ensure safety, always have the lug
bolts checked with a calibrated torque
wrench as soon as possible to ensure
that they are tightened to the speci-
fied torque. The tightening torque is
101 lb-ft/140 Nm.<
Store the wheel and the tools in the
order opposite that for removal.
Before removing the support rod,
be sure that the tailgate is held
down firmly. If you fail to do so, it could
retract sharply upward and cause per-
sonal injury and vehicle damage.
After you remove the rod, close the tail-
gate carefully. Continue to hold it firmly
until it is completely closed.<
If light-alloy wheels other than Genuine
BMW light-alloy wheels have been
mounted, it may be necessary to use
different lug bolts for those wheels.
Replace the defective tire as soon as
possible and have the new wheel/tire
balanced.
Driving with spare wheel
Do not exceed a speed of
130 mph/210 km/h, as otherwise
accidents may occur due to tire dam-
age.<
With certain wheel-and-tire com-
binations the size of the spare
wheel differs from that of the other
wheels. However, to restore the original
state, the normal wheel should be
remounted as soon as possible.<
Battery posts, terminals and
related accessories contain lead
and lead compounds. Wash hands after
handling.<
Battery care The battery is maintenance-free, that is,
the original electrolyte will normally last
for the service life of the battery under
moderate climatic conditions. Your
BMW Sport Activity Vehicle center will
be glad to advise in all matters con-
cerning the battery.Charging battery Only charge the battery in the vehicle
via the terminals in the engine compart-
ment with the engine off. For correct
connections, refer to Jump-starting on
page 171. Disposal
Following replacement, have old
batteries disposed of by your
BMW Sports Activity Vehicle center or
hand them in to a recycling center.
Maintain the battery in an upright posi-
tion for transport and storage. Always
restrain the battery to prevent it from
tipping over during transport.<
Page 188 of 200
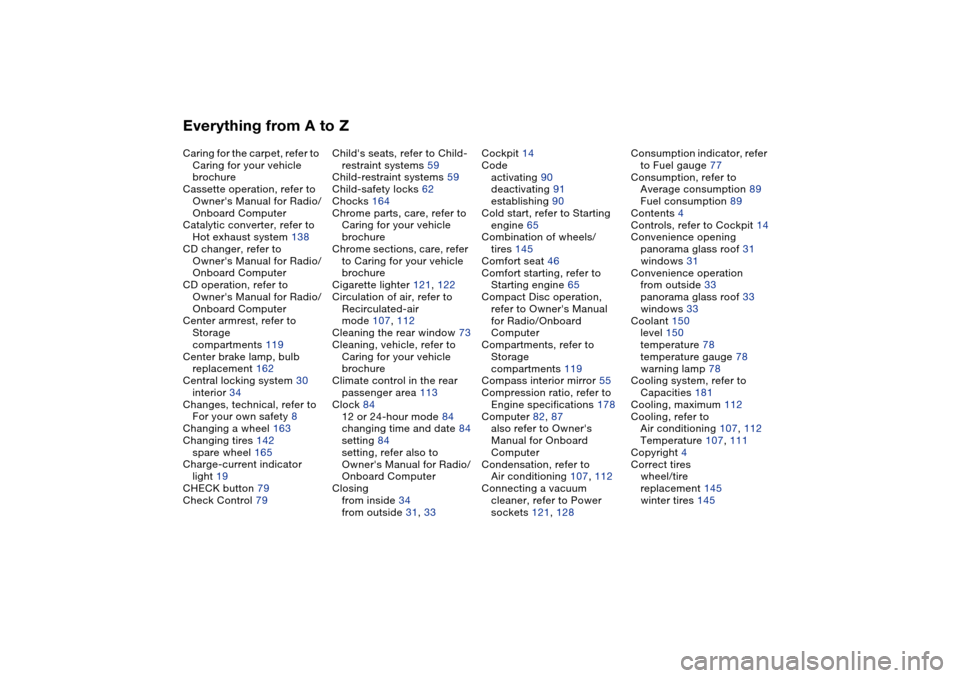
Everything from A to ZCaring for the carpet, refer to
Caring for your vehicle
brochure
Cassette operation, refer to
Owner's Manual for Radio/
Onboard Computer
Catalytic converter, refer to
Hot exhaust system 138
CD changer, refer to
Owner's Manual for Radio/
Onboard Computer
CD operation, refer to
Owner's Manual for Radio/
Onboard Computer
Center armrest, refer to
Storage
compartments 119
Center brake lamp, bulb
replacement 162
Central locking system 30
interior 34
Changes, technical, refer to
For your own safety 8
Changing a wheel 163
Changing tires 142
spare wheel 165
Charge-current indicator
light 19
CHECK button 79
Check Control 79Child's seats, refer to Child-
restraint systems 59
Child-restraint systems 59
Child-safety locks 62
Chocks 164
Chrome parts, care, refer to
Caring for your vehicle
brochure
Chrome sections, care, refer
to Caring for your vehicle
brochure
Cigarette lighter 121, 122
Circulation of air, refer to
Recirculated-air
mode 107, 112
Cleaning the rear window 73
Cleaning, vehicle, refer to
Caring for your vehicle
brochure
Climate control in the rear
passenger area 113
Clock 84
12 or 24-hour mode 84
changing time and date 84
setting 84
setting, refer also to
Owner's Manual for Radio/
Onboard Computer
Closing
from inside 34
from outside 31, 33Cockpit 14
Code
activating 90
deactivating 91
establishing 90
Cold start, refer to Starting
engine 65
Combination of wheels/
tires 145
Comfort seat 46
Comfort starting, refer to
Starting engine 65
Compact Disc operation,
refer to Owner's Manual
for Radio/Onboard
Computer
Compartments, refer to
Storage
compartments 119
Compass interior mirror 55
Compression ratio, refer to
Engine specifications 178
Computer 82, 87
also refer to Owner's
Manual for Onboard
Computer
Condensation, refer to
Air conditioning 107, 112
Connecting a vacuum
cleaner, refer to Power
sockets 121, 128Consumption indicator, refer
to Fuel gauge 77
Consumption, refer to
Average consumption 89
Fuel consumption 89
Contents 4
Controls, refer to Cockpit 14
Convenience opening
panorama glass roof 31
windows 31
Convenience operation
from outside 33
panorama glass roof 33
windows 33
Coolant 150
level 150
temperature 78
temperature gauge 78
warning lamp 78
Cooling system, refer to
Capacities 181
Cooling, maximum 112
Cooling, refer to
Air conditioning 107, 112
Temperature 107, 111
Copyright 4
Correct tires
wheel/tire
replacement 145
winter tires 145
Page 190 of 200
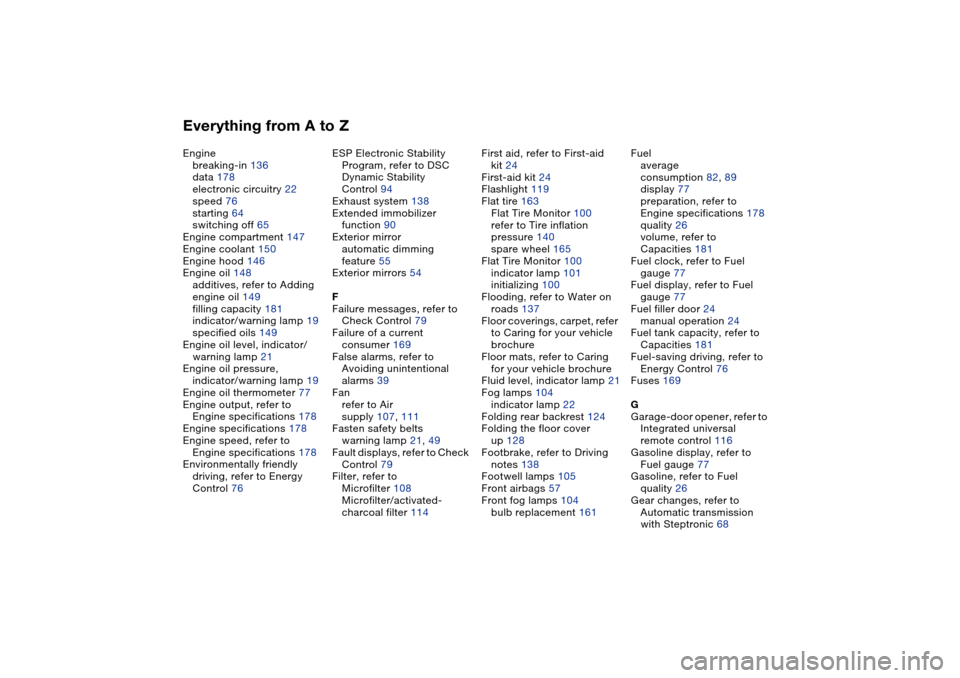
Everything from A to ZEngine
breaking-in 136
data 178
electronic circuitry 22
speed 76
starting 64
switching off 65
Engine compartment 147
Engine coolant 150
Engine hood 146
Engine oil 148
additives, refer to Adding
engine oil 149
filling capacity 181
indicator/warning lamp 19
specified oils 149
Engine oil level, indicator/
warning lamp 21
Engine oil pressure,
indicator/warning lamp 19
Engine oil thermometer 77
Engine output, refer to
Engine specifications 178
Engine specifications 178
Engine speed, refer to
Engine specifications 178
Environmentally friendly
driving, refer to Energy
Control 76ESP Electronic Stability
Program, refer to DSC
Dynamic Stability
Control 94
Exhaust system 138
Extended immobilizer
function 90
Exterior mirror
automatic dimming
feature 55
Exterior mirrors 54
F
Failure messages, refer to
Check Control 79
Failure of a current
consumer 169
False alarms, refer to
Avoiding unintentional
alarms 39
Fan
refer to Air
supply 107, 111
Fasten safety belts
warning lamp 21, 49
Fault displays, refer to Check
Control 79
Filter, refer to
Microfilter 108
Microfilter/activated-
charcoal filter 114First aid, refer to First-aid
kit 24
First-aid kit 24
Flashlight 119
Flat tire 163
Flat Tire Monitor 100
refer to Tire inflation
pressure 140
spare wheel 165
Flat Tire Monitor 100
indicator lamp 101
initializing 100
Flooding, refer to Water on
roads 137
Floor coverings, carpet, refer
to Caring for your vehicle
brochure
Floor mats, refer to Caring
for your vehicle brochure
Fluid level, indicator lamp 21
Fog lamps 104
indicator lamp 22
Folding rear backrest 124
Folding the floor cover
up 128
Footbrake, refer to Driving
notes 138
Footwell lamps 105
Front airbags 57
Front fog lamps 104
bulb replacement 161Fuel
average
consumption 82, 89
display 77
preparation, refer to
Engine specifications 178
quality 26
volume, refer to
Capacities 181
Fuel clock, refer to Fuel
gauge 77
Fuel display, refer to Fuel
gauge 77
Fuel filler door 24
manual operation 24
Fuel tank capacity, refer to
Capacities 181
Fuel-saving driving, refer to
Energy Control 76
Fuses 169
G
Garage-door opener, refer to
Integrated universal
remote control 116
Gasoline display, refer to
Fuel gauge 77
Gasoline, refer to Fuel
quality 26
Gear changes, refer to
Automatic transmission
with Steptronic 68