BMW X5 4.6IS 2003 Owners Manual
Manufacturer: BMW, Model Year: 2003, Model line: X5 4.6IS, Model: BMW X5 4.6IS 2003Pages: 183, PDF Size: 2.31 MB
Page 121 of 183
121n
OverviewControlsMaintenanceRepairsDataIndex
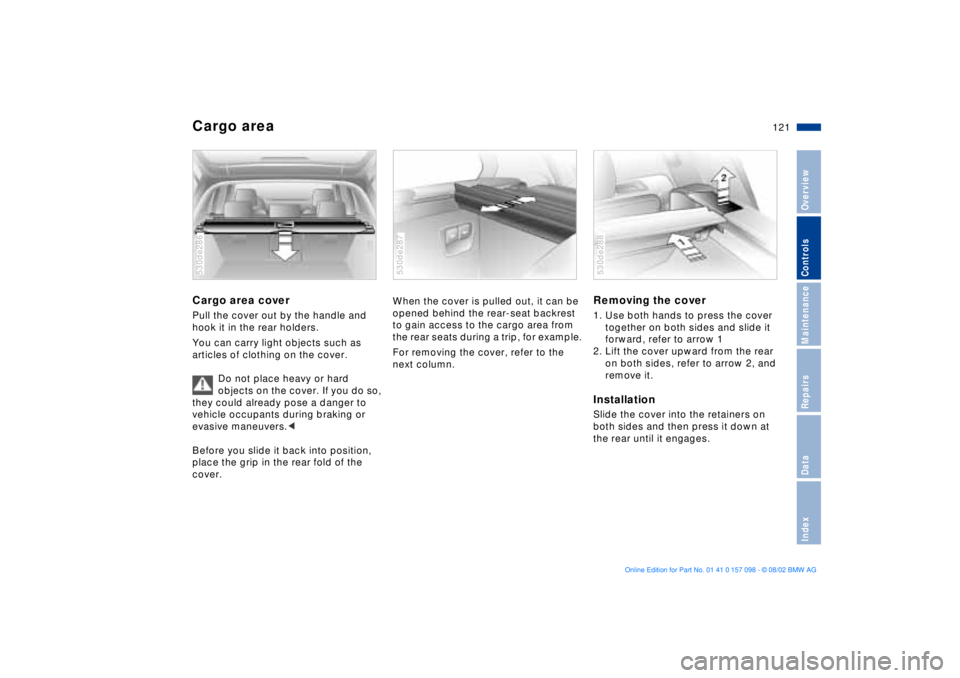
Cargo area Cargo area coverPull the cover out by the handle and
hook it in the rear holders.
You can carry light objects such as
articles of clothing on the cover.
Do not place heavy or hard
objects on the cover. If you do so,
they could already pose a danger to
vehicle occupants during braking or
evasive maneuvers.<
Before you slide it back into position,
place the grip in the rear fold of the
cover. 530de286
When the cover is pulled out, it can be
opened behind the rear-seat backrest
to gain access to the cargo area from
the rear seats during a trip, for example.
For removing the cover, refer to the
next column. 530de287
Removing the cover 1. Use both hands to press the cover
together on both sides and slide it
forward, refer to arrow 1
2. Lift the cover upward from the rear
on both sides, refer to arrow 2, and
remove it. InstallationSlide the cover into the retainers on
both sides and then press it down at
the rear until it engages. 530de288
Page 122 of 183
122n
Cargo area Partition net
*
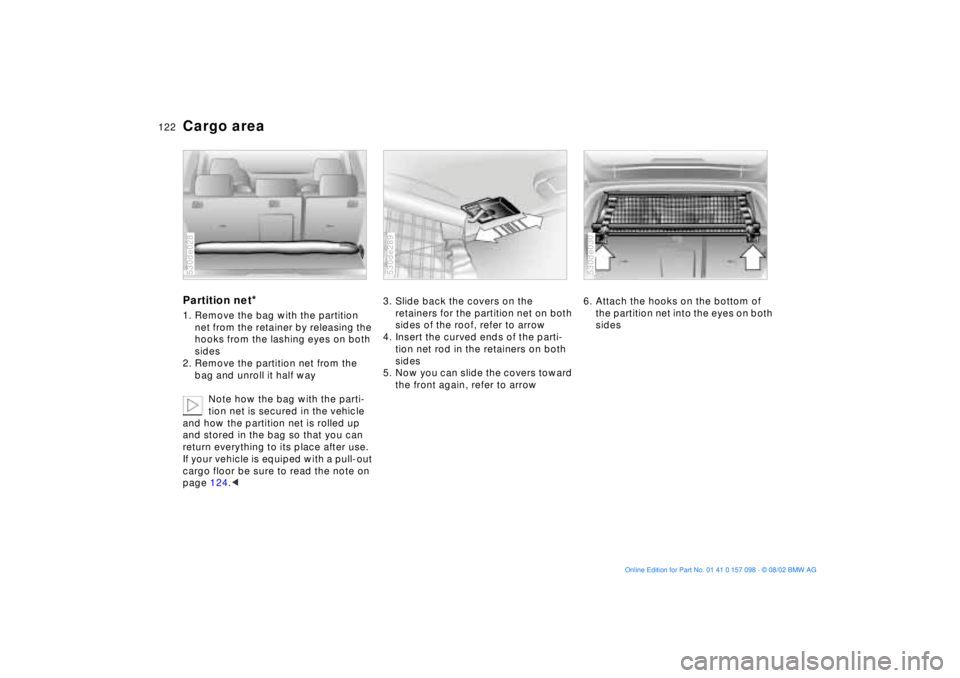
1. Remove the bag with the partition
net from the retainer by releasing the
hooks from the lashing eyes on both
sides
2. Remove the partition net from the
bag and unroll it half way
Note how the bag with the parti-
tion net is secured in the vehicle
and how the partition net is rolled up
and stored in the bag so that you can
return everything to its place after use.
If your vehicle is equiped with a pull-out
cargo floor be sure to read the note on
page 124.< 530de028
3. Slide back the covers on the
retainers for the partition net on both
sides of the roof, refer to arrow
4. Insert the curved ends of the parti-
tion net rod in the retainers on both
sides
5. Now you can slide the covers toward
the front again, refer to arrow 530de289
6. Attach the hooks on the bottom of
the partition net into the eyes on both
sides 530de030
Page 123 of 183
123n
OverviewControlsMaintenanceRepairsDataIndex
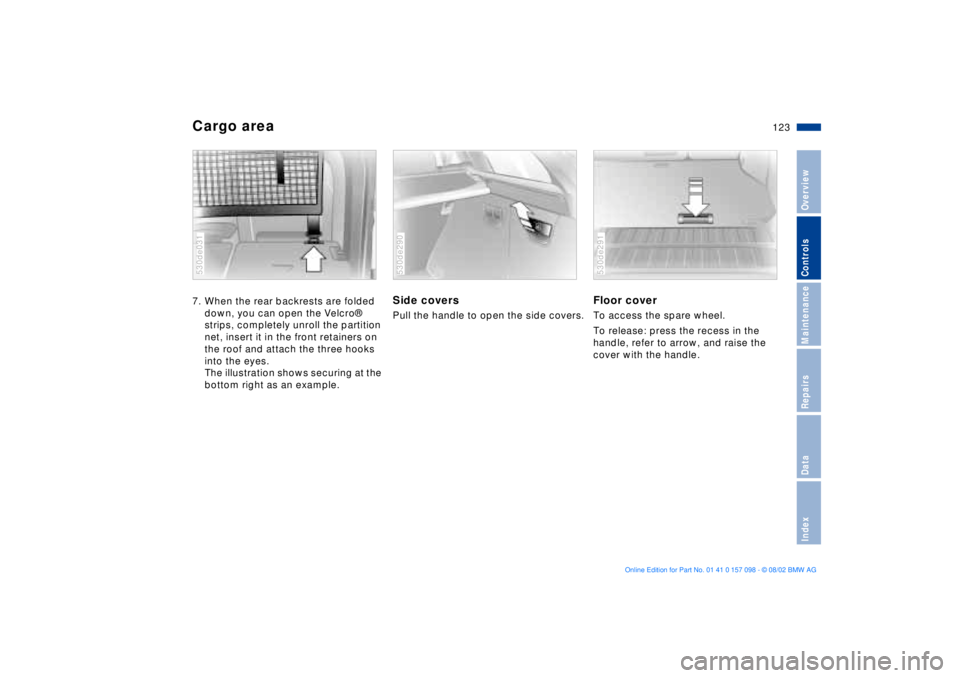
Cargo area 7. When the rear backrests are folded
down, you can open the Velcro¨
strips, completely unroll the partition
net, insert it in the front retainers on
the roof and attach the three hooks
into the eyes.
The illustration shows securing at the
bottom right as an example. 530de031
Side coversPull the handle to open the side covers.530de290
Floor cover To access the spare wheel.
To release: press the recess in the
handle, refer to arrow, and raise the
cover with the handle. 530de291
Page 124 of 183
124n
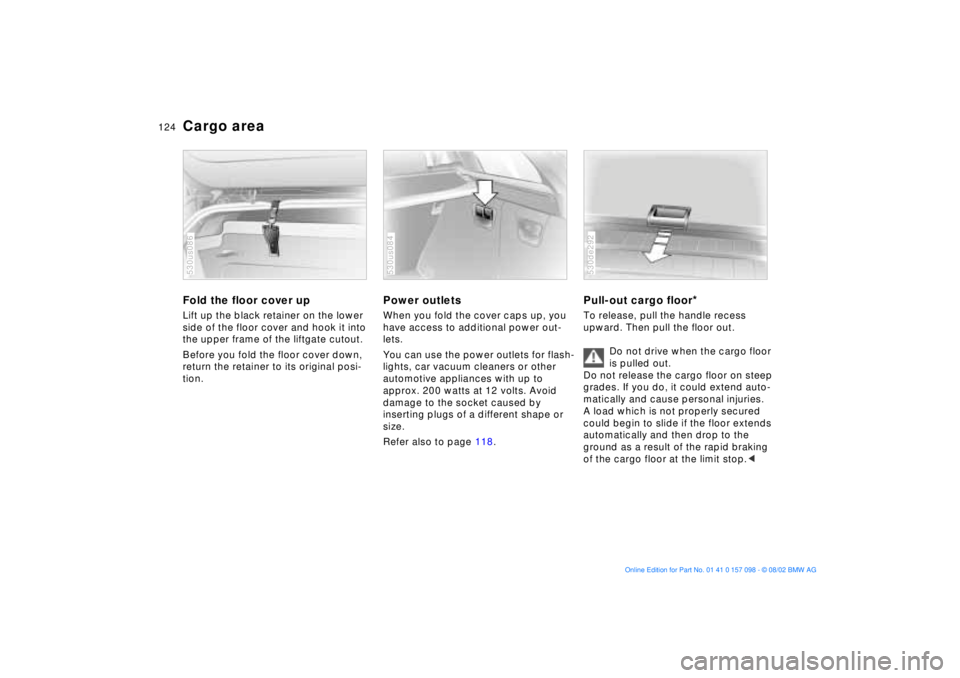
Cargo area Fold the floor cover upLift up the black retainer on the lower
side of the floor cover and hook it into
the upper frame of the liftgate cutout.
Before you fold the floor cover down,
return the retainer to its original posi-
tion.530us086
Power outlets When you fold the cover caps up, you
have access to additional power out-
lets.
You can use the power outlets for flash-
lights, car vacuum cleaners or other
automotive appliances with up to
approx. 200 watts at 12 volts. Avoid
damage to the socket caused by
inserting plugs of a different shape or
size.
Refer also to page 118. 530us084
Pull-out cargo floor
*
To release, pull the handle recess
upward. Then pull the floor out.
Do not drive when the cargo floor
is pulled out.
Do not release the cargo floor on steep
grades. If you do, it could extend auto-
matically and cause personal injuries.
A load which is not properly secured
could begin to slide if the floor extends
automatically and then drop to the
ground as a result of the rapid braking
of the cargo floor at the limit stop.< 530de292
Page 125 of 183
125n
OverviewControlsMaintenanceRepairsDataIndex
Cargo areaWhen it is extended, you can load the
cargo floor:
>With up to 990 Ibs/450 kg, distrib-
uted evenly across the entire surface
>With up to 330 Ibs/150 kg on the rear
edge.
Do not overload the cargo floor
when it is extended. If you do so,
it could cause damage.
When you slide the cargo floor back in,
do not grasp it on the bottom. If you do
so, there is a risk of personal injury.<
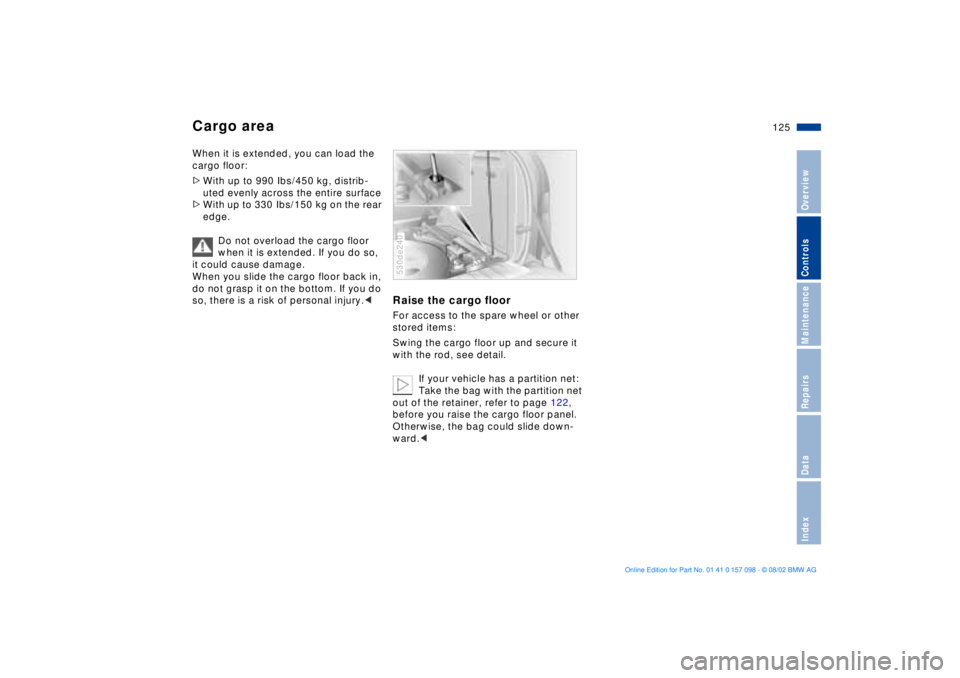
Raise the cargo floor For access to the spare wheel or other
stored items:
Swing the cargo floor up and secure it
with the rod, see detail.
If your vehicle has a partition net:
Take the bag with the partition net
out of the retainer, refer to page 122,
before you raise the cargo floor panel.
Otherwise, the bag could slide down-
ward.< 530de240
Page 126 of 183
126n
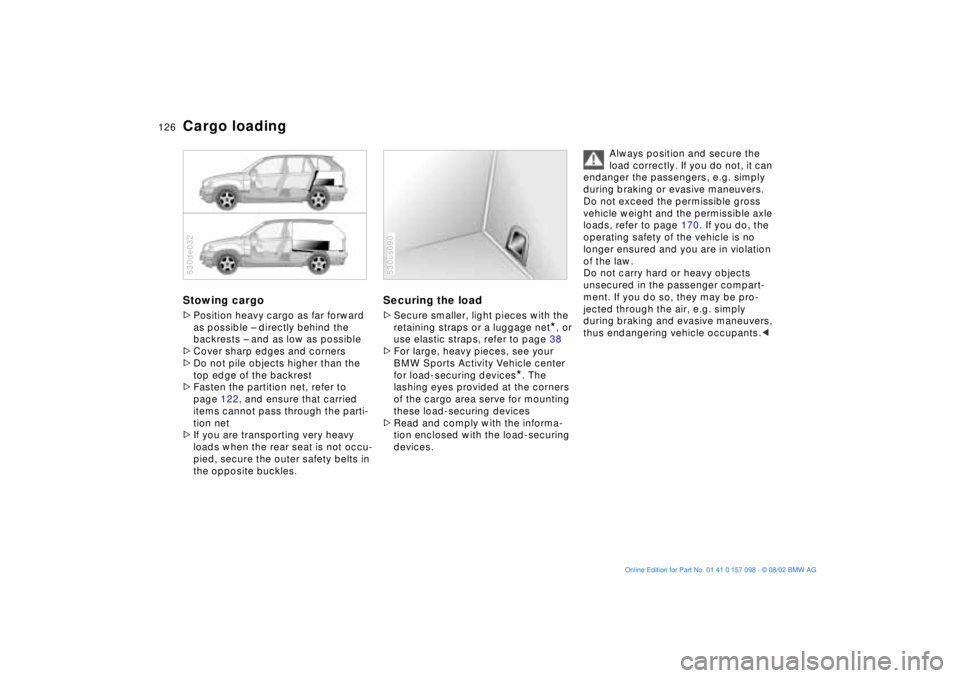
Cargo loadingStowing cargo >Position heavy cargo as far forward
as possible Ð directly behind the
backrests Ð and as low as possible
>Cover sharp edges and corners
>Do not pile objects higher than the
top edge of the backrest
>Fasten the partition net, refer to
page 122, and ensure that carried
items cannot pass through the parti-
tion net
>If you are transporting very heavy
loads when the rear seat is not occu-
pied, secure the outer safety belts in
the opposite buckles. 530de032
Securing the load >Secure smaller, light pieces with the
retaining straps or a luggage net
*, or
use elastic straps, refer to page 38
>For large, heavy pieces, see your
BMW Sports Activity Vehicle center
for load-securing devices
*. The
lashing eyes provided at the corners
of the cargo area serve for mounting
these load-securing devices
>Read and comply with the informa-
tion enclosed with the load-securing
devices.
530us090
Always position and secure the
load correctly. If you do not, it can
endanger the passengers, e.g. simply
during braking or evasive maneuvers.
Do not exceed the permissible gross
vehicle weight and the permissible axle
loads, refer to page 170. If you do, the
operating safety of the vehicle is no
longer ensured and you are in violation
of the law.
Do not carry hard or heavy objects
unsecured in the passenger compart-
ment. If you do so, they may be pro-
jected through the air, e.g. simply
during braking and evasive maneuvers,
thus endangering vehicle occupants.<
Page 127 of 183
127n
OverviewControlsMaintenanceRepairsDataIndex
Roof-mounted luggage rack
*
A special rack system is available as an
optional extra for your BMW. Please
comply with the precautions included
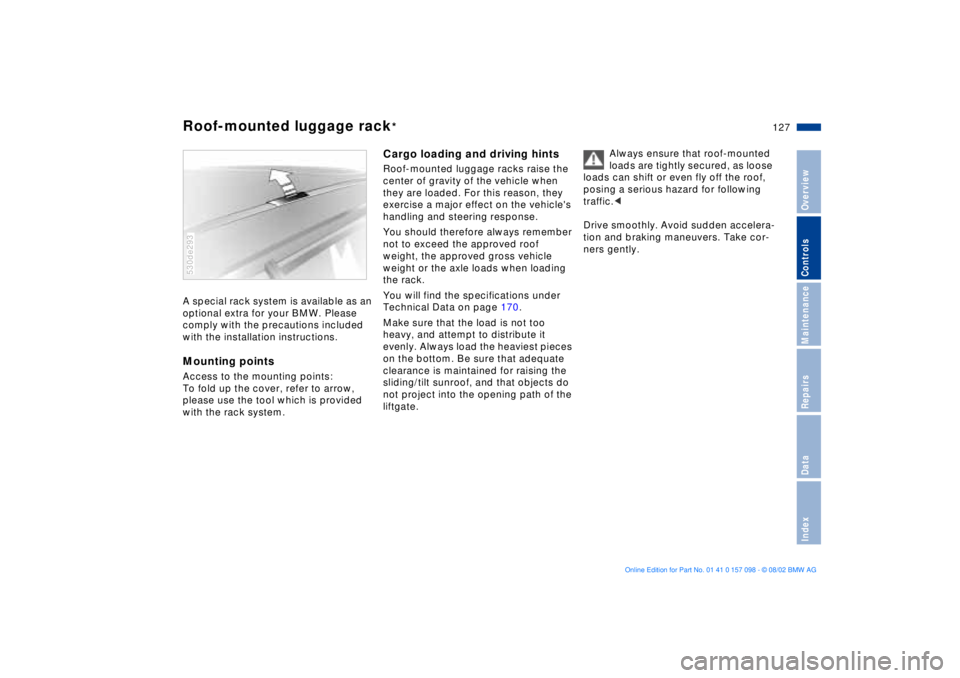
with the installation instructions.Mounting pointsAccess to the mounting points:
To fold up the cover, refer to arrow,
please use the tool which is provided
with the rack system.530de293
Cargo loading and driving hintsRoof-mounted luggage racks raise the
center of gravity of the vehicle when
they are loaded. For this reason, they
exercise a major effect on the vehicle's
handling and steering response.
You should therefore always remember
not to exceed the approved roof
weight, the approved gross vehicle
weight or the axle loads when loading
the rack.
You will find the specifications under
Technical Data on page 170.
Make sure that the load is not too
heavy, and attempt to distribute it
evenly. Always load the heaviest pieces
on the bottom. Be sure that adequate
clearance is maintained for raising the
sliding/tilt sunroof, and that objects do
not project into the opening path of the
liftgate. Always ensure that roof-mounted
loads are tightly secured, as loose
loads can shift or even fly off the roof,
posing a serious hazard for following
traffic.<
Drive smoothly. Avoid sudden accelera-
tion and braking maneuvers. Take cor-
ners gently.
Page 128 of 183
128n
Page 129 of 183
129n
OverviewControlsMaintenanceRepairsDataIndex
Overview
Controls and features
Operation, maintenance
Owner service procedures
Index Technical data
Mainte-
Page 130 of 183

130n
Break-in proceduresTo ensure that your vehicle provides
maximum economy throughout a long
service life, we request that you
observe the following instructions: Engine and differential Up to 1,200 miles/2,000 km:
Drive at varying engine speeds and
road speeds, but do not exceed
4,500 rpm and the following road
speeds during this initial period:
6-cylinder engines: 100 mph/160 km/h
8-cylinder engines: 106 mph/170 km/h
Obey your local and state maximum
speed limits.
Refrain from using full throttle and avoid
pressing the accelerator beyond the
kickdown point.
Once you have driven 1,200 miles/
2,000 km, engine and vehicle speeds
can gradually be increased.
You should also comply with these
break-in procedures should the engine
or one of the differentials be replaced
later in the course of the vehicle's ser-
vice life.
TiresDue to technical factors associated
with their manufacture, tires do not
achieve their full traction potential until
an initial break-in period has elapsed.
For this reason, drive with extra care
during the initial 200 miles/300 km.
Obey your local and state maximum
speed limits.
When the vehicle is operated on
wet or slushy roads, a wedge of
water may form between the tire and
the road surface. This phenomenon is
referred to as aquaplaning, or hydro-
planing, and can lead to partial or com-
plete loss of traction, vehicle control
and braking effectiveness. Reduce your
speed on wet roads.<
Brake systemApprox. 300 miles/500 km must elapse
before the brake pads and rotors
achieve the optimal pad-surface and
wear patterns required for trouble-free
operation and long service life later on.
To break in the separate parking brake
drums, apply the parking brake lightly
when coasting to a standstill at a traffic
signal, for instance, provided that traffic
conditions allow you to do so.
To avoid corrosion, repeat this proce-
dure from time to time.
The brake lamps do not light up
when the parking brake is applied.
Vacuum for the brake system servo unit
on your BMW is available only when the
engine is running. When you move the
vehicle with the engine switched off Ð
when towing, for instance Ð substan-
tially higher levels of pedal force will be
required to brake the vehicle.<