window BMW X6 2013 E71 Owner's Guide
[x] Cancel search | Manufacturer: BMW, Model Year: 2013, Model line: X6, Model: BMW X6 2013 E71Pages: 345, PDF Size: 9.45 MB
Page 156 of 345
Things to remember when drivingVehicle equipment
This chapter describes all series equipment as
well as country-specific and special equipment
offered for this model series.Therefore, it also
describes equipment that may not be found in
your vehicle, for instance due to the selected
special equipment or the country version. This
also applies to safety-related functions and
systems.
Breaking-in period
General information Moving parts need to be broken in to adjust to
each other.
The following instructions will help achieve a
long vehicle life and good economy.
Engine and differential Always obey all official speed limits.
Up to 1,200 miles/2,000 km
Do not exceed the maximum engine and road
speeds:▷For a gasoline engine, 4,500 rpm and
100 mph/160 km/h.▷For a diesel engine, 3,500 rpm and
93 mph/150 km/h.
Avoid full-throttle operation and use of the
transmission's kickdown mode for the initial
miles.
From 1,200 miles/2,000 km The engine and vehicle speed can gradually be
increased.
Tires
Due to technical factors associated with their
manufacture, tires do not achieve their full
traction potential until after an initial breaking-
in period.
Drive conservatively for the first
200 miles/300 km.
Brake system
Brakes require an initial break-in period of ap‐
prox. 300 miles/500 km to achieve optimized
contact and wear patterns between brake pads and rotors. Drive cautiously during this break-
in period.
Following part replacement
The same breaking in procedures should be
observed if any of the components mentioned
above have to be renewed in the course of the
vehicle's operating life.
General driving notes
Closing tailgate Drive with the tailgate closed
Only drive with the tailgate closed; other‐
wise, passengers and other road users may be
endangered or the vehicle may be damaged if
an accident occurs or during braking or evasive
maneuvers. In addition, exhaust fumes may
enter the passenger compartment.◀
If, despite this, the vehicle must be driven with
the tailgate open:▷Drive moderately.▷Close all windows and the glass sunroof/
panoramic glass sunroof.▷Greatly increase the blower speed.Seite 156Driving tipsThings to remember when driving156
Online Edition for Part no. 01 40 2 918 395 - III/13
Page 162 of 345
Stowing cargo▷Very heavy cargo: when the rear seat is not
occupied, secure each of the outer safety
belts in the opposite buckle.▷Heavy cargo: stow as far forward and as
low as possible, ideally directly behind the
backrests.▷Cover sharp edges and corners.▷Do not pile cargo higher than the top edge
of the backrests.▷If necessary, fold down the rear backrests
to stow cargo.▷Place protective material around any
sharp-edged or pointed objects that could
bump against the rear window while the
vehicle is in motion.
Securing cargo
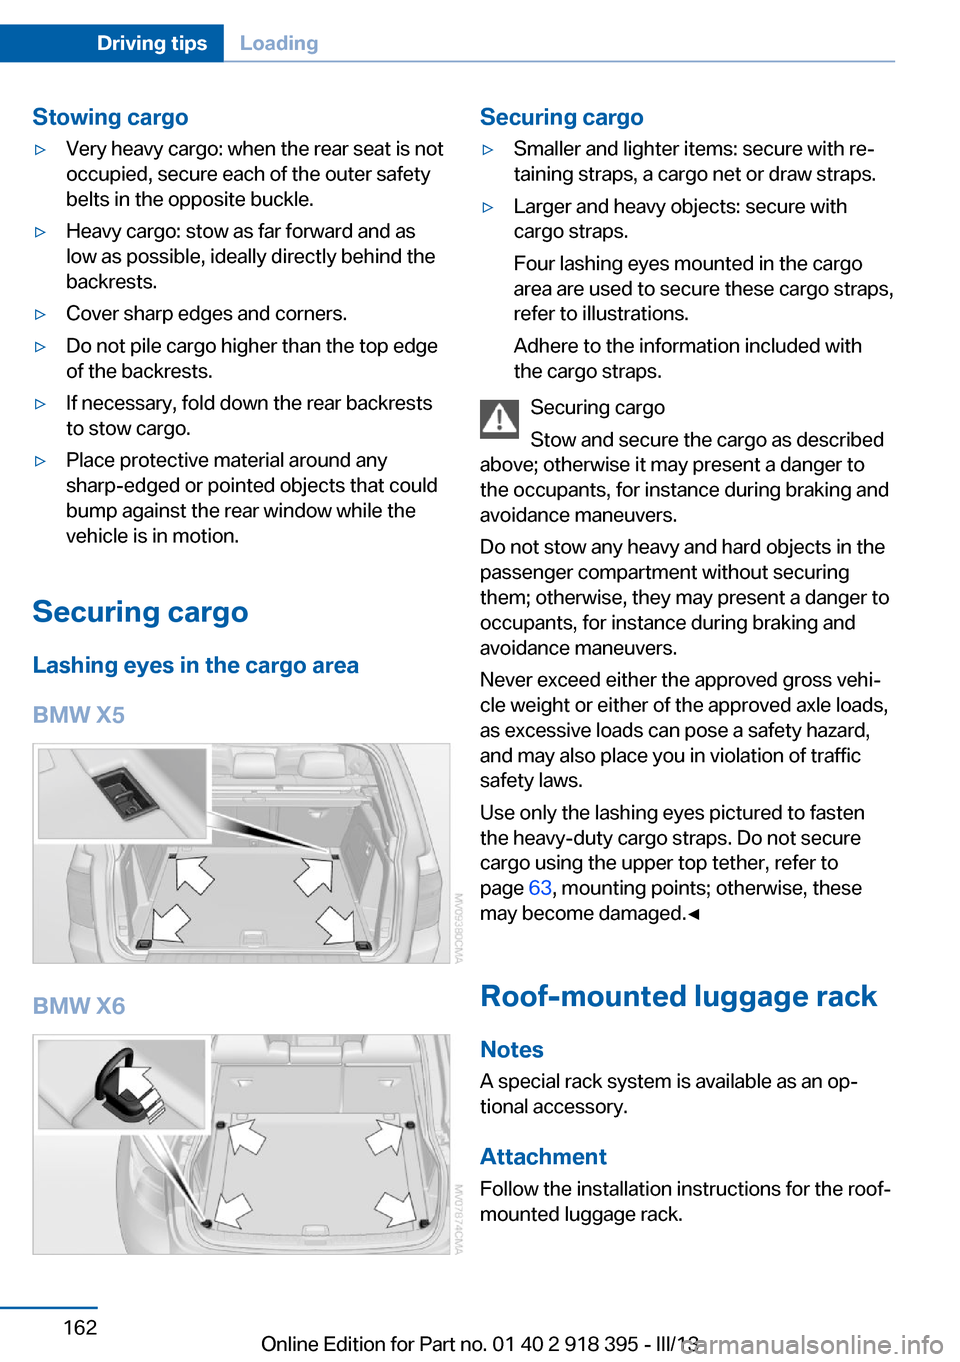
Lashing eyes in the cargo area
BMW X5
BMW X6
Securing cargo▷Smaller and lighter items: secure with re‐
taining straps, a cargo net or draw straps.▷Larger and heavy objects: secure with
cargo straps.
Four lashing eyes mounted in the cargo
area are used to secure these cargo straps,
refer to illustrations.
Adhere to the information included with
the cargo straps.
Securing cargo
Stow and secure the cargo as described
above; otherwise it may present a danger to
the occupants, for instance during braking and
avoidance maneuvers.
Do not stow any heavy and hard objects in the
passenger compartment without securing
them; otherwise, they may present a danger to
occupants, for instance during braking and
avoidance maneuvers.
Never exceed either the approved gross vehi‐
cle weight or either of the approved axle loads,
as excessive loads can pose a safety hazard,
and may also place you in violation of traffic
safety laws.
Use only the lashing eyes pictured to fasten
the heavy-duty cargo straps. Do not secure
cargo using the upper top tether, refer to
page 63, mounting points; otherwise, these
may become damaged.◀
Roof-mounted luggage rack
Notes A special rack system is available as an op‐
tional accessory.
Attachment Follow the installation instructions for the roof-
mounted luggage rack.
Seite 162Driving tipsLoading162
Online Edition for Part no. 01 40 2 918 395 - III/13
Page 164 of 345
Saving fuelVehicle equipmentThis chapter describes all series equipment as
well as country-specific and special equipment
offered for this model series.Therefore, it also
describes equipment that may not be found in
your vehicle, for instance due to the selected
special equipment or the country version. This
also applies to safety-related functions and
systems.
General information
Your vehicle contains advanced technology for
the reduction of fuel consumption and emis‐
sions.
Fuel consumption depends on a number of dif‐
ferent factors.
The implementation of certain measures, driv‐
ing style and regular maintenance, refer to
page 293, can have an influence on fuel con‐
sumption and on the environmental impact.
Remove unnecessary cargo
Additional weight increases fuel consumption.
Remove attached parts
following use
Remove unneeded auxiliary mirrors, roof or
rear luggage racks after use.
Attached parts on the vehicle impair the aero‐
dynamics and increase the fuel consumption.Closing the windows and
glass sunroof/panoramic
glass sunroof
Driving with the glass sunroof/panoramic glass
sunroof and windows open results in increased
air resistance and raises fuel consumption.
Check the tire inflation
pressure regularly
Check and, if necessary, correct the tire infla‐
tion pressure, refer to page 275, at least twice
a month and before starting on a long trip.
Low tire inflation pressure increases rolling re‐
sistance and thus raises fuel consumption and
tire wear.
Drive away without delay
Do not wait for the engine to warm-up while
the vehicle remains stationary. Start driving
right away, but at moderate engine speeds.
This is the fastest way for the cold engine to
reach its operating temperature.
Look well ahead when
driving
Avoid unnecessary acceleration and braking.
By maintaining a suitable distance to the vehi‐
cle driving ahead of you.
Driving smoothly and looking ahead reduces
fuel consumption.
Avoid high engine speeds Driving at a low engine speed reduces fuel
consumption and minimizes wear.Seite 164Driving tipsSaving fuel164
Online Edition for Part no. 01 40 2 918 395 - III/13
Page 165 of 345
Use coasting conditions
When approaching a red light, take your foot
off the accelerator and let the vehicle coast to
a halt.
On a downhill gradient, take your foot off the
accelerator and let the vehicle roll.
The flow of fuel is interrupted while coasting.
Switch off the engine during longer stops
Switch off the engine during longer stops, e.g.,
at traffic lights, railroad crossings or in traffic
congestion.
Fuel savings are already achieved after the en‐
gine is turned off for as little as 4 seconds.
Switch off any functions that
are not currently needed
Functions such as seat heating and the rear
window defroster require a lot of energy and
consume additional fuel, especially in city and
stop-and-go traffic.
Therefore, switch off these functions if they
are not actually needed.
Have maintenance carried
out
Have vehicles maintained regularly to achieve
optimal vehicle economy and operating life.
Have the maintenance carried out by your
service center.
Please also note the BMW Maintenance Sys‐
tem, refer to page 293.Seite 165Saving fuelDriving tips165
Online Edition for Part no. 01 40 2 918 395 - III/13
Page 222 of 345
Menu navigation
You can use the thumbwheel and buttons 1 to
navigate through the menus.▷Turn the thumbwheel: select a menu item.▷Press the arrow buttons: change between
fields.▷ Press the button: activate the menu
item.
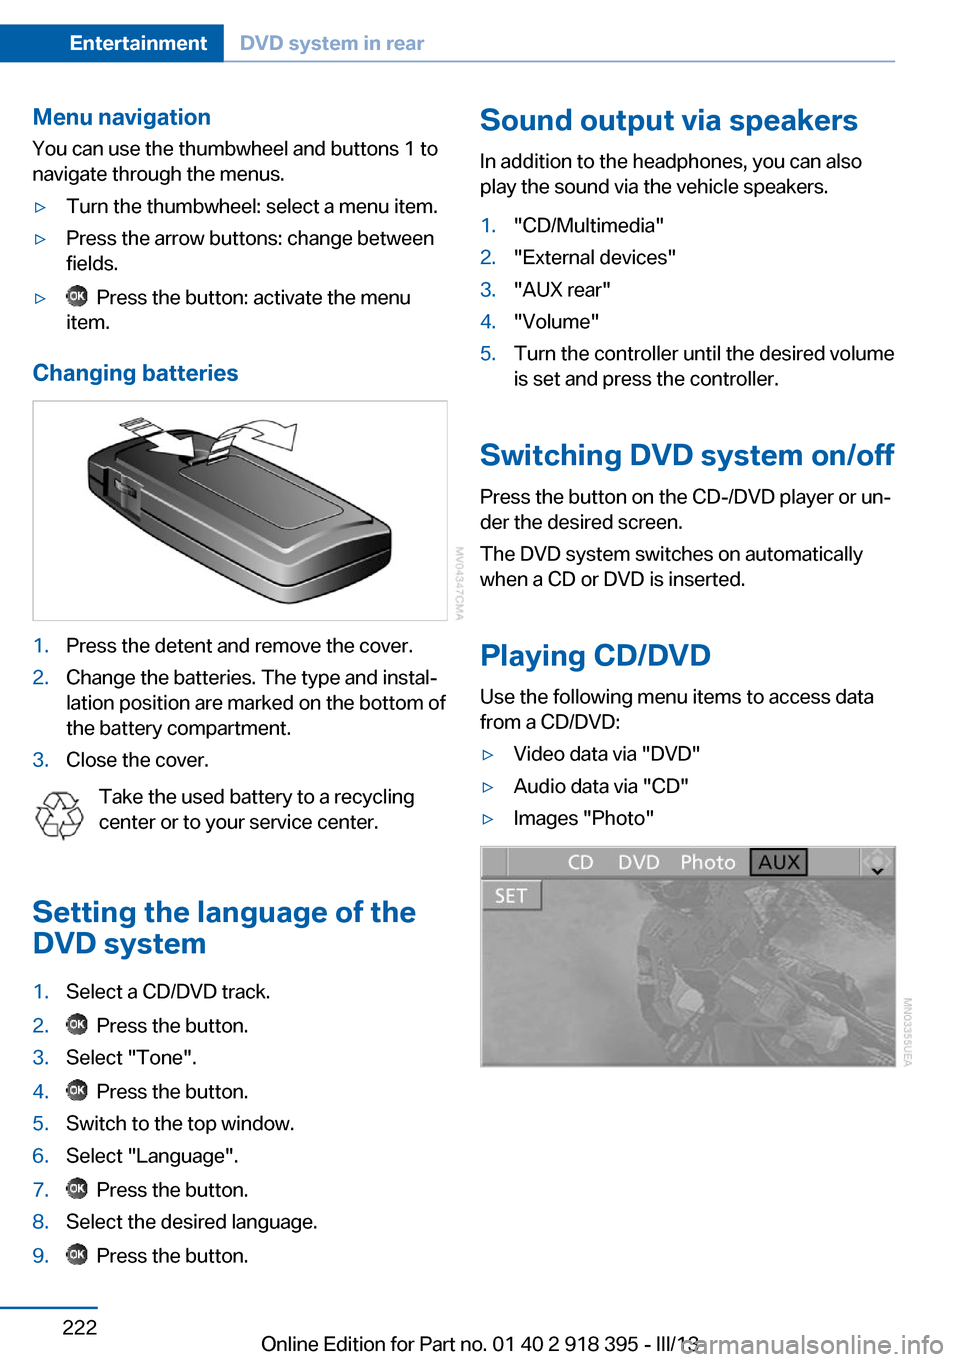
Changing batteries
1.Press the detent and remove the cover.2.Change the batteries. The type and instal‐
lation position are marked on the bottom of
the battery compartment.3.Close the cover.
Take the used battery to a recycling
center or to your service center.
Setting the language of the
DVD system
1.Select a CD/DVD track.2. Press the button.3.Select "Tone".4. Press the button.5.Switch to the top window.6.Select "Language".7. Press the button.8.Select the desired language.9. Press the button.Sound output via speakers
In addition to the headphones, you can also
play the sound via the vehicle speakers.1."CD/Multimedia"2."External devices"3."AUX rear"4."Volume"5.Turn the controller until the desired volume
is set and press the controller.
Switching DVD system on/off
Press the button on the CD-/DVD player or un‐
der the desired screen.
The DVD system switches on automatically
when a CD or DVD is inserted.
Playing CD/DVD
Use the following menu items to access data
from a CD/DVD:
▷Video data via "DVD"▷Audio data via "CD"▷Images "Photo"Seite 222EntertainmentDVD system in rear222
Online Edition for Part no. 01 40 2 918 395 - III/13
Page 225 of 345
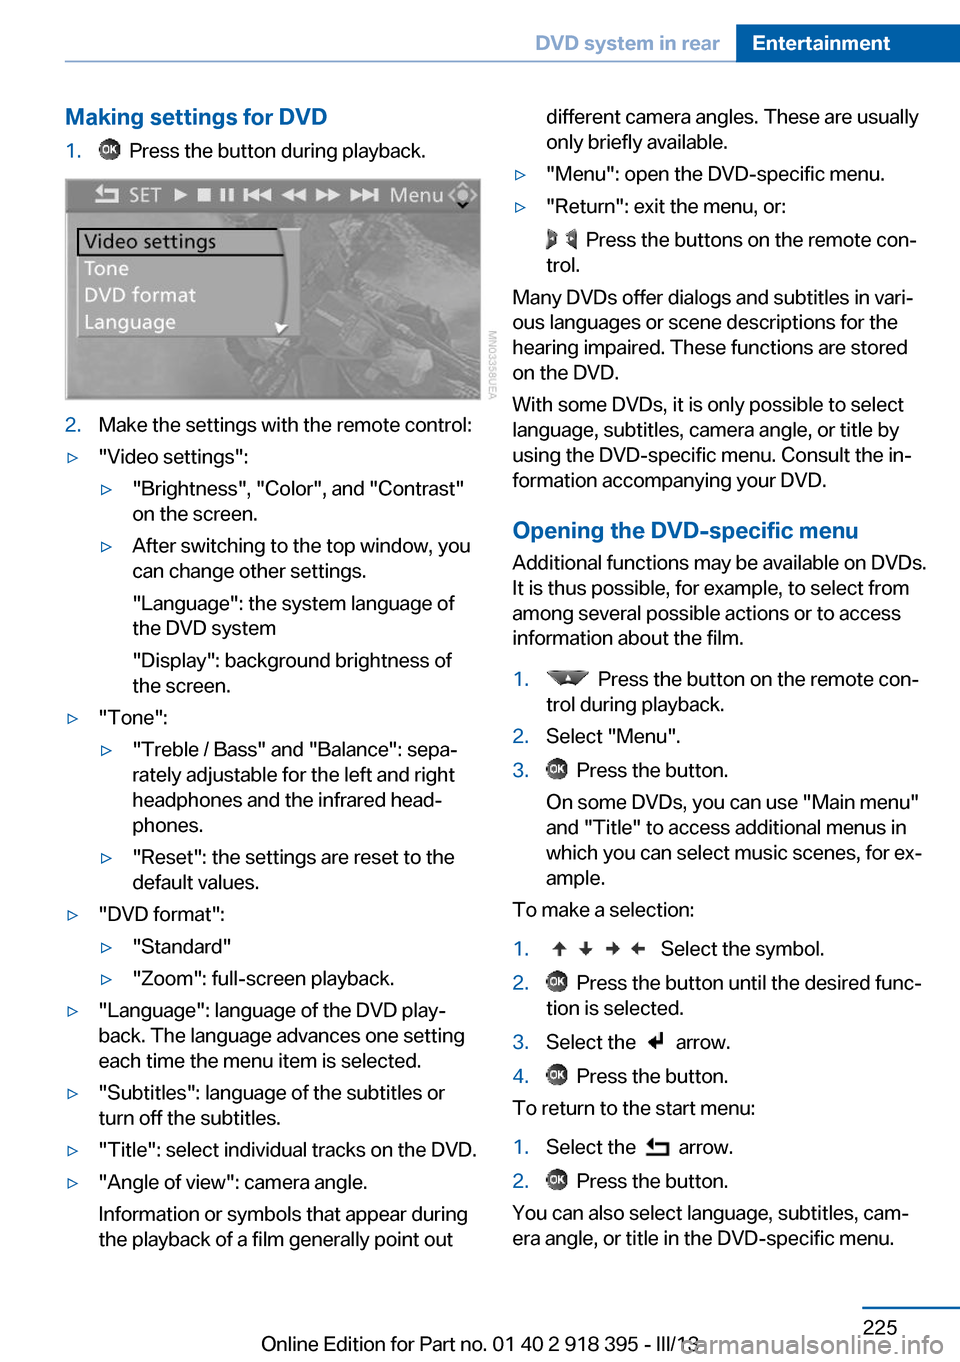
Making settings for DVD1. Press the button during playback.2.Make the settings with the remote control:▷"Video settings":▷"Brightness", "Color", and "Contrast"
on the screen.▷After switching to the top window, you
can change other settings.
"Language": the system language of
the DVD system
"Display": background brightness of
the screen.▷"Tone":▷"Treble / Bass" and "Balance": sepa‐
rately adjustable for the left and right
headphones and the infrared head‐
phones.▷"Reset": the settings are reset to the
default values.▷"DVD format":▷"Standard"▷"Zoom": full-screen playback.▷"Language": language of the DVD play‐
back. The language advances one setting
each time the menu item is selected.▷"Subtitles": language of the subtitles or
turn off the subtitles.▷"Title": select individual tracks on the DVD.▷"Angle of view": camera angle.
Information or symbols that appear during
the playback of a film generally point outdifferent camera angles. These are usually
only briefly available.▷"Menu": open the DVD-specific menu.▷"Return": exit the menu, or:
Press the buttons on the remote con‐
trol.
Many DVDs offer dialogs and subtitles in vari‐
ous languages or scene descriptions for the
hearing impaired. These functions are stored
on the DVD.
With some DVDs, it is only possible to select
language, subtitles, camera angle, or title by
using the DVD-specific menu. Consult the in‐
formation accompanying your DVD.
Opening the DVD-specific menu
Additional functions may be available on DVDs.
It is thus possible, for example, to select from
among several possible actions or to access
information about the film.
1. Press the button on the remote con‐
trol during playback.2.Select "Menu".3. Press the button.
On some DVDs, you can use "Main menu"
and "Title" to access additional menus in
which you can select music scenes, for ex‐
ample.
To make a selection:
1. Select the symbol.2. Press the button until the desired func‐
tion is selected.3.Select the arrow.4. Press the button.
To return to the start menu:
1.Select the arrow.2. Press the button.
You can also select language, subtitles, cam‐
era angle, or title in the DVD-specific menu.
Seite 225DVD system in rearEntertainment225
Online Edition for Part no. 01 40 2 918 395 - III/13
Page 229 of 345
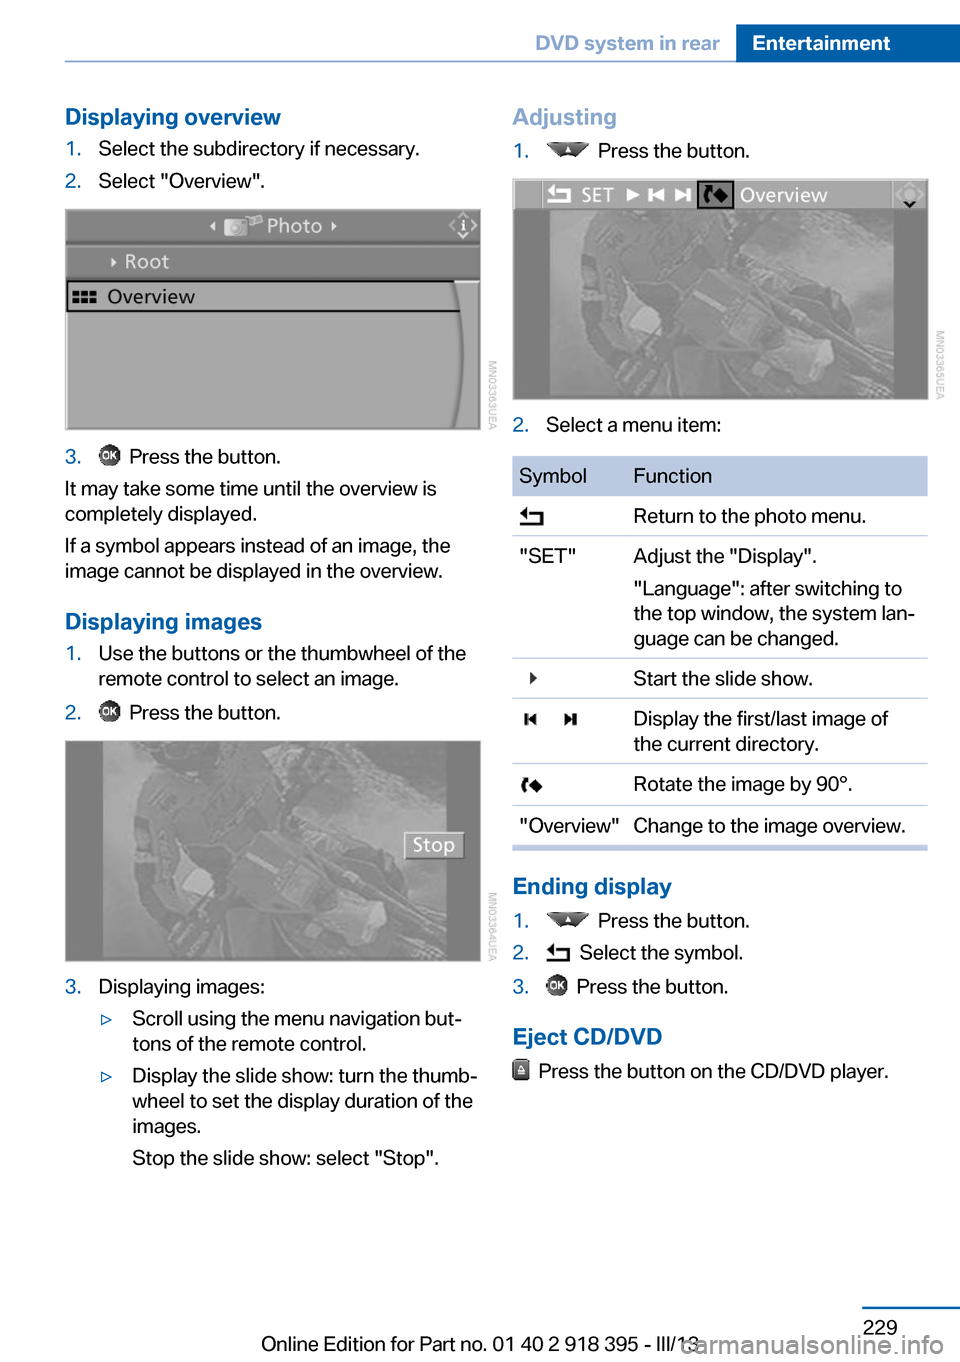
Displaying overview1.Select the subdirectory if necessary.2.Select "Overview".3. Press the button.
It may take some time until the overview is
completely displayed.
If a symbol appears instead of an image, the
image cannot be displayed in the overview.
Displaying images
1.Use the buttons or the thumbwheel of the
remote control to select an image.2. Press the button.3.Displaying images:▷Scroll using the menu navigation but‐
tons of the remote control.▷Display the slide show: turn the thumb‐
wheel to set the display duration of the
images.
Stop the slide show: select "Stop".Adjusting1. Press the button.2.Select a menu item:SymbolFunction Return to the photo menu."SET"Adjust the "Display".
"Language": after switching to
the top window, the system lan‐
guage can be changed. Start the slide show. Display the first/last image of
the current directory. Rotate the image by 90°."Overview"Change to the image overview.
Ending display
1. Press the button.2. Select the symbol.3. Press the button.
Eject CD/DVD
Press the button on the CD/DVD player.
Seite 229DVD system in rearEntertainment229
Online Edition for Part no. 01 40 2 918 395 - III/13
Page 232 of 345
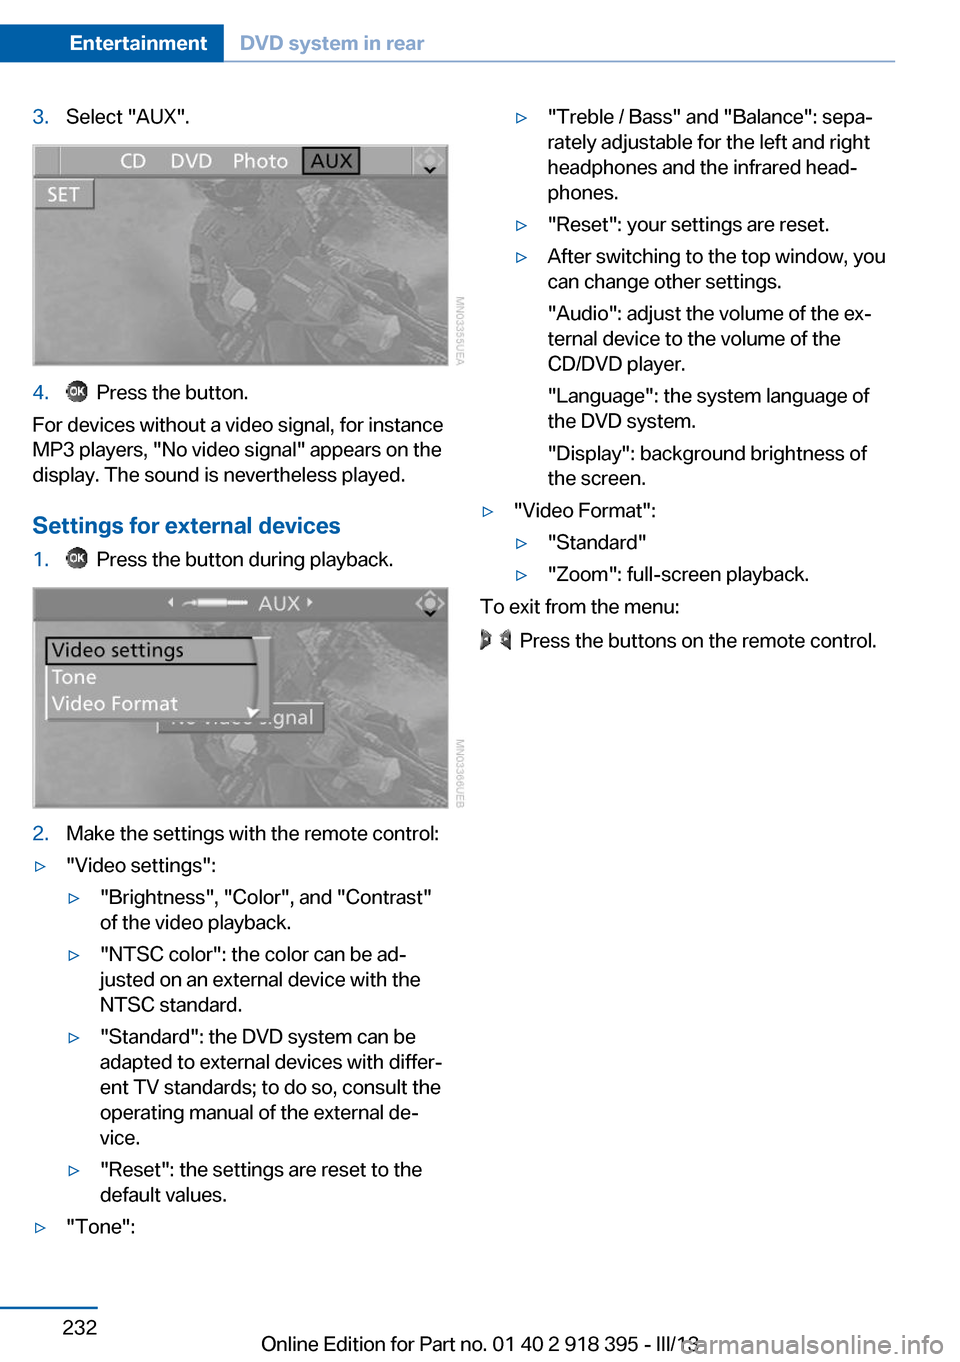
3.Select "AUX".4. Press the button.
For devices without a video signal, for instance
MP3 players, "No video signal" appears on the
display. The sound is nevertheless played.
Settings for external devices
1. Press the button during playback.2.Make the settings with the remote control:▷"Video settings":▷"Brightness", "Color", and "Contrast"
of the video playback.▷"NTSC color": the color can be ad‐
justed on an external device with the
NTSC standard.▷"Standard": the DVD system can be
adapted to external devices with differ‐
ent TV standards; to do so, consult the
operating manual of the external de‐
vice.▷"Reset": the settings are reset to the
default values.▷"Tone":▷"Treble / Bass" and "Balance": sepa‐
rately adjustable for the left and right
headphones and the infrared head‐
phones.▷"Reset": your settings are reset.▷After switching to the top window, you
can change other settings.
"Audio": adjust the volume of the ex‐
ternal device to the volume of the
CD/DVD player.
"Language": the system language of
the DVD system.
"Display": background brightness of
the screen.▷"Video Format":▷"Standard"▷"Zoom": full-screen playback.
To exit from the menu:
Press the buttons on the remote control.
Seite 232EntertainmentDVD system in rear232
Online Edition for Part no. 01 40 2 918 395 - III/13
Page 246 of 345
Redialing
›Redial‹
Voice phone book
Depending on how your vehicle is equipped, it
may be necessary to create your own voice
phone book.
The entries must be entered using voice acti‐
vation and are separate from the memory in
the mobile phone. Up to 50 entries can be set
up.
Saving an entry1.›Save name‹2.Say the name. Do not exceed the speaking
duration of approx. 2 seconds.3.Say the phone number after being
prompted to do so by the system.4.›Save‹
Deleting an entry
1.›Delete name‹2.Say the name after being prompted to do
so.3.Confirm the prompt: ›Yes‹
Deleting all entries
1.›Delete phone book‹2.Confirm the prompt: ›Yes‹3.Confirm the prompt again: ›Yes‹
Reading and selecting entries
1.›Read phonebook‹2.When the desired entry is read aloud: say ›
Dial number‹
Selecting an entry
1.›Dial name‹2.Say the name after being prompted to do
so.3.Confirm the prompt: ›Yes‹Adjusting the volume
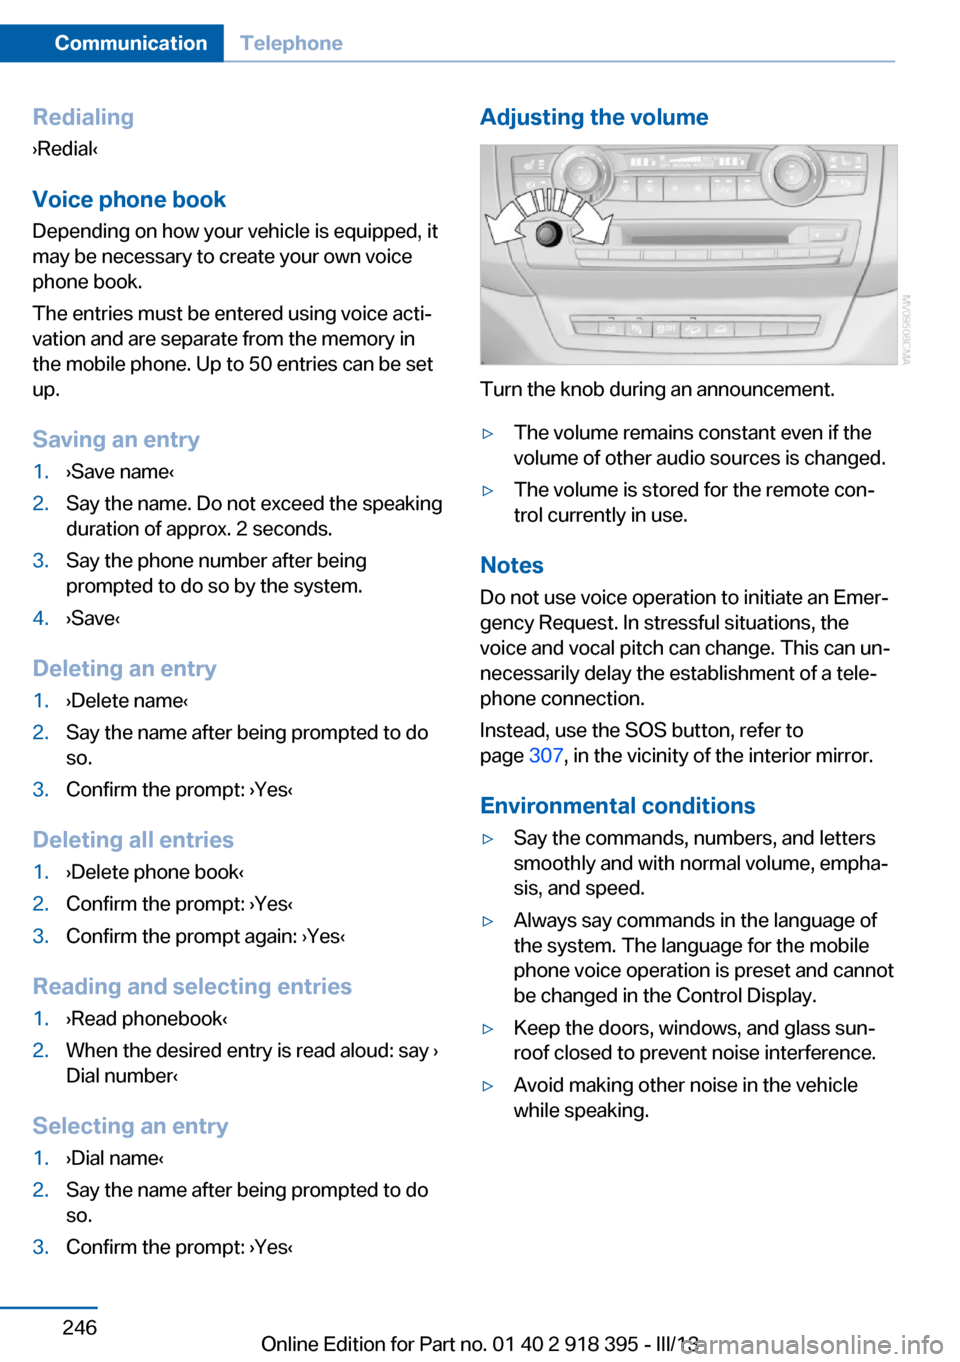
Turn the knob during an announcement.
▷The volume remains constant even if the
volume of other audio sources is changed.▷The volume is stored for the remote con‐
trol currently in use.
Notes
Do not use voice operation to initiate an Emer‐
gency Request. In stressful situations, the
voice and vocal pitch can change. This can un‐
necessarily delay the establishment of a tele‐
phone connection.
Instead, use the SOS button, refer to
page 307, in the vicinity of the interior mirror.
Environmental conditions
▷Say the commands, numbers, and letters
smoothly and with normal volume, empha‐
sis, and speed.▷Always say commands in the language of
the system. The language for the mobile
phone voice operation is preset and cannot
be changed in the Control Display.▷Keep the doors, windows, and glass sun‐
roof closed to prevent noise interference.▷Avoid making other noise in the vehicle
while speaking.Seite 246CommunicationTelephone246
Online Edition for Part no. 01 40 2 918 395 - III/13
Page 288 of 345
Engine compartmentVehicle equipmentThis chapter describes all series equipment as
well as country-specific and special equipment
offered for this model series.Therefore, it alsodescribes equipment that may not be found in
your vehicle, for instance due to the selected
special equipment or the country version. This
also applies to safety-related functions and
systems.
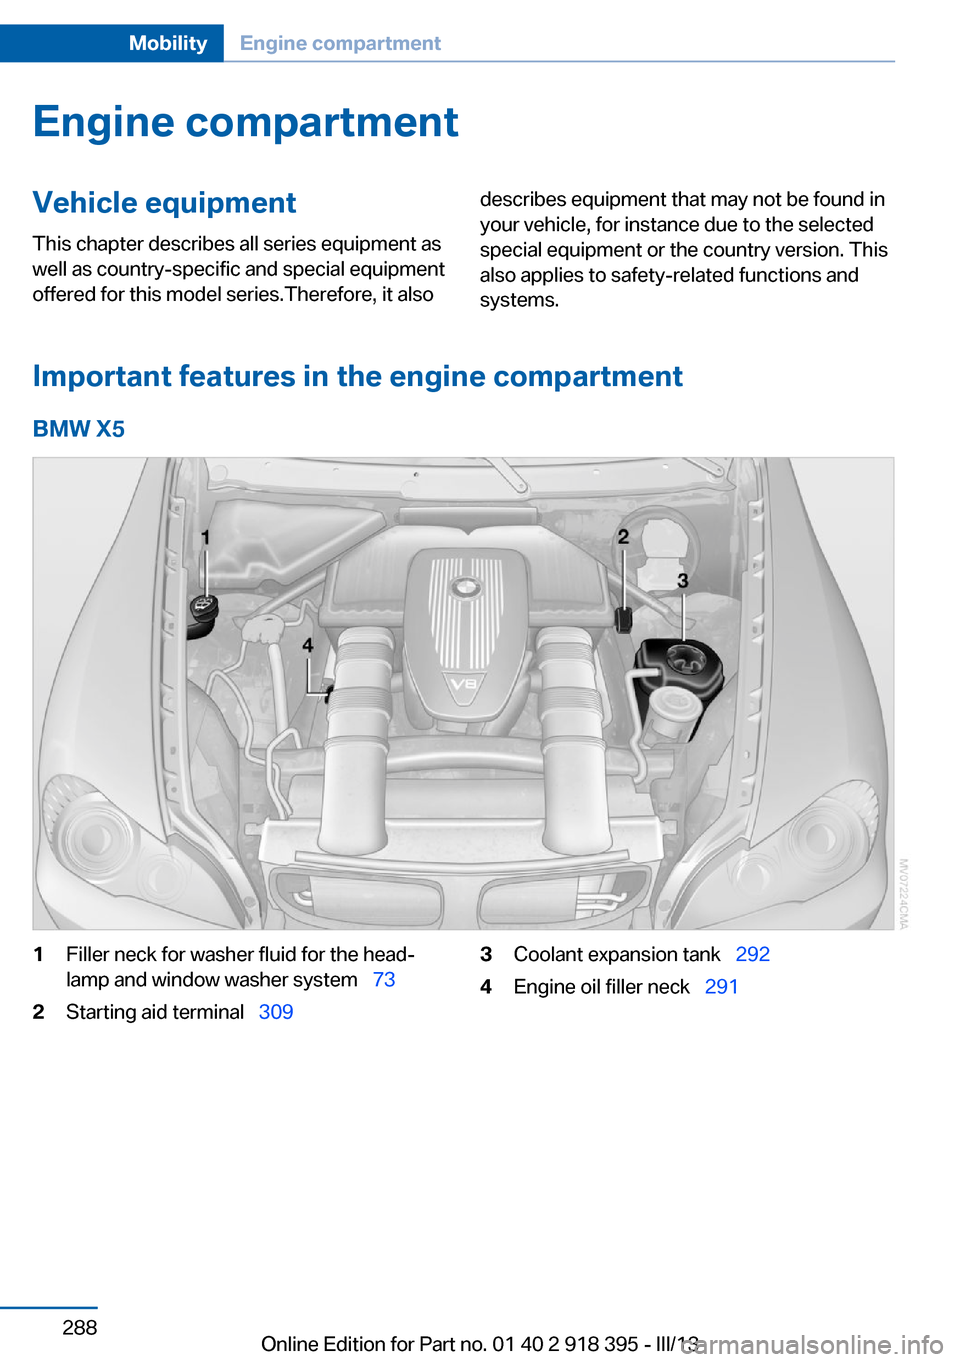
Important features in the engine compartment
BMW X5
1Filler neck for washer fluid for the head‐
lamp and window washer system 732Starting aid terminal 3093Coolant expansion tank 2924Engine oil filler neck 291Seite 288MobilityEngine compartment288
Online Edition for Part no. 01 40 2 918 395 - III/13