remote control BMW X6 2013 E71 Repair Manual
[x] Cancel search | Manufacturer: BMW, Model Year: 2013, Model line: X6, Model: BMW X6 2013 E71Pages: 345, PDF Size: 9.45 MB
Page 227 of 345
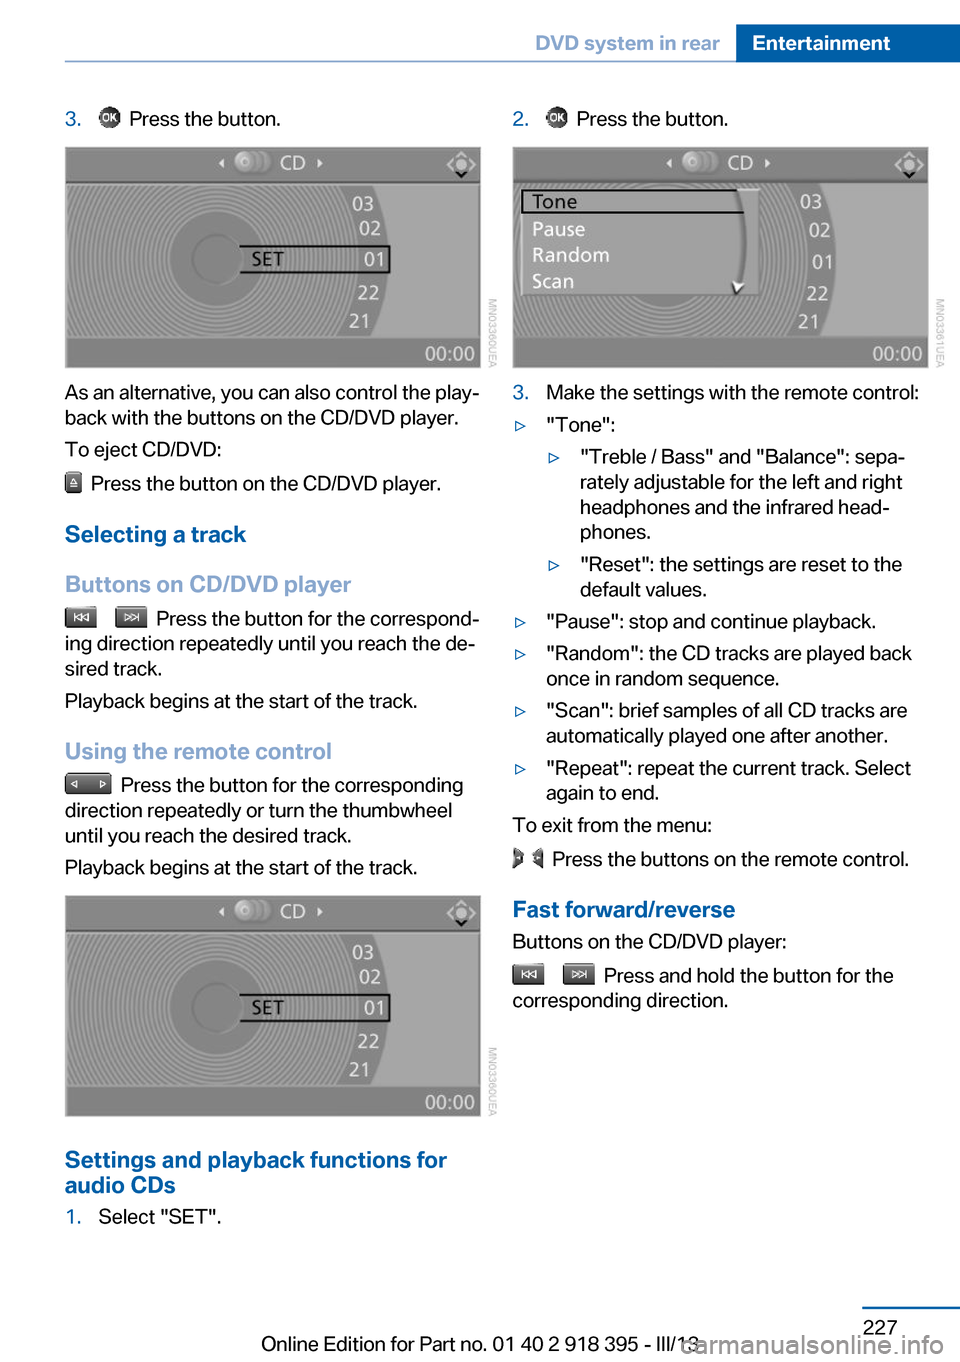
3. Press the button.
As an alternative, you can also control the play‐
back with the buttons on the CD/DVD player.
To eject CD/DVD:
Press the button on the CD/DVD player.
Selecting a track
Buttons on CD/DVD player
Press the button for the correspond‐
ing direction repeatedly until you reach the de‐
sired track.
Playback begins at the start of the track.
Using the remote control
Press the button for the corresponding
direction repeatedly or turn the thumbwheel
until you reach the desired track.
Playback begins at the start of the track.
Settings and playback functions for
audio CDs
1.Select "SET".2. Press the button.3.Make the settings with the remote control:▷"Tone":▷"Treble / Bass" and "Balance": sepa‐
rately adjustable for the left and right
headphones and the infrared head‐
phones.▷"Reset": the settings are reset to the
default values.▷"Pause": stop and continue playback.▷"Random": the CD tracks are played back
once in random sequence.▷"Scan": brief samples of all CD tracks are
automatically played one after another.▷"Repeat": repeat the current track. Select
again to end.
To exit from the menu:
Press the buttons on the remote control.
Fast forward/reverse Buttons on the CD/DVD player:
Press and hold the button for the
corresponding direction.
Seite 227DVD system in rearEntertainment227
Online Edition for Part no. 01 40 2 918 395 - III/13
Page 228 of 345
Compressed audio files
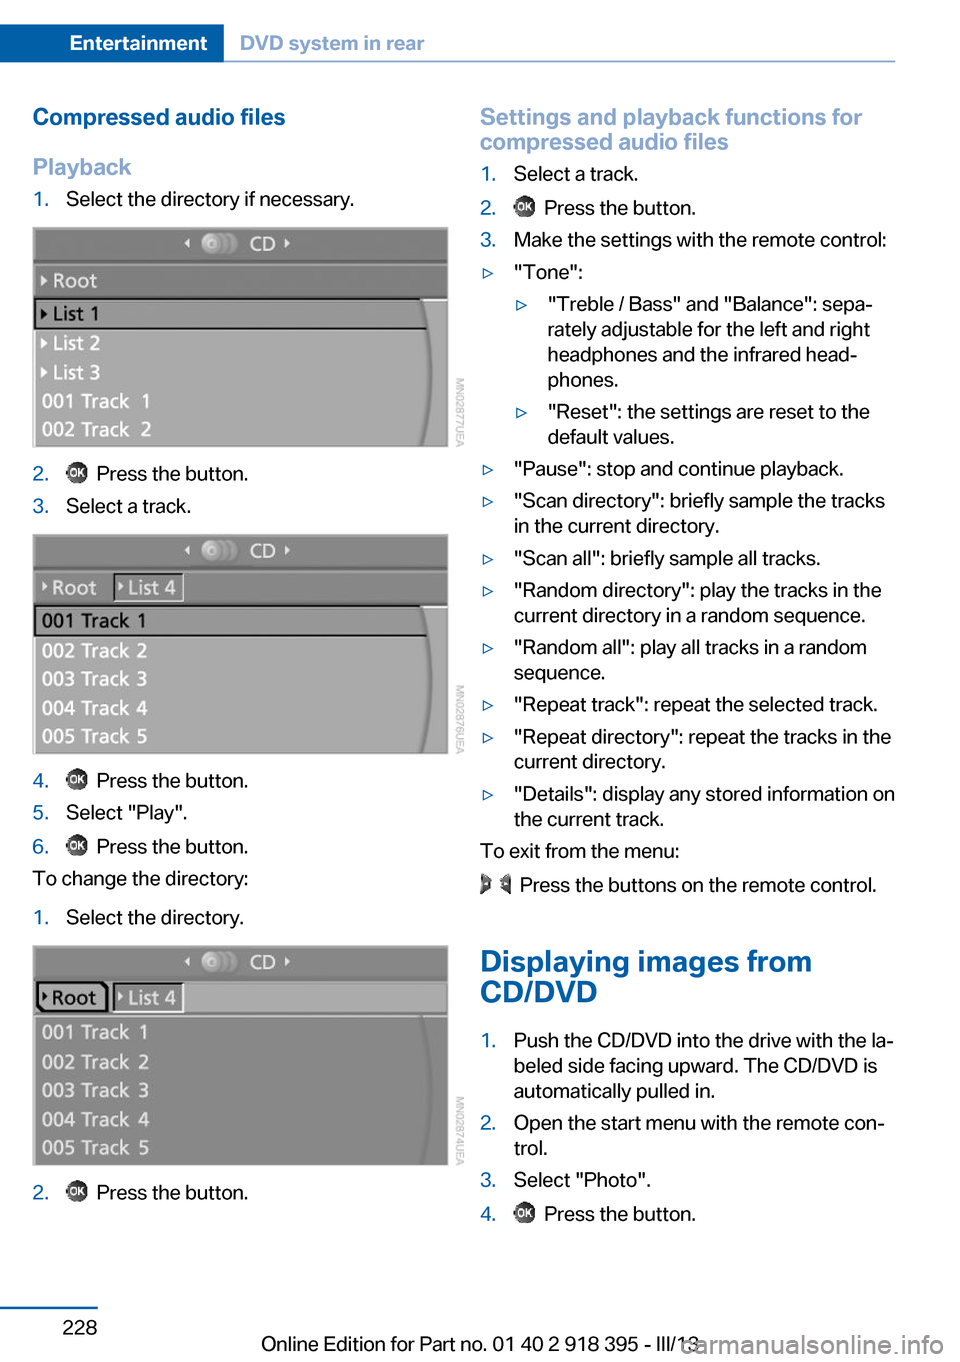
Playback1.Select the directory if necessary.2. Press the button.3.Select a track.4. Press the button.5.Select "Play".6. Press the button.
To change the directory:
1.Select the directory.2. Press the button.Settings and playback functions for
compressed audio files1.Select a track.2. Press the button.3.Make the settings with the remote control:▷"Tone":▷"Treble / Bass" and "Balance": sepa‐
rately adjustable for the left and right
headphones and the infrared head‐
phones.▷"Reset": the settings are reset to the
default values.▷"Pause": stop and continue playback.▷"Scan directory": briefly sample the tracks
in the current directory.▷"Scan all": briefly sample all tracks.▷"Random directory": play the tracks in the
current directory in a random sequence.▷"Random all": play all tracks in a random
sequence.▷"Repeat track": repeat the selected track.▷"Repeat directory": repeat the tracks in the
current directory.▷"Details": display any stored information on
the current track.
To exit from the menu:
Press the buttons on the remote control.
Displaying images from
CD/DVD
1.Push the CD/DVD into the drive with the la‐
beled side facing upward. The CD/DVD is
automatically pulled in.2.Open the start menu with the remote con‐
trol.3.Select "Photo".4. Press the button.Seite 228EntertainmentDVD system in rear228
Online Edition for Part no. 01 40 2 918 395 - III/13
Page 229 of 345
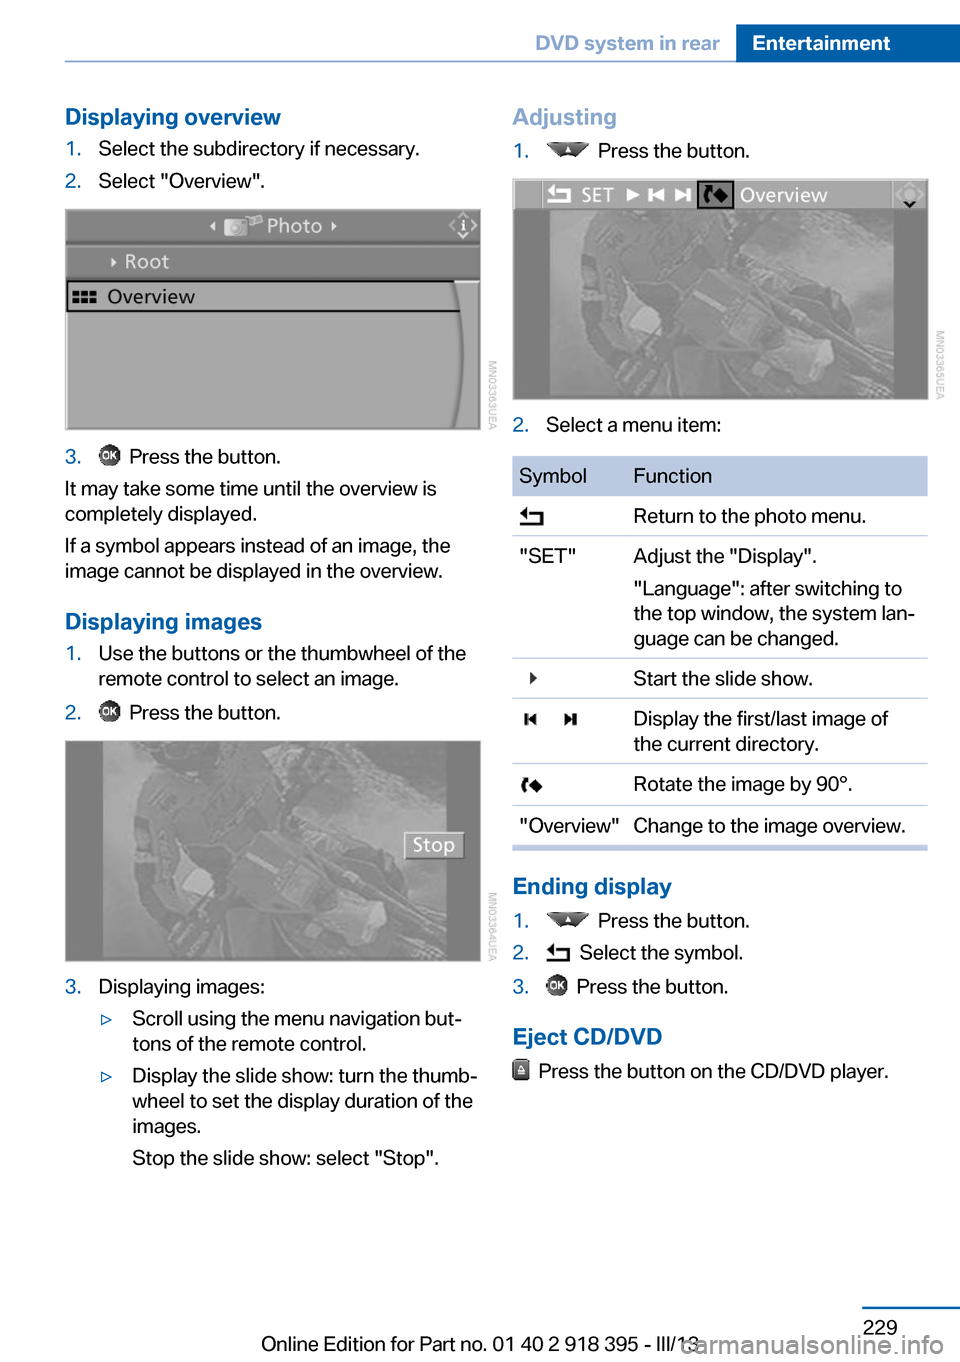
Displaying overview1.Select the subdirectory if necessary.2.Select "Overview".3. Press the button.
It may take some time until the overview is
completely displayed.
If a symbol appears instead of an image, the
image cannot be displayed in the overview.
Displaying images
1.Use the buttons or the thumbwheel of the
remote control to select an image.2. Press the button.3.Displaying images:▷Scroll using the menu navigation but‐
tons of the remote control.▷Display the slide show: turn the thumb‐
wheel to set the display duration of the
images.
Stop the slide show: select "Stop".Adjusting1. Press the button.2.Select a menu item:SymbolFunction Return to the photo menu."SET"Adjust the "Display".
"Language": after switching to
the top window, the system lan‐
guage can be changed. Start the slide show. Display the first/last image of
the current directory. Rotate the image by 90°."Overview"Change to the image overview.
Ending display
1. Press the button.2. Select the symbol.3. Press the button.
Eject CD/DVD
Press the button on the CD/DVD player.
Seite 229DVD system in rearEntertainment229
Online Edition for Part no. 01 40 2 918 395 - III/13
Page 232 of 345
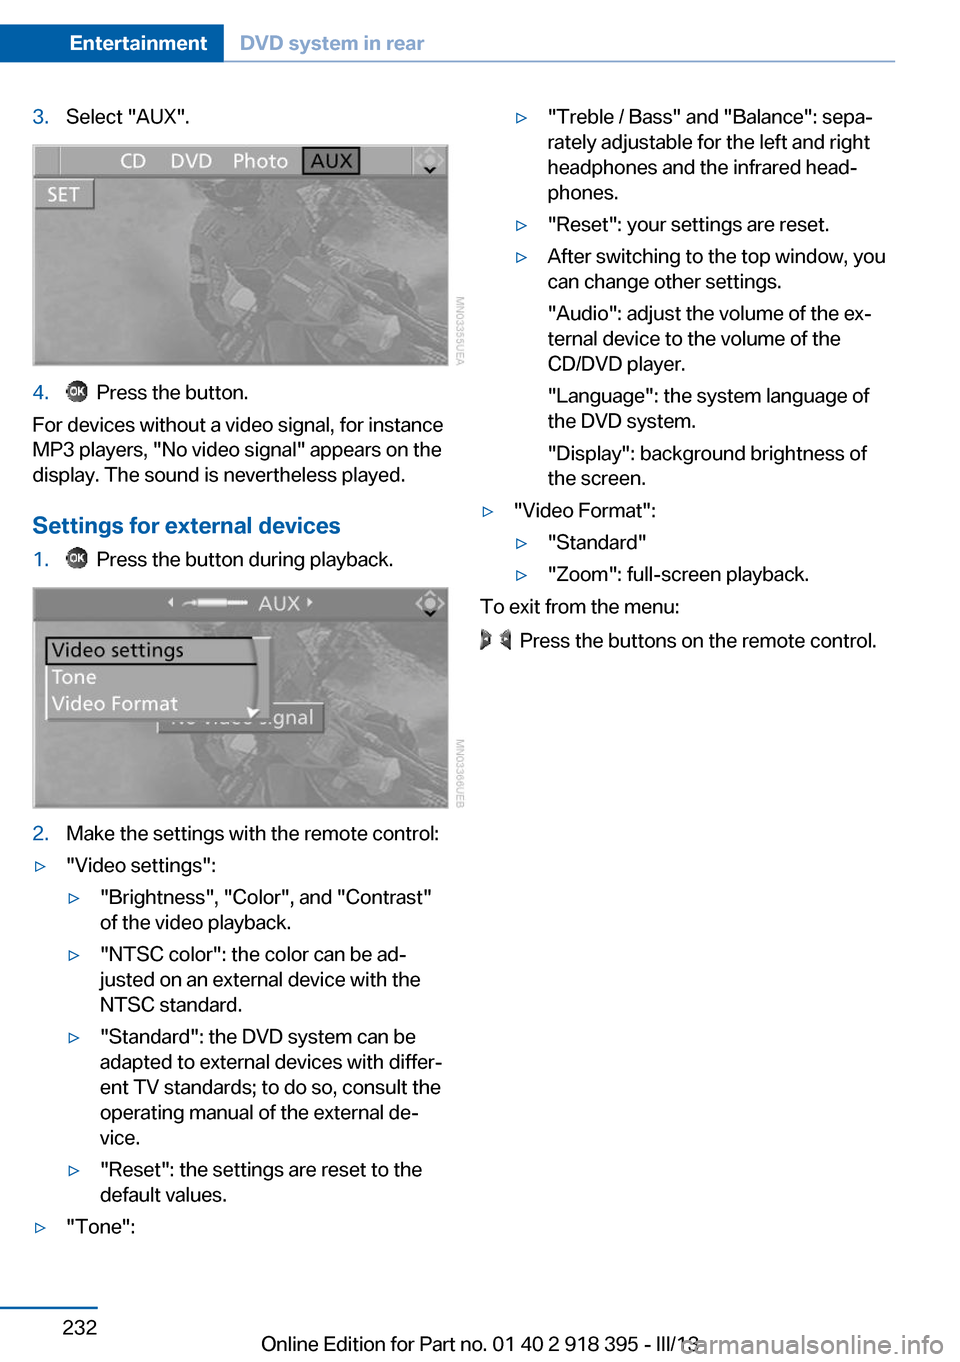
3.Select "AUX".4. Press the button.
For devices without a video signal, for instance
MP3 players, "No video signal" appears on the
display. The sound is nevertheless played.
Settings for external devices
1. Press the button during playback.2.Make the settings with the remote control:▷"Video settings":▷"Brightness", "Color", and "Contrast"
of the video playback.▷"NTSC color": the color can be ad‐
justed on an external device with the
NTSC standard.▷"Standard": the DVD system can be
adapted to external devices with differ‐
ent TV standards; to do so, consult the
operating manual of the external de‐
vice.▷"Reset": the settings are reset to the
default values.▷"Tone":▷"Treble / Bass" and "Balance": sepa‐
rately adjustable for the left and right
headphones and the infrared head‐
phones.▷"Reset": your settings are reset.▷After switching to the top window, you
can change other settings.
"Audio": adjust the volume of the ex‐
ternal device to the volume of the
CD/DVD player.
"Language": the system language of
the DVD system.
"Display": background brightness of
the screen.▷"Video Format":▷"Standard"▷"Zoom": full-screen playback.
To exit from the menu:
Press the buttons on the remote control.
Seite 232EntertainmentDVD system in rear232
Online Edition for Part no. 01 40 2 918 395 - III/13
Page 240 of 345
nected mobile phone from the vehicle and
pair and connect only one mobile phone.
The mobile phone no longer reacts.
▷Switch the mobile phone off and on again.▷Is the ambient temperature too high or
low? Do not expose the mobile phone to
extreme environmental conditions.
The telephone functions are not available.
▷Is the mobile phone paired as an additional
telephone and is the additional telephone
function deactivated? Activate the func‐
tion.▷Is an outgoing call not possible? Connect
the mobile phone as a telephone.
No phone book entries or only some phone
book entries are displayed, or they are incom‐
plete.
▷Transmission of the phone book entries is
not yet complete.▷It is possible that only the phone book en‐
tries of the mobile phone or the SIM card
are transmitted.▷It may not be possible to display phone
book entries with special characters.▷The number of phone book entries to be
stored is too high.▷Is the data volume of the contact too large,
e. g., due to stored information such as
notes? Reduce the data volume of the con‐
tact.▷Is the mobile phone connected as an audio
source or additional telephone? The mo‐
bile phone must be connected as a tele‐
phone.
The phone connection quality is poor.
▷The strength of the Bluetooth signal on the
mobile phone can be adjusted, depending
on the mobile phone.▷Insert the mobile phone into the snap-in
adapter or place it in the area of the center
console.▷Adjust the volume of the microphone and
loudspeakers separately.
If all points in this list have been checked and
the required function is still not available, con‐
tact Customer Relations or the service center.
Controls
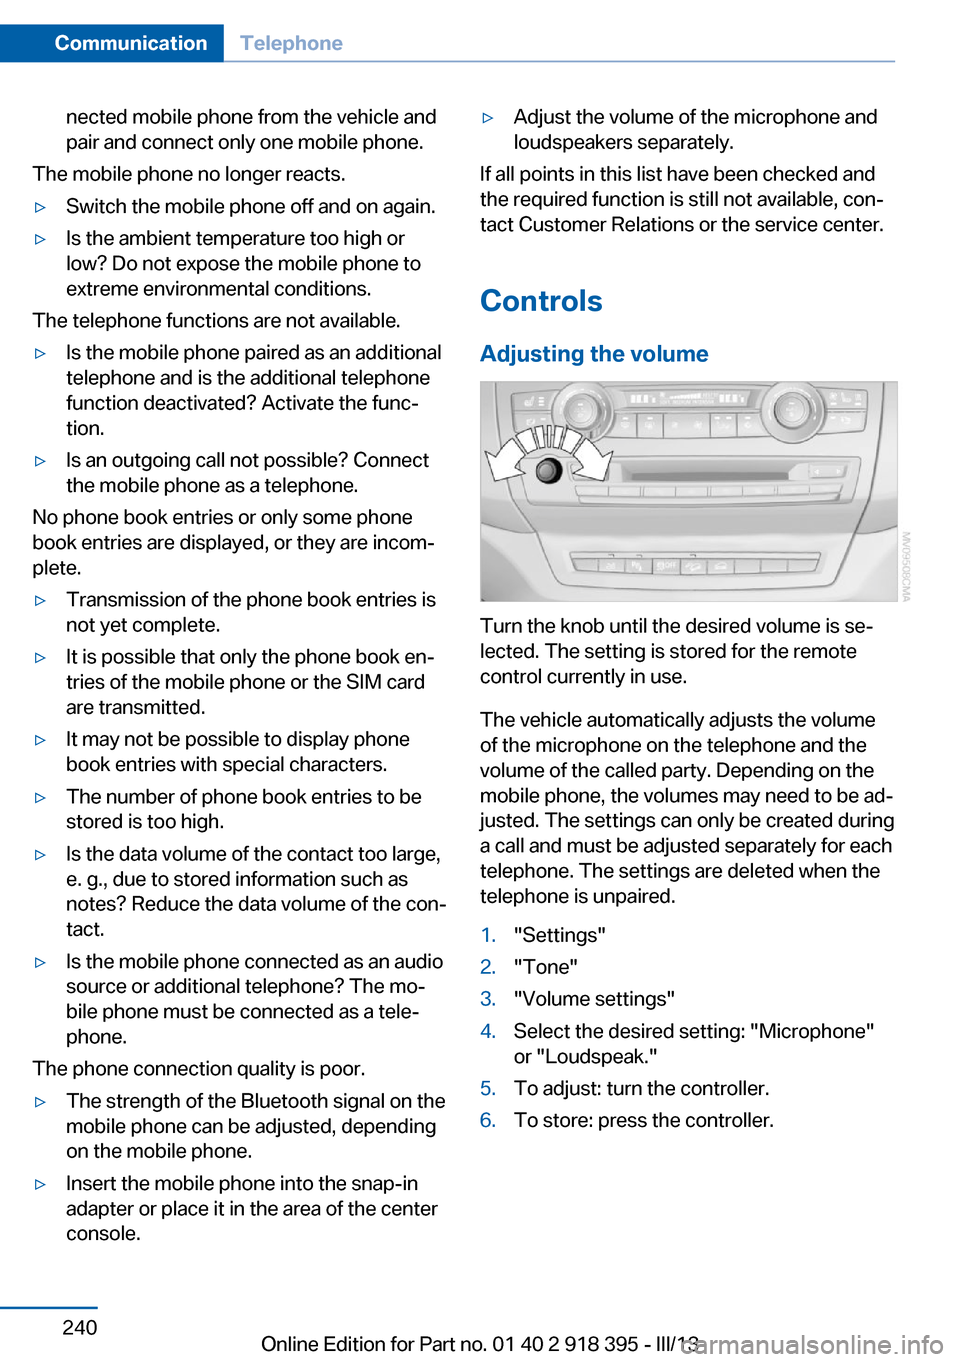
Adjusting the volume
Turn the knob until the desired volume is se‐
lected. The setting is stored for the remote
control currently in use.
The vehicle automatically adjusts the volume
of the microphone on the telephone and the
volume of the called party. Depending on the
mobile phone, the volumes may need to be ad‐
justed. The settings can only be created during
a call and must be adjusted separately for each
telephone. The settings are deleted when the
telephone is unpaired.
1."Settings"2."Tone"3."Volume settings"4.Select the desired setting: "Microphone"
or "Loudspeak."5.To adjust: turn the controller.6.To store: press the controller.Seite 240CommunicationTelephone240
Online Edition for Part no. 01 40 2 918 395 - III/13
Page 242 of 345
If a second call comes in during an ongoing
call, a call waiting signal is sounded.
"Accept"
The call is accepted and the existing call is put
on hold.
Establishing a second call
Establish an additional call during an active
call.
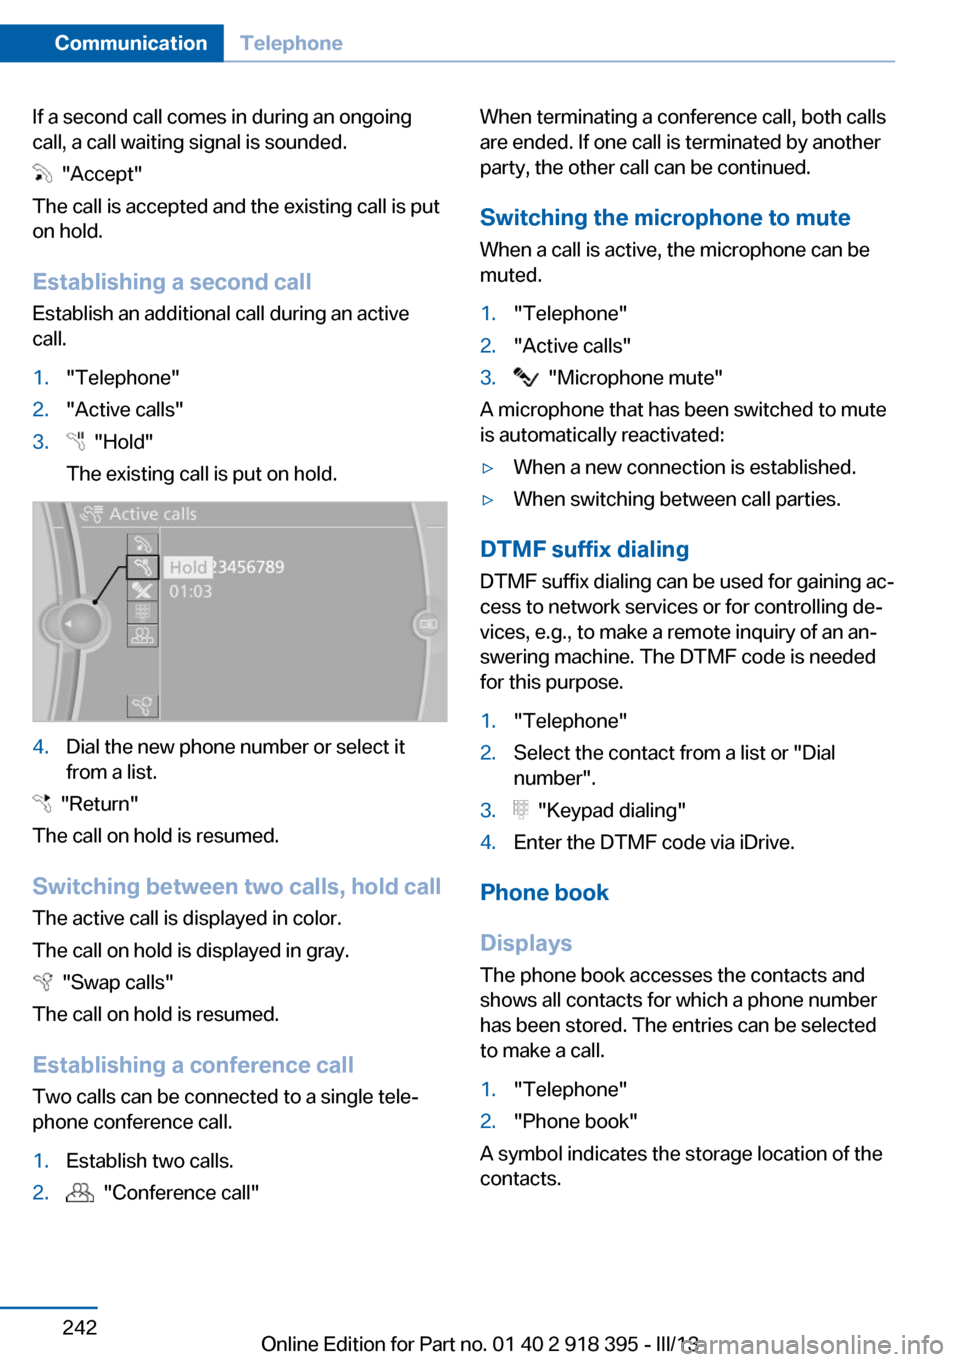
1."Telephone"2."Active calls"3. "Hold"
The existing call is put on hold.4.Dial the new phone number or select it
from a list.
"Return"
The call on hold is resumed.
Switching between two calls, hold call The active call is displayed in color.
The call on hold is displayed in gray.
"Swap calls"
The call on hold is resumed.
Establishing a conference call Two calls can be connected to a single tele‐
phone conference call.
1.Establish two calls.2. "Conference call"When terminating a conference call, both calls
are ended. If one call is terminated by another
party, the other call can be continued.
Switching the microphone to mute When a call is active, the microphone can be
muted.1."Telephone"2."Active calls"3. "Microphone mute"
A microphone that has been switched to mute
is automatically reactivated:
▷When a new connection is established.▷When switching between call parties.
DTMF suffix dialing
DTMF suffix dialing can be used for gaining ac‐
cess to network services or for controlling de‐
vices, e.g., to make a remote inquiry of an an‐
swering machine. The DTMF code is needed
for this purpose.
1."Telephone"2.Select the contact from a list or "Dial
number".3. "Keypad dialing"4.Enter the DTMF code via iDrive.
Phone book
Displays The phone book accesses the contacts and
shows all contacts for which a phone number
has been stored. The entries can be selected
to make a call.
1."Telephone"2."Phone book"
A symbol indicates the storage location of the
contacts.
Seite 242CommunicationTelephone242
Online Edition for Part no. 01 40 2 918 395 - III/13
Page 246 of 345
Redialing
›Redial‹
Voice phone book
Depending on how your vehicle is equipped, it
may be necessary to create your own voice
phone book.
The entries must be entered using voice acti‐
vation and are separate from the memory in
the mobile phone. Up to 50 entries can be set
up.
Saving an entry1.›Save name‹2.Say the name. Do not exceed the speaking
duration of approx. 2 seconds.3.Say the phone number after being
prompted to do so by the system.4.›Save‹
Deleting an entry
1.›Delete name‹2.Say the name after being prompted to do
so.3.Confirm the prompt: ›Yes‹
Deleting all entries
1.›Delete phone book‹2.Confirm the prompt: ›Yes‹3.Confirm the prompt again: ›Yes‹
Reading and selecting entries
1.›Read phonebook‹2.When the desired entry is read aloud: say ›
Dial number‹
Selecting an entry
1.›Dial name‹2.Say the name after being prompted to do
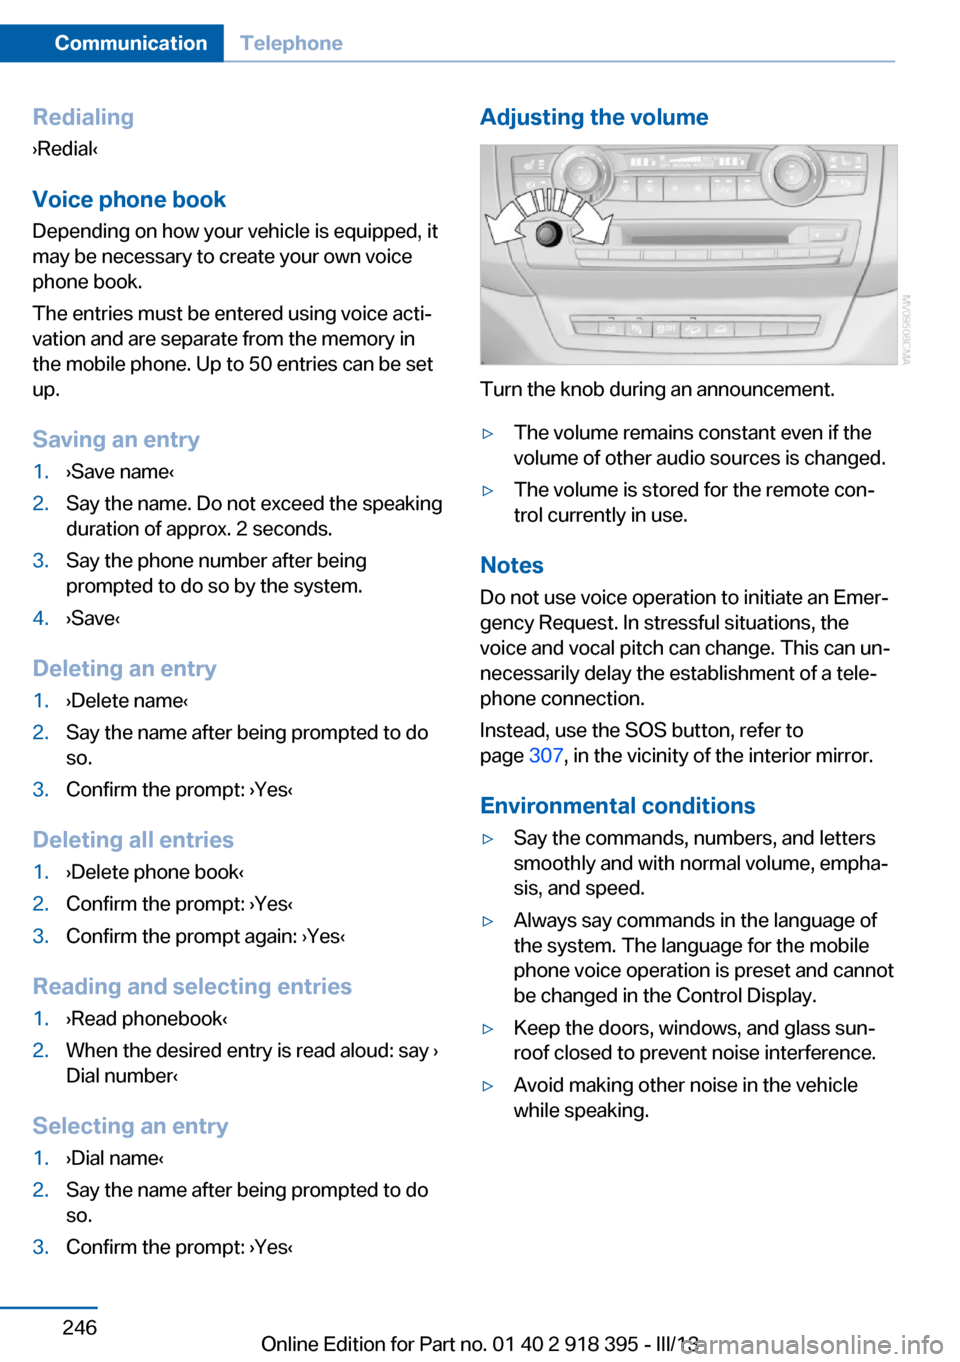
so.3.Confirm the prompt: ›Yes‹Adjusting the volume
Turn the knob during an announcement.
▷The volume remains constant even if the
volume of other audio sources is changed.▷The volume is stored for the remote con‐
trol currently in use.
Notes
Do not use voice operation to initiate an Emer‐
gency Request. In stressful situations, the
voice and vocal pitch can change. This can un‐
necessarily delay the establishment of a tele‐
phone connection.
Instead, use the SOS button, refer to
page 307, in the vicinity of the interior mirror.
Environmental conditions
▷Say the commands, numbers, and letters
smoothly and with normal volume, empha‐
sis, and speed.▷Always say commands in the language of
the system. The language for the mobile
phone voice operation is preset and cannot
be changed in the Control Display.▷Keep the doors, windows, and glass sun‐
roof closed to prevent noise interference.▷Avoid making other noise in the vehicle
while speaking.Seite 246CommunicationTelephone246
Online Edition for Part no. 01 40 2 918 395 - III/13
Page 293 of 345
MaintenanceVehicle equipment
This chapter describes all series equipment as
well as country-specific and special equipment
offered for this model series.Therefore, it also
describes equipment that may not be found in
your vehicle, for instance due to the selected
special equipment or the country version. This
also applies to safety-related functions and
systems.
BMW Maintenance System
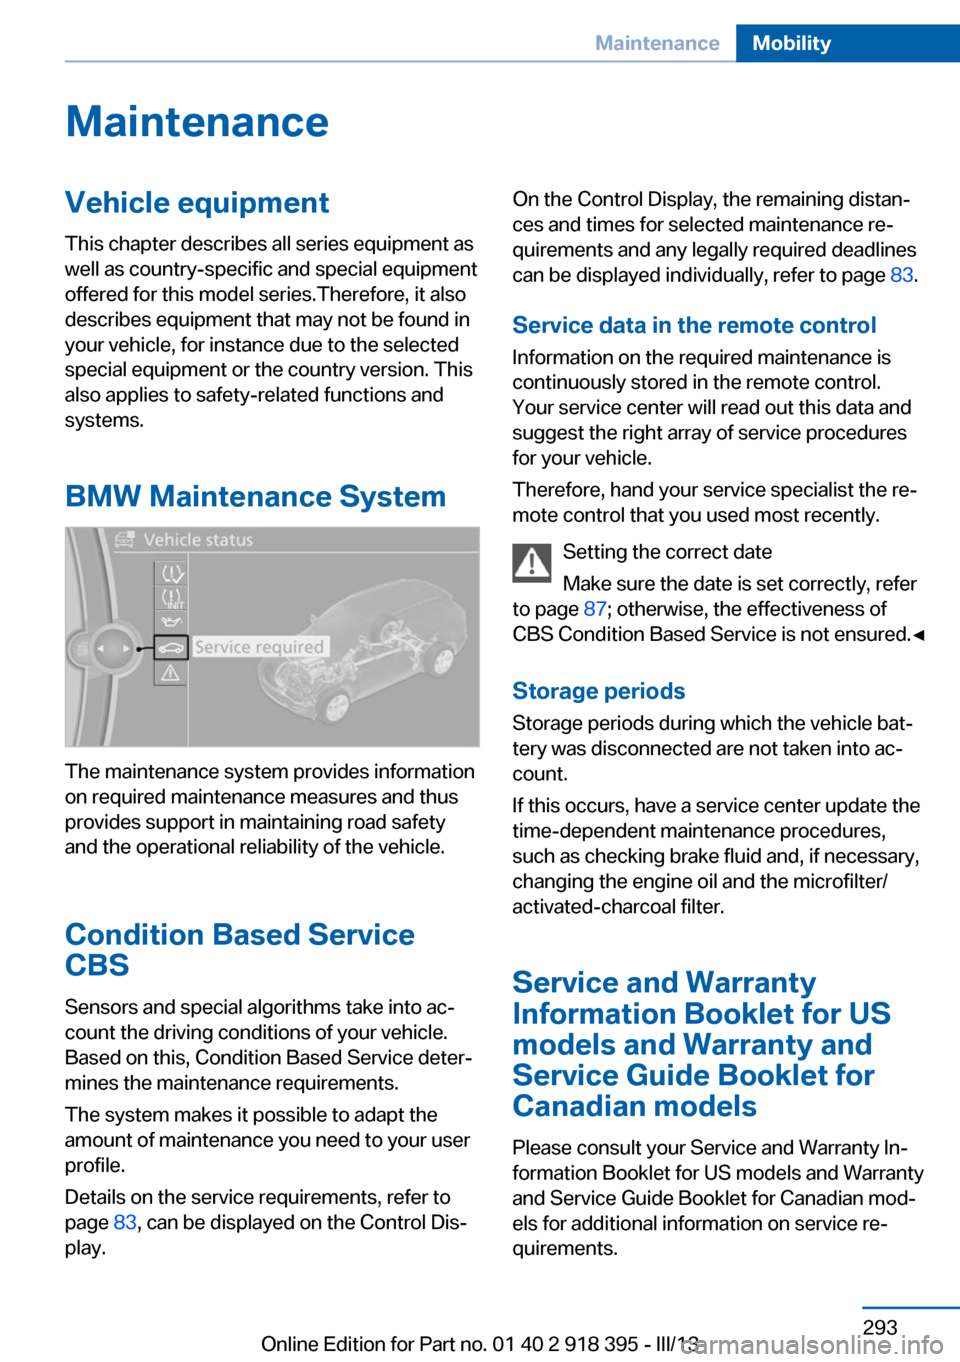
The maintenance system provides information
on required maintenance measures and thus
provides support in maintaining road safety
and the operational reliability of the vehicle.
Condition Based Service
CBS
Sensors and special algorithms take into ac‐
count the driving conditions of your vehicle.
Based on this, Condition Based Service deter‐
mines the maintenance requirements.
The system makes it possible to adapt the
amount of maintenance you need to your user
profile.
Details on the service requirements, refer to
page 83, can be displayed on the Control Dis‐
play.
On the Control Display, the remaining distan‐
ces and times for selected maintenance re‐
quirements and any legally required deadlines
can be displayed individually, refer to page 83.
Service data in the remote control Information on the required maintenance is
continuously stored in the remote control. Your service center will read out this data and
suggest the right array of service procedures
for your vehicle.
Therefore, hand your service specialist the re‐
mote control that you used most recently.
Setting the correct date
Make sure the date is set correctly, refer
to page 87; otherwise, the effectiveness of
CBS Condition Based Service is not ensured.◀
Storage periods Storage periods during which the vehicle bat‐
tery was disconnected are not taken into ac‐
count.
If this occurs, have a service center update the
time-dependent maintenance procedures,
such as checking brake fluid and, if necessary,
changing the engine oil and the microfilter/
activated-charcoal filter.
Service and Warranty
Information Booklet for US
models and Warranty and
Service Guide Booklet for Canadian models
Please consult your Service and Warranty In‐
formation Booklet for US models and Warranty
and Service Guide Booklet for Canadian mod‐
els for additional information on service re‐
quirements.Seite 293MaintenanceMobility293
Online Edition for Part no. 01 40 2 918 395 - III/13
Page 312 of 345
CareVehicle equipmentThis chapter describes all series equipment as
well as country-specific and special equipment
offered for this model series.Therefore, it also
describes equipment that may not be found in
your vehicle, for instance due to the selected
special equipment or the country version. This
also applies to safety-related functions and
systems.
Car washes
Notes Steam jets or high-pressure washers
When using steam jets or high-pressure
washers, hold them a sufficient distance away
and use a maximum temperature of
140 ℉/60 ℃.
Holding them too close or using excessively
high pressures or temperatures can cause
damage or preliminary damage that may then lead to long-term damage.
Follow the operating instructions for the high-
pressure washer.◀
Cleaning sensors/cameras with high-
pressure washers
When using high-pressure washers, do not
spray the exterior sensors and cameras, for
Park Distance Control or the backup camera,
for instance, for extended periods of time and
only from a distance of at least 12 in/30 cm.◀
Regularly remove foreign bodies, such as
leaves, from the area below the windshield
when the hood is open.
Wash your vehicle frequently, particularly in
winter.
Intense soiling and road salt can damage the
vehicle.Washing in automatic car washes
Give preference to cloth car washes or those
that use soft brushes in order to avoid paint
damage.
Notes
Note the following:▷Make sure that the wheels and tires are not
damaged by the transport mechanisms.▷Fold in the exterior mirrors; otherwise, they
may be damaged, depending on the width
of the vehicle.▷Deactivate rain sensor, refer to page 74, to
prevent unintentional wiper action.▷BMW X5: deactivate the rear window wiper
and protect it from damage. Ask the car
wash operator about any necessary pro‐
tective measures.▷Remove additional attachments, for in‐
stance a spoiler or telephone antenna, if
there is a risk that these may be damaged.
Guide rails in car washes
Avoid car washes with guide rails higher
than 4 in/10 cm; otherwise, the vehicle body
could be damaged.◀
Before driving into a car wash The vehicle is able to roll if the following steps
are taken.
1.Insert the remote control into the ignition
lock, even with Comfort Access.2.Engage transmission position N.3.Release the parking brake.4.Deactivating Automatic Hold, refer to
page 70.5.Switch the engine off.6.Leave the remote control in the ignition
lock so that the vehicle can roll.Seite 312MobilityCare312
Online Edition for Part no. 01 40 2 918 395 - III/13
Page 313 of 345
Transmission position P will be engaged:▷Automatically after approx. 30 minutes.▷When the remote control is removed from
the ignition lock.
Mixed tires
Note the vehicle width
Before driving into a car wash, make sure
that the vehicle width is not too large for the
car wash, as otherwise the vehicle and the car
wash could be damaged.◀
Headlamps
▷Do not rub dry and do not use abrasive or
caustic cleansers.▷Soak areas that have been soiled e.g. due
to insects, with shampoo and wash off with
water.▷Thaw ice with de-icing spray; do not use an
ice scraper.
After washing the vehicle
After washing the vehicle, apply the brakes
briefly to dry them; otherwise, braking action
can be reduced and corrosion of the brake
discs can occur.
Fully remove any residue from the windows to
prevent obstruction of view from streaking,
wiping noises, and wiper wear.
Vehicle careCar care productsBMW recommends using cleaning and care
products from BMW, since these have been
tested and approved.
Car care and cleaning products
Follow the instructions on the container.
When cleaning the interior, open the doors or
windows.
Only use products intended for cleaning vehi‐
cles.
Cleansers can contain substances that are
dangerous and harmful to your health.◀
Vehicle paint
Regular care contributes to driving safety and value retention. Environmental influences in
areas with high air pollution or natural contami‐
nants, such as tree resin or pollen, can have an
impact on the vehicle paint. Tailor the fre‐
quency and extent of your car care to these in‐
fluences.
Immediately remove aggressive substances,
such as spilled fuel, oil, grease, or bird drop‐
pings, to prevent damage to or discoloration of
the paintwork.
Leather care
Remove dust from the leather often, using a
cloth or vacuum cleaner.
Otherwise, particles of dust and road grime
chafe in pores and folds, and lead to increased
wear and premature degradation of the leather
surface.
To guard against discoloration, such as from
clothing, provide leather care roughly every
two months.
Clean light-colored leather more frequently as
dust and dirt are more noticeable.
Use leather care products; otherwise, dirt and
grease will gradually break down the protective
layer of the leather surface.
Suitable care products are available from the
service center.
Upholstery material care Vacuum regularly with a vacuum cleaner.
If they are very dirty, e.g., beverage stains, use
a soft sponge or microfiber cloth with a suita‐
ble interior cleaner.Seite 313CareMobility313
Online Edition for Part no. 01 40 2 918 395 - III/13