ECU BMW X6M 2016 F86 User Guide
[x] Cancel search | Manufacturer: BMW, Model Year: 2016, Model line: X6M, Model: BMW X6M 2016 F86Pages: 255, PDF Size: 6.73 MB
Page 71 of 255
▷Set the parking brake.▷On uphill grades or on a slope, turn the
front wheels in the direction of the curb.▷On uphill grades or on a slope, also secure
the vehicle, e.g. with a wheel chock.◀
Before driving into a car wash
So that the vehicle can roll into a car wash ob‐
serve instructions for going into an automatic
car wash, refer to page 233.
M Steptronic Sport transmission
Switching off the engine
1.Apply the brakes until the vehicle comes to
a stop.2.Press the Start/Stop button.
The engine is switched off.
The radio-ready state is switched on.3.Set the parking brake.
Auto Start/Stop function
The concept The Auto Start/Stop function helps save fuel.
The system switches off the engine during a
stop, e.g., in traffic congestion or at traffic lights. The ignition remains switched on. The
engine starts again automatically for driving
off.
Semi-automatic mode After every start of the engine using the Start/
Stop button, the Auto Start/Stop function is in
the last selected state, refer to page 72.
When the Auto Start/Stop function is active, it
is available when the vehicle is traveling faster
than about 3 mph, approx. 5 km/h.
Engine stop The engine is switched off automatically dur‐
ing a stop under the following conditions:
▷The selector lever is in selector lever posi‐
tion D.▷The brake pedal remains pressed while the
vehicle is stationary or the vehicle is held
by Automatic Hold.▷The driver's safety belt is buckled or the
driver's door is closed.
The air flow from the air conditioner is reduced
when the engine is switched off.
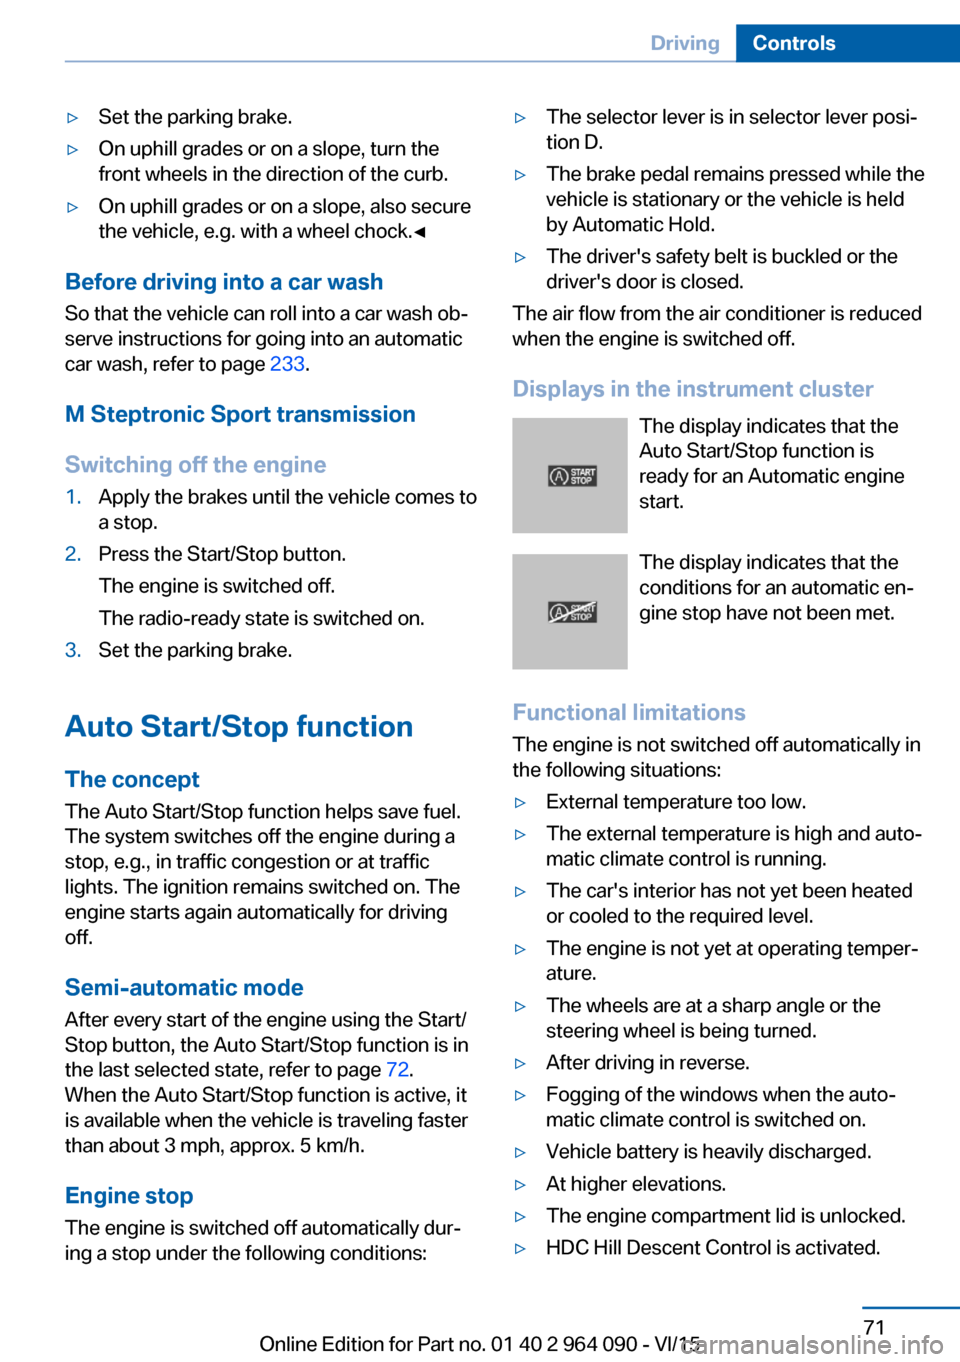
Displays in the instrument cluster The display indicates that the
Auto Start/Stop function is
ready for an Automatic engine
start.
The display indicates that the conditions for an automatic en‐
gine stop have not been met.
Functional limitations The engine is not switched off automatically in
the following situations:
▷External temperature too low.▷The external temperature is high and auto‐
matic climate control is running.▷The car's interior has not yet been heated
or cooled to the required level.▷The engine is not yet at operating temper‐
ature.▷The wheels are at a sharp angle or the
steering wheel is being turned.▷After driving in reverse.▷Fogging of the windows when the auto‐
matic climate control is switched on.▷Vehicle battery is heavily discharged.▷At higher elevations.▷The engine compartment lid is unlocked.▷HDC Hill Descent Control is activated.Seite 71DrivingControls71
Online Edition for Part no. 01 40 2 964 090 - VI/15
Page 73 of 255
Switching off the vehicle during an
automatic engine stop
During an automatic engine stop, the vehicle
can be switched off permanently, e. g., when
leaving it.1.Press the Start/Stop button. The ignition is
switched off. The Auto Start/Stop function
is deactivated.
P is engaged automatically.2.Set the parking brake.
Engine start as usual via Start/Stop button.
Automatic deactivation
In certain situations, Auto Start/Stop function
is deactivated automatically for safety reasons
as if the driver were absent.
Malfunction
The Auto Start/Stop function no longer
switches off the engine automatically. A Check
Control message is displayed. It is possible to
continue driving. Have the system checked.
Parking brake The concept
The parking brake is used to prevent the vehi‐
cle from rolling when it is parked.
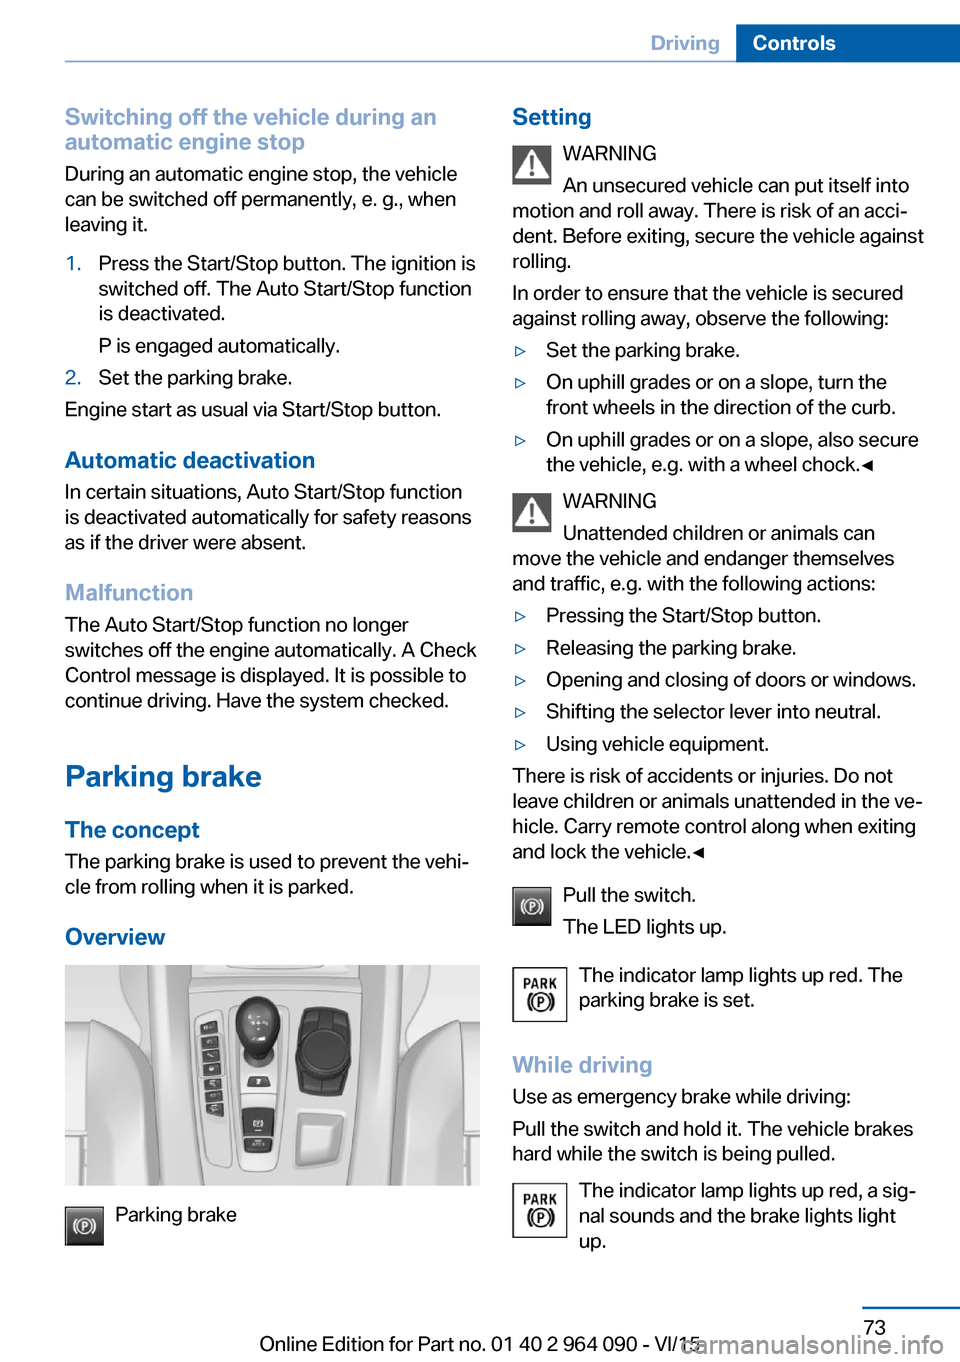
Overview
Parking brake
Setting WARNING
An unsecured vehicle can put itself into
motion and roll away. There is risk of an acci‐
dent. Before exiting, secure the vehicle against
rolling.
In order to ensure that the vehicle is secured
against rolling away, observe the following:▷Set the parking brake.▷On uphill grades or on a slope, turn the
front wheels in the direction of the curb.▷On uphill grades or on a slope, also secure
the vehicle, e.g. with a wheel chock.◀
WARNING
Unattended children or animals can
move the vehicle and endanger themselves
and traffic, e.g. with the following actions:
▷Pressing the Start/Stop button.▷Releasing the parking brake.▷Opening and closing of doors or windows.▷Shifting the selector lever into neutral.▷Using vehicle equipment.
There is risk of accidents or injuries. Do not
leave children or animals unattended in the ve‐
hicle. Carry remote control along when exiting
and lock the vehicle.◀
Pull the switch.
The LED lights up.
The indicator lamp lights up red. The
parking brake is set.
While driving
Use as emergency brake while driving:
Pull the switch and hold it. The vehicle brakes
hard while the switch is being pulled.
The indicator lamp lights up red, a sig‐
nal sounds and the brake lights light
up.
Seite 73DrivingControls73
Online Edition for Part no. 01 40 2 964 090 - VI/15
Page 74 of 255
A Check Control message is displayed.
If the vehicle is slowed down to a speed of ap‐
prox. 2 mph/3 km/h the parking brake is set.
Releasing
With the ignition switched on:
Press the switch while pressing on the
brake pedal.
The LED and indicator lamp go out.
The parking brake is released.
Automatic release For automatic release, step on the accelerator
pedal.
The LED and indicator lamp go out.
The parking brake is automatically released
when you step on the accelerator:▷Engine on.▷Drive mode engaged.▷Driver buckled in and doors closed.
Automatic Hold
The concept This system assists the driver by automatically
setting and releasing the brake, such as when
moving in stop-and-go traffic.
The vehicle is automatically held in place when
it is stationary.
On inclines, the system prevents the vehicle
from rolling backward when driving off.
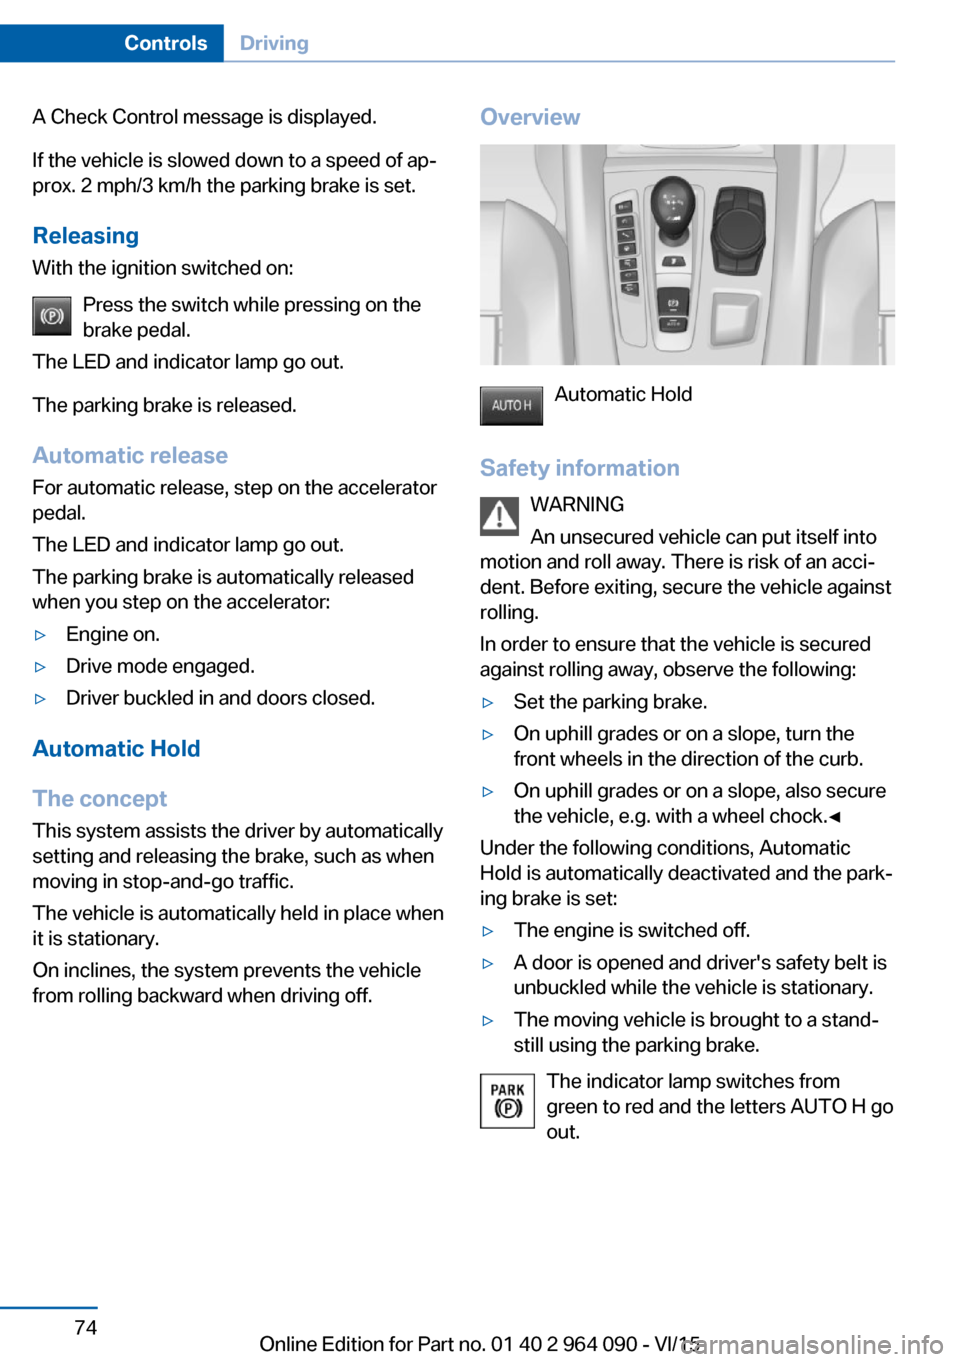
Overview
Automatic Hold
Safety information WARNING
An unsecured vehicle can put itself into
motion and roll away. There is risk of an acci‐
dent. Before exiting, secure the vehicle against
rolling.
In order to ensure that the vehicle is secured
against rolling away, observe the following:
▷Set the parking brake.▷On uphill grades or on a slope, turn the
front wheels in the direction of the curb.▷On uphill grades or on a slope, also secure
the vehicle, e.g. with a wheel chock.◀
Under the following conditions, Automatic
Hold is automatically deactivated and the park‐
ing brake is set:
▷The engine is switched off.▷A door is opened and driver's safety belt is
unbuckled while the vehicle is stationary.▷The moving vehicle is brought to a stand‐
still using the parking brake.
The indicator lamp switches from
green to red and the letters AUTO H go out.
Seite 74ControlsDriving74
Online Edition for Part no. 01 40 2 964 090 - VI/15
Page 75 of 255
ActivatingThis function can be activated when the driv‐
er's door is closed, the safety belt is fastened
and the engine is running.
Press button.
The LED and the letters AUTO H light
up.
The indicator lamp lights up.
Automatic Hold is activated.
Deactivating Press button again.
The LED and the letters AUTO H go
out.
Automatic Hold is deactivated.
If the vehicle is being held by Automatic Hold,
press on the brake pedal to deactivate it.
When the parking brake is set manually, Auto‐
matic Hold is deactivated automatically.
Driving Automatic Hold is activated: the vehicle is au‐
tomatically secured against rolling after brak‐
ing to a standstill.
The indicator lamp lights up green.
Step on the accelerator pedal to drive
off.
The brake is released automatically.
The indicator lamp goes out.
CAUTION
If the vehicle is stationary, Automatic
Hold engages the parking brake. It prevents
the vehicle from rolling in a car wash. There is
risk of property damage. Deactivate Automatic
Hold prior to entering the car wash.◀Parking
The parking brake is automatically set if the
engine is switched off while the vehicle is be‐
ing held by Automatic Hold.
The indicator lamp changes from green
to red.
The parking brake is not set if the en‐
gine is switched off while the vehicle is coast‐
ing to a halt. Automatic Hold is deactivated.
Automatic Hold remains activated during the
engine stop brought about by the Auto Start/
Stop function.
WARNING
Unattended children or animals can
move the vehicle and endanger themselves
and traffic, e.g. with the following actions:▷Pressing the Start/Stop button.▷Releasing the parking brake.▷Opening and closing of doors or windows.▷Shifting the selector lever into neutral.▷Using vehicle equipment.
There is risk of accidents or injuries. Do not
leave children or animals unattended in the ve‐
hicle. Carry remote control along when exiting
and lock the vehicle.◀
Malfunction
In the event of a failure or malfunction of the
parking brake, secure the vehicle against roll‐
ing using a wheel chock, e.g., when leaving it.
Manual release WARNING
An unsecured vehicle can put itself into
motion and roll away. There is risk of an acci‐
dent. Before exiting, secure the vehicle against
rolling.
In order to ensure that the vehicle is secured
against rolling away, observe the following:
▷Set the parking brake.Seite 75DrivingControls75
Online Edition for Part no. 01 40 2 964 090 - VI/15
Page 76 of 255
▷On uphill grades or on a slope, turn the
front wheels in the direction of the curb.▷On uphill grades or on a slope, also secure
the vehicle, e.g. with a wheel chock.◀
The parking brake can be released manually in
the event of a power failure or electrical fault.
Unlocking If the parking brake has been released man‐
ually in response to a malfunction, only quali‐
fied technicians should return it to operation.
1.Open the left side trim in the trunk.2.Remove the first-aid kit and warning trian‐
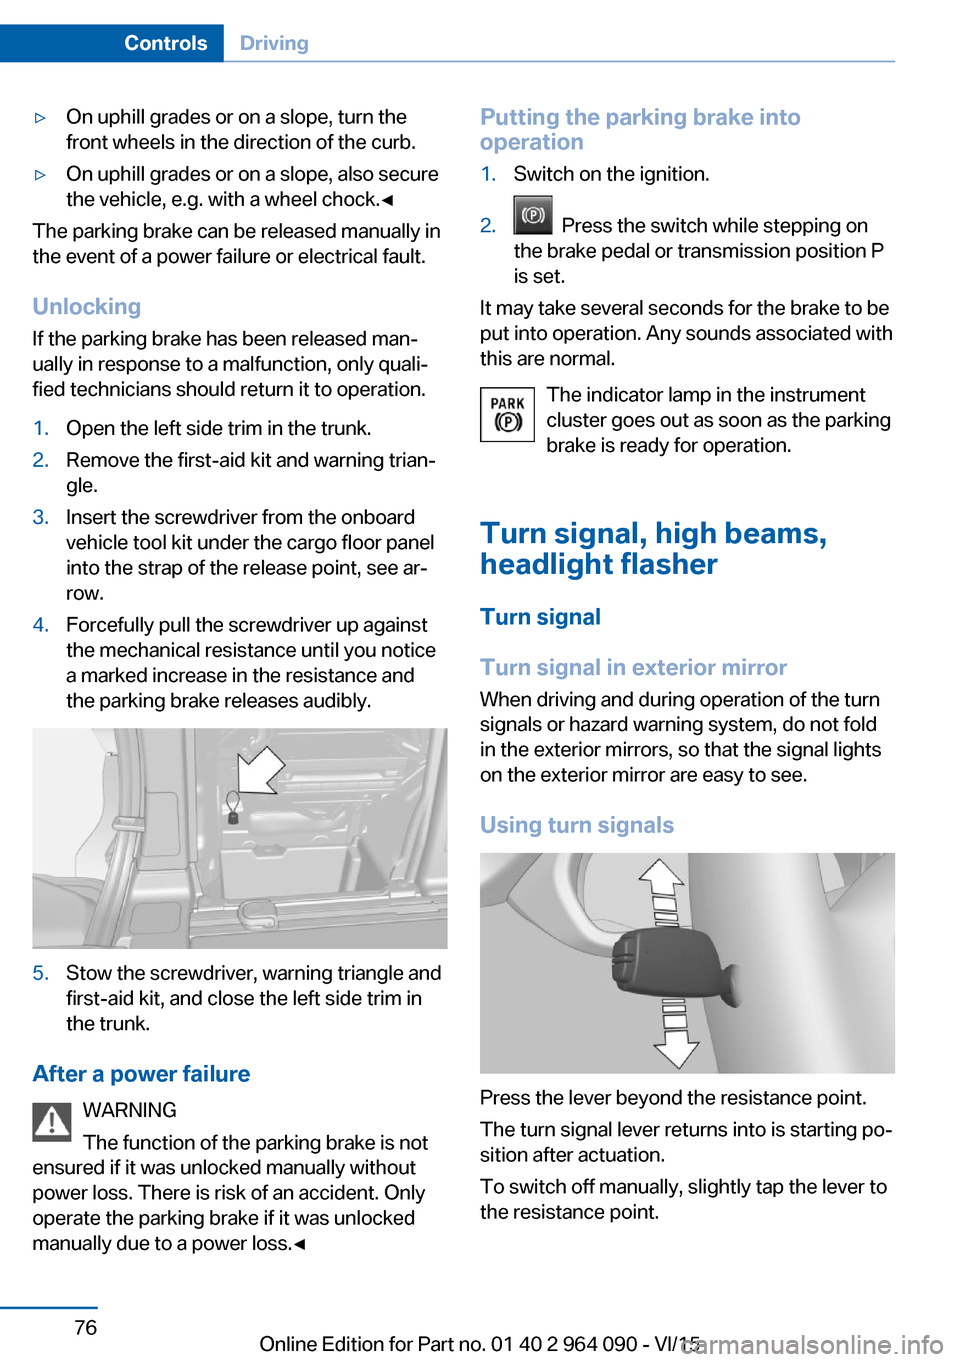
gle.3.Insert the screwdriver from the onboard
vehicle tool kit under the cargo floor panel
into the strap of the release point, see ar‐
row.4.Forcefully pull the screwdriver up against
the mechanical resistance until you notice
a marked increase in the resistance and
the parking brake releases audibly.5.Stow the screwdriver, warning triangle and
first-aid kit, and close the left side trim in
the trunk.
After a power failure
WARNING
The function of the parking brake is not
ensured if it was unlocked manually without
power loss. There is risk of an accident. Only
operate the parking brake if it was unlocked
manually due to a power loss.◀
Putting the parking brake into
operation1.Switch on the ignition.2. Press the switch while stepping on
the brake pedal or transmission position P
is set.
It may take several seconds for the brake to be
put into operation. Any sounds associated with
this are normal.
The indicator lamp in the instrument
cluster goes out as soon as the parking
brake is ready for operation.
Turn signal, high beams,
headlight flasher
Turn signal
Turn signal in exterior mirror When driving and during operation of the turn
signals or hazard warning system, do not fold
in the exterior mirrors, so that the signal lights on the exterior mirror are easy to see.
Using turn signals
Press the lever beyond the resistance point.
The turn signal lever returns into is starting po‐
sition after actuation.
To switch off manually, slightly tap the lever to
the resistance point.
Seite 76ControlsDriving76
Online Edition for Part no. 01 40 2 964 090 - VI/15
Page 80 of 255
onds, until the wiper remains in a nearly
vertical position.
After the wipers are folded back down, the
wiper system must be reactivated.
1.Switch on the ignition.2.Push wiper lever down. Wipers move to
their resting position and are ready again
for operation.
Washer fluid
Information WARNING
Some antifreeze agents can contain
harmful substances and are flammable. There
is risk of fire and risk of injuries. Observe the
instructions on the containers. Keep antifreeze
away from ignition sources. Do not refill oper‐
ating materials into different bottles. Store op‐
erating materials out of reach of children.
United States: The washer fluid mixture ratio is
regulated by the U.S. EPA and many individual
states; do not exceed the allowable washer
fluid dilution ratio limits that apply. Follow the
usage instructions on the washer fluid con‐
tainer.
Use of BMW’s Windshield Washer Concen‐
trate or the equivalent is recommended.◀
WARNING
Improperly executed work under the
hood can damage components and lead to a
safety risk. There is risk of accidents or risk of
property damage. Have work under the hood
be executed by a dealer’s service center or an‐
other qualified service center or repair shop.◀
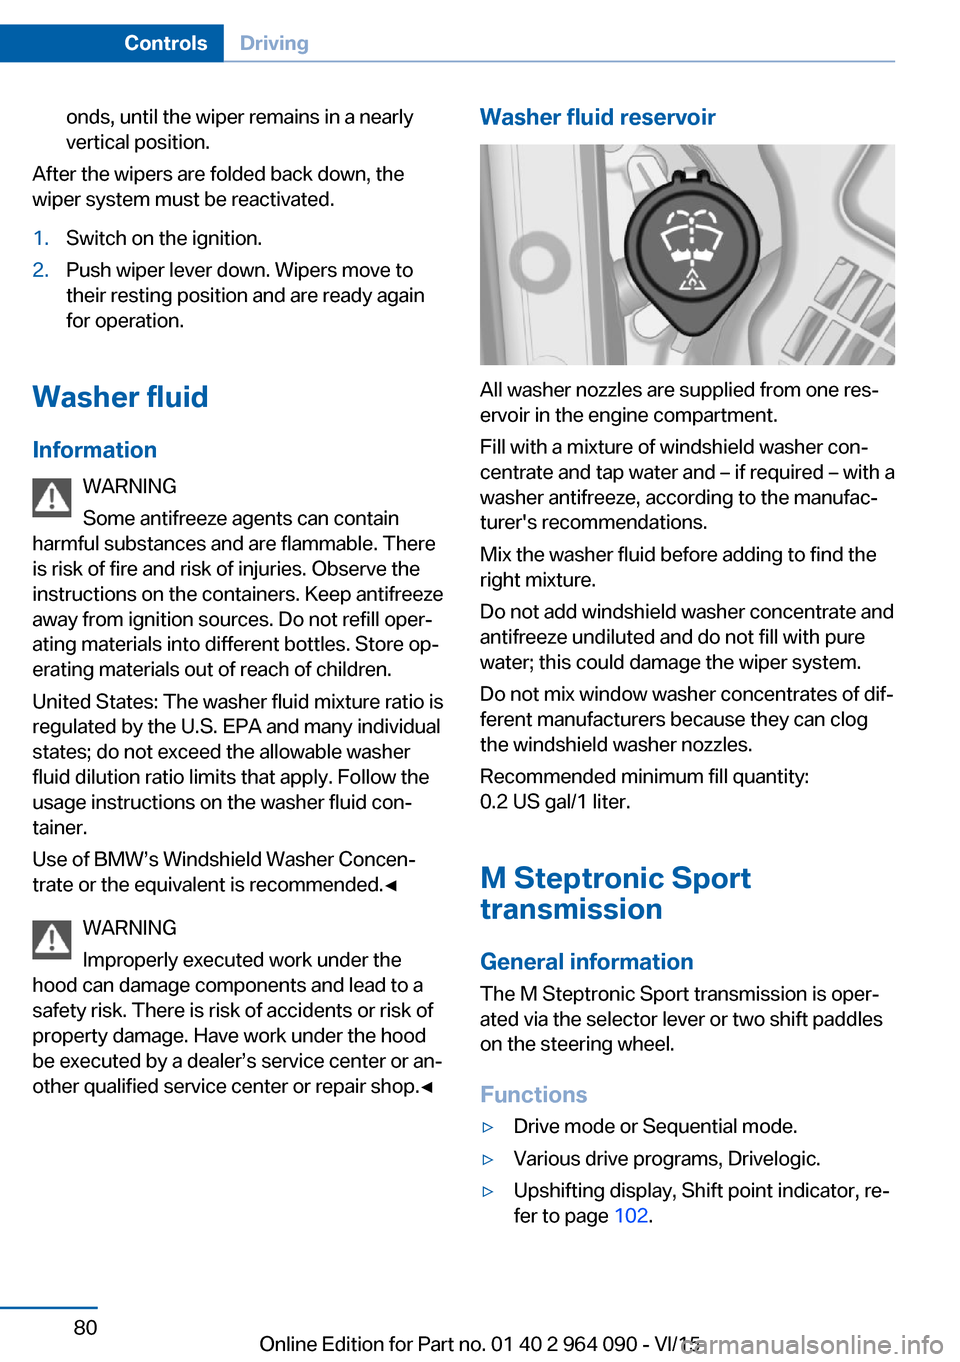
Washer fluid reservoir
All washer nozzles are supplied from one res‐
ervoir in the engine compartment.
Fill with a mixture of windshield washer con‐
centrate and tap water and – if required – with a
washer antifreeze, according to the manufac‐
turer's recommendations.
Mix the washer fluid before adding to find the
right mixture.
Do not add windshield washer concentrate and
antifreeze undiluted and do not fill with pure
water; this could damage the wiper system.
Do not mix window washer concentrates of dif‐
ferent manufacturers because they can clog
the windshield washer nozzles.
Recommended minimum fill quantity:
0.2 US gal/1 liter.
M Steptronic Sport
transmission
General information
The M Steptronic Sport transmission is oper‐
ated via the selector lever or two shift paddles
on the steering wheel.
Functions
▷Drive mode or Sequential mode.▷Various drive programs, Drivelogic.▷Upshifting display, Shift point indicator, re‐
fer to page 102.Seite 80ControlsDriving80
Online Edition for Part no. 01 40 2 964 090 - VI/15
Page 84 of 255
WARNING
Depending on the setting, the DSC may
only be available to a limited extent or may not
be available with activated M drive. There is
risk of accidents or risk of property damage.
Heed the settings for DSC in the M drive and
react actively if necessary. Adapt your driving
style and react if necessary.◀
Display in the instrument cluster Selected driving program corre‐
sponds to the number of illumi‐
nated fields.
Electronic unlocking of the transmission lock
General information
Electronically unlock the transmission lock to
maneuver vehicle from the danger area.
Unlocking is possible, if the started can spin
the engine.
Engaging selector lever position N1.Depress the brake pedal.2.Press the Start/Stop button. The starter
must audibly start.3.Press and hold the selector lever into posi‐
tion N.
A corresponding Check Control message
is displayed.4.Press the selector lever again into posi‐
tion N within approx. 6 seconds.
Selector lever position N is displayed in the
instrument cluster.5.Release brake, as soon as the starter
stops.6.Maneuver the vehicle from the danger area
and secure it against moving on its own.Launch Control
The concept Launch Control enables optimum accelerationon surfaces with good traction.
General information
The use of Launch Control causes premature
component wear since this function represents
a very heavy load for the vehicle.
Do not use Launch Control during the break-in,
refer to page 184, period.
Requirements Launch Control is available when the engine is
warmed up, that is, after uninterrupted driving
of at least 6 miles/10 km.
To start with Launch Control do not steer the
steering wheel.
Activate Launch Control1.Deactivate Dynamic Stability Control, refer
to page 135, or activate M Dynamic mode,
refer to page 134.2.Select Sequential mode with gear 1 and
driving program 3.3.With the engine running, firmly apply the
brake with the left foot.4.Depress the accelerator pedal far enough
that a flag symbol is displayed in the instru‐
ment cluster.
Keep accelerator pedal in this position.
The starting engine speed adjusts.5.Within 3 seconds, release the brake. The
vehicle accelerates.
Upshifting occurs automatically as long as
the flag symbol is displayed and the accel‐
erator pedal is not released.
Launch Control is available again only after the
transmission is cooled down to a certain de‐
gree.
Seite 84ControlsDriving84
Online Edition for Part no. 01 40 2 964 090 - VI/15
Page 90 of 255
Blue lights
High beams High beams are activated.
For additional information, refer to High
beams, refer to page 77.
General lamps Check Control At least one Check Control message is
displayed or is stored.
M Drive M Drive 1 is activated.
M Drive 2 is activated.
Text messages
Text messages in combination with a symbol
in the instrument cluster explain a Check Con‐
trol message and the meaning of the indicator
and warning lights.
Supplementary text messages
Additional information, such as on the cause of
an error or the required action, can be called up via Check Control.
With urgent messages the added text will be
automatically displayed on the Control Display.
Symbols
Depending on the Check Control message, the
following functions can be selected.▷ "Owner's Manual"
Display additional information about the
Check Control message in the Integrated
Owner's Manual.▷ "Service request"Contact a dealer’s service center or an‐
other qualified service center or repair
shop.▷ "Roadside Assistance"
Contact Roadside Assistance.
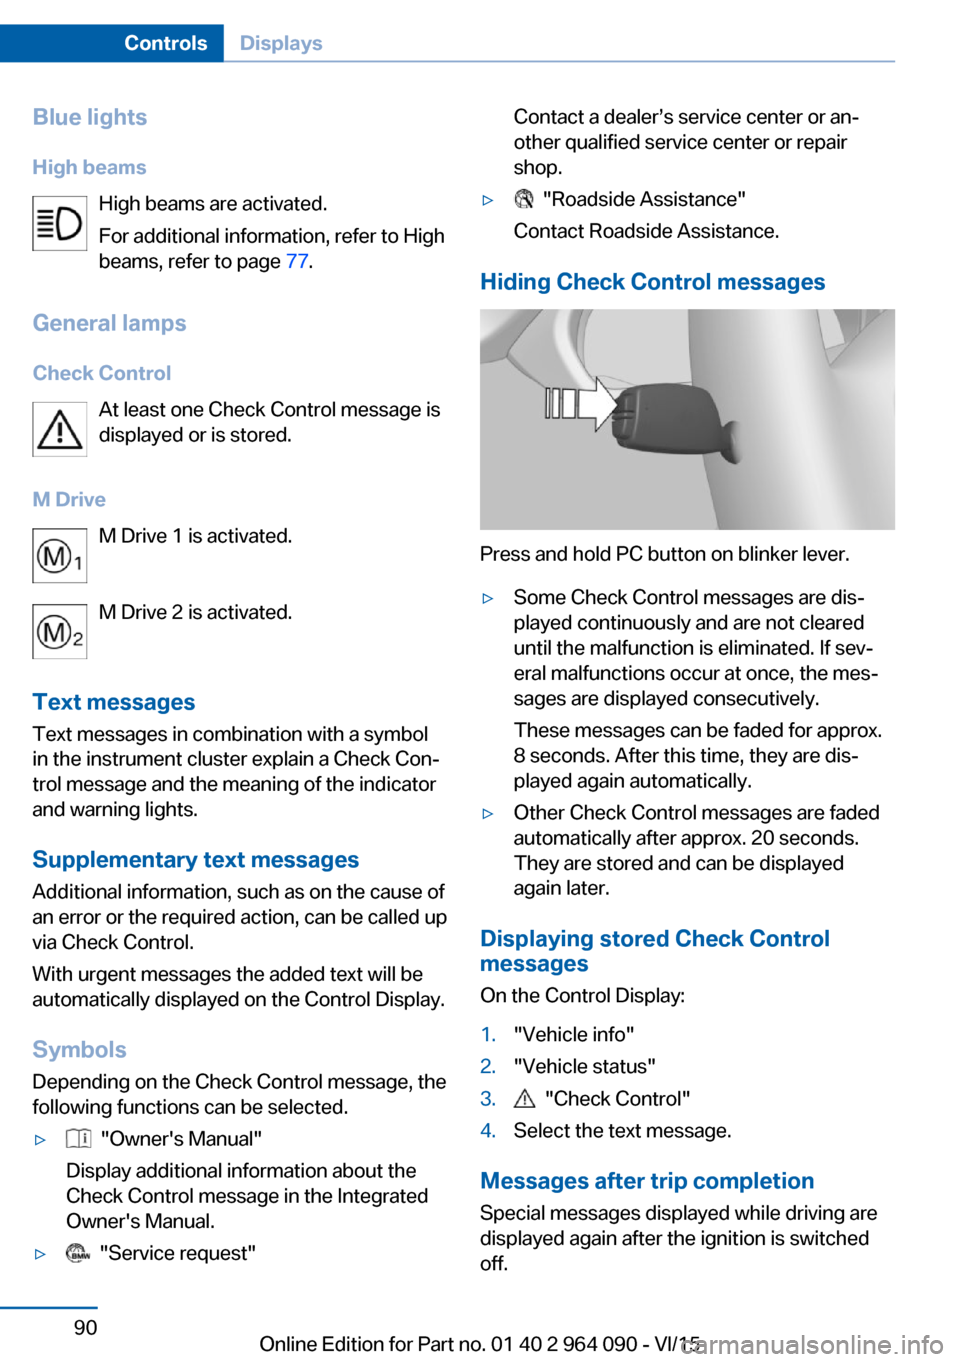
Hiding Check Control messages
Press and hold PC button on blinker lever.
▷Some Check Control messages are dis‐
played continuously and are not cleared
until the malfunction is eliminated. If sev‐
eral malfunctions occur at once, the mes‐
sages are displayed consecutively.
These messages can be faded for approx.
8 seconds. After this time, they are dis‐
played again automatically.▷Other Check Control messages are faded
automatically after approx. 20 seconds.
They are stored and can be displayed
again later.
Displaying stored Check Control
messages
On the Control Display:
1."Vehicle info"2."Vehicle status"3. "Check Control"4.Select the text message.
Messages after trip completion Special messages displayed while driving are
displayed again after the ignition is switched
off.
Seite 90ControlsDisplays90
Online Edition for Part no. 01 40 2 964 090 - VI/15
Page 110 of 255
Knee airbagThe knee airbag supports the legs in a frontal
impact.
Protective action
Airbags are not triggered in every impact situa‐
tion, e.g., in less severe accidents or rear-end
collisions.
Information for optimum effect of the
airbags
WARNING
If the seat position is incorrect or the de‐
ployment area of the airbags is impacted, the
airbag system cannot protect as intended or
cause additional injuries due to triggering.
There is risk of injuries or danger to life. Ob‐
serve the Information for optimum protective
effect of the airbag system.◀▷Keep at a distance from the airbags.▷Make sure that occupants keep their heads
away from the side airbag.▷Always grasp the steering wheel on the
steering wheel rim. Hold your hands at the
3 o'clock and 9 o'clock positions, to keep
the risk of injury to your hands or arms as
low as possible when the airbag is trig‐
gered.▷Make sure that the front passenger is sit‐
ting correctly, i.e., keeps his or her feet and
legs in the floor area.▷There should be no persons, animals or
objects between an airbag and a person.▷Do not apply adhesive materials to the air‐
bag cover panels, do not cover them or
modify them in any way.▷Dashboard and windshield on the front
passenger side must stay clear - do not at‐
tach adhesive labels or coverings and do
not attach brackets or cables, e. g., for GPS
devices or' mobile phones.▷Do not use the cover of the front airbag on
the front passenger side as a storage area.▷Do not place slip covers, seat cushions or
other objects on the front passenger seat
that are not specifically suited for seats
with integrated side airbags.▷Do not hang pieces of clothing, such as
jackets, over the backrests.▷Never modify either the individual compo‐
nents or the wiring in the airbag system.
This also applies to steering wheel covers,
the dashboard, and the seats.▷Do not remove the airbag system.
Even when you follow all instructions very
closely, injury from contact with the airbags
cannot be ruled out in certain situations.
The ignition and inflation noise may lead to
short-term and, in most cases, temporary
hearing impairment in sensitive individuals.
Warnings and information on the airbags are
also found on the sun visors.
Functional readiness of the airbag
system
Information WARNING
Individual components can be hot after
triggering of the airbag system. There is risk of
injuries. Do not touch individual components.◀
WARNING
Improperly executed work can lead to
failure, malfunction or unintentional triggering
of the airbag system. In the case of a malfunc‐
tion, the airbag system could not trigger as in‐
tended in the event of an accident despite re‐
spective accident severity. There is risk of
injuries or danger to life. Have the airbag sys‐
tem checked, repaired, dismantled and scrap‐
ped by a dealer’s service center or another qualified service center or repair shop.◀
Seite 110ControlsSafety110
Online Edition for Part no. 01 40 2 964 090 - VI/15
Page 119 of 255
Prewarning
This warning is issued, e.g., when there is the
impending danger of a collision or the distance
to the vehicle ahead is too small.
The driver must intervene actively when there
is a prewarning.
Acute warning with braking function
Acute warning in displayed in case of the immi‐
nent danger of a collision when the vehicle ap‐
proaches another object at a relatively high dif‐
ferential speed.
The driver must intervene actively when there
is an acute warning. If necessary, the driver is
assisted by a minor automatic braking inter‐
vention in a possible risk of collision.
Acute warnings can also be triggered without
previous forewarning.
Braking intervention
The warning prompts the driver himself/herself
to react. During a warning, the maximum brak‐
ing force is used. Premise for the brake boos‐
ter is sufficiently quick and hard stepping on
the brake pedal. The system can assist with some braking intervention if there is risk of a
collision. At low speeds vehicles may thus
come to a complete stop.
The braking intervention is executed only if
DSC Dynamic Stability Control is switched on
and M Dynamic mode MDM is not activated.
The braking intervention can be interrupted by
stepping on the accelerator pedal or by ac‐
tively moving the steering wheel.
Object detection can be restricted. Limitations
of the detection range and functional restric‐
tions are to be considered.
System limits
Detection range
The system's detection potential is limited.Thus a system reaction might not come or
might come late.
E. g. the following situations may not be de‐
tected:▷Slow moving vehicles when you approach
them at high speed.▷Vehicles that suddenly swerve in front of
you, or sharply decelerating vehicles.▷Vehicles with an unusual rear appearance.▷Two-wheeled vehicles ahead of you.
Functional limitations
The system may not be fully functional in the
following situations:
▷In heavy fog, rain, sprayed water or snow‐
fall.▷In tight curves.▷If the driving stability control systems are
limited or deactivated, e.g., DSC OFF.▷If the field of view of the camera in the mir‐
ror is dirty or obscured.▷Up to 10 seconds after the start of the en‐
gine, via the Start/Stop button.▷During calibration of the camera immedi‐
ately after vehicle delivery.▷If there are constant blinding effects be‐
cause of oncoming light, e. g., from the sun
low in the sky.
Warning sensitivity
The more sensitive the warning settings are,
e.g. the warning time, the more warnings are
displayed. However, there may also be an ex‐
cess of false warnings.
Pedestrian warning
Depending on how the vehicle is equipped, the
function warns of an imminent collision with
pedestrians during daytime or nighttime.
The function is subdivided into the following
systems:
Seite 119SafetyControls119
Online Edition for Part no. 01 40 2 964 090 - VI/15