Ground BMW Z4 2015 E89 Owner's Manual
[x] Cancel search | Manufacturer: BMW, Model Year: 2015, Model line: Z4, Model: BMW Z4 2015 E89Pages: 289, PDF Size: 7.16 MB
Page 46 of 289
Retractable hardtopGeneral information
Adhere to the following instructions:▷It is advisable that you close the retractable
hardtop when you park the vehicle. Not
only does the closed hardtop protect the
vehicle interior against unanticipated
weather damage, it also offers theft protec‐
tion. However, even when the hardtop is
closed, valuables should only be stored in
the locked cargo area.▷Do not attach roof rack systems to the re‐
tractable hardtop, and in particular do not
attach magnetic racks.▷Do not attach rack systems to the trunk lid,
and in particular do not attach magnetic
racks.▷When the retractable hardtop is operated,
the trunk lid swings back and up.
Before operating the retractable hardtop,
ensure that there is enough clearance, e.g.,
in tight parking spaces.▷If you open the hardtop while it is wet, e.g.,
after driving in the rain, water may drip into
the cargo area.
If necessary, remove items from the cargo
area beforehand to avoid water stains or
soiling.▷Opening and closing while the vehicle is
moving can cause air turbulence in the
cargo area.
Properly stow away objects in the cargo
area.▷At temperatures below 14 ℉/-10 ℃, the
retractable hardtop cannot be moved.
A message appears on the Control Display.
Do not touch the mechanism and keep
the opening path clear.
During opening and closing, do not reach into
the mechanism and keep children away from
the opening path of the retractable hardtop;
otherwise, there is the risk of injury.◀
Do not place objects on the retractable
hardtop.
Do not place any objects on the retractable
hardtop or on the trunk lid; otherwise, they
could fall during movements of the retractable
hardtop and cause damage or injury.◀
Before opening and closing Always open or close the hardtop fully.
Do not let the hardtop stop in an inter‐
mediate position when opening or closing.
Otherwise, there is the danger of personal in‐
jury since the hardtop will be lowered automat‐
ically after a few minutes.◀▷Observe the safety precautions above.▷Ensure that the trunk lid is closed.▷The vehicle should be parked on fairly level
ground. Excessive angle is indicated by a
light.▷Fold down the cargo area partition and
make sure it engages, refer to the instruc‐
tions below.▷Do not place any objects next to or on the
cargo area partition and close the storage
compartment on the left side of the cargo
area.▷Do not exceed the maximum loading
height under the cargo area partition; refer
to the label in the cargo area showing a line
indicating the maximum height.Seite 44ControlsOpening and closing44
Online Edition for Part no. 01 40 2 954 104 - II/15
Page 93 of 289
3.Push button 1 up or down to select the de‐
sired brightness level.4.Press button 2.
The display again shows the external tem‐
perature and the time.
Interior lights
The interior lamps, footwell lamps, entry
lamps, cargo area lamp, and courtesy lamps
are controlled automatically.
The LEDs for the courtesy lamps are set in the
door handles and illuminate the ground in front
of the doors.
To avoid draining the battery, all lights inside
the car are switched off about 8 minutes after
the ignition is switched off, Start/Stop button,
refer to page 57.
Switching interior lights on/off
manually
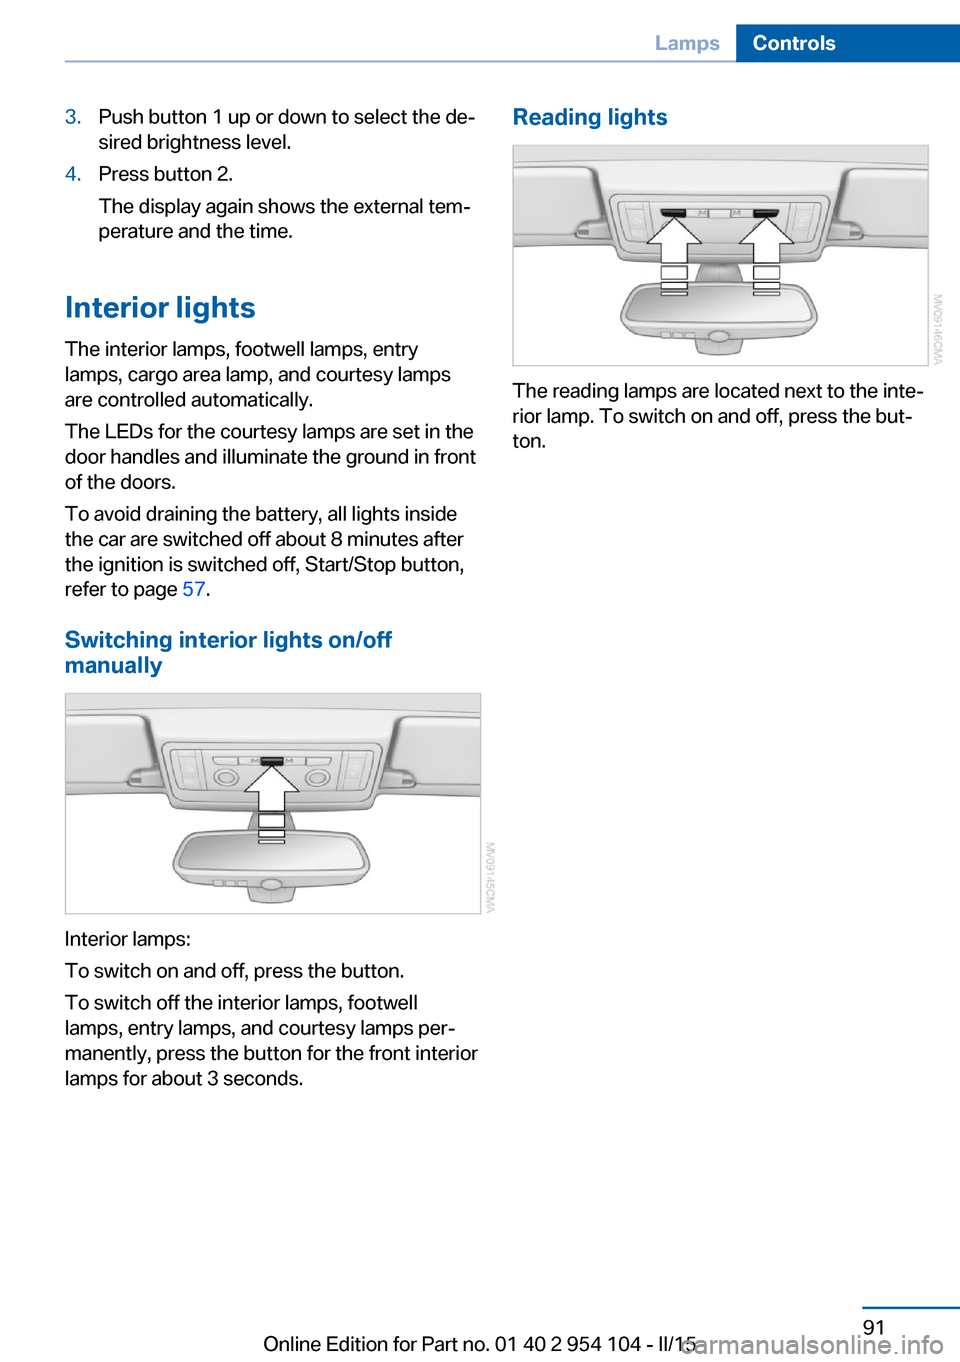
Interior lamps:
To switch on and off, press the button.
To switch off the interior lamps, footwell
lamps, entry lamps, and courtesy lamps per‐
manently, press the button for the front interior
lamps for about 3 seconds.
Reading lights
The reading lamps are located next to the inte‐
rior lamp. To switch on and off, press the but‐
ton.
Seite 91LampsControls91
Online Edition for Part no. 01 40 2 954 104 - II/15
Page 109 of 289
that the system prerequisites for operation are
currently not met.
Call up Check Control messages, refer to
page 85.
Malfunction The warning light comes on when the
system has failed.
A message appears on the Control
Display. More information, refer to page 84.
Park Distance Control PDC
The concept PDC supports you when parking.
You are alerted that you are slowly approach‐
ing an object behind the vehicle and, if equip‐
ped accordingly, in front of the vehicle by:▷Signal tones.▷A visual display.
Measurement
Measurements are made by ultrasound sen‐
sors in the bumpers.
The range is approx. 6 ft/2 m.
An acoustic warning is first given:
▷By the front sensors and two rear corner
sensors at approx. 24 in/60 cm.▷By the rear middle sensors at approx.
5 ft/1.50 m.
System limits
Check the traffic situation as well
PDC cannot serve as a substitute for the
driver's personal judgment of the traffic situa‐
tion. Check the traffic situation around the ve‐
hicle with your own eyes. Otherwise, an acci‐
dent could result from road users or objects
located outside of the PDC detection range.
Loud noises from outside and inside the vehi‐
cle may prevent you from hearing the PDC's
signal tone.◀
Avoid driving quickly with PDC
Avoid approaching an object quickly.
Avoid driving away quickly while PDC is not yet
active.
For technical reasons, the system may other‐
wise be too late in issuing a warning.◀
Limits of ultrasonic measurement
The detection of objects can reach the physi‐
cal limits of ultrasonic measurement, for in‐
stance:▷With tow bars and trailer hitches.▷With thin or wedge-shaped objects.▷With low objects.▷With objects with corners and sharp edges.
Low objects already displayed, e.g., curbs, can
move into the blind area of the sensors before
or after a continuous tone sounds.
High, protruding objects such as ledges may
not be detected.
False warnings
PDC may issue a warning under the following
conditions even though there is no obstacle
within the detection range:
▷In heavy rain.▷When sensors are very dirty or covered in
ice.▷When sensors are covered in snow.▷On rough road surfaces.▷In large buildings with right angles and
smooth walls, e.g., in underground ga‐
rages.▷In heavy exhaust.▷Due to other ultrasound sources, e.g.,
sweeping machines, high pressure steam
cleaners or neon lights.Seite 107Driving comfortControls107
Online Edition for Part no. 01 40 2 954 104 - II/15
Page 132 of 289
Things to remember when drivingVehicle equipment
This chapter describes all series equipment as
well as country-specific and special equipment
offered for this model series. Therefore, it also
describes equipment that may not be found in
your vehicle, for instance due to the selected
special equipment or the country version. This
also applies to safety-related functions and
systems.
When using the features and systems descri‐
bed here, adhere to local regulations.
Breaking-in period General information Moving parts need to be broken in to adjust to
each other.
The following instructions will help achieve a
long vehicle life and good economy.
Engine and differential
Always obey the official speed limits.
Up to 1,200 miles/2,000 km
Do not exceed the maximum engine and road
speeds:▷4,500 rpm and 100 mph/160 km/h.
Do not drive with full-throttle operation, and do
not use the transmission's kickdown mode or
Launch Control.
From 1,200 miles/2,000 km The engine and vehicle speed can gradually be
increased.
Tires
Due to technical factors associated with their
manufacture, tires do not achieve their full
traction potential until after an initial breaking-
in period.
Drive conservatively for the first
200 miles/300 km.
Brake system
Brakes require an initial break-in period of ap‐
prox. 300 miles/500 km to achieve optimized
contact and wear patterns between brake pads and discs. Drive cautiously during this break-in
period.
Clutch
The clutch requires an initial break-in period of
approx. 300 miles/500 km to function at an op‐
timal level.
During this break-in period, engage the clutch
gently.
Following part replacement
The same breaking in procedures should be
observed if any of the components mentioned
above have to be renewed in the course of the
vehicle's operating life.
General driving notes
Ground clearance Limited ground clearance
Note that the Z4 sDrive35 has limited
ground clearance, for instance when driving
into underground parking garages or over ob‐
stacles. Otherwise, the vehicle may be dam‐
aged.◀Seite 130Driving tipsThings to remember when driving130
Online Edition for Part no. 01 40 2 954 104 - II/15
Page 172 of 289
If there is no message, the system changes to
the My Favorites category. All favorites cur‐
rently being broadcast can be selected from a
list.
Managing the favorites
Activating/deactivating the favorites
Favorites can be activated and deactivated
globally and individually.1."Satellite radio"2. "Manage favorites"3.Select "Activate alert" or the desired favor‐
ites.
The setting is stored for the remote control
currently in use.
Deleting favorites
1."Satellite radio"2. "Manage favorites"3.Highlight the desired favorite.4.Open "Options".5."Delete entry"
Traffic Jump Traffic and weather information for a selected
region is broadcast every few minutes.
Selecting a region
1."Radio"2."Satellite radio"3.Open "Options".4."Set jump"5.Select the desired region.
The region is stored for the remote control cur‐
rently in use.
Activating/deactivating the jump
1."Radio"2."Satellite radio"3. "Jump to:"Information for the selected region is broad‐
cast as soon as it is available.
A new panel opens.
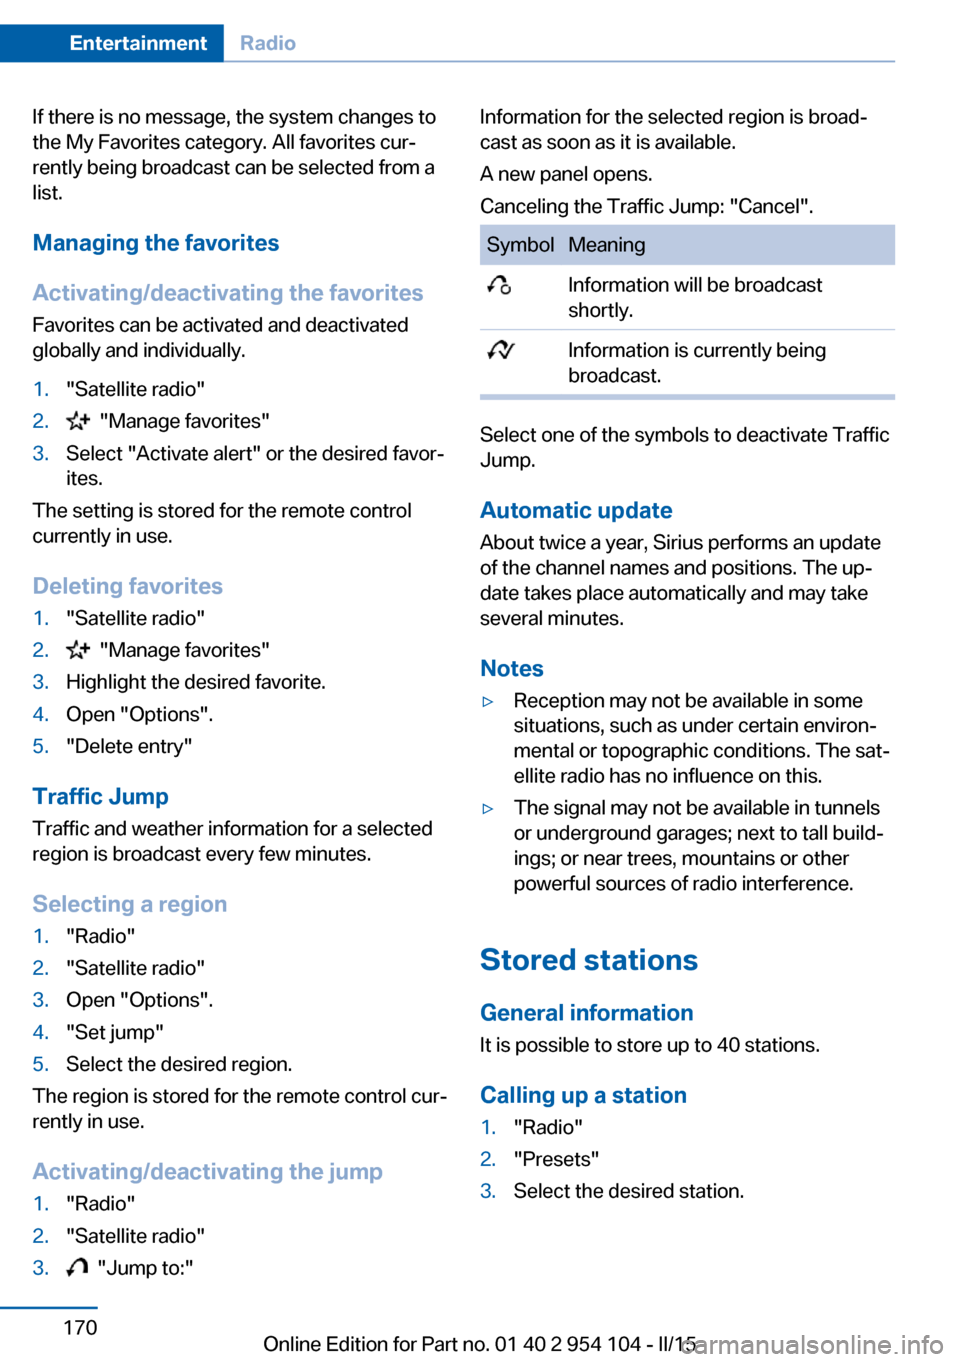
Canceling the Traffic Jump: "Cancel".SymbolMeaning Information will be broadcast
shortly. Information is currently being
broadcast.
Select one of the symbols to deactivate Traffic
Jump.
Automatic update
About twice a year, Sirius performs an update
of the channel names and positions. The up‐
date takes place automatically and may take
several minutes.
Notes
▷Reception may not be available in some
situations, such as under certain environ‐
mental or topographic conditions. The sat‐
ellite radio has no influence on this.▷The signal may not be available in tunnels
or underground garages; next to tall build‐
ings; or near trees, mountains or other
powerful sources of radio interference.
Stored stations
General information It is possible to store up to 40 stations.
Calling up a station
1."Radio"2."Presets"3.Select the desired station.Seite 170EntertainmentRadio170
Online Edition for Part no. 01 40 2 954 104 - II/15
Page 255 of 289
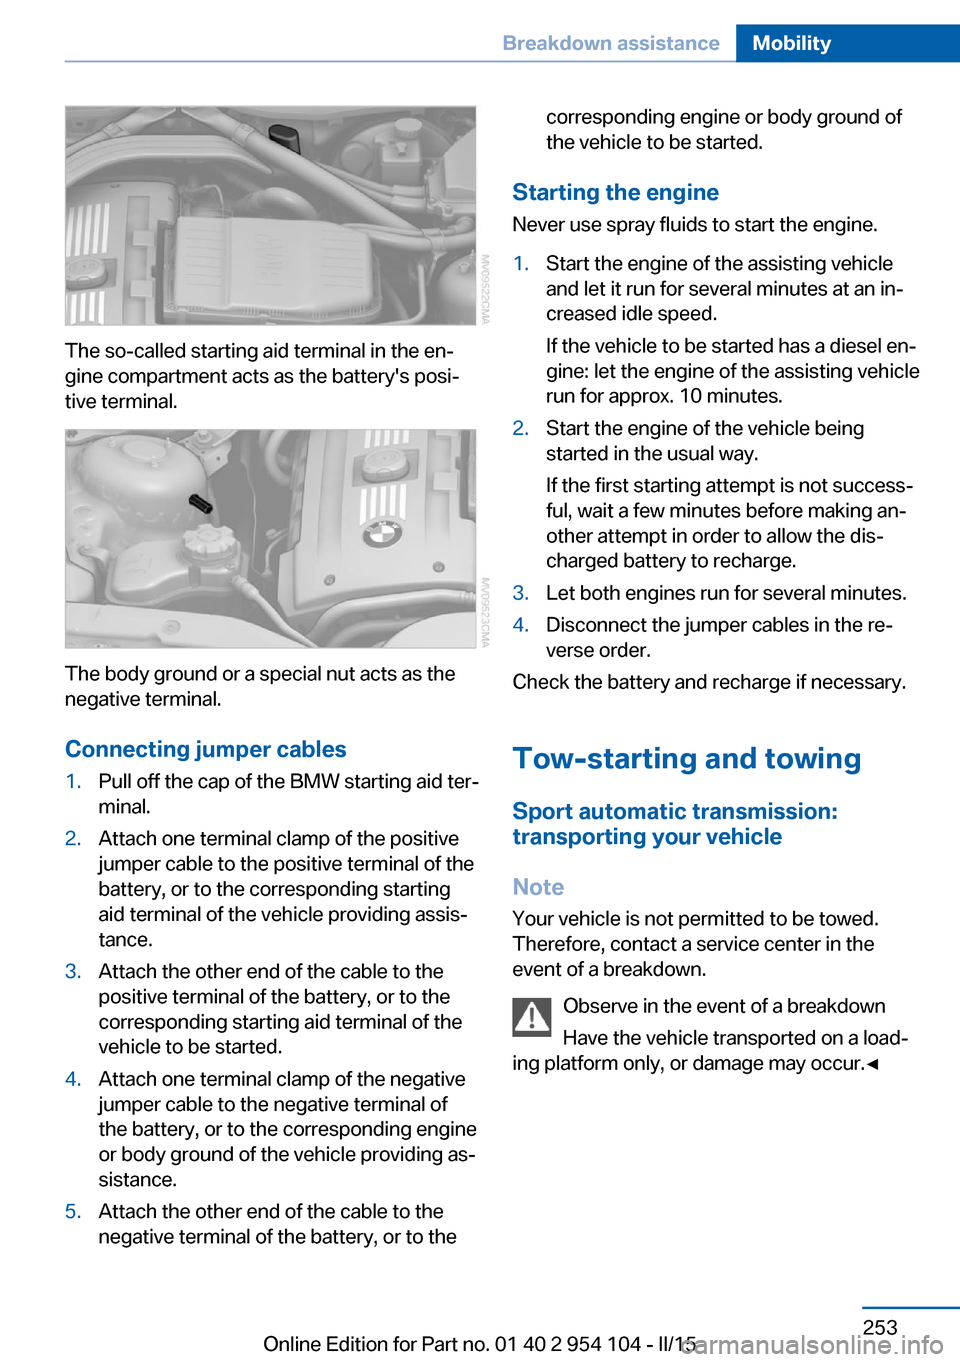
The so-called starting aid terminal in the en‐
gine compartment acts as the battery's posi‐
tive terminal.
The body ground or a special nut acts as the
negative terminal.
Connecting jumper cables
1.Pull off the cap of the BMW starting aid ter‐
minal.2.Attach one terminal clamp of the positive
jumper cable to the positive terminal of the
battery, or to the corresponding starting
aid terminal of the vehicle providing assis‐
tance.3.Attach the other end of the cable to the
positive terminal of the battery, or to the
corresponding starting aid terminal of the
vehicle to be started.4.Attach one terminal clamp of the negative
jumper cable to the negative terminal of
the battery, or to the corresponding engine
or body ground of the vehicle providing as‐
sistance.5.Attach the other end of the cable to the
negative terminal of the battery, or to thecorresponding engine or body ground of
the vehicle to be started.
Starting the engine
Never use spray fluids to start the engine.
1.Start the engine of the assisting vehicle
and let it run for several minutes at an in‐
creased idle speed.
If the vehicle to be started has a diesel en‐
gine: let the engine of the assisting vehicle
run for approx. 10 minutes.2.Start the engine of the vehicle being
started in the usual way.
If the first starting attempt is not success‐
ful, wait a few minutes before making an‐
other attempt in order to allow the dis‐
charged battery to recharge.3.Let both engines run for several minutes.4.Disconnect the jumper cables in the re‐
verse order.
Check the battery and recharge if necessary.
Tow-starting and towing Sport automatic transmission:
transporting your vehicle
Note
Your vehicle is not permitted to be towed.
Therefore, contact a service center in the
event of a breakdown.
Observe in the event of a breakdown
Have the vehicle transported on a load‐
ing platform only, or damage may occur.◀
Seite 253Breakdown assistanceMobility253
Online Edition for Part no. 01 40 2 954 104 - II/15