BMW Z4 ROADSTER 2.5I 2005 E85 Manual PDF
Manufacturer: BMW, Model Year: 2005, Model line: Z4 ROADSTER 2.5I, Model: BMW Z4 ROADSTER 2.5I 2005 E85Pages: 120, PDF Size: 3.82 MB
Page 71 of 120
Reference
At a glance
Controls
Driving tips
Mobility
69
1.Close all windows
2.Increase the air supply from the air condi-
tioner or automatic climate control to a high
level. Refer to page58 or61.
Hot exhaust system
High temperatures occur with every vehi-
cle equipped with a catalytic converter.
Heat shields are installed adjacent to some sec-
tions of the exhaust system. Never remove
these shields; do not apply undercoating to
their surfaces. When driving, standing at idle
and parking the vehicle, take care to avoid con-
tact between the hot exhaust system and flam-
mable materials, e.g. hay, leaves, grass, etc.
Such contact could lead to a fire, resulting in
serious personal injury and property damage.<
Hydroplaning
When driving on wet or slushy roads,
reduce vehicle speed. If you do not, a
wedge of water may form between the tires and
the road surface. This phenomenon can lead to
partial or complete loss of traction, vehicle con-
trol and braking effectiveness.<
Driving through water
Do not drive through water on the road if it
is deeper than 1 ft/30 cm, and then only at
walking speed. Otherwise, the vehicle's engine,
the electrical systems and the transmission
may be damaged.<
Use the parking brake on inclines
On inclines, keep the vehicle from rolling
by using the parking brake rather than by
slipping the clutch, which would lead to a high
degree of clutch wear.<
Braking safely
Your BMW is equipped with ABS as a standard
feature. If you are in a situation which requires
full braking, it is best to brake using maximum
brake pressure: panic stop. Since the vehicle
maintains steering responsiveness, you can still
avoid possible obstacles with a minimum of
steering effort.Pulsation at the brake pedal combines with
sounds from the hydraulic circuits to indicate to
the driver that ABS is in its active mode.
Wet roads
If the roads are wet or if there is heavy rain, it is
advisable to gently press the brakes for a brief
moment every few miles/kilometers. Watch
traffic conditions to ensure that this maneuver
does not endanger other road users. The
resulting heat dries the brake rotors and brake
pads. Immediate braking force is then available
if necessary.
Inclines
To prevent overheating and, as a result,
diminished braking effectiveness, drive
down long or steep downhill grades in a gear
which requires the least braking. Otherwise,
even light but consistent pedal pressure can
lead to high temperatures, brake wear and pos-
sibly even brake failure.<
The braking power of the engine can be further
enhanced by downshifting the automatic trans-
mission in manual mode, if necessary, into first
gear; refer to pages39 and41. This prevents an
excessive load on the brakes.
Do not coast with the clutch depressed or
with the transmission or selector lever in
Neutral. Do not coast with the engine switched
off. Otherwise, the engine provides no braking
effect while the transmission is in idling posi-
tion, and there is no power-assist for braking or
steering when the engine is off.
Floor mats, floor carpets or other objects must
not be in the area near the brake or accelerator
pedal, as this could impair the movement of the
pedals.<
Corrosion on the brake rotors
Limited vehicle use, extended periods with the
vehicle parked or in storage, and operating con-
ditions in which braking is restricted to gentle,
low-pressure applications will all increase the
tendency for corrosion to form on the rotors and
contamination to accumulate on the brake
pads. This occurs because the minimal pres-
Page 72 of 120
Special operating instructions
70 sure which must be exerted by the pads to
clean the rotors by brake applications is not
reached.
If the brake rotors are corroded, they will tend to
respond to braking with a pulsating effect which
even extended application will fail to cure.
Interior and exterior mirrors with
automatic dimming feature*
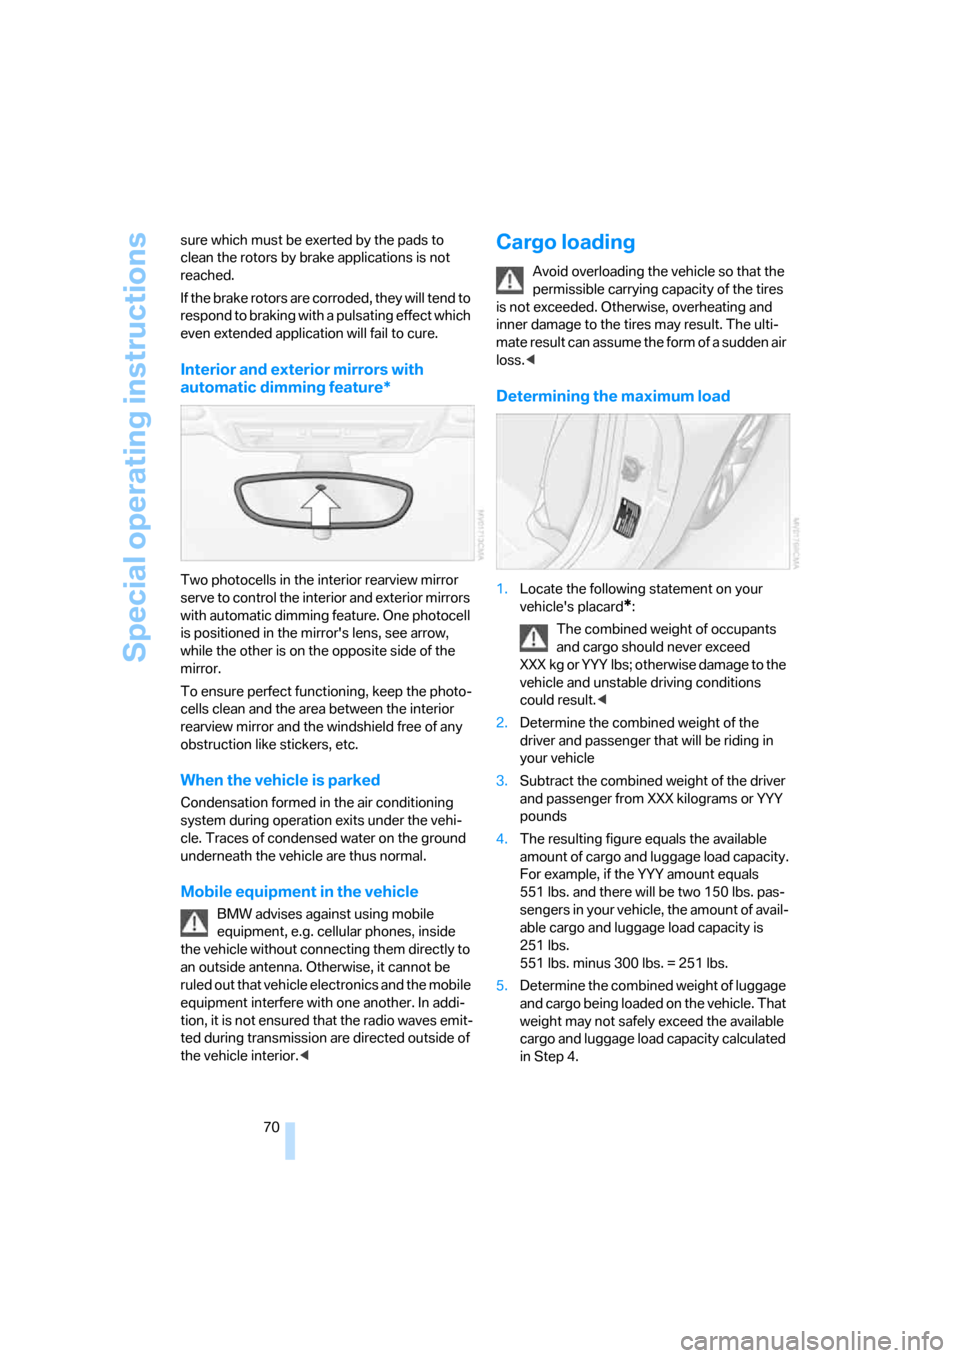
Two photocells in the interior rearview mirror
serve to control the interior and exterior mirrors
with automatic dimming feature. One photocell
is positioned in the mirror's lens, see arrow,
while the other is on the opposite side of the
mirror.
To ensure perfect functioning, keep the photo-
cells clean and the area between the interior
rearview mirror and the windshield free of any
obstruction like stickers, etc.
When the vehicle is parked
Condensation formed in the air conditioning
system during operation exits under the vehi-
cle. Traces of condensed water on the ground
underneath the vehicle are thus normal.
Mobile equipment in the vehicle
BMW advises against using mobile
equipment, e.g. cellular phones, inside
the vehicle without connecting them directly to
an outside antenna. Otherwise, it cannot be
ruled out that vehicle electronics and the mobile
equipment interfere with one another. In addi-
tion, it is not ensured that the radio waves emit-
ted during transmission are directed outside of
the vehicle interior.<
Cargo loading
Avoid overloading the vehicle so that the
permissible carrying capacity of the tires
is not exceeded. Otherwise, overheating and
inner damage to the tires may result. The ulti-
mate result can assume the form of a sudden air
loss.<
Determining the maximum load
1.Locate the following statement on your
vehicle's placard
*:
The combined weight of occupants
and cargo should never exceed
XXX kg or YYY lbs; otherwise damage to the
vehicle and unstable driving conditions
could result.<
2.Determine the combined weight of the
driver and passenger that will be riding in
your vehicle
3.Subtract the combined weight of the driver
and passenger from XXX kilograms or YYY
pounds
4.The resulting figure equals the available
amount of cargo and luggage load capacity.
For example, if the YYY amount equals
551 lbs. and there will be two 150 lbs. pas-
sengers in your vehicle, the amount of avail-
able cargo and luggage load capacity is
251 lbs.
551 lbs. minus 300 lbs. = 251 lbs.
5.Determine the combined weight of luggage
and cargo being loaded on the vehicle. That
weight may not safely exceed the available
cargo and luggage load capacity calculated
in Step 4.
Page 73 of 120
Reference
At a glance
Controls
Driving tips
Mobility
71
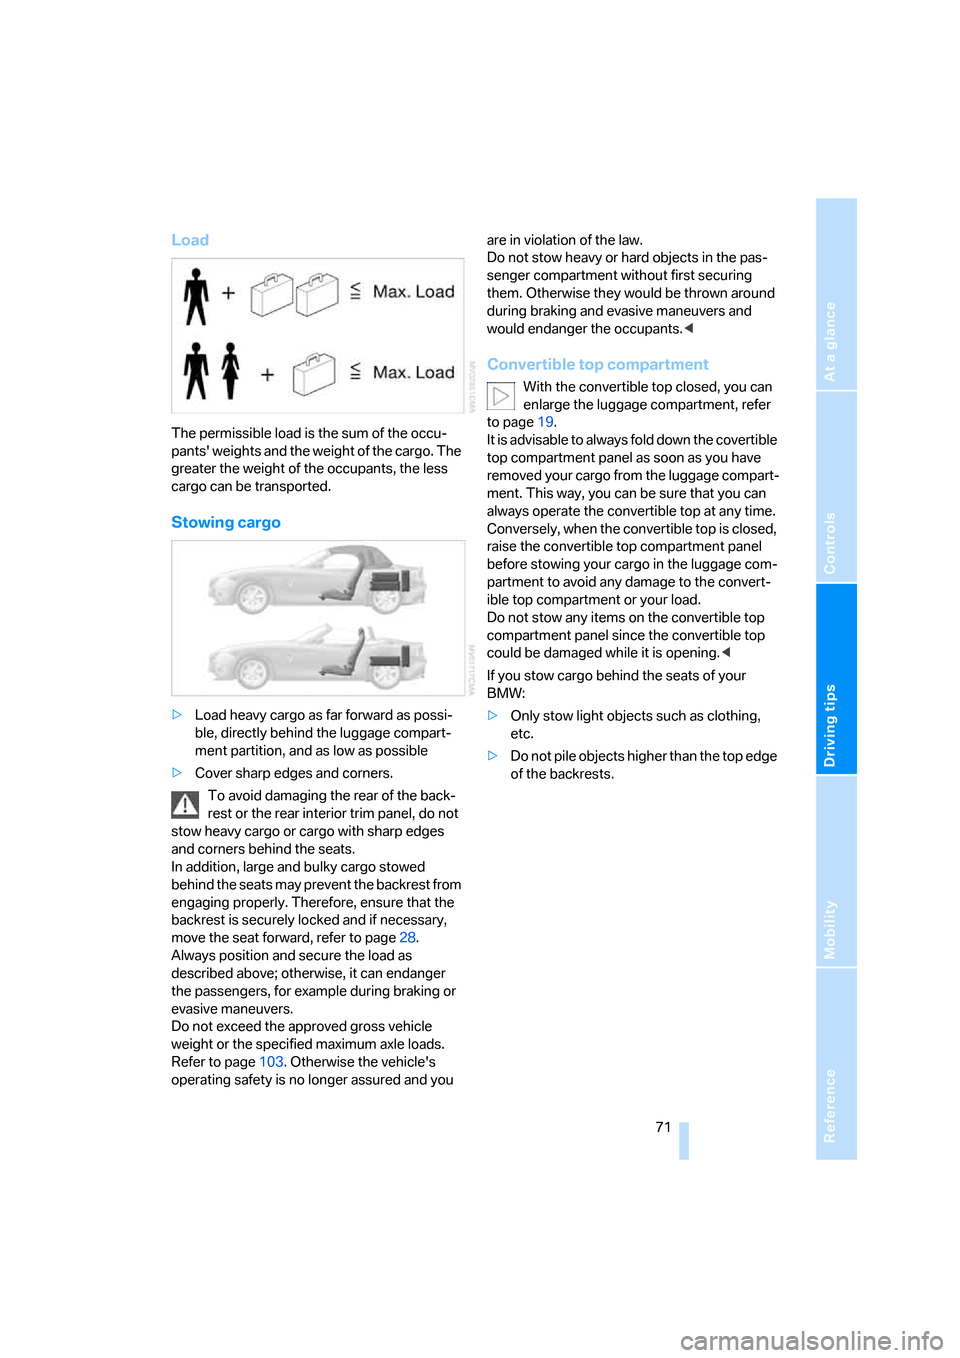
Load
The permissible load is the sum of the occu-
pants' weights and the weight of the cargo. The
greater the weight of the occupants, the less
cargo can be transported.
Stowing cargo
>Load heavy cargo as far forward as possi-
ble, directly behind the luggage compart-
ment partition, and as low as possible
>Cover sharp edges and corners.
To avoid damaging the rear of the back-
rest or the rear interior trim panel, do not
stow heavy cargo or cargo with sharp edges
and corners behind the seats.
In addition, large and bulky cargo stowed
behind the seats may prevent the backrest from
engaging properly. Therefore, ensure that the
backrest is securely locked and if necessary,
move the seat forward, refer to page28.
Always position and secure the load as
described above; otherwise, it can endanger
the passengers, for example during braking or
evasive maneuvers.
Do not exceed the approved gross vehicle
weight or the specified maximum axle loads.
Refer to page103. Otherwise the vehicle's
operating safety is no longer assured and you are in violation of the law.
Do not stow heavy or hard objects in the pas-
senger compartment without first securing
them. Otherwise they would be thrown around
during braking and evasive maneuvers and
would endanger the occupants.<
Convertible top compartment
With the convertible top closed, you can
enlarge the luggage compartment, refer
to page19.
It is advisable to always fold down the covertible
top compartment panel as soon as you have
removed your cargo from the luggage compart-
ment. This way, you can be sure that you can
always operate the convertible top at any time.
Conversely, when the convertible top is closed,
raise the convertible top compartment panel
before stowing your cargo in the luggage com-
partment to avoid any damage to the convert-
ible top compartment or your load.
Do not stow any items on the convertible top
compartment panel since the convertible top
could be damaged while it is opening.<
If you stow cargo behind the seats of your
BMW:
>Only stow light objects such as clothing,
etc.
>Do not pile objects higher than the top edge
of the backrests.
Page 74 of 120
Special operating instructions
72
Hardtop preparation*
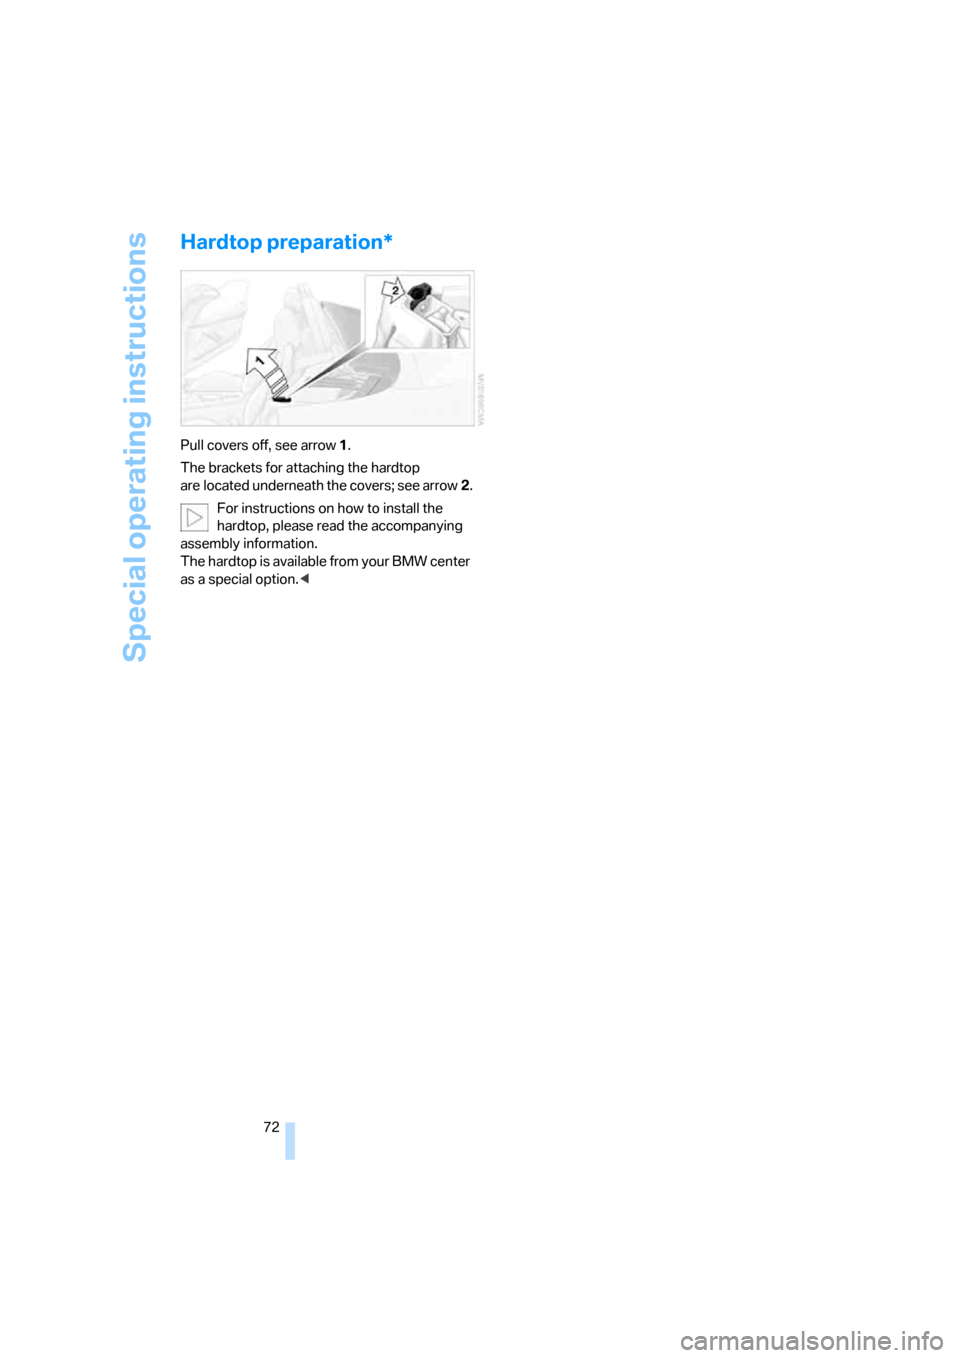
Pull covers off, see arrow1.
The brackets for attaching the hardtop
are located underneath the covers; see arrow2.
For instructions on how to install the
hardtop, please read the accompanying
assembly information.
The hardtop is available from your BMW center
as a special option.<
Page 75 of 120

Reference
At a glance
Controls
Driving tips
Mobility
73
Page 76 of 120
Page 77 of 120
Mobility
To ensure that you stay mobile, the following
chapter provides you with important
information on fuels and fluids, tires and
wheels, maintenance procedures and steps to
take in the event of a breakdown.
Mobility
Page 78 of 120
Refueling
76
Refueling
Fuel filler door
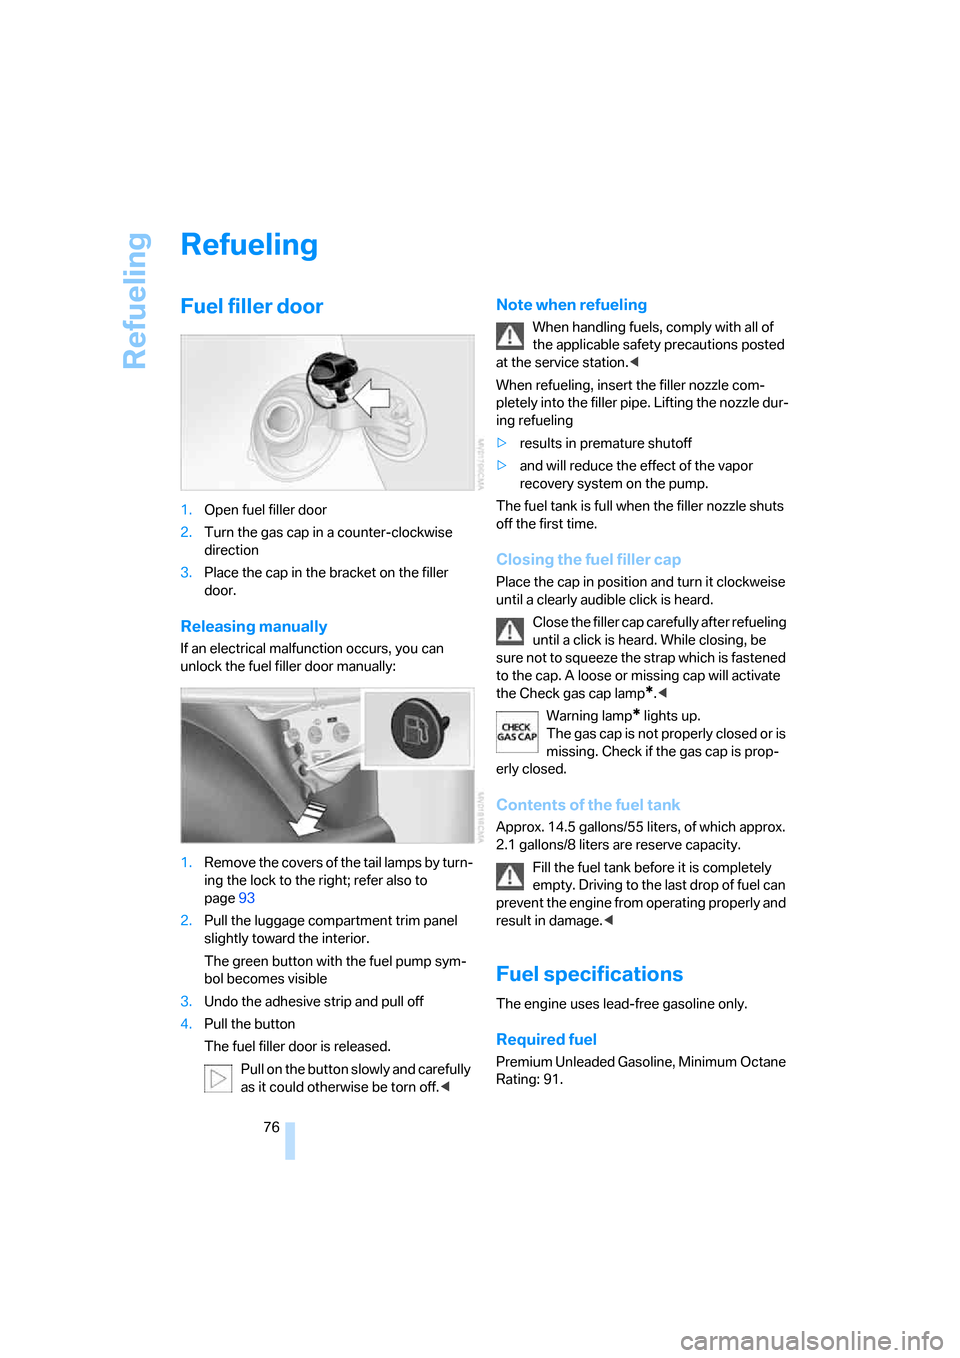
1.Open fuel filler door
2.Turn the gas cap in a counter-clockwise
direction
3.Place the cap in the bracket on the filler
door.
Releasing manually
If an electrical malfunction occurs, you can
unlock the fuel filler door manually:
1.Remove the covers of the tail lamps by turn-
ing the lock to the right; refer also to
page93
2.Pull the luggage compartment trim panel
slightly toward the interior.
The green button with the fuel pump sym-
bol becomes visible
3.Undo the adhesive strip and pull off
4.Pull the button
The fuel filler door is released.
Pull on the button slowly and carefully
as it could otherwise be torn off.<
Note when refueling
When handling fuels, comply with all of
the applicable safety precautions posted
at the service station.<
When refueling, insert the filler nozzle com-
pletely into the filler pipe. Lifting the nozzle dur-
ing refueling
>results in premature shutoff
>and will reduce the effect of the vapor
recovery system on the pump.
The fuel tank is full when the filler nozzle shuts
off the first time.
Closing the fuel filler cap
Place the cap in position and turn it clockweise
until a clearly audible click is heard.
Close the filler cap carefully after refueling
until a click is heard. While closing, be
sure not to squeeze the strap which is fastened
to the cap. A loose or missing cap will activate
the Check gas cap lamp
*.<
Warning lamp
* lights up.
The gas cap is not properly closed or is
missing. Check if the gas cap is prop-
erly closed.
Contents of the fuel tank
Approx. 14.5 gallons/55 liters, of which approx.
2.1 gallons/8 liters are reserve capacity.
Fill the fuel tank before it is completely
empty. Driving to the last drop of fuel can
prevent the engine from operating properly and
result in damage.<
Fuel specifications
The engine uses lead-free gasoline only.
Required fuel
Premium Unleaded Gasoline, Minimum Octane
Rating: 91.
Page 79 of 120
Reference
At a glance
Controls
Driving tips
Mobility
77
Minimum Octane Rating corresponds to the
Anti Knock Index AKI and is determined by the
so-called (R+M)/2 method.
Do not use leaded gasoline, as otherwise
the lambda probe and catalytic converter
will be permanently damaged.<
Use high-quality brands
Field experience has indicated significant dif-
ferences in fuel quality: volatility, composition,
additives, etc., among gasolines offered for sale
in the United States and Canada. Fuels contain-
ing up to and including 10 % ethanol or other
oxygenates with up to 2.8 % oxygen by weight,
that is, 15 % MTBE or 3 % methanol plus an
equivalent amount of co-solvent, will not void
the applicable warranties with respect to
defects in materials or workmanship.
The use of poor-quality fuels may result in
drivability, starting and stalling problems
especially under certain environmental condi-
tions such as high ambient temperature and
high altitude.
Should you encounter drivability problems
which you suspect could be related to the fuel
you are using, we recommend that you respond
by switching to a recognized high-quality
brand.
Failure to comply with these recommendations
may also result in unscheduled maintenance.<
Page 80 of 120
Wheels and tires
78
Wheels and tires
Tire inflation pressure
Information for your safety
It is not merely the tire's service life, but also
driving safety and driving comfort that largely
depend on the condition of the tires and the
maintenance of the specified tire pressure.
Checking tire pressures
Check the tire inflation pressures only when the
tires are cold. This means after a maximum driv-
ing distance of 1.25 miles/2 km or if the vehicle
has been parked for at least 2 hours. Warm tires
have higher inflation pressures.
Check tire inflation pressures regularly
and correct them if necessary: at least
every two weeks and before every extended
journey. Otherwise, incorrect tire pressures can
cause driving instability or tire damage, ulti-
mately resulting in accidents.<
Reinitialize the Flat Tire Monitor after cor-
recting the tire inflation pressure. Refer to
page52.<
Inflation pressures for original tires
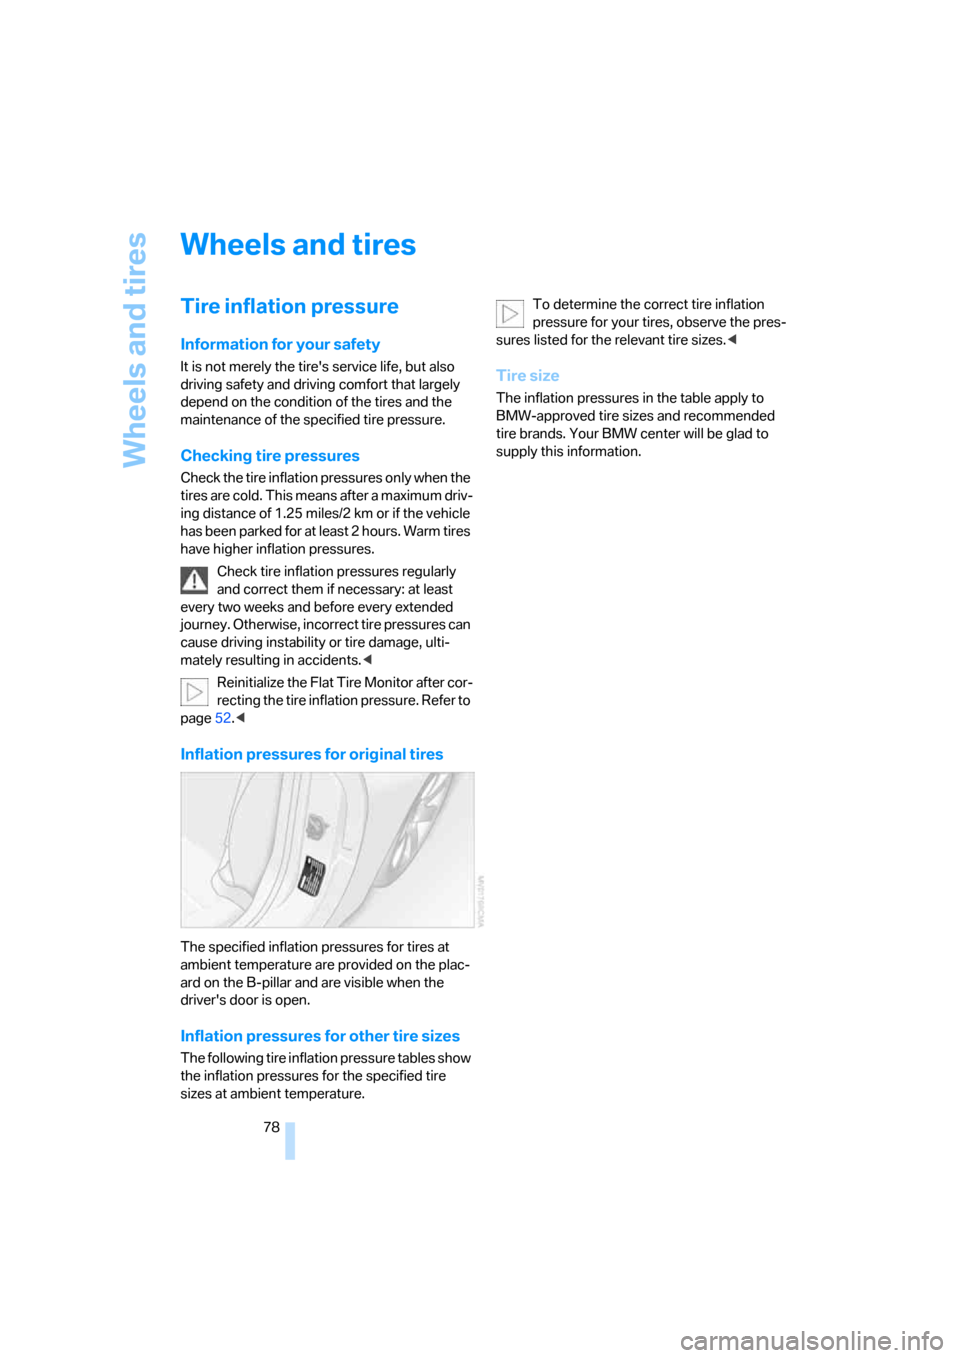
The specified inflation pressures for tires at
ambient temperature are provided on the plac-
ard on the B-pillar and are visible when the
driver's door is open.
Inflation pressures for other tire sizes
The following tire inflation pressure tables show
the inflation pressures for the specified tire
sizes at ambient temperature.To determine the correct tire inflation
pressure for your tires, observe the pres-
sures listed for the relevant tire sizes.<
Tire size
The inflation pressures in the table apply to
BMW-approved tire sizes and recommended
tire brands. Your BMW center will be glad to
supply this information.