media BMW Z4 ROADSTER SDRIVE35I 2010 E89 Owner's Manual
[x] Cancel search | Manufacturer: BMW, Model Year: 2010, Model line: Z4 ROADSTER SDRIVE35I, Model: BMW Z4 ROADSTER SDRIVE35I 2010 E89Pages: 254, PDF Size: 8.04 MB
Page 8 of 254
Notes
6 Installation and operation of accessories not
approved by BMW, such as alarms, radios,
amplifiers, radar detectors, wheels, suspension
components, brake dust shields, telephones,
including operation of any mobile phone from
within the vehicle without using an externally
mounted antenna, or transceiver equipment, for
instance, CBs, walkie-talkies, ham radio or sim-
ilar accessories, may cause extensive damage
to the vehicle, compromise its safety, interfere
with the vehicle's electrical system or affect the
validity of the BMW Limited Warranty. See your
BMW center for additional information.<
Maintenance, replacement, or repair of
the emission control devices and sys-
tems may be performed by any automotive
repair establishment or individual using any cer-
tified automotive part.<
California Proposition 65 warning
California law requires us to issue the following
warning:
Engine exhaust and a wide variety of
automobile components and parts,
including components found in the interior fur-
nishings in a vehicle, contain or emit chemicals
known to the State of California to cause cancer
and birth defects and reproductive harm. In
addition, certain fluids contained in vehicles and
certain products of component wear contain or
emit chemicals known to the State of California
to cause cancer and birth defects or other
reproductive harm.
Battery posts, terminals and related accesso-
ries contain lead and lead compounds. Wash
your hands after handling.
Used engine oil contains chemicals that have
caused cancer in laboratory animals. Always
protect your skin by washing thoroughly with
soap and water.<
Service and warranty
We recommend that you read this publication
thoroughly.
Your BMW is covered by the following war-
ranties:
>New Vehicle Limited Warranty
>Rust Perforation Limited Warranty
>Federal Emissions System Defect Warranty
>Federal Emissions Performance Warranty
>California Emission Control System Limited
Warranty
Detailed information about these warranties is
listed in the Service and Warranty Information
Booklet for US models or in the Warranty and
Service Guide Booklet for Canadian models.
Your vehicle has been specifically adapted and
designed to meet the particular operating con-
ditions and homologation requirements in your
country and continental region in order to
deliver the full BMW driving pleasure while the
vehicle is operated under those conditions. If
you wish to operate your vehicle in another
country or region, you may be required to adapt
your vehicle to meet different prevailing operat-
ing conditions and homologation requirements.
You should also be aware of any applicable war-
ranty limitations or exclusions for such country
or region. In such case, please contact Cus-
tomer Relations for further information.
Reporting safety defects
For US customers
The following only applies to vehicles owned
and operated in the US.
If you believe that your vehicle has a defect
which could cause a crash or could cause injury
or death, you should immediately inform the
National Highway Traffic Safety Administration,
NHTSA, in addition to notifying BMW of North
America, LLC, P.O. Box 1227, Westwood,
New Jersey 07675-1227, Telephone 1-800-
831-1117.
Page 23 of 254
At a glance
21Reference
Controls
Driving tips
Communications
Navigation
Entertainment
Mobility
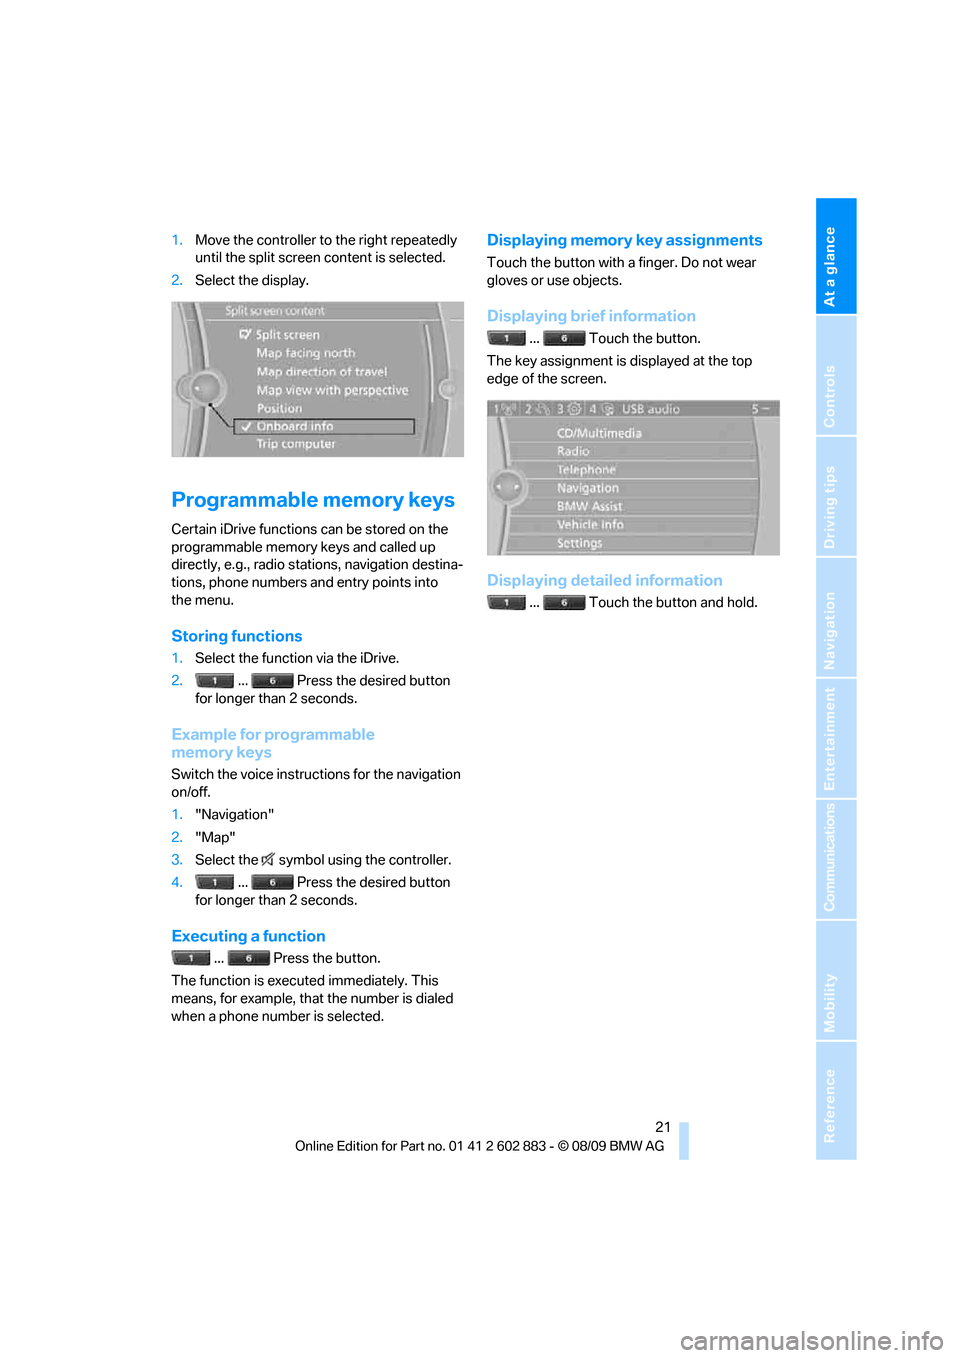
1.Move the controller to the right repeatedly
until the split screen content is selected.
2.Select the display.
Programmable memory keys
Certain iDrive functions can be stored on the
programmable memory keys and called up
directly, e.g., radio stations, navigation destina-
tions, phone numbers and entry points into
the menu.
Storing functions
1.Select the function via the iDrive.
2. ... Press the desired button
for longer than 2 seconds.
Example for programmable
memory keys
Switch the voice instructions for the navigation
on/off.
1."Navigation"
2."Map"
3.Select the symbol using the controller.
4. ... Press the desired button
for longer than 2 seconds.
Executing a function
... Press the button.
The function is executed immediately. This
means, for example, that the number is dialed
when a phone number is selected.
Displaying memory key assignments
Touch the button with a finger. Do not wear
gloves or use objects.
Displaying brief information
... Touch the button.
The key assignment is displayed at the top
edge of the screen.
Displaying detailed information
... Touch the button and hold.
Page 26 of 254
Voice activation system
24
Terminating or canceling voice
activation system
Press the button on the steering wheel
or
In dialogs that call for a text of your choice, the
procedure can only be canceled using the but-
ton on the steering wheel.
Possible commands
The commands available in each case depend
on the menu item selected on the Control
Display.
Having the possible commands read aloud
For example, if "CD/DVD" is selected, the com-
mands for operating CD/Multimedia are read
aloud.
Calling up functions immediately via
short commands
Short commands enable you to perform certain
functions immediately, irrespective of which
menu item is selected, refer to page229.
Example: selecting the track of a CD
1.If necessary, switch on entertainment audio
output.
2.Press the button on the steering wheel.
Setting the voice dialog
You can set whether the system should use the
standard dialog or a shorter variant. In the
shorter variant of the voice dialog, the prompts
and responses from the system are abbre-
viated.
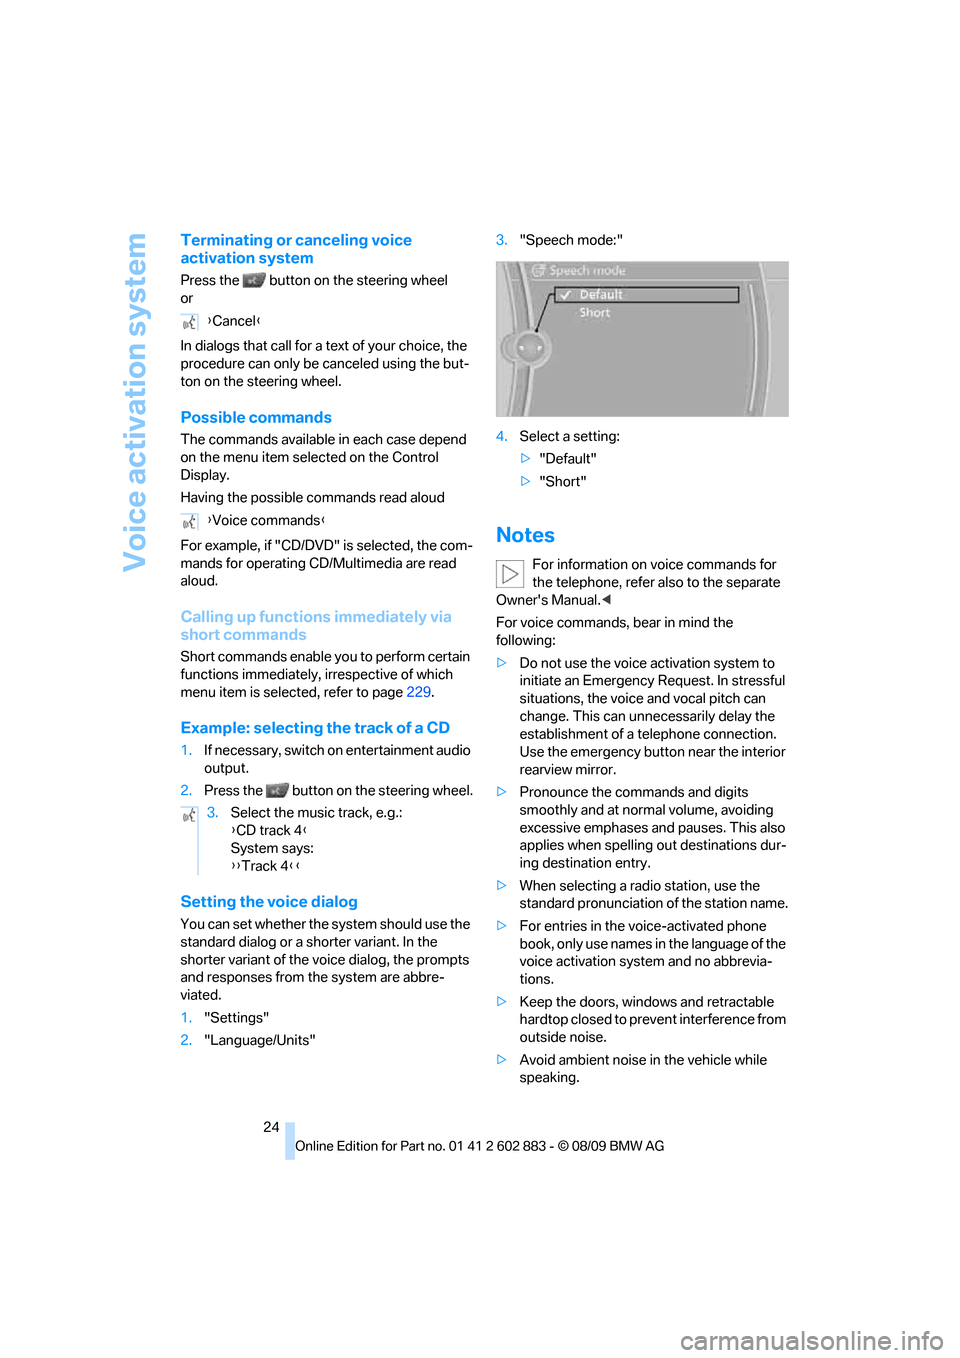
1."Settings"
2."Language/Units"3."Speech mode:"
4.Select a setting:
>"Default"
>"Short"
Notes
For information on voice commands for
the telephone, refer also to the separate
Owner's Manual.<
For voice commands, bear in mind the
following:
>Do not use the voice activation system to
initiate an Emergency Request. In stressful
situations, the voice and vocal pitch can
change. This can unnecessarily delay the
establishment of a telephone connection.
Use the emergency button near the interior
rearview mirror.
>Pronounce the commands and digits
smoothly and at normal volume, avoiding
excessive emphases and pauses. This also
applies when spelling out destinations dur-
ing destination entry.
>When selecting a radio station, use the
standard pronunciation of the station name.
>For entries in the voice-activated phone
book, only use names in the language of the
voice activation system and no abbrevia-
tions.
>Keep the doors, windows and retractable
hardtop closed to prevent interference from
outside noise.
>Avoid ambient noise in the vehicle while
speaking. {Cancel}
{Voice commands}
3.Select the music track, e.g.:
{CD track 4}
System says:
{{Track 4}}
Page 32 of 254
Opening and closing
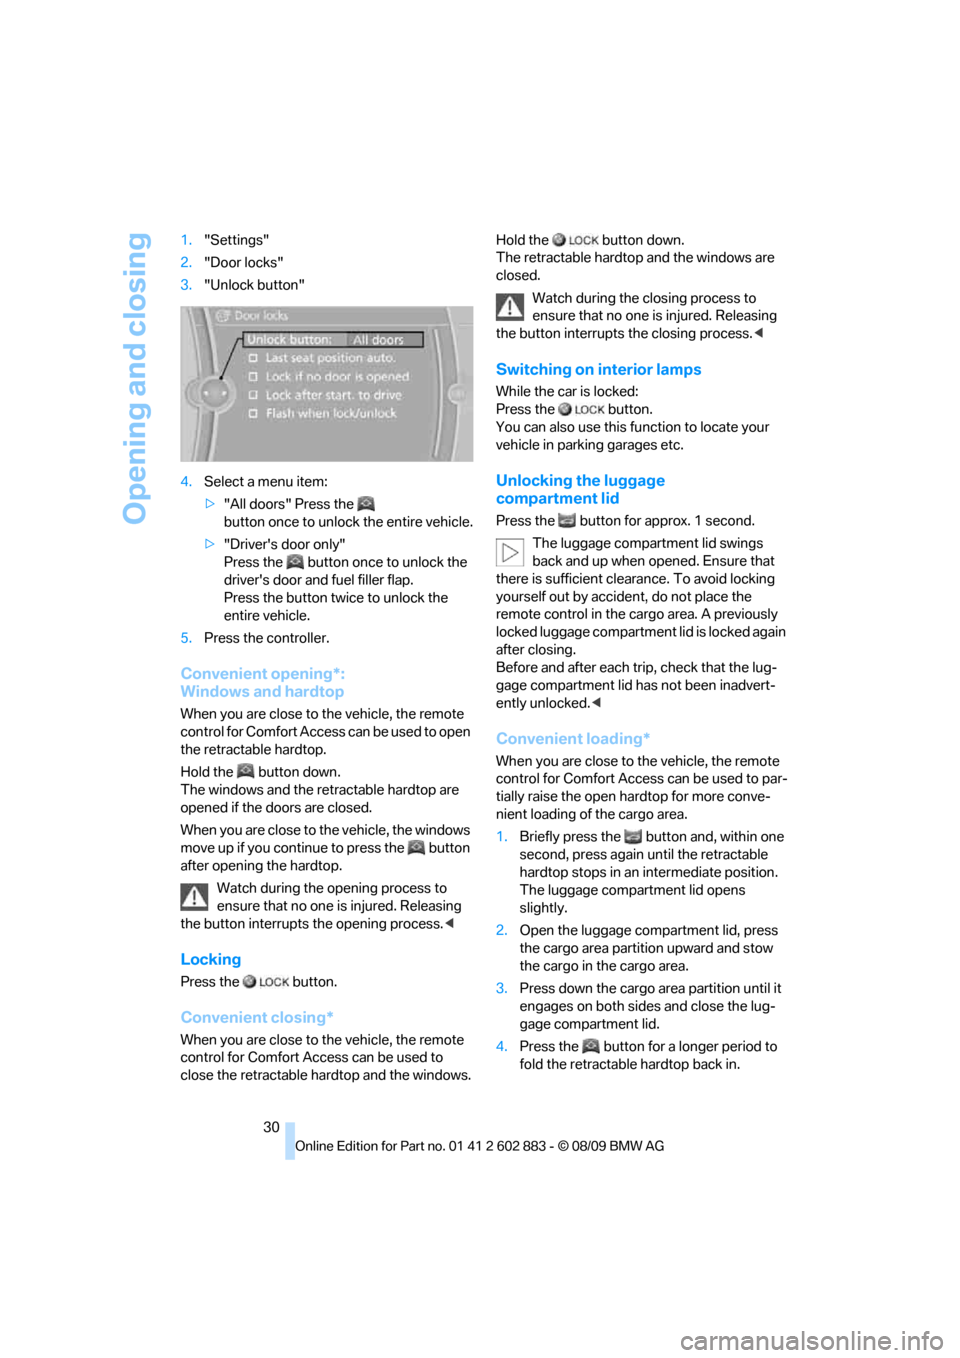
30 1."Settings"
2."Door locks"
3."Unlock button"
4.Select a menu item:
>"All doors" Press the
button once to unlock the entire vehicle.
>"Driver's door only"
Press the button once to unlock the
driver's door and fuel filler flap.
Press the button twice to unlock the
entire vehicle.
5.Press the controller.
Convenient opening*:
Windows and hardtop
When you are close to the vehicle, the remote
control for Comfort Access can be used to open
the retractable hardtop.
Hold the button down.
The windows and the retractable hardtop are
opened if the doors are closed.
When you are close to the vehicle, the windows
move up if you continue to press the button
after opening the hardtop.
Watch during the opening process to
ensure that no one is injured. Releasing
the button interrupts the opening process.<
Locking
Press the button.
Convenient closing*
When you are close to the vehicle, the remote
control for Comfort Access can be used to
close the retractable hardtop and the windows.Hold the button down.
The retractable hardtop and the windows are
closed.
Watch during the closing process to
ensure that no one is injured. Releasing
the button interrupts the closing process.<
Switching on interior lamps
While the car is locked:
Press the button.
You can also use this function to locate your
vehicle in parking garages etc.
Unlocking the luggage
compartment lid
Press the button for approx. 1 second.
The luggage compartment lid swings
back and up when opened. Ensure that
there is sufficient clearance. To avoid locking
yourself out by accident, do not place the
remote control in the cargo area. A previously
locked luggage compartment lid is locked again
after closing.
Before and after each trip, check that the lug-
gage compartment lid has not been inadvert-
ently unlocked.<
Convenient loading*
When you are close to the vehicle, the remote
control for Comfort Access can be used to par-
tially raise the open hardtop for more conve-
nient loading of the cargo area.
1.Briefly press the button and, within one
second, press again until the retractable
hardtop stops in an intermediate position.
The luggage compartment lid opens
slightly.
2.Open the luggage compartment lid, press
the cargo area partition upward and stow
the cargo in the cargo area.
3.Press down the cargo area partition until it
engages on both sides and close the lug-
gage compartment lid.
4.Press the button for a longer period to
fold the retractable hardtop back in.
Page 36 of 254
Opening and closing
34
Switching off an alarm
>Unlock the car with the remote control, refer
to page29.
>Insert the remote control all the way into the
ignition lock.
Indicator lamp displays
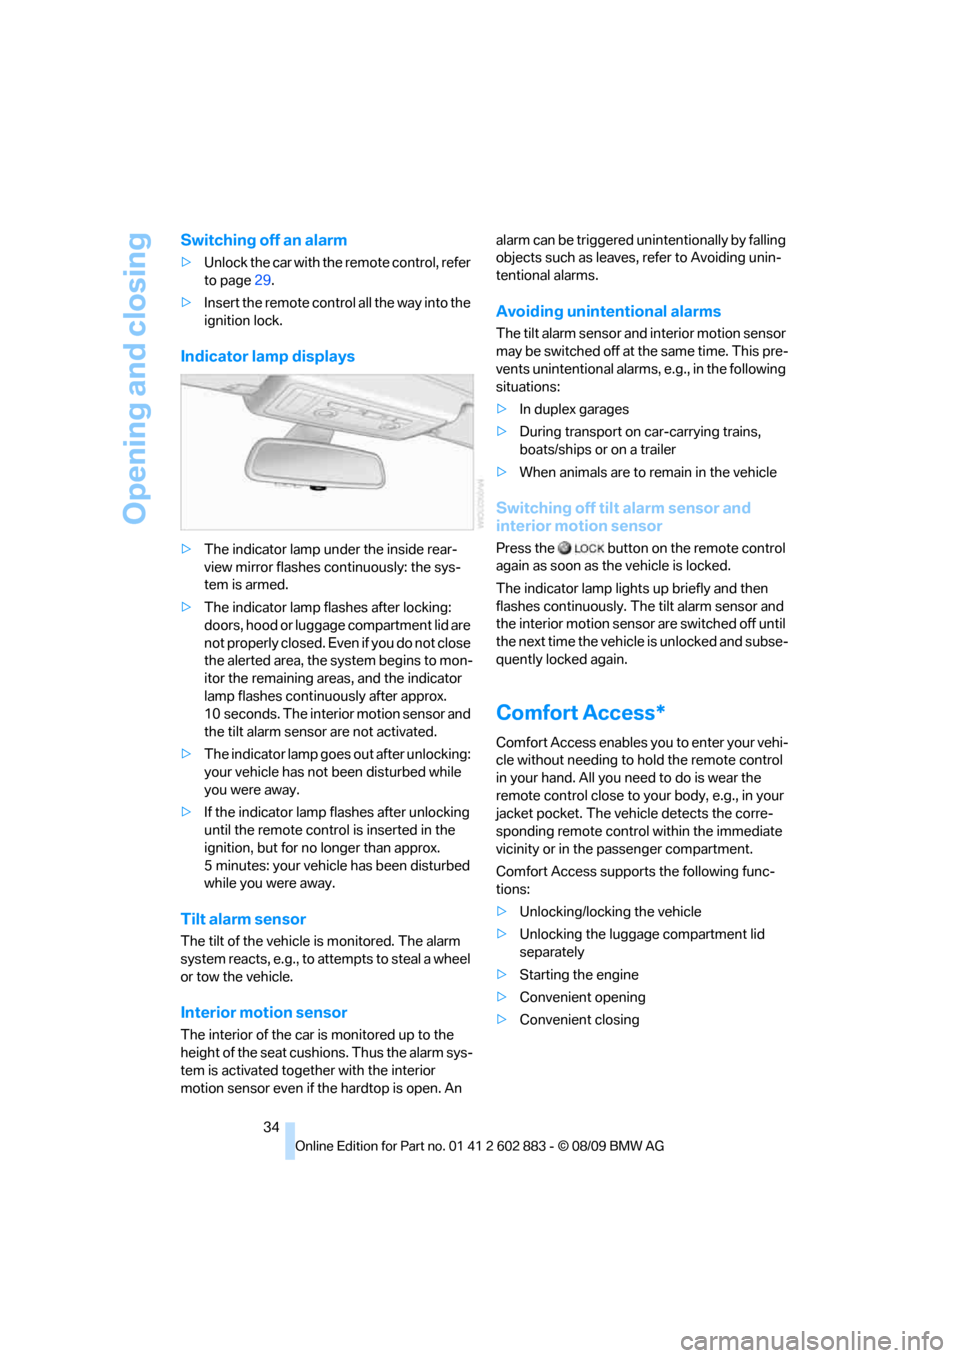
>The indicator lamp under the inside rear-
view mirror flashes continuously: the sys-
tem is armed.
>The indicator lamp flashes after locking:
doors, hood or luggage compartment lid are
not properly closed. Even if you do not close
the alerted area, the system begins to mon-
itor the remaining areas, and the indicator
lamp flashes continuously after approx.
10 seconds. The interior motion sensor and
the tilt alarm sensor are not activated.
>The indicator lamp goes out after unlocking:
your vehicle has not been disturbed while
you were away.
>If the indicator lamp flashes after unlocking
until the remote control is inserted in the
ignition, but for no longer than approx.
5 minutes: your vehicle has been disturbed
while you were away.
Tilt alarm sensor
The tilt of the vehicle is monitored. The alarm
system reacts, e.g., to attempts to steal a wheel
or tow the vehicle.
Interior motion sensor
The interior of the car is monitored up to the
height of the seat cushions. Thus the alarm sys-
tem is activated together with the interior
motion sensor even if the hardtop is open. An alarm can be triggered unintentionally by falling
objects such as leaves, refer to Avoiding unin-
tentional alarms.
Avoiding unintentional alarms
The tilt alarm sensor and interior motion sensor
may be switched off at the same time. This pre-
vents unintentional alarms, e.g., in the following
situations:
>In duplex garages
>During transport on car-carrying trains,
boats/ships or on a trailer
>When animals are to remain in the vehicle
Switching off tilt alarm sensor and
interior motion sensor
Press the button on the remote control
again as soon as the vehicle is locked.
The indicator lamp lights up briefly and then
flashes continuously. The tilt alarm sensor and
the interior motion sensor are switched off until
the next time the vehicle is unlocked and subse-
quently locked again.
Comfort Access*
Comfort Access enables you to enter your vehi-
cle without needing to hold the remote control
in your hand. All you need to do is wear the
remote control close to your body, e.g., in your
jacket pocket. The vehicle detects the corre-
sponding remote control within the immediate
vicinity or in the passenger compartment.
Comfort Access supports the following func-
tions:
>Unlocking/locking the vehicle
>Unlocking the luggage compartment lid
separately
>Starting the engine
>Convenient opening
>Convenient closing
Page 46 of 254
Adjustments
44
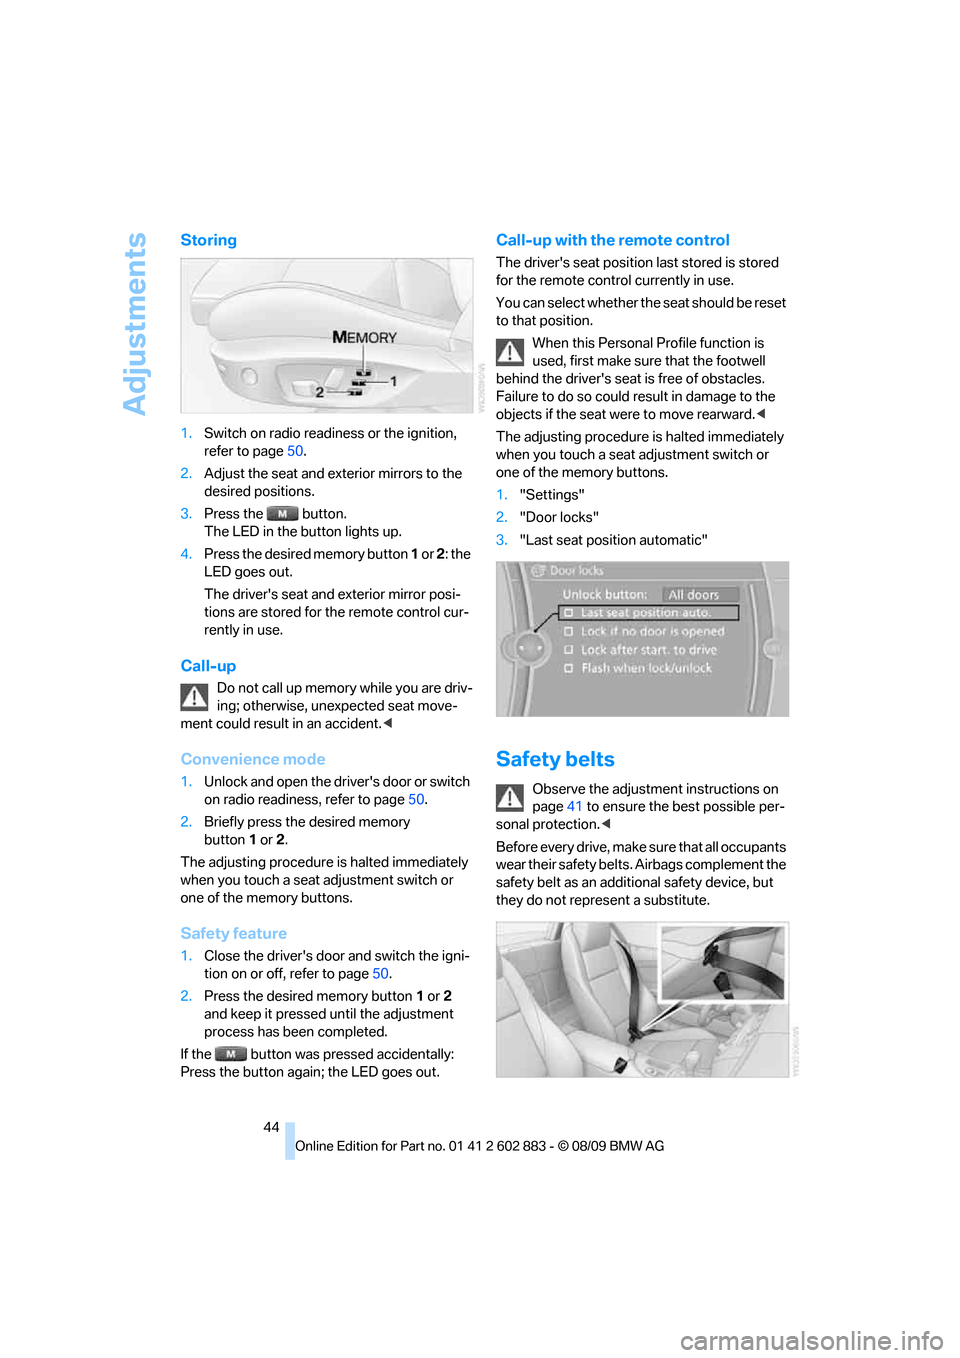
Storing
1.Switch on radio readiness or the ignition,
refer to page50.
2.Adjust the seat and exterior mirrors to the
desired positions.
3.Press the button.
The LED in the button lights up.
4.Press the desired memory button 1 or 2: the
LED goes out.
The driver's seat and exterior mirror posi-
tions are stored for the remote control cur-
rently in use.
Call-up
Do not call up memory while you are driv-
ing; otherwise, unexpected seat move-
ment could result in an accident.<
Convenience mode
1.Unlock and open the driver's door or switch
on radio readiness, refer to page50.
2.Briefly press the desired memory
button1or 2.
The adjusting procedure is halted immediately
when you touch a seat adjustment switch or
one of the memory buttons.
Safety feature
1.Close the driver's door and switch the igni-
tion on or off, refer to page50.
2.Press the desired memory button1 or2
and keep it pressed until the adjustment
process has been completed.
If the button was pressed accidentally:
Press the button again; the LED goes out.
Call-up with the remote control
The driver's seat position last stored is stored
for the remote control currently in use.
You can select whether the seat should be reset
to that position.
When this Personal Profile function is
used, first make sure that the footwell
behind the driver's seat is free of obstacles.
Failure to do so could result in damage to the
objects if the seat were to move rearward.<
The adjusting procedure is halted immediately
when you touch a seat adjustment switch or
one of the memory buttons.
1."Settings"
2."Door locks"
3."Last seat position automatic"
Safety belts
Observe the adjustment instructions on
page41 to ensure the best possible per-
sonal protection.<
Before every drive, make sure that all occupants
wear their safety belts. Airbags complement the
safety belt as an additional safety device, but
they do not represent a substitute.
Page 48 of 254
Adjustments
46
Automatic heating
Depending on the outside temperature, both
exterior mirrors are heated automatically when
the engine is running or the ignition is
switched on.
Passenger-side mirror tilt function –
automatic curb monitor*
Activating
1.Push the switch to the position for the
driver's side mirror, arrow 1.
2.Engage reverse gear or move the selector
lever to position R.
The glass of the mirror on the passenger
side tilts slightly down. This allows the
driver to see the area immediately adjacent
to the vehicle, e.g., a curb, when backing
into a parking space.
Deactivating
Push the switch to the position for the passen-
ger-side mirror, arrow 2.
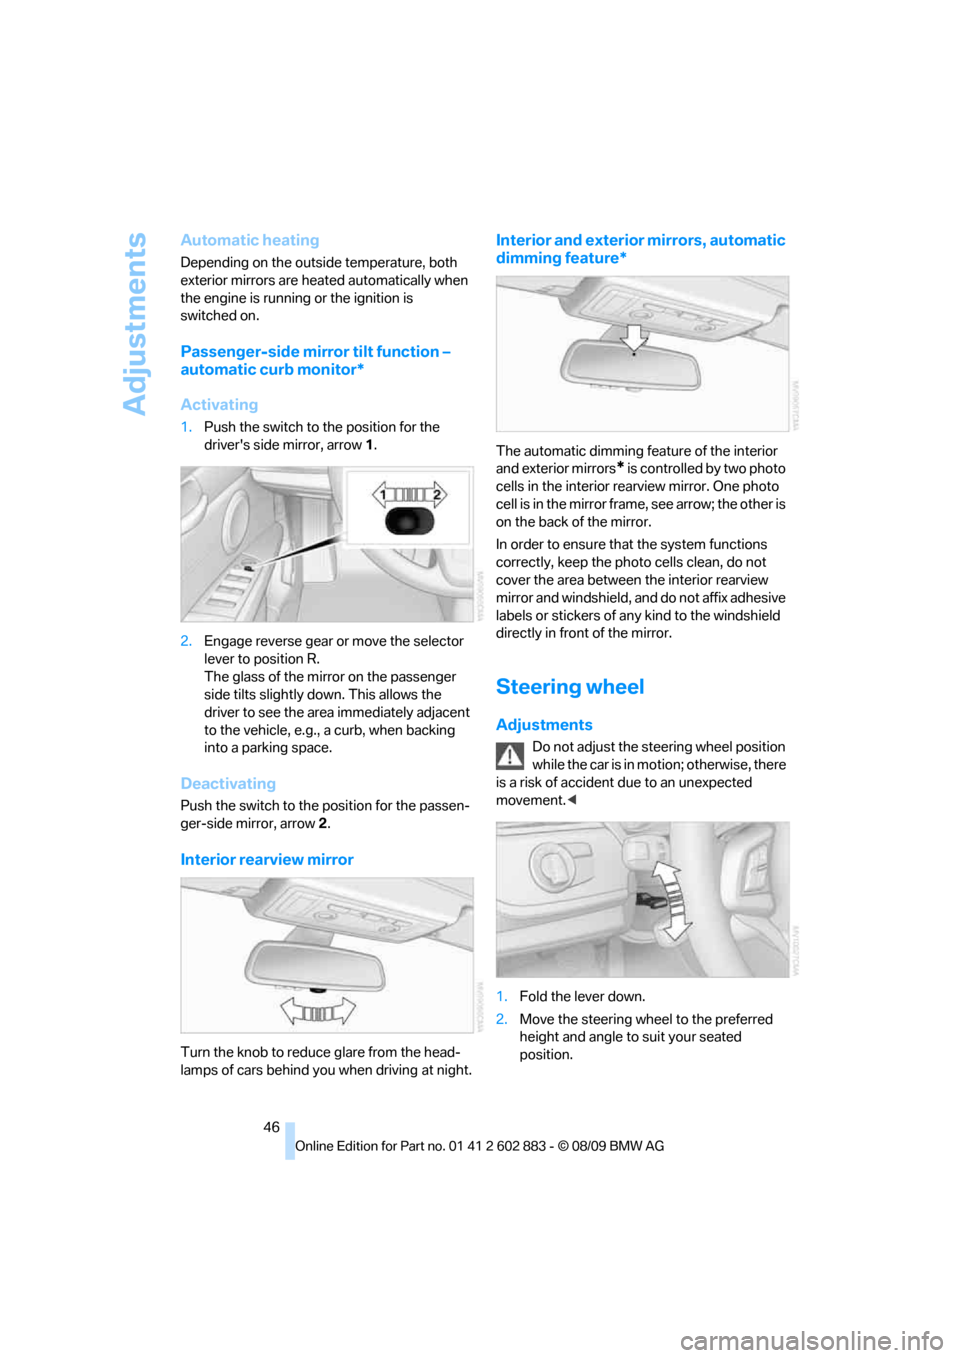
Interior rearview mirror
Turn the knob to reduce glare from the head-
lamps of cars behind you when driving
at night.
Interior and exterior mirrors, automatic
dimming feature*
The automatic dimming feature of the interior
and exterior mirrors
* is controlled by two photo
cells in the interior rearview mirror. One photo
cell is in the mirror frame, see arrow; the other is
on the back of the mirror.
In order to ensure that the system functions
correctly, keep the photo cells clean, do not
cover the area between the interior rearview
mirror and windshield, and do not affix adhesive
labels or stickers of any kind to the windshield
directly in front of the mirror.
Steering wheel
Adjustments
Do not adjust the steering wheel position
while the car is in motion; otherwise, there
is a risk of accident due to an unexpected
movement.<
1.Fold the lever down.
2.Move the steering wheel to the preferred
height and angle to suit your seated
position.
Page 71 of 254
Controls
69Reference
At a glance
Driving tips
Communications
Navigation
Entertainment
Mobility
Service requirements
The remaining driving distance and the date of
the next scheduled service are displayed briefly
immediately after you start the engine or switch
on the ignition.
The extent of service work required can
be read out from the remote control by
your BMW Service Advisor.<
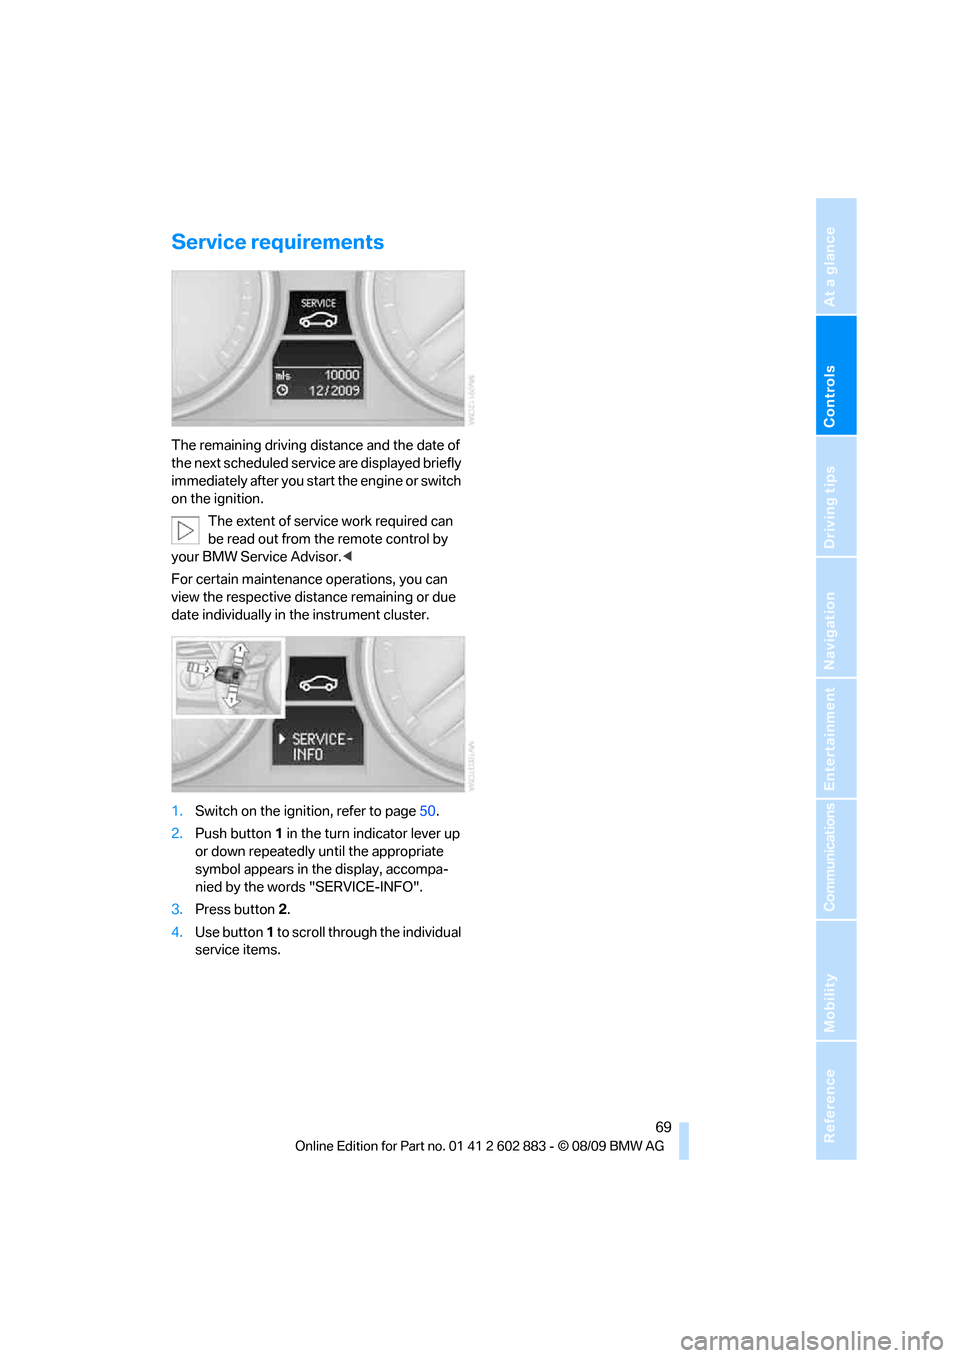
For certain maintenance operations, you can
view the respective distance remaining or due
date individually in the instrument cluster.
1.Switch on the ignition, refer to page50.
2.Push button 1 in the turn indicator lever up
or down repeatedly until the appropriate
symbol appears in the display, accompa-
nied by the words "SERVICE-INFO".
3.Press button 2.
4.Use button 1 to scroll through the individual
service items.
Page 96 of 254
Climate
94
Air conditioning system
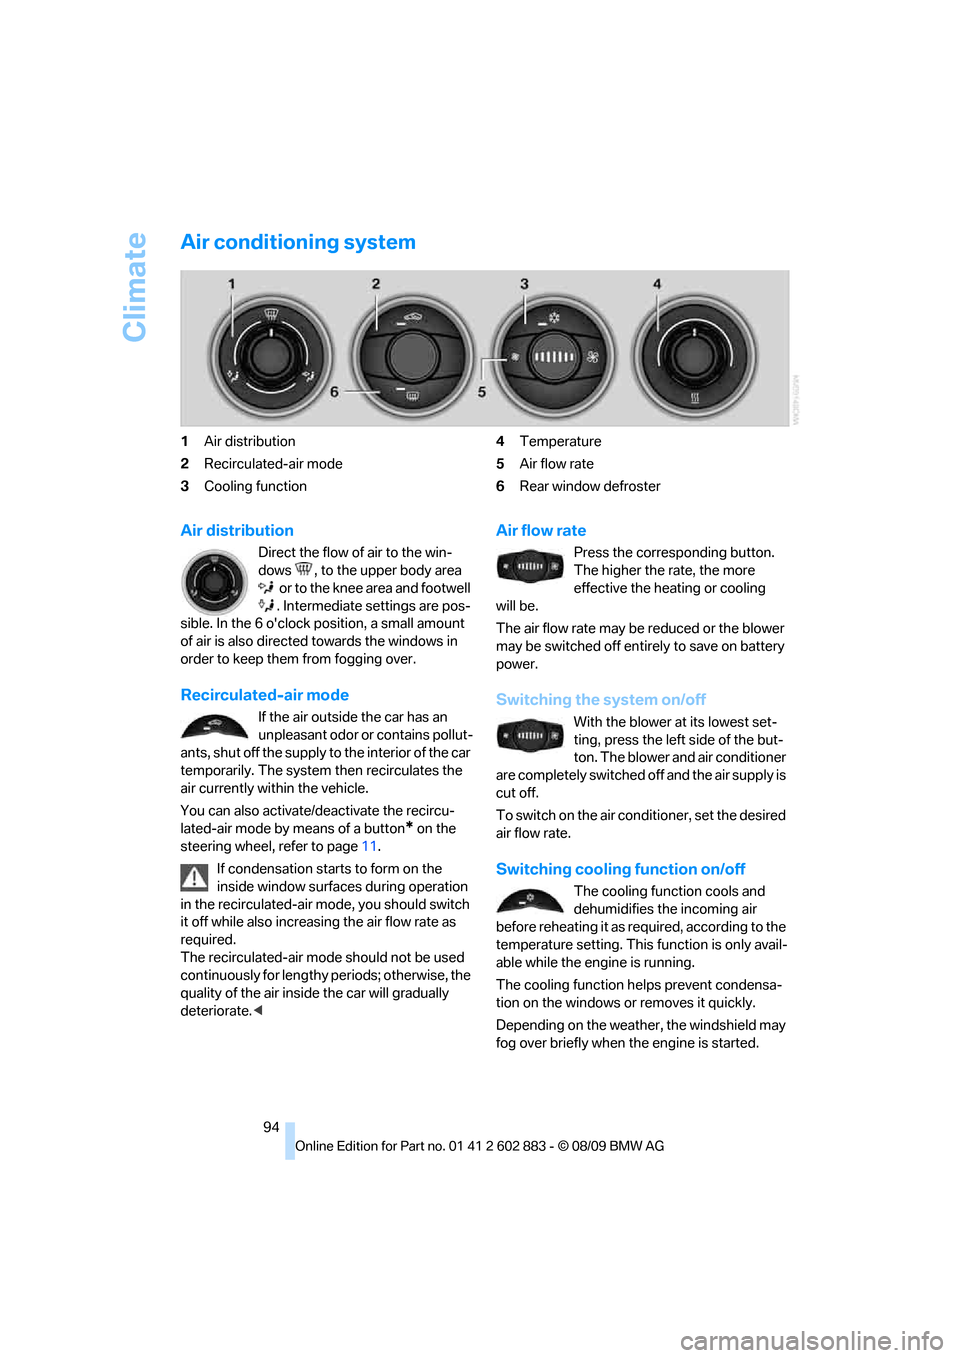
1Air distribution
2Recirculated-air mode
3Cooling function4Temperature
5Air flow rate
6Rear window defroster
Air distribution
Direct the flow of air to the win-
dows , to the upper body area
o r to the kne e a rea and fo otwe ll
. Intermediate settings are pos-
sible. In the 6 o'clock position, a small amount
of air is also directed towards the windows in
order to keep them from fogging over.
Recirculated-air mode
If the air outside the car has an
unpleasant odor or contains pollut-
ants, shut off the supply to the interior of the car
temporarily. The system then recirculates the
air currently within the vehicle.
You can also activate/deactivate the recircu-
lated-air mode by means of a button
* on the
steering wheel, refer to page11.
If condensation starts to form on the
inside window surfaces during operation
in the recirculated-air mode, you should switch
it off while also increasing the air flow rate as
required.
The recirculated-air mode should not be used
continuously for lengthy periods; otherwise, the
quality of the air inside the car will gradually
deteriorate.<
Air flow rate
Press the corresponding button.
The higher the rate, the more
effective the heating or cooling
will be.
The air flow rate may be reduced or the blower
may be switched off entirely to save on battery
power.
Switching the system on/off
With the blower at its lowest set-
ting, press the left side of the but-
ton. The blower and air conditioner
are completely switched off and the air supply is
cut off.
To switch on the air conditioner, set the desired
air flow rate.
Switching cooling function on/off
The cooling function cools and
dehumidifies the incoming air
before reheating it as required, according to the
temperature setting. This function is only avail-
able while the engine is running.
The cooling function helps prevent condensa-
tion on the windows or removes it quickly.
Depending on the weather, the windshield may
fog over briefly when the engine is started.
Page 102 of 254
Practical interior accessories
100
Practical interior accessories
Integrated universal remote
control*
The concept
The integrated universal remote control can
replace as many as three hand-held transmit-
ters for various remote-controlled devices,
such as garage doors and gates or lighting sys-
tems. The integrated universal remote control
registers and stores signals from the original
hand-held transmitters.
The signal of an original hand-held transmitter
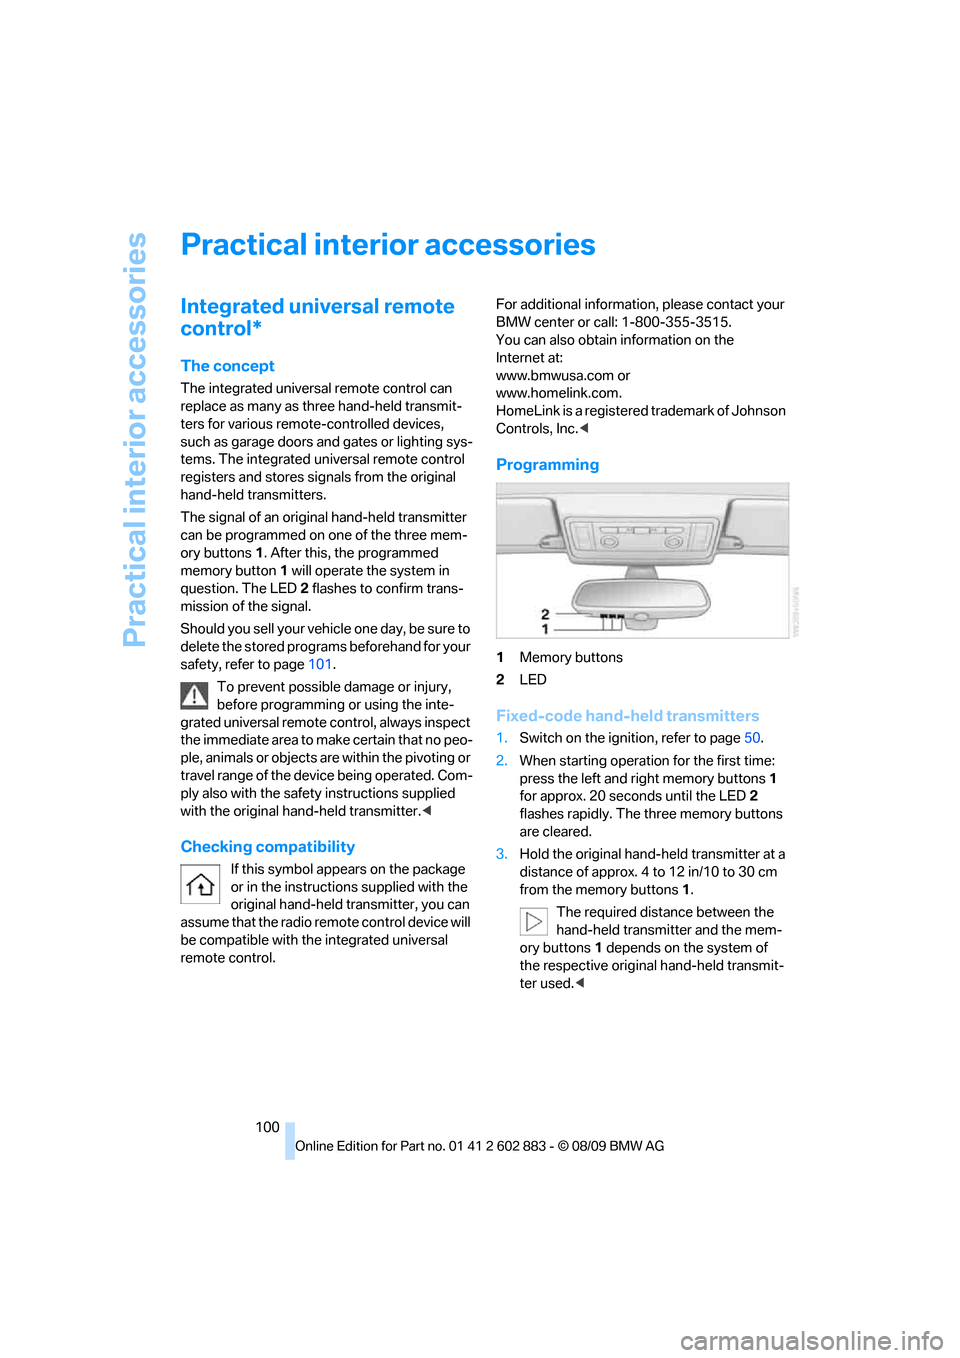
can be programmed on one of the three mem-
ory buttons1. After this, the programmed
memory button1 will operate the system in
question. The LED2 flashes to confirm trans-
mission of the signal.
Should you sell your vehicle one day, be sure to
delete the stored programs beforehand for your
safety, refer to page101.
To prevent possible damage or injury,
before programming or using the inte-
grated universal remote control, always inspect
the immediate area to make certain that no peo-
ple, animals or objects are within the pivoting or
travel range of the device being operated. Com-
ply also with the safety instructions supplied
with the original hand-held transmitter.<
Checking compatibility
If this symbol appears on the package
or in the instructions supplied with the
original hand-held transmitter, you can
assume that the radio remote control device will
be compatible with the integrated universal
remote control.For additional information, please contact your
BMW center or call: 1-800-355-3515.
You can also obtain information on the
Internet at:
www.bmwusa.com or
www.homelink.com.
HomeLink is a registered trademark of Johnson
Controls, Inc.<
Programming
1Memory buttons
2LED
Fixed-code hand-held transmitters
1.Switch on the ignition, refer to page50.
2.When starting operation for the first time:
press the left and right memory buttons1
for approx. 20 seconds until the LED2
flashes rapidly. The three memory buttons
are cleared.
3.Hold the original hand-held transmitter at a
distance of approx. 4 to 12 in/10 to 30 cm
from the memory buttons1.
The required distance between the
hand-held transmitter and the mem-
ory buttons1 depends on the system of
the respective original hand-held transmit-
ter used.<