sat nav BMW Z4 SDRIVE35I ROADSTER 2010 Owners Manual
[x] Cancel search | Manufacturer: BMW, Model Year: 2010, Model line: Z4 SDRIVE35I ROADSTER, Model: BMW Z4 SDRIVE35I ROADSTER 2010Pages: 254, PDF Size: 8.04 MB
Page 5 of 254
Reference
At a glance
Controls
Driving tips
Communications
Navigation
Entertainment
Mobility
Contents
The fastest way to find information on a partic-
ular topic or item is by using the index, refer
to page236.
Using this Owner's Manual
4Notes
6Reporting safety defects
At a glance
10Cockpit
16iDrive
22Letters and numbers
23Voice activation system
Controls
28Opening and closing
41Adjustments
48Transporting children safely
50Driving
64Controls overview
77Technology for driving comfort and
safety
88Lamps
93Climate
100Practical interior accessories
Driving tips
112Things to remember when driving
Navigation
120Navigation system
121Destination entry
130Destination guidance
137What to do if…
Entertainment
140On/off and tone
143Radio
146Satellite radio
151CD/DVD player and CD/DVD changer
158Music collection
163External devices
Communications
170Telephone
182Contacts
184BMW Assist
Mobility
192Refueling
194Wheels and tires
201Under the hood
206Maintenance
208Care
212Replacing components
218Giving and receiving assistance
Reference
226Technical data
229Short commands for the voice activation
system
236Everything from A to Z
Page 97 of 254
Controls
95Reference
At a glance
Driving tips
Communications
Navigation
Entertainment
Mobility
Rear window defroster
The defroster switches off auto-
matically after a certain time or
when the hardtop is opened.
Temperature
To increase the temperature, turn
the rotary switch clockwise
towards red.
For a lower temperature, turn the
rotary switch counterclockwise towards blue.
Defrosting windows and removing
condensation
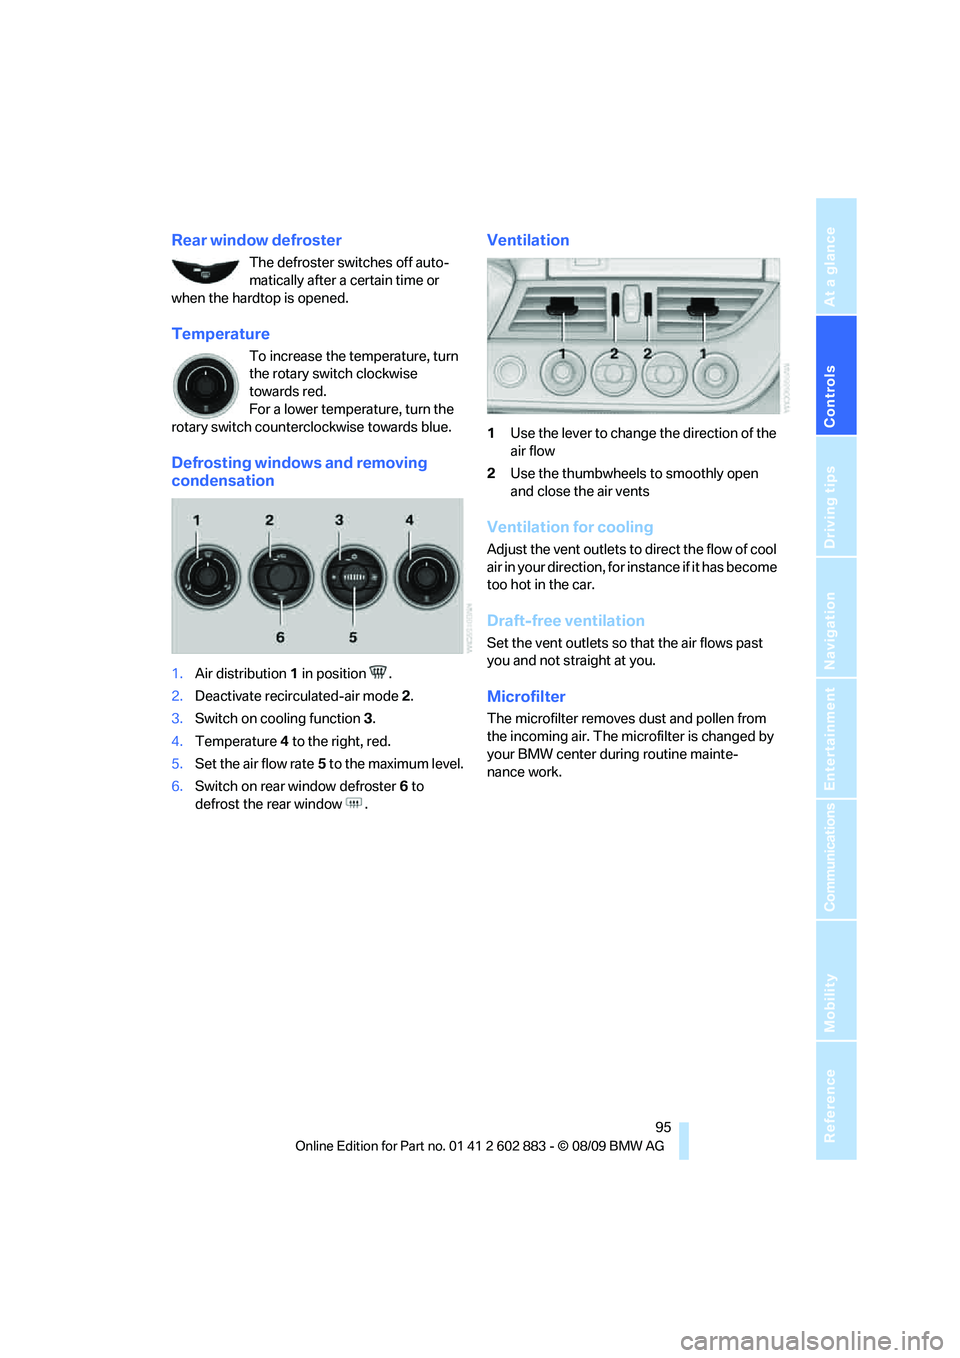
1.Air distribution1 in position .
2.Deactivate recirculated-air mode 2.
3.Switch on cooling function 3.
4.Temperature4 to the right, red.
5.Set the air flow rate5 to the maximum level.
6.Switch on rear window defroster 6 to
defrost the rear window .
Ventilation
1Use the lever to change the direction of the
air flow
2Use the thumbwheels to smoothly open
and close the air vents
Ventilation for cooling
Adjust the vent outlets to direct the flow of cool
air in your direction, for instance if it has become
too hot in the car.
Draft-free ventilation
Set the vent outlets so that the air flows past
you and not straight at you.
Microfilter
The microfilter removes dust and pollen from
the incoming air. The microfilter is changed by
your BMW center during routine mainte-
nance work.
Page 99 of 254
Controls
97Reference
At a glance
Driving tips
Communications
Navigation
Entertainment
Mobility
Switching the cooling function on
and off
The cooling function cools and
dehumidifies the incoming air
before reheating it as required,
according to the temperature set-
ting. This function is only available while the
engine is running.
The cooling function helps prevent condensa-
tion on the windows or removes it quickly.
Depending on the weather, the windshield may
fog over briefly when the engine is started.
The cooling function is automatically switched
on along with the AUTO program.
Maximum cooling
Maximum cooling is achieved most
quickly at outside temperatures
above 327/06 and when the
engine is running.
The automatic climate control goes into recir-
culated-air mode at the lowest temperature. Air
flows at maximum rate from the vents for the
upper body area. You should therefore open the
vents for maximum cooling.
AUTO program
The AUTO program automatically adjusts the
air distribution to the windshield and side win-
dows, towards the upper body area, and into the
footwell and knee area.
The air flow rate and air distribution, in addition
to your temperature specifications, will be
adapted to outside influences as a result of sea-
sonal changes, e.g., sunlight or window con-
densation.
The cooling is switched on automatically with
the AUTO program.
Switching on/off
Press the button.
Manual air distribution and air flow rate are acti-
vated when the AUTO program is deactivated.
AUTO program climate level
The climate levels can be used to vary the inten-
sity when the AUTO program is switched on.
For example, air flow is adjusted automatically
to optimize climate control.
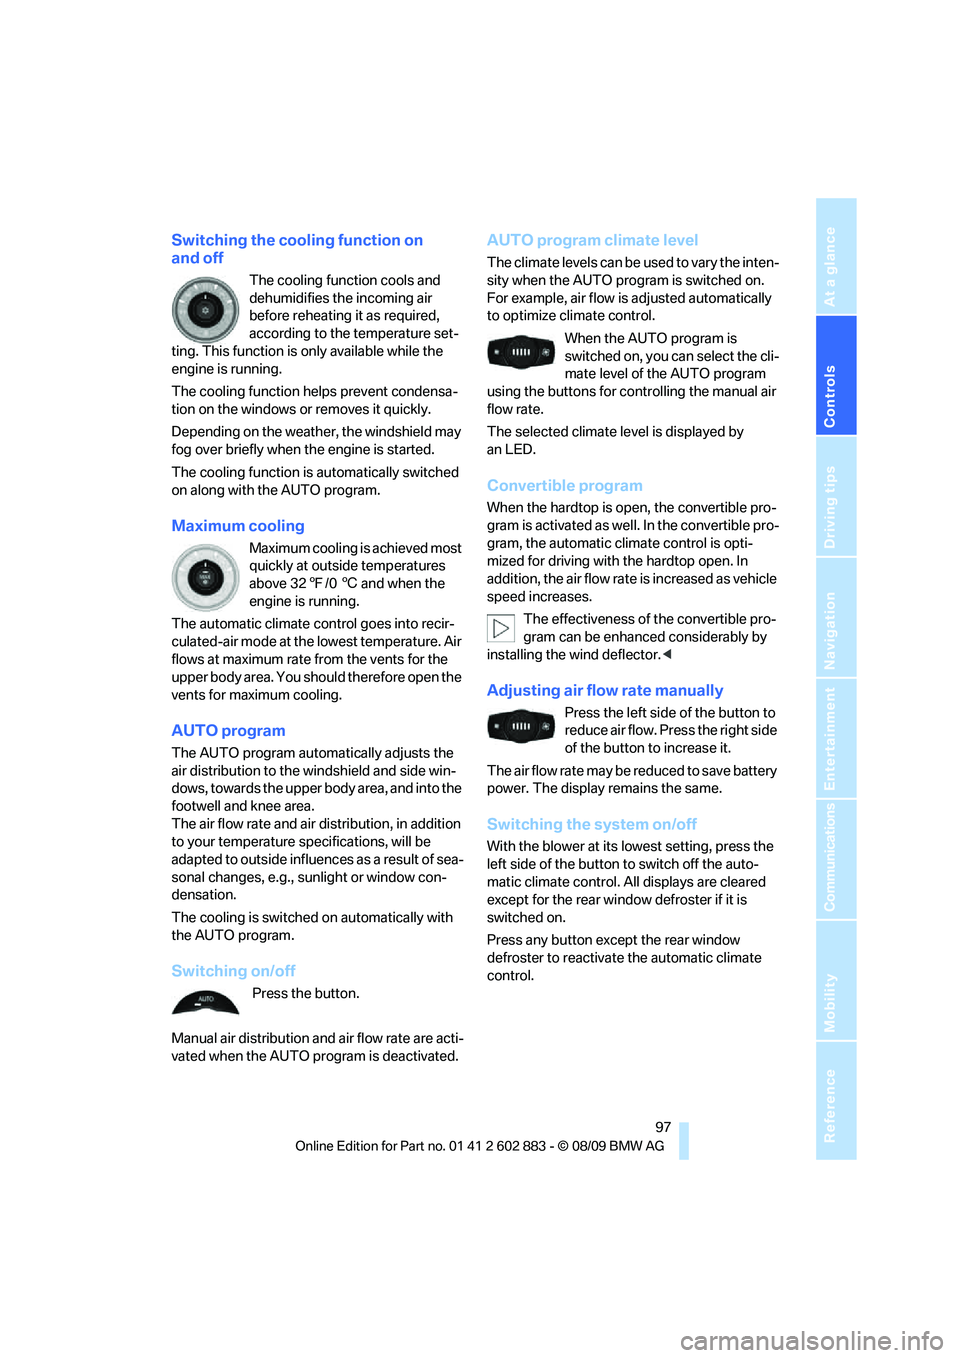
When the AUTO program is
switched on, you can select the cli-
mate level of the AUTO program
using the buttons for controlling the manual air
flow rate.
The selected climate level is displayed by
an LED.
Convertible program
When the hardtop is open, the convertible pro-
gram is activated as well. In the convertible pro-
gram, the automatic climate control is opti-
mized for driving with the hardtop open. In
addition, the air flow rate is increased as vehicle
speed increases.
The effectiveness of the convertible pro-
gram can be enhanced considerably by
installing the wind deflector.<
Adjusting air flow rate manually
Press the left side of the button to
reduce air flow. Press the right side
of the button to increase it.
The air flow rate may be reduced to save battery
power. The display remains the same.
Switching the system on/off
With the blower at its lowest setting, press the
left side of the button to switch off the auto-
matic climate control. All displays are cleared
except for the rear window defroster if it is
switched on.
Press any button except the rear window
defroster to reactivate the automatic climate
control.
Page 122 of 254
Navigation system
120
Navigation system
General information
With the help of satellites, the navigation sys-
tem is able to ascertain the precise position of
the vehicle and guide you reliably to any desti-
nation you enter.
Enter data only when the vehicle is sta-
tionary, and always give priority to the
applicable traffic regulations in the event of any
contradiction between traffic and road condi-
tions and the instructions issued by the naviga-
tion system. Failure to take to this precaution
can place you in violation of the law and put
vehicle occupants and other road users in
danger.<
Navigation data
General information
Navigation data are stored in the vehicle and
can be updated.
Navigation data and authorization codes are
available from your BMW center.
Depending on the data volume, a data update
may take several hours.
>The data are updated while you are driving.
>The update is resumed automatically when
a trip is continued after an interruption.
>All functions are available during the trip.
>The data are stored in the vehicle.
>After the update, the system restarts.
>The medium that holds the navigation data
can be removed after the update is com-
pleted.
Updating the navigation data
Inserting the navigation DVD
1.Insert the navigation DVD into the DVD
player with the labeled side facing up.
2.Follow the instructions on the Control
Display.
3.Enter the authorization code of the naviga-
tion DVD and change the DVD if needed.
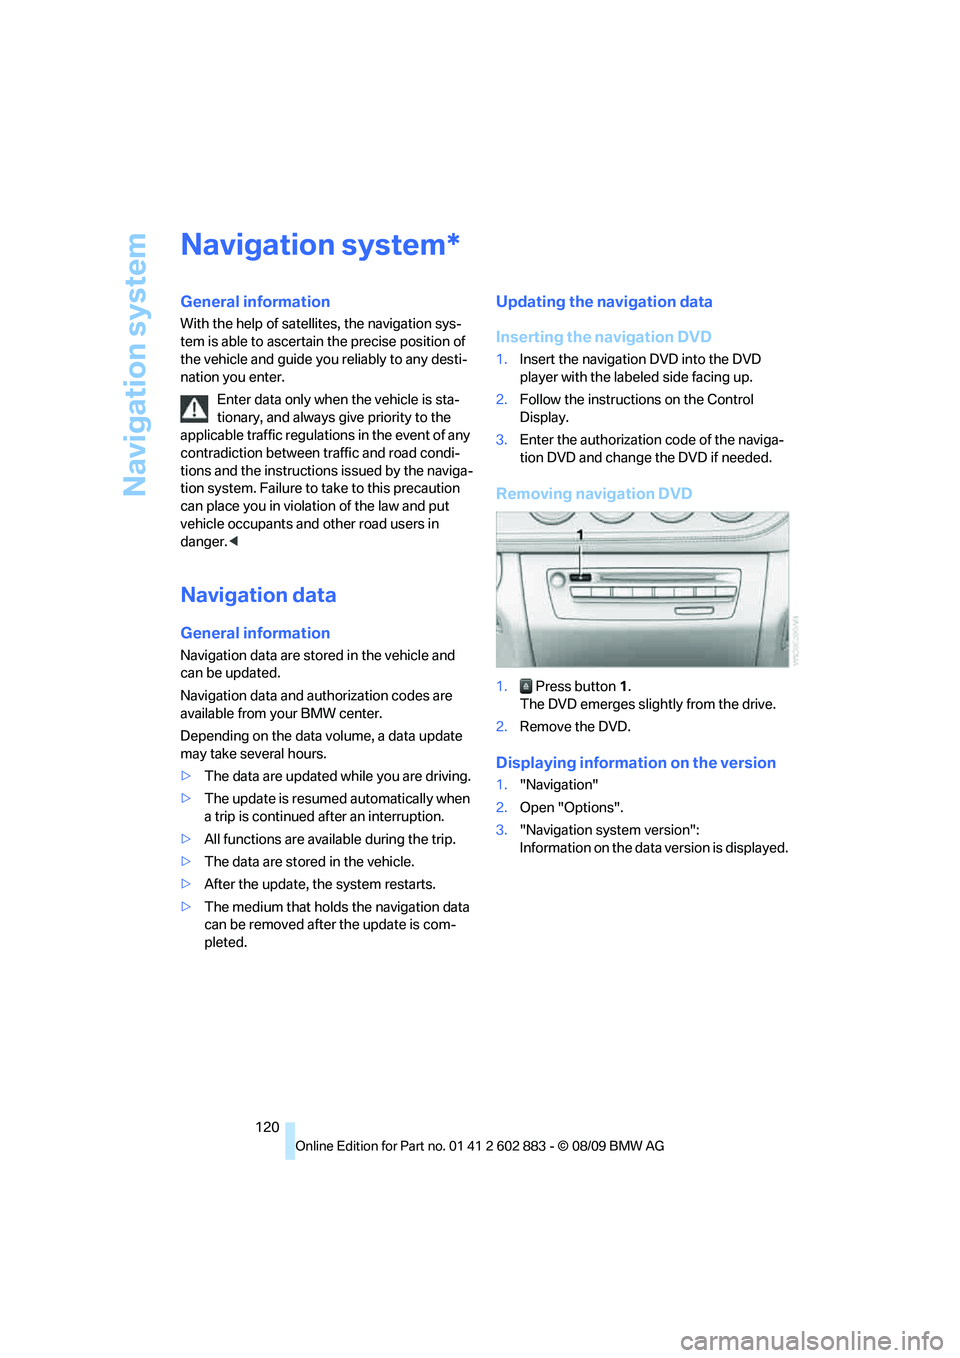
Removing navigation DVD
1. Press button 1.
The DVD emerges slightly from the drive.
2.Remove the DVD.
Displaying information on the version
1."Navigation"
2.Open "Options".
3."Navigation system version":
Information on the data version is displayed.
*
Page 135 of 254
Navigation
Driving tips
133Reference
At a glance
Controls
Communications
Entertainment
Mobility
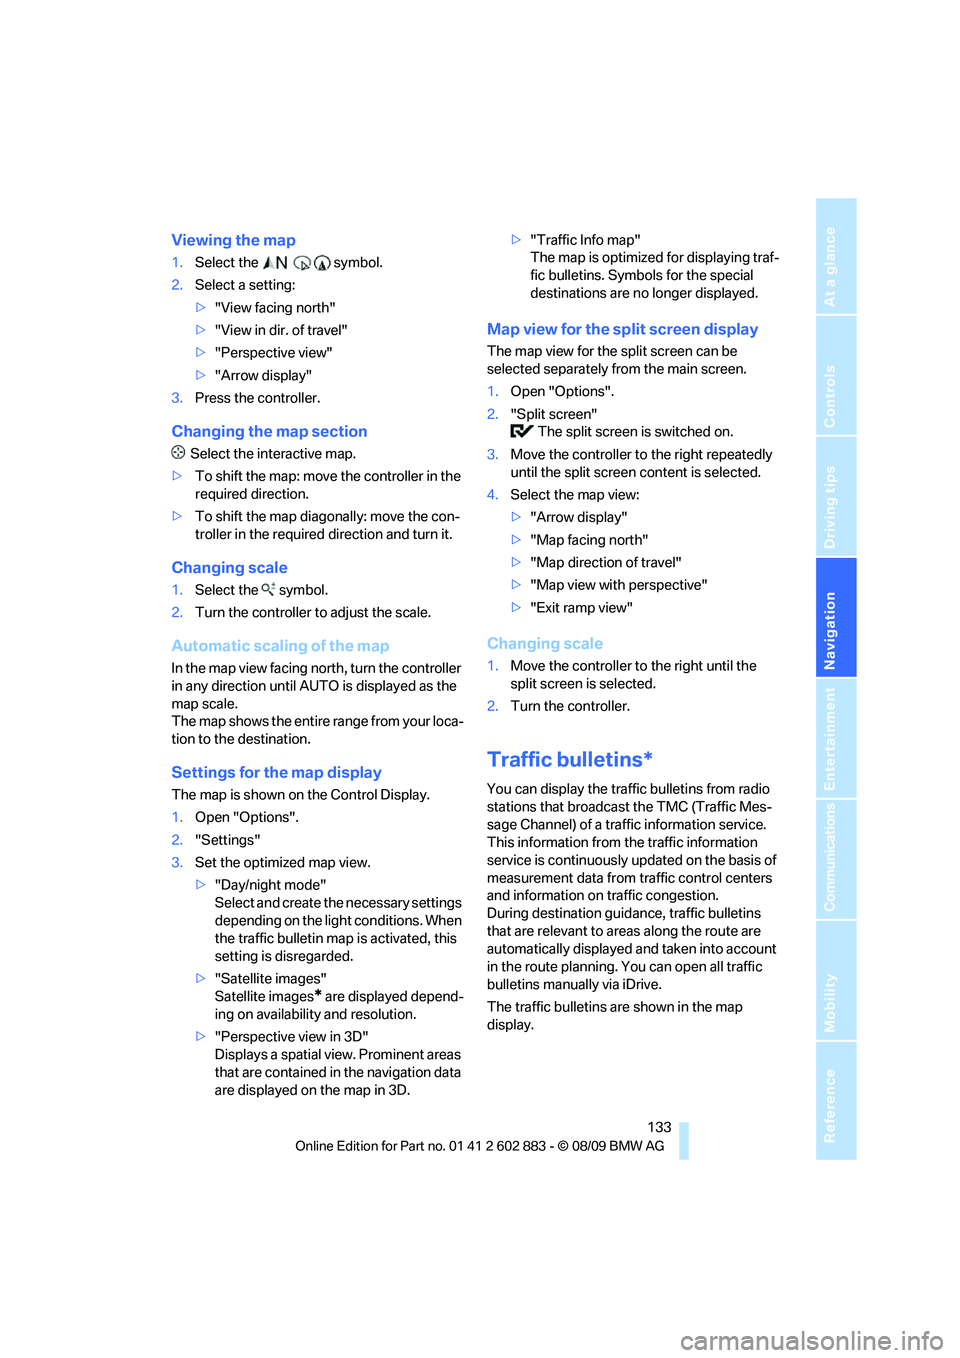
Viewing the map
1.Select the symbol.
2.Select a setting:
>"View facing north"
>"View in dir. of travel"
>"Perspective view"
>"Arrow display"
3.Press the controller.
Changing the map section
Select the interactive map.
>To shift the map: move the controller in the
required direction.
>To shift the map diagonally: move the con-
troller in the required direction and turn it.
Changing scale
1.Select the symbol.
2.Turn the controller to adjust the scale.
Automatic scaling of the map
In the map view facing north, turn the controller
in any direction until AUTO is displayed as the
map scale.
The map shows the entire range from your loca-
tion to the destination.
Settings for the map display
The map is shown on the Control Display.
1.Open "Options".
2."Settings"
3.Set the optimized map view.
>"Day/night mode"
Select and create the necessary settings
depending on the light conditions. When
the traffic bulletin map is activated, this
setting is disregarded.
>"Satellite images"
Satellite images
* are displayed depend-
ing on availability and resolution.
>"Perspective view in 3D"
Displays a spatial view. Prominent areas
that are contained in the navigation data
are displayed on the map in 3D.>"Traffic Info map"
The map is optimized for displaying traf-
fic bulletins. Symbols for the special
destinations are no longer displayed.
Map view for the split screen display
The map view for the split screen can be
selected separately from the main screen.
1.Open "Options".
2."Split screen"
The split screen is switched on.
3.Move the controller to the right repeatedly
until the split screen content is selected.
4.Select the map view:
>"Arrow display"
>"Map facing north"
>"Map direction of travel"
>"Map view with perspective"
>"Exit ramp view"
Changing scale
1.Move the controller to the right until the
split screen is selected.
2.Turn the controller.
Traffic bulletins*
You can display the traffic bulletins from radio
stations that broadcast the TMC (Traffic Mes-
sage Channel) of a traffic information service.
This information from the traffic information
service is continuously updated on the basis of
measurement data from traffic control centers
and information on traffic congestion.
During destination guidance, traffic bulletins
that are relevant to areas along the route are
automatically displayed and taken into account
in the route planning. You can open all traffic
bulletins manually via iDrive.
The traffic bulletins are shown in the map
display.
Page 145 of 254
Navigation
Entertainment
Driving tips
143Reference
At a glance
Controls
Communications
Mobility
Radio
Your radio is designed for reception of the fol-
lowing stations:
>FM and AM
>HD Radio
*
>Satellite radio*
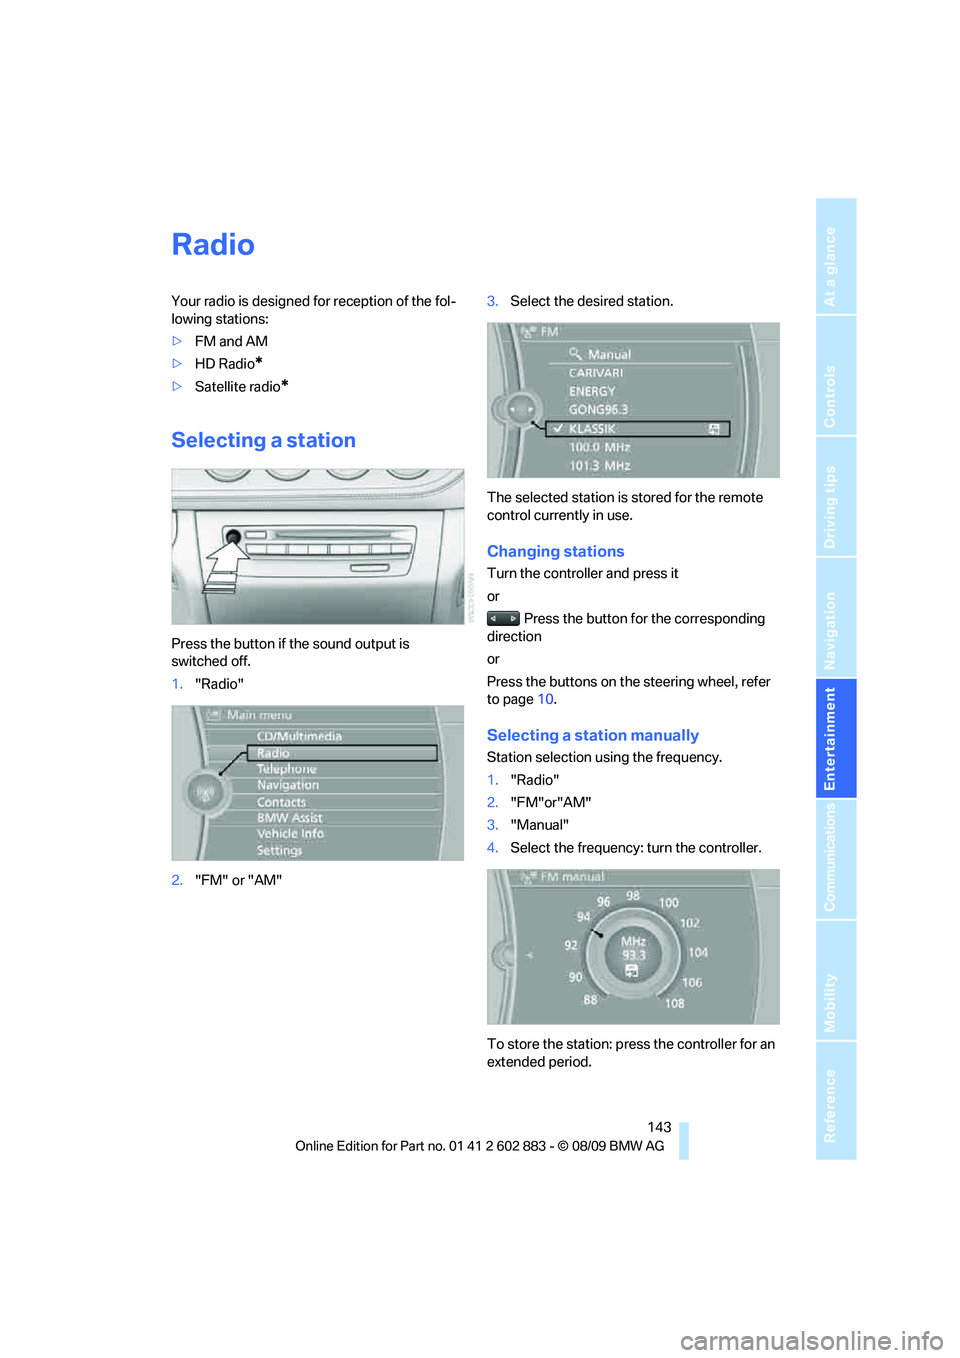
Selecting a station
Press the button if the sound output is
switched off.
1."Radio"
2."FM" or "AM"3.Select the desired station.
The selected station is stored for the remote
control currently in use.
Changing stations
Turn the controller and press it
or
Press the button for the corresponding
direction
or
Press the buttons on the steering wheel, refer
to page10.
Selecting a station manually
Station selection using the frequency.
1."Radio"
2."FM"or"AM"
3."Manual"
4.Select the frequency: turn the controller.
To store the station: press the controller for an
extended period.
Page 148 of 254
Satellite radio
146
Satellite radio
General information
The channels are offered in predefined pack-
ages. The packages must be enabled by tele-
phone.
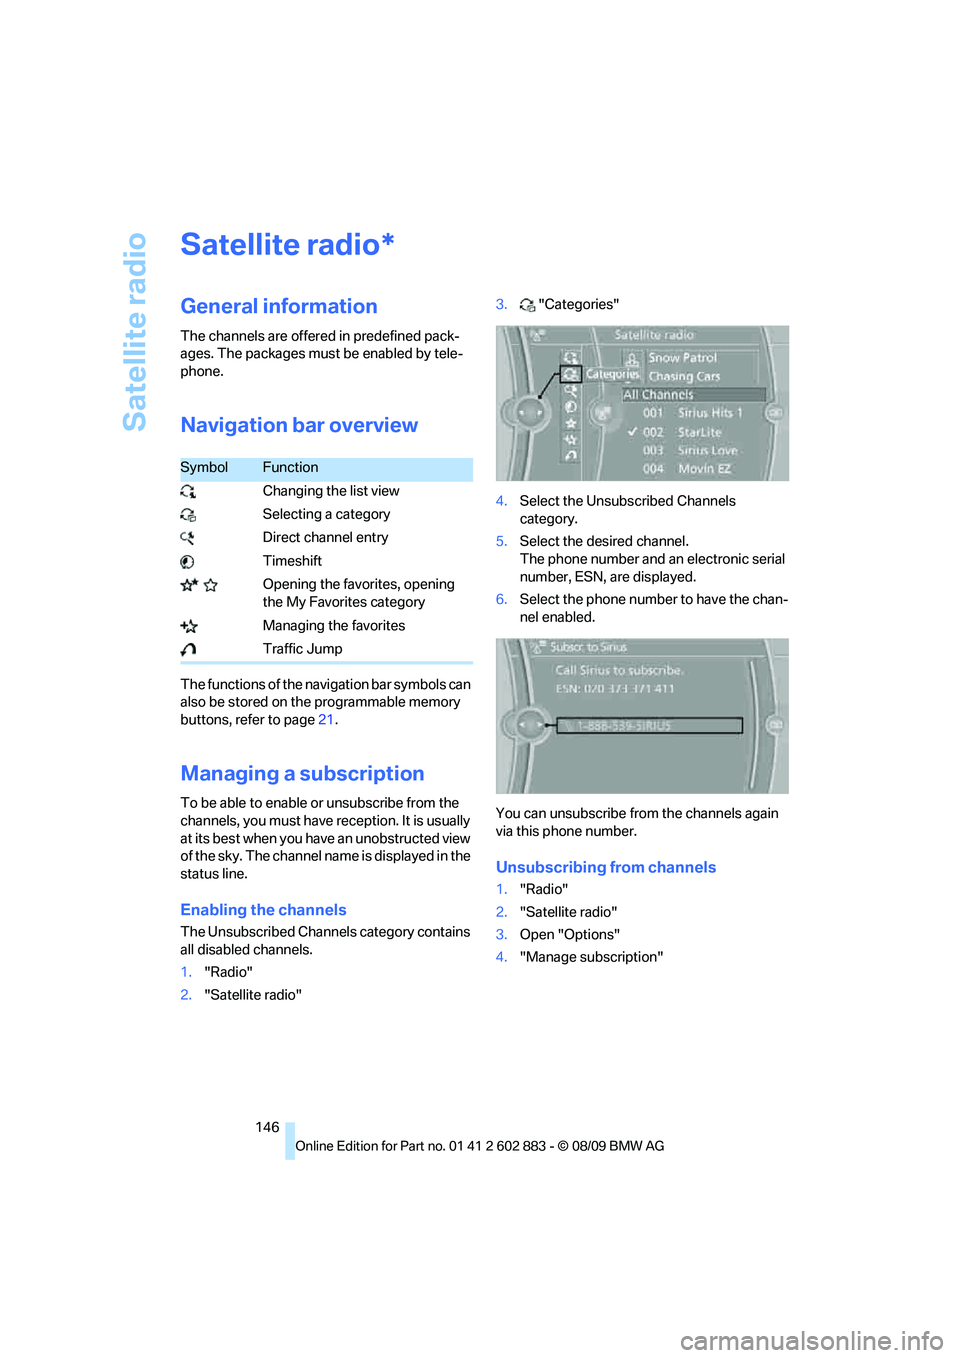
Navigation bar overview
The functions of the navigation bar symbols can
also be stored on the programmable memory
buttons, refer to page21.
Managing a subscription
To be able to enable or unsubscribe from the
channels, you must have reception. It is usually
at its best when you have an unobstructed view
of the sky. The channel name is displayed in the
status line.
Enabling the channels
The Unsubscribed Channels category contains
all disabled channels.
1."Radio"
2."Satellite radio"3."Categories"
4.Select the Unsubscribed Channels
category.
5.Select the desired channel.
The phone number and an electronic serial
number, ESN, are displayed.
6.Select the phone number to have the chan-
nel enabled.
You can unsubscribe from the channels again
via this phone number.
Unsubscribing from channels
1."Radio"
2."Satellite radio"
3.Open "Options"
4."Manage subscription"
*
SymbolFunction
Changing the list view
Selecting a category
Direct channel entry
Timeshift
Opening the favorites, opening
the My Favorites category
Managing the favorites
Traffic Jump
Page 149 of 254
Navigation
Entertainment
Driving tips
147Reference
At a glance
Controls
Communications
Mobility
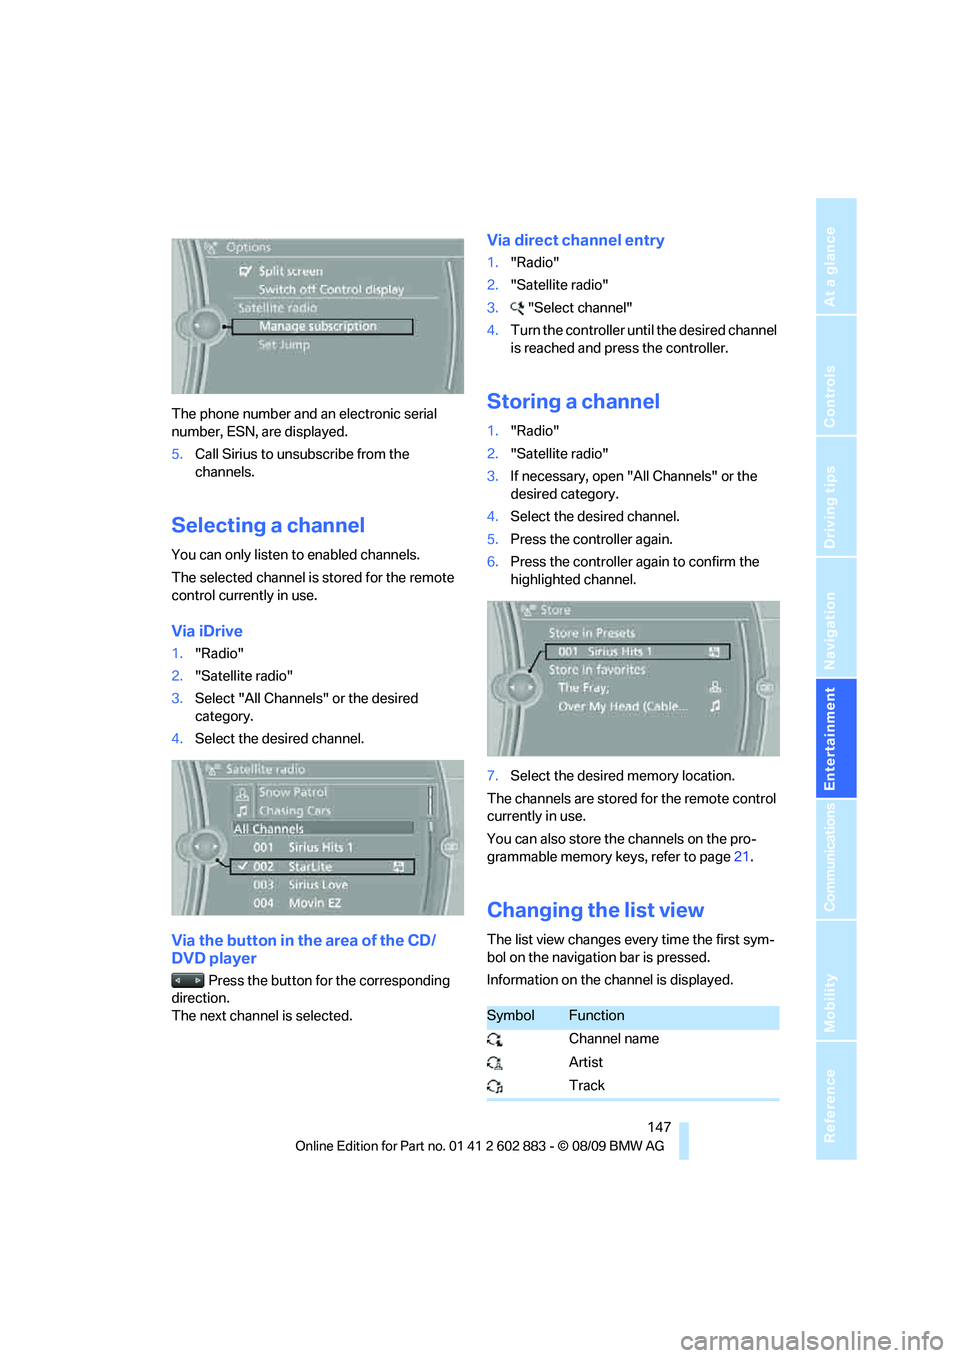
The phone number and an electronic serial
number, ESN, are displayed.
5.Call Sirius to unsubscribe from the
channels.
Selecting a channel
You can only listen to enabled channels.
The selected channel is stored for the remote
control currently in use.
Via iDrive
1."Radio"
2."Satellite radio"
3.Select "All Channels" or the desired
category.
4.Select the desired channel.
Via the button in the area of the CD/
DVD player
Press the button for the corresponding
direction.
The next channel is selected.
Via direct channel entry
1."Radio"
2."Satellite radio"
3."Select channel"
4.Turn the controller until the desired channel
is reached and press the controller.
Storing a channel
1."Radio"
2."Satellite radio"
3.If necessary, open "All Channels" or the
desired category.
4.Select the desired channel.
5.Press the controller again.
6.Press the controller again to confirm the
highlighted channel.
7.Select the desired memory location.
The channels are stored for the remote control
currently in use.
You can also store the channels on the pro-
grammable memory keys, refer to page21.
Changing the list view
The list view changes every time the first sym-
bol on the navigation bar is pressed.
Information on the channel is displayed.
SymbolFunction
Channel name
Artist
Track
Page 151 of 254
Navigation
Entertainment
Driving tips
149Reference
At a glance
Controls
Communications
Mobility
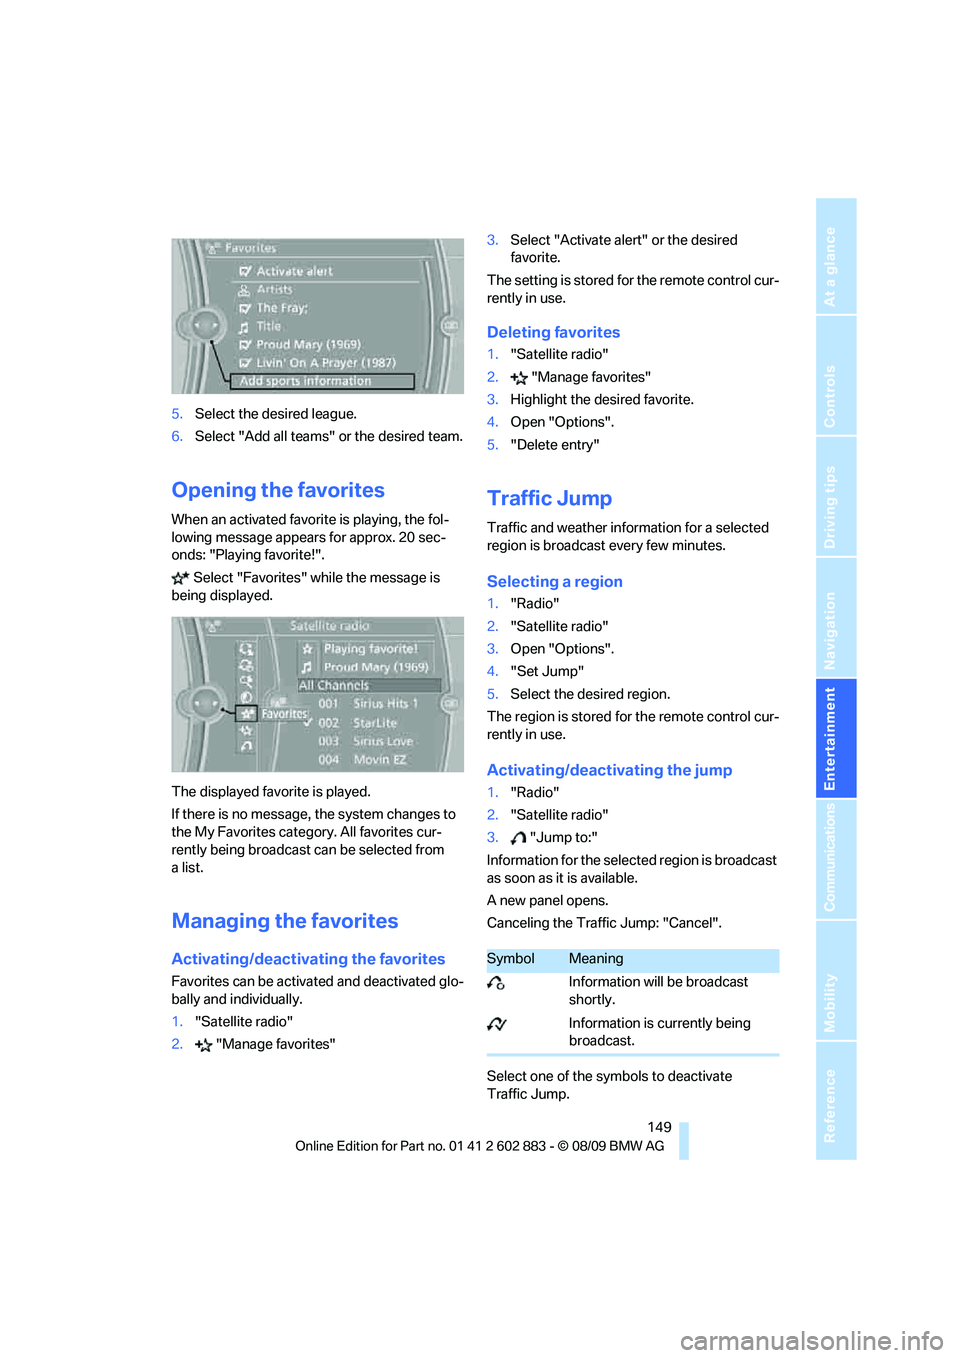
5.Select the desired league.
6.Select "Add all teams" or the desired team.
Opening the favorites
When an activated favorite is playing, the fol-
lowing message appears for approx. 20 sec-
onds: "Playing favorite!".
Select "Favorites" while the message is
being displayed.
The displayed favorite is played.
If there is no message, the system changes to
the My Favorites category. All favorites cur-
rently being broadcast can be selected from
a list.
Managing the favorites
Activating/deactivating the favorites
Favorites can be activated and deactivated glo-
bally and individually.
1."Satellite radio"
2."Manage favorites"3.Select "Activate alert" or the desired
favorite.
The setting is stored for the remote control cur-
rently in use.
Deleting favorites
1."Satellite radio"
2."Manage favorites"
3.Highlight the desired favorite.
4.Open "Options".
5."Delete entry"
Traffic Jump
Traffic and weather information for a selected
region is broadcast every few minutes.
Selecting a region
1."Radio"
2."Satellite radio"
3.Open "Options".
4."Set Jump"
5.Select the desired region.
The region is stored for the remote control cur-
rently in use.
Activating/deactivating the jump
1."Radio"
2."Satellite radio"
3."Jump to:"
Information for the selected region is broadcast
as soon as it is available.
A new panel opens.
Canceling the Traffic Jump: "Cancel".
Select one of the symbols to deactivate
Traffic Jump.
SymbolMeaning
Information will be broadcast
shortly.
Information is currently being
broadcast.
Page 175 of 254
173
Entertainment
Reference
At a glance
Controls
Driving tips Communications
Navigation
Mobility
Activating/deactivating the
Bluetooth link
The use of Bluetooth technology is not
permitted in all countries. Observe all
applicable local regulations. Temporarily deac-
tivate the Bluetooth link between the vehicle
and the mobile phone, if necessary.
If the Bluetooth link is deactivated, you can no
longer operate the mobile phone via the vehicle,
and other devices with a Bluetooth interface
can be used in combination with the mobile
phone, e.g., a laptop.<
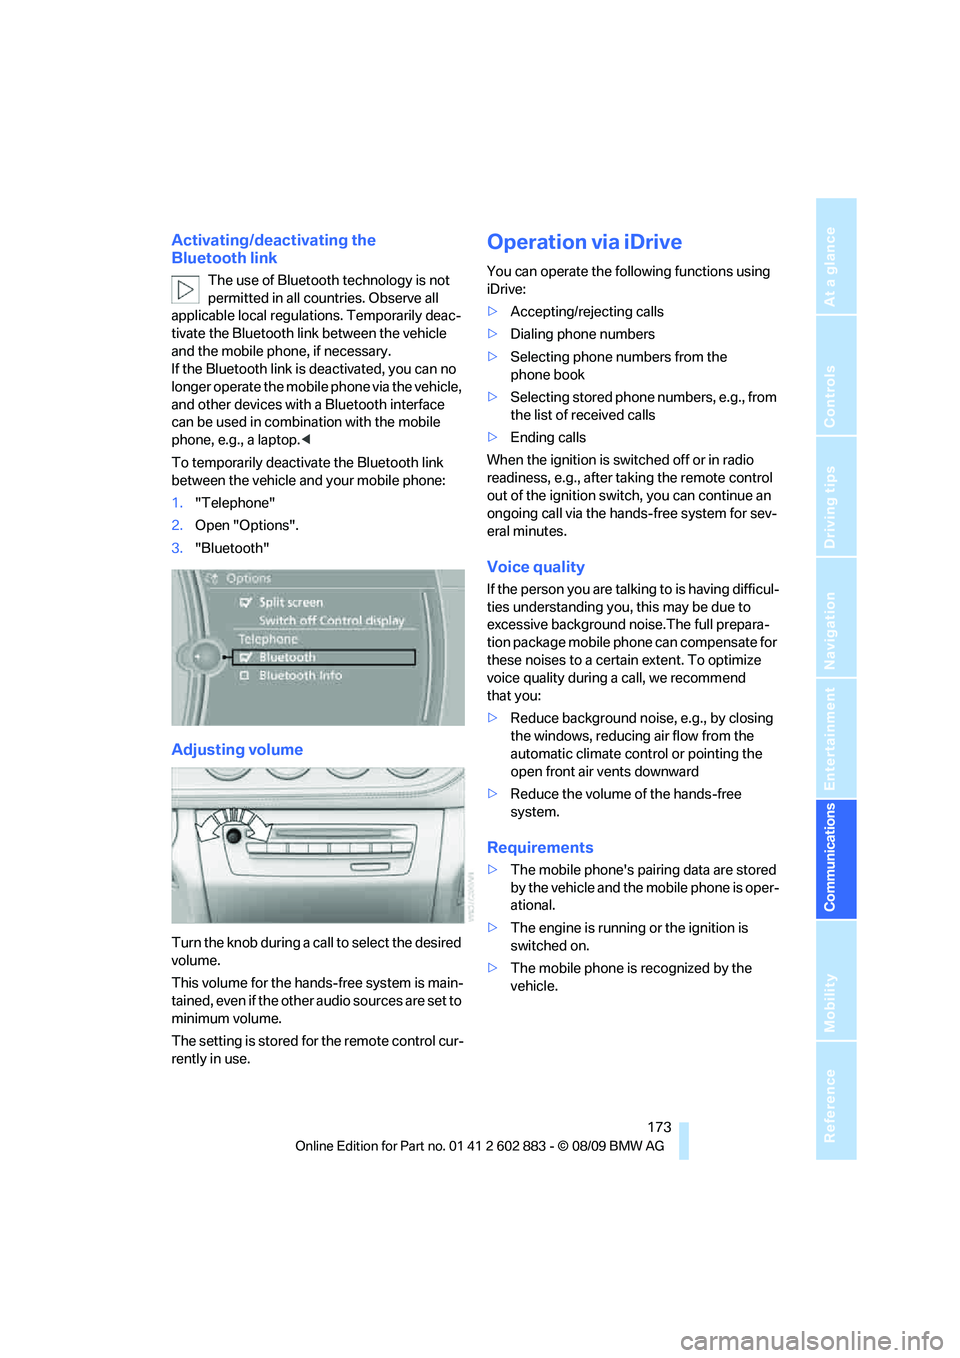
To temporarily deactivate the Bluetooth link
between the vehicle and your mobile phone:
1."Telephone"
2.Open "Options".
3."Bluetooth"
Adjusting volume
Turn the knob during a call to select the desired
volume.
This volume for the hands-free system is main-
tained, even if the other audio sources are set to
minimum volume.
The setting is stored for the remote control cur-
rently in use.
Operation via iDrive
You can operate the following functions using
iDrive:
>Accepting/rejecting calls
>Dialing phone numbers
>Selecting phone numbers from the
phone book
>Selecting stored phone numbers, e.g., from
the list of received calls
>Ending calls
When the ignition is switched off or in radio
readiness, e.g., after taking the remote control
out of the ignition switch, you can continue an
ongoing call via the hands-free system for sev-
eral minutes.
Voice quality
If the person you are talking to is having difficul-
ties understanding you, this may be due to
excessive background noise.The full prepara-
tion package mobile phone can compensate for
these noises to a certain extent. To optimize
voice quality during a call, we recommend
that you:
>Reduce background noise, e.g., by closing
the windows, reducing air flow from the
automatic climate control or pointing the
open front air vents downward
>Reduce the volume of the hands-free
system.
Requirements
>The mobile phone's pairing data are stored
by the vehicle and the mobile phone is oper-
ational.
>The engine is running or the ignition is
switched on.
>The mobile phone is recognized by the
vehicle.