tow BMW Z8 CONVERTIBLE 2002 Owners Manual
[x] Cancel search | Manufacturer: BMW, Model Year: 2002, Model line: Z8 CONVERTIBLE, Model: BMW Z8 CONVERTIBLE 2002Pages: 174, PDF Size: 2.37 MB
Page 12 of 174

Contents
Owner service procedures
Advanced technology
Technical data
Replacement procedures:
Onboard tool kit130
Windshield wiper blades130
Lamps and bulbs131
Changing a wheel137
Battery138
Fuses140
In case of electrical
malfunction:
Fuel filler door142
Luggage compartment lid,
storage compartment142
Passenger door143
Closing the convertible top143
Giving and receiving
assistance:
Jump-starting145
Towing the vehicle146Airbags150
Car radio reception151
Dynamic Stability Control
(DSC)152
Safety belt tensioner153
Interior rearview mirror with
automatic dimmer154
Xenon lamps155Engine data158
Dimensions159
Weights160
Capacities161
Electrical system162
Drive belts162
Page 38 of 174
38n
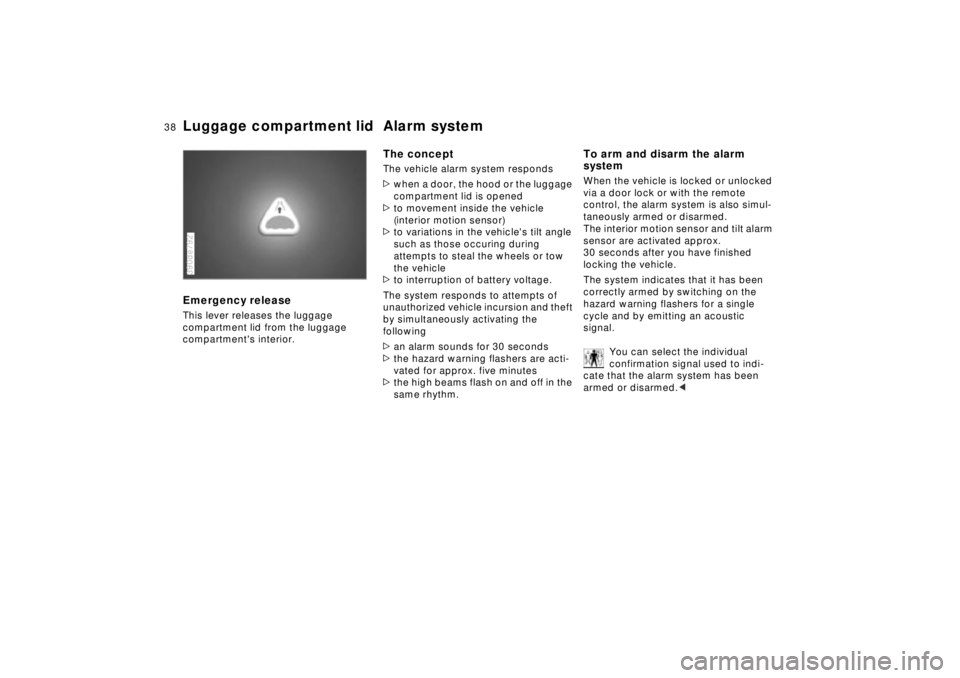
Luggage compartment lid Alarm systemEmergency release This lever releases the luggage
compartment lid from the luggage
compartment's interior.390de792
The conceptThe vehicle alarm system responds
>when a door, the hood or the luggage
compartment lid is opened
>to movement inside the vehicle
(interior motion sensor)
>to variations in the vehicle's tilt angle
such as those occuring during
attempts to steal the wheels or tow
the vehicle
>to interruption of battery voltage.
The system responds to attempts of
unauthorized vehicle incursion and theft
by simultaneously activating the
following
>an alarm sounds for 30 seconds
>the hazard warning flashers are acti-
vated for approx. five minutes
>the high beams flash on and off in the
same rhythm.
To arm and disarm the alarm
systemWhen the vehicle is locked or unlocked
via a door lock or with the remote
control, the alarm system is also simul-
taneously armed or disarmed.
The interior motion sensor and tilt alarm
sensor are activated approx.
30 seconds after you have finished
locking the vehicle.
The system indicates that it has been
correctly armed by switching on the
hazard warning flashers for a single
cycle and by emitting an acoustic
signal.
You can select the individual
confirmation signal used to indi-
cate that the alarm system has been
armed or disarmed.<
Page 43 of 174
43n
IndexDataTechnologyRepairsCar careControlsOverview
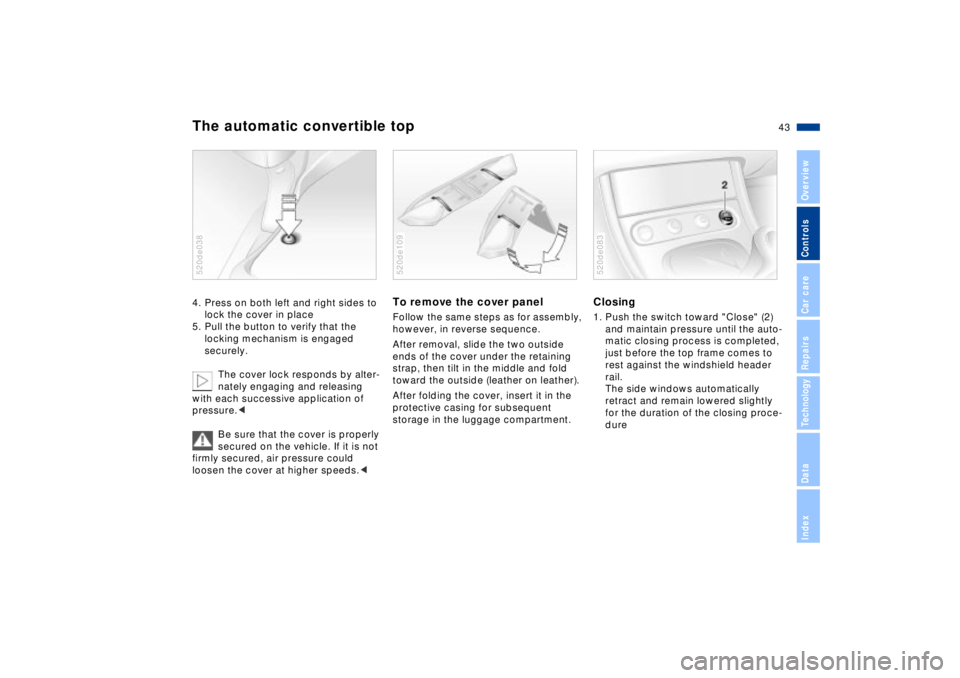
The automatic convertible top4. Press on both left and right sides to
lock the cover in place
5. Pull the button to verify that the
locking mechanism is engaged
securely.
The cover lock responds by alter-
nately engaging and releasing
with each successive application of
pressure.<
Be sure that the cover is properly
secured on the vehicle. If it is not
firmly secured, air pressure could
loosen the cover at higher speeds.<520de038
To remove the cover panelFollow the same steps as for assembly,
however, in reverse sequence.
After removal, slide the two outside
ends of the cover under the retaining
strap, then tilt in the middle and fold
toward the outside (leather on leather).
After folding the cover, insert it in the
protective casing for subsequent
storage in the luggage compartment.520de109
Closing1. Push the switch toward "Close" (2)
and maintain pressure until the auto-
matic closing process is completed,
just before the top frame comes to
rest against the windshield header
rail.
The side windows automatically
retract and remain lowered slightly
for the duration of the closing proce-
dure520de083
Page 53 of 174
53n
IndexDataTechnologyRepairsCar careControlsOverview
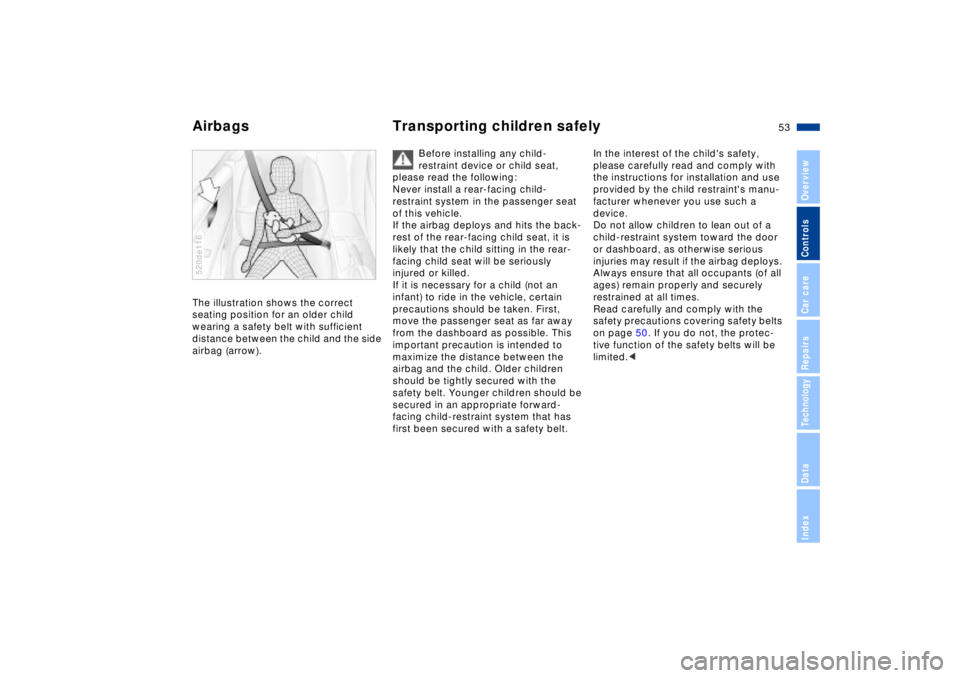
Airbags Transporting children safelyThe illustration shows the correct
seating position for an older child
wearing a safety belt with sufficient
distance between the child and the side
airbag (arrow).520de116
Before installing any child-
restraint device or child seat,
please read the following:
Never install a rear-facing child-
restraint system in the passenger seat
of this vehicle.
If the airbag deploys and hits the back-
rest of the rear-facing child seat, it is
likely that the child sitting in the rear-
facing child seat will be seriously
injured or killed.
If it is necessary for a child (not an
infant) to ride in the vehicle, certain
precautions should be taken. First,
move the passenger seat as far away
from the dashboard as possible. This
important precaution is intended to
maximize the distance between the
airbag and the child. Older children
should be tightly secured with the
safety belt. Younger children should be
secured in an appropriate forward-
facing child-restraint system that has
first been secured with a safety belt.
In the interest of the child's safety,
please carefully read and comply with
the instructions for installation and use
provided by the child restraint's manu-
facturer whenever you use such a
device.
Do not allow children to lean out of a
child-restraint system toward the door
or dashboard, as otherwise serious
injuries may result if the airbag deploys.
Always ensure that all occupants (of all
ages) remain properly and securely
restrained at all times.
Read carefully and comply with the
safety precautions covering safety belts
on page 50. If you do not, the protec-
tive function of the safety belts will be
limited.<
Page 55 of 174
55n
IndexDataTechnologyRepairsCar careControlsOverview
Your vehicle is equipped with an elec-
trically powered steering lock mecha-
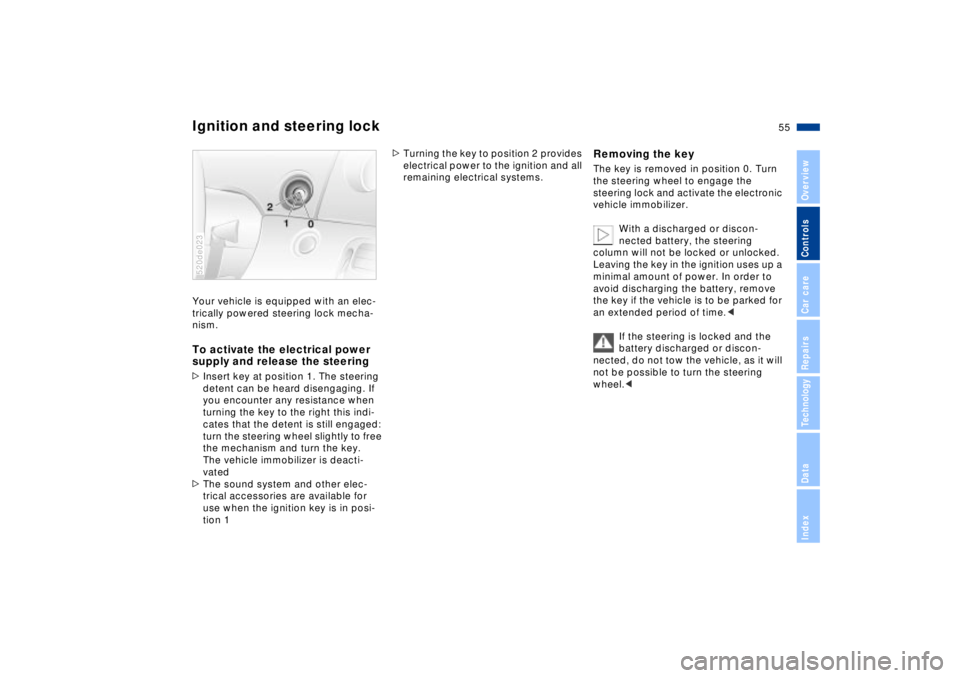
nism.To activate the electrical power
supply and release the steering>Insert key at position 1. The steering
detent can be heard disengaging. If
you encounter any resistance when
turning the key to the right this indi-
cates that the detent is still engaged:
turn the steering wheel slightly to free
the mechanism and turn the key.
The vehicle immobilizer is deacti-
vated
>The sound system and other elec-
trical accessories are available for
use when the ignition key is in posi-
tion 1 520de023
>Turning the key to position 2 provides
electrical power to the ignition and all
remaining electrical systems.
Removing the key The key is removed in position 0. Turn
the steering wheel to engage the
steering lock and activate the electronic
vehicle immobilizer.
With a discharged or discon-
nected battery, the steering
column will not be locked or unlocked.
Leaving the key in the ignition uses up a
minimal amount of power. In order to
avoid discharging the battery, remove
the key if the vehicle is to be parked for
an extended period of time.<
If the steering is locked and the
battery discharged or discon-
nected, do not tow the vehicle, as it will
not be possible to turn the steering
wheel.<
Ignition and steering lock
Page 73 of 174

73n
IndexDataTechnologyRepairsCar careControlsOverview
Heating and ventilation/Air conditioner1 Air onto the windshield and the side
windows
2 Airflow for the upper body
The rotary dials make it possible for
you to open and close the air supply
through an infintely-variable range,
while the levers change the airflow
direction. Refer to page 75
3 Front footwell ventilation
4 Air supply
Both the heating and ventilation are
available from position 1 on. Refer to
page 74
5 Defrost windows and remove
condensation75
6 Temperature74
7 Air distribution toward
>the windows
>the upper body
>the footwell
A infinitely-variable range of inter-
mediate settings is also available.
Refer to page 74
8 Rear window defroster with the
hardtop in place75
9 Operating:
>Recirculated air74
>Incoming air74
>Air conditioner/Incoming air74
>Air conditioner/Recirculated air74
Page 74 of 174
74n
Heating and ventilation/Air conditionerAir supply
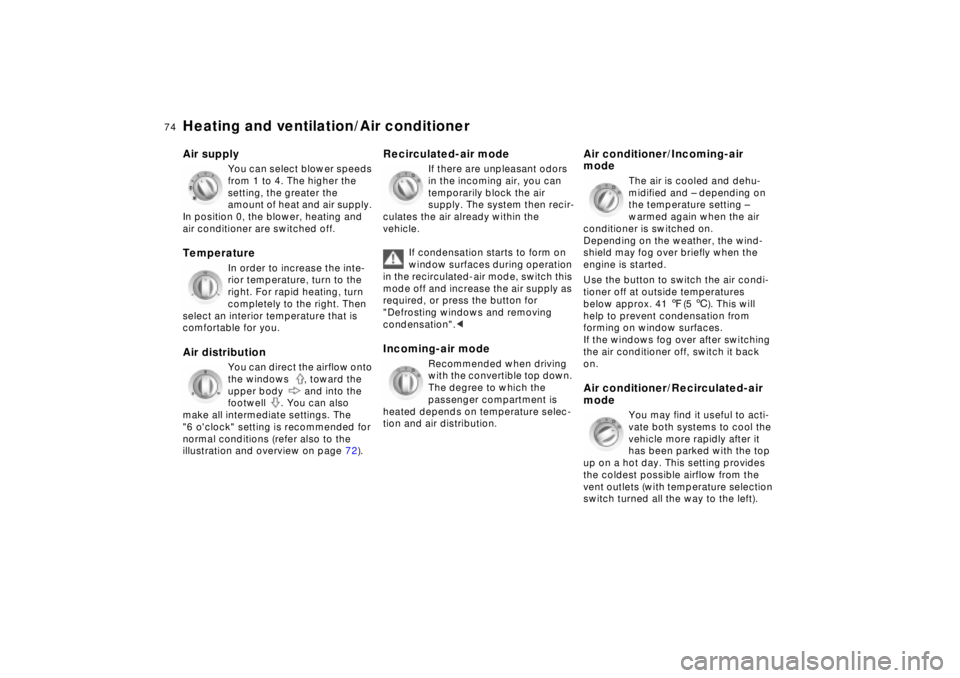
You can select blower speeds
from 1 to 4. The higher the
setting, the greater the
amount of heat and air supply.
In position 0, the blower, heating and
air conditioner are switched off.
Temperature
In order to increase the inte-
rior temperature, turn to the
right. For rapid heating, turn
completely to the right. Then
select an interior temperature that is
comfortable for you.
Air distribution
You can direct the airflow onto
the windows , toward the
upper body and into the
footwell . You can also
make all intermediate settings. The
"6 o'clock" setting is recommended for
normal conditions (refer also to the
illustration and overview on page 72).
Recirculated-air mode
If there are unpleasant odors
in the incoming air, you can
temporarily block the air
supply. The system then recir-
culates the air already within the
vehicle.
If condensation starts to form on
window surfaces during operation
in the recirculated-air mode, switch this
mode off and increase the air supply as
required, or press the button for
"Defrosting windows and removing
condensation".<
Incoming-air mode
Recommended when driving
with the convertible top down.
The degree to which the
passenger compartment is
heated depends on temperature selec-
tion and air distribution.
Air conditioner/Incoming-air
mode
The air is cooled and dehu-
midified and Ð depending on
the temperature setting Ð
warmed again when the air
conditioner is switched on.
Depending on the weather, the wind-
shield may fog over briefly when the
engine is started.
Use the button to switch the air condi-
tioner off at outside temperatures
below approx. 41 7(5 6). This will
help to prevent condensation from
forming on window surfaces.
If the windows fog over after switching
the air conditioner off, switch it back
on.
Air conditioner/Recirculated-air
mode
You may find it useful to acti-
vate both systems to cool the
vehicle more rapidly after it
has been parked with the top
up on a hot day. This setting provides
the coldest possible airflow from the
vent outlets (with temperature selection
switch turned all the way to the left).
Page 83 of 174

83n
IndexDataTechnologyRepairsCar careControlsOverview
Cargo loadingStowing cargo If you are carrying cargo in the luggage
compartment of your BMW Z8 roadster:
>Load heavy cargo as far forward as
possible, directly behind the luggage
compartment partition
>Cover sharp edges and corners.
If you are stowing cargo behind the
seats in your BMW Z8 roadster:
>Stow only lightweight objects, such
as clothing
>Do not pile objects higher than the
top edge of the backrest.
Do not stow either heavy cargo or
cargo with sharp edges and
corners behind the seats, or else they
could damage the back of the seat or
the rear trim panel.
Cargo that is too big or unwieldy and
stowed behind the seats can also
prevent the seat from locking properly
into position. Therefore, check to make
sure that the seat is properly locked
into place, moving the seat forward if
necessary. Refer to page 45.
Always position and secure the load
correctly. If you do not, it can endanger
vehicle occupants during braking or
evasive maneuvers.
Do not exceed the approved gross
weight or the approved axle loads (refer
to page 160), otherwise the vehicle's
operating safety is no longer assured
and you are in violation of the law.
Make sure to secure heavy or hard
objects you stow in the passenger area,
otherwise, these objects could be flung
about during braking or evasive maneu-
vers and possibly injure vehicle occu-
pants.<
Page 86 of 174

86n
To ensure that your vehicle provides
maximum economy throughout an
extended service life, we request that
you comply with the following informa-
tion.
Your BMW Z8 is an especially
high-quality vehicle. To protect
your own investment, we recommend
that you follow he break-in instructions
carefully. By doing so, you will create
the basis for optimal service life of the
vehicle.<
Engine and differentialUp to 1,200 miles (2,000 km):
Drive at varying engine and road
speeds, but do not exceed 4,500 rpm
or a road speed of 106 mph (170 km/h).
Comply with local and state maximum
speed limits.
Avoid depressing the accelerator to the
full-throttle position.
Following the Break-In Inspection at
1,200 miles (2,000 km), you can gradu-
ally increase engine or road speeds.
You should also comply with these
break-in procedures if the engine or
differential is replaced later in the
course of the vehicle's service life.TiresOwing to technical factors associated
with their manufacture, tires do not
achieve their full traction potential until
an initial break-in period has elapsed.
Thus drive with extra care during the
initial 200 miles (300 km).
Comply with local and state maximum
speed limits.
When the vehicle is being driven
on wet or slushy roads, a wedge
of water may form between the tire and
the road surface. This phenomenon is
referred to as "aquaplaning" and can
lead to partial or complete loss of trac-
tion, vehicle control and braking effec-
tiveness. Reduce your speed on wet
roads.<
Brake systemApproximately 300 miles (500 km) must
elapse before the brake pads and
rotors achieve the optimal pad-surface
and wear patterns required for trouble-
free operation and long service life.
To break in the separate parking brake
drums, apply the parking brake lightly
when coasting to a standstill (at a traffic
signal, for instance), provided that
traffic conditions allow you to do so.
To avoid corrosion, repeat this proce-
dure from time to time.
The brake lamps do not come
on when the parking brake is
engaged.
Vacuum for the brake system servo unit
on your BMW is available only when the
engine is running. When you move the
vehicle with the engine shut off Ð when
towing, for instance Ð substantially
higher levels of pedal force will be
required to brake the vehicle.
(500 km). Engage the gears carefully
and without high engine speeds during
this break-in period.
Break-in procedures
Page 87 of 174
87n
IndexDataTechnologyRepairsCar careControlsOverview
Brakes:
Do not rest your foot on the brake
pedal while driving. Even light but
consistent pressure on the brake pedal
could lead to high temperatures, brake
wear, and possibly, to brake system
failure.
Aquaplaning:
Reduce speed while driving on wet or
slushy roads, otherwise, a wedge of
water can form between the tires and
the road surface. This phenomenon is
referred to as "aquaplaning" or "hydro-
planing." It is characterized by a partial
or complete loss of contact between
the tires and the road surface. The ulti-
mate results are loss of steering and
braking control.
Driving through water:
When there is water on the roads, do
not drive in it if it is deeper than 1 ft
(30 cm), and even then, only at walking
speed, otherwise the vehicle can
sustain damage to the engine, the elec-
trical systems and the transmission.<
The catalytic converter reduces harmful
exhaust emissions.
It is designed for use with unleaded fuel
only. Even minute quantities of lead
would be enough to permanently
damage both the catalytic converter
and the system's oxygen sensor.
To ensure efficient, trouble-free engine
operation and to avoid potential
damage:
>Be sure to comply with the scheduled
maintenance requirements
>Fill the fuel tank well before it is empty
>Tow-start only when the engine is
cold. If you attempt to tow-start with
a warm engine, unburned residual
fuel could ignite on the way to the
catalytic converter and cause
damage. It is better to start the
vehicle with a battery charger or
assistance from another vehicle
>Avoid other situations where the fuel
is either not burned or burns incom-
pletely, such as engaging the starter
frequently or for extended periods, or
repeated start attempts in which the
engine does not start (stopping and
restarting an engine which is running
properly does not present a problem).
Never allow the engine to run with
any of the spark plug cables discon-
nected.Be sure to comply with the
instructions above to prevent
unburned fuel from reaching the cata-
lytic converter. Otherwise, there is the
danger of overheating and damage to
the catalytic converter.
Extreme temperatures are present with
the catalytic converter both on this and
every catalyst-equipped vehicle. Heat
shields are installed adjacent to some
sections of the exhaust system. Never
remove these shields; do not apply
undercoating to their surfaces. When
driving, standing at idle, and parking
the vehicle, take care to avoid contact
between the exhaust system and flam-
mable materials (grass, hay, leaves
etc.). Such contact could start a fire,
resulting in serious personal injury and
property damage.<
Driving notes Catalytic converter