BUICK CENTURY 1993 Owners Manual
Manufacturer: BUICK, Model Year: 1993, Model line: CENTURY, Model: BUICK CENTURY 1993Pages: 324, PDF Size: 17.58 MB
Page 241 of 324
Engine Coolant
The following explains your cooling system and how to
add coolant when it is low.
If you have a problem with
engine overheating, see “Engine Overheating” in the Index. \
The proper coolant for your Buick will:
Give freezing protection down to -34°F (-37°C).
Give boiling protection up to 262” F (128” C).
Protect against rust and corrosion.
Help keep the proper engine temperature.
Let the warning lights work as they should.
What to Use: Use a mixture of one-half clean water
(preferably distilled) and one-half antifreeze that meets
“GM Specification 1825-Mi’ which won’t damage
aluminum parts. You can also use a recycled coolant
conforming to GM Specification 1825-M with a complete
coolant flush
and refill. Use GM Engine Coolant
Supplement
(sealer) with any complete coolant change. If
you use these, you don’t need to add anything else.
I
A CAUTION:
Adding only plain water to your coollng system
can
be dangerous. Plain water, or some other
liquid
like alcohol, can boil before the proper
coolant mix will. Mur vehicle’s coolant
warning system
Is set for the proper coolant
mix. With plain water or the wrong mlx, your
engine could get too hot but you wouldn’t get
the overheat warning. bur engine could catch
fire and you or others’could be burned. Use a
50/50 mPx of clean water and a proper
antifreeze.
I
: warranty. Too much
l
and crack t
other parts
239
ProCarManuals.com
Page 242 of 324
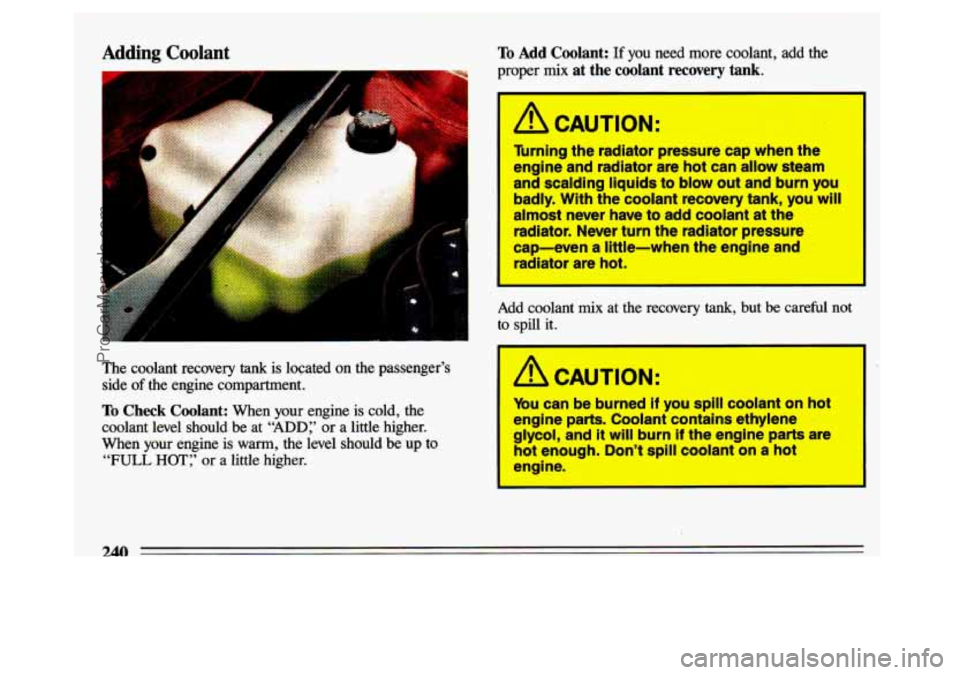
Adding Coolant
..
The coolant recovery tank is located on the passenger’s
side
of the engine compartment.
To Check Coolant: When your engine is cold, the
coolant level should be at “ADD:’
or a little higher.
When your engine
is warm, the level should be up to
“FULL HOT:’ or a little higher.
To Add Coolant: If you need more coolant, add the
proper
mix at the coolant recovery tank.
/i CAUTION:
Turning the radiator pressure cap when the
engine and radiator are hot can allow steam
and scalding liquids to blow out and burn you
badly.
With the coolant recovery tank, you will
almost never have
to add coolant at the
radiator. Never turn the radiator pressure
cap-even
a little-when the engine and
radiator are hot.
Add coolant mix at the recovery tank, but be careful not
to spill it.
A CAUTION:
You can be burned if you spill coolant on hot
engine parts. Coolant contains ethylene
glycol, and
it will burn if the engine parts are
hot enough. Don’t spill coolant on
a hot
engine.
240
ProCarManuals.com
Page 243 of 324
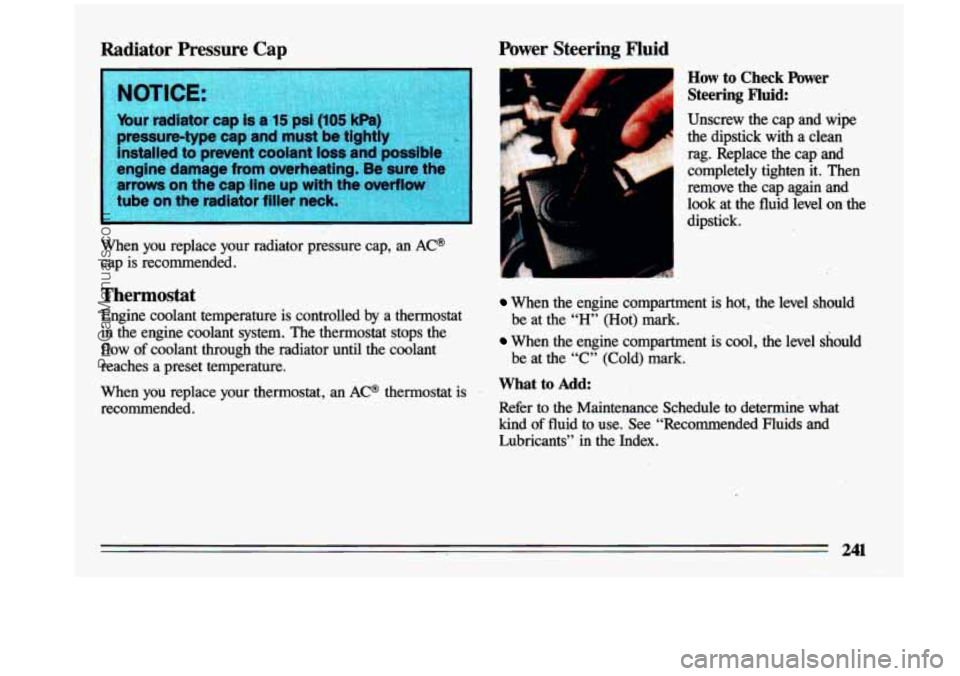
Radiator Pressure Cap
ur radiator cap is a 15 psi (105 kPa)
When you replace your radiator pressure cap, an AC@
cap is recommended.
Thermostat
Engine coolant temperature is controlled by a thermostat
in the engine coolant system. The thermostat stops the
flow of coolant through the radiator until the coolant
reaches a preset temperature.
When you replace
your thermostat, an AC@ thermostat is
recommended.
Power Steering Fluid
mp ”-- How to Check Power
Steering Fluid:
I Unscrew the cap and wipe
the dipstick with a clean f rag. Replace the cap and
completely tighten it. Then
remove the cap again and
look at the fluid level on the
dipstick. .1,. ,,
When me engine compartment is hot, the level should
When the engine compartment is cool, the level should
be at the “H” (Hot) mark.
be at the “C” (Cold) mark.
What to Add:
Refer to the Maintenance Schedule to determine what
kind
of fluid to use. See “Recommended Fluids and
Lubricants” in the Index.
241
ProCarManuals.com
Page 244 of 324
When adding power steering fluid or making a
complete fluid change, always use the proper
fluid. Failure to use the proper fluid can cause
leaks and damage hoses and seals.
,- . ,.
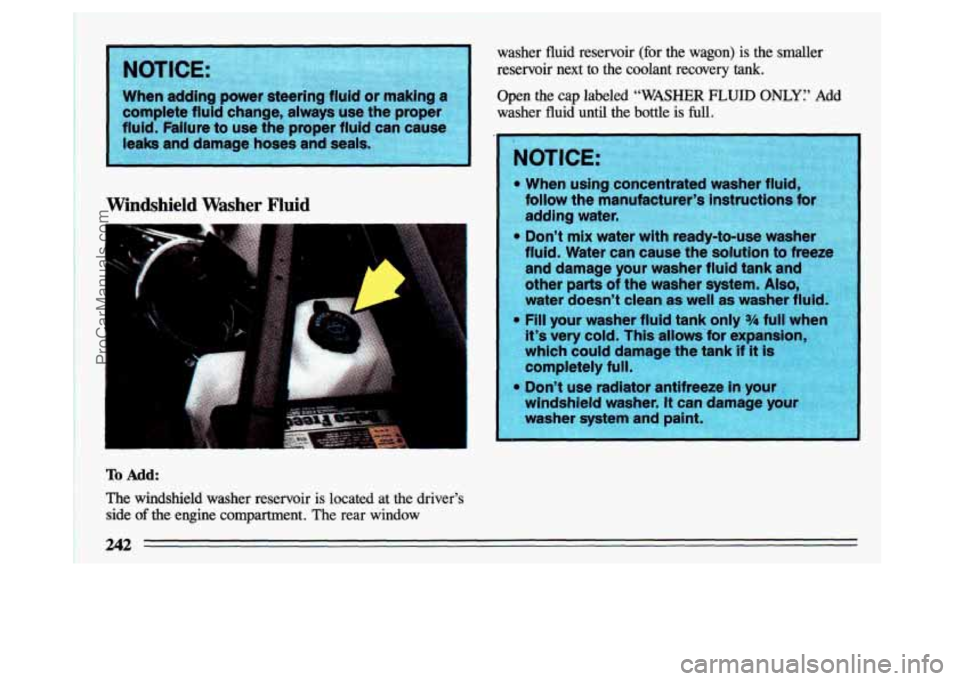
Windshield Washer Fluid
To Add:
The windshield washer reservoir is located at the driver’s
side
of the engine compartment. The rear window washer fluid reservoir (for the wagon)
is the smaller
reservoir next
to the coolant recovery tank.
Open the cap labeled “WASHER FLUID ONLY? Add
washer fluid until the bottle
is full.
ProCarManuals.com
Page 245 of 324
Brake Master Cylinder
I
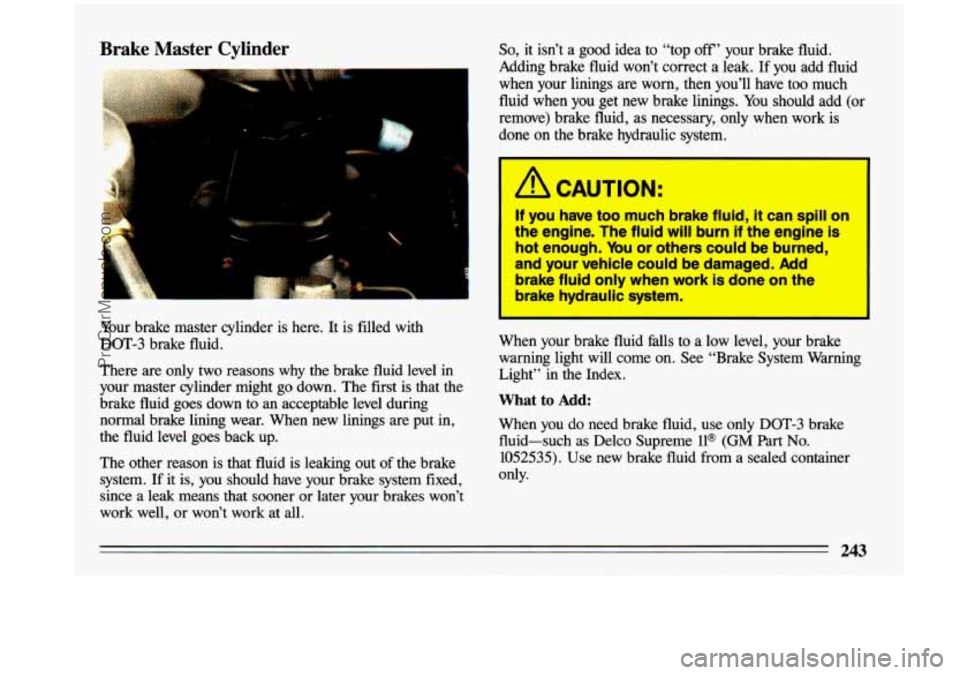
Your brake master cylinder is here. It is filled with
DOT-3 brake fluid.
There are only two reasons why the brake fluid level in
your master cylinder might go down. The first is that
the
brake fluid goes down to an acceptable level during normal brake lining wear. When new linings are put in,
the fluid level goes back
up.
The other reason is that fluid is leaking out of the brake
system.
If it is, you should have your brake system fixed,
since a leak means that sooner
or later your brakes won’t
work well, or won’t work at all.
So, it isn’t a good idea to “top off’ your brake fluid.
Adding brake fluid won’t correct a leak. If you add fluid
when your linings are worn, then you’ll have too much
fluid when you get new brake linings.
You should add (01
remove) brake fluid, as necessary, only when work is
done on the brake hydraulic system.
A CAUTION:
If you have too much brake fluid, it can spill on
the engine. The fluid
will burn if the engine is
hot enough. Mu or others could be burned,
and your vehicle could
be damaged. Add
brake fluid only when work is done on the
brake hydraulic system.
When your brake fluid falls to a low level, your brake
warning light will come on. See “Brake System Warning
Light” in the Index.
What to Add:
When you do need brake fluid, use only DOT-3 brake
fluid-such as Delco Supreme
ll@ (GM Part No.
1052535). Use new brake fluid from a sealed container
only.
ProCarManuals.com
Page 246 of 324
Replacing Brake System Parts
The braking system on a modern vehicle is complex. Its
many parts have to be of top quality and work well’
together
if the vehicle is to have really good braking.
Vehicles we design and test have top-quality
GM brake
‘parts in them, as your Buick does when it is new. When
you replace parts of your braking system-for example,
when your brake linings wear down and you have to have
new ones put in-be sure you get new genuine
GM
replacement parts. If you don’t, your brakes may no
longer work properly. For example, if someone puts in
brake linings that are wrong for your vehicle, the balance
between your front and rear brakes can change, for the worse. The braking performance you’ve come to expect
I
can change in many other ways if someone puts in the
wrong replacement brake parts.
Battery
Every new Buick has a Delco Freedom@ battery. You
never have
to add water to one of these. When it’s time
for a new battery, we recommend a Delco Freedom*
battery. Get one
that has the catalog number shown on
the original battery’s label.
Vehicle Storage
If you’re not ‘going to drive your vehicle for 25 days or
more,
take off the black, negative (-) cable from the
battery. This will help keep your battery from running
down.
A CAUTION:
Batteries have acid that can burn you and gas
that can explode.
Ybu can be badly hurt if you
aren’t careful. See “Jump Starting” in the ldex for tips on working around a battery
without getting hurt.
Contact your dealer to learn how to prepare your vehicle
for longer storage periods.
244
ProCarManuals.com
Page 247 of 324
Halogen Bulbs
Halogen bulbs have pressur5ued gasinstde
and can burst If you drop or scratch the bulb.
lbu or othem could be injured. Take spgclal
care when handllng and disposing of halogen
bulbs. t I
Headlamp Bulb Replacement
;or the type of bulb, see the Index under “Replacement
3ulbs
:’
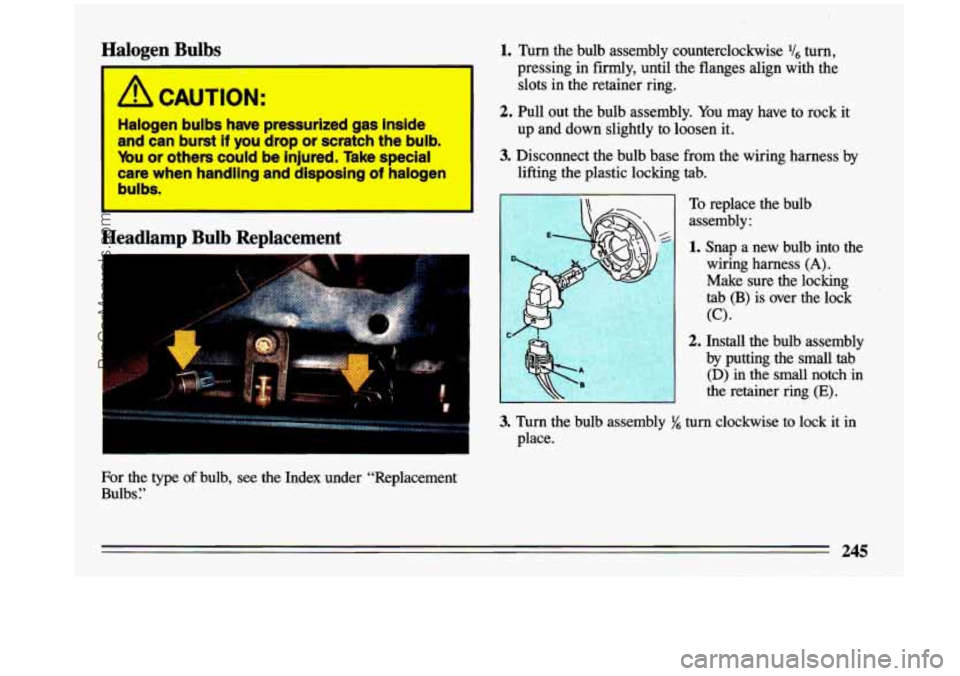
1. Turn the bulb assembly counterclockwise Y6 turn,
pressing in firmly, until the flanges align with the
slots in the retainer ring.
2. Pull out the bulb assembly. You may have to rock it
up and down slightly to loosen it.
3. Disconnect the bulb base from the wiring harness by
lifting the plastic locking tab.
To replace the bulb
assembly:
1. Snap a new bulb into the
wiring harness
(A).
Make sure the locking
I tab (B) is over the lock
I (C) *
I 2. Install the bulb assembly
by putting the small tab
(D) in the small notch in
the retainer ring
(E). ,I
3. Turn the bulb assembly y6 turn clockwise to lock it in
place.
245
ProCarManuals.com
Page 248 of 324
Front Turn and Parking Bulb and/or Side
Marker Bulb Replacement
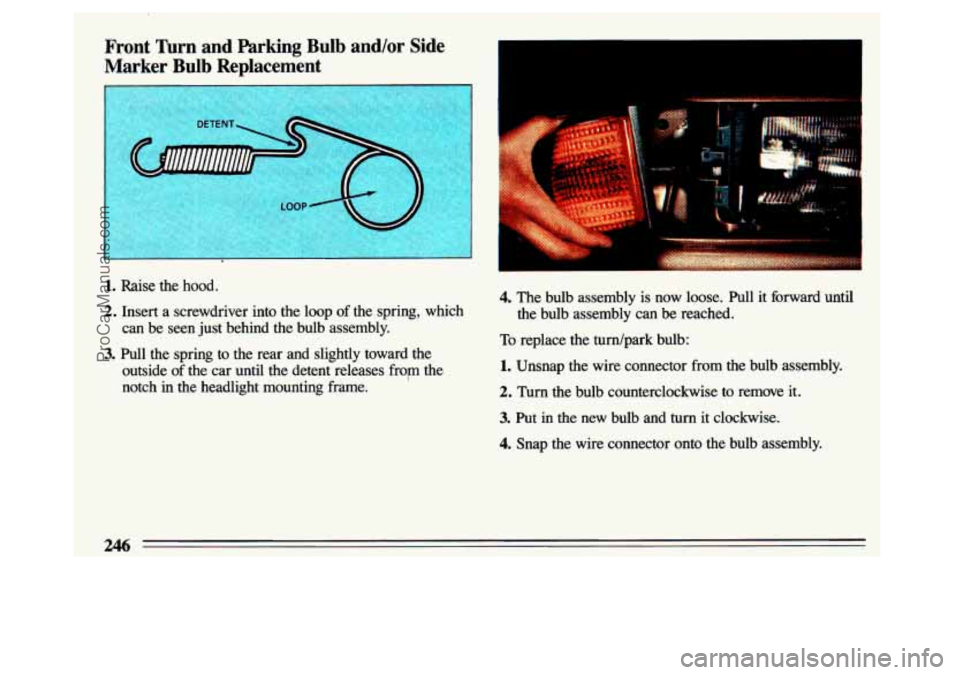
1. Raise the hood.
2. Insert a screwdriver into the loop of the spring, which
3. Pull the spring to the rear and slightly toward the can be seen just behind
the bulb assembly.
outside
of the car until the detent releases from the
notch in the headlight mounting frame.
4. The bulb assembly is now loose. Pull it forward until
To replace the turn/park bulb:
the bulb assembly can be reached.
1. Unsnap, the wire connector from the bulb assembly.
2. Turn the bulb counterclockwise to remove it.
3. Put -in the
new bulb and turn it clockwise.
4. Snap the wire connector onto the bulb assembly.
246
ProCarManuals.com
Page 249 of 324
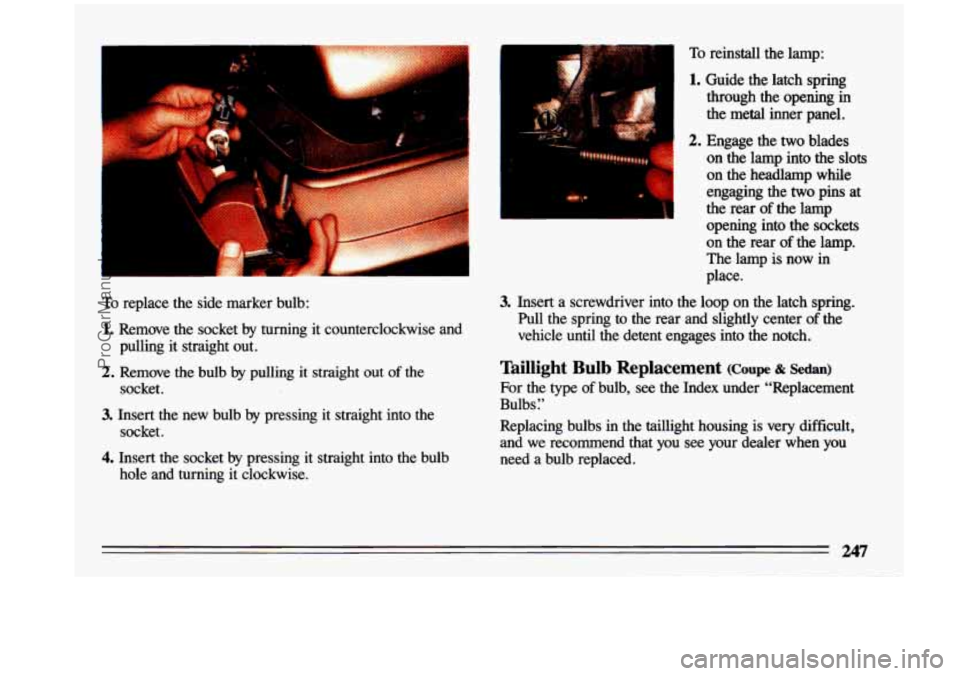
To replace the side marker bulb:
1. Remove the socket by turning it counterclockwise and
pulling it straight out.
socket.
2. Remove the bulb by pulling it straight out of the
3. Insert the new bulb by pressing it straight into the
socket.
4. Insert the socket by pressing it straight into the bulb
hole and turning it clockwise.
1
To reinstall the lamp:
1. Guide the latch spring
through the opening
the metal inner panel.
a 2. Engage the twoblades
on the lamp into the slots
on the headlamp while
engaging the
two pins at
the rear
of the lamp
opening into the sockets
on the rear
of the lamp.
The lamp is now in
place.
3. Insert a screwdriver into the loop on the latch spring.
Pull the spring to the rear and slightly center
of the
vehicle until the detent engages into the notch.
Taillight Bulb Replacement (COUP sedan)
For the type of bulb, see the Index under “Replacement
Bulbs
I’
Replacing bulbs in the taillight housing is very difficult,
and we recommend that you
see your dealer when you
need a bulb replaced.
ProCarManuals.com
Page 250 of 324
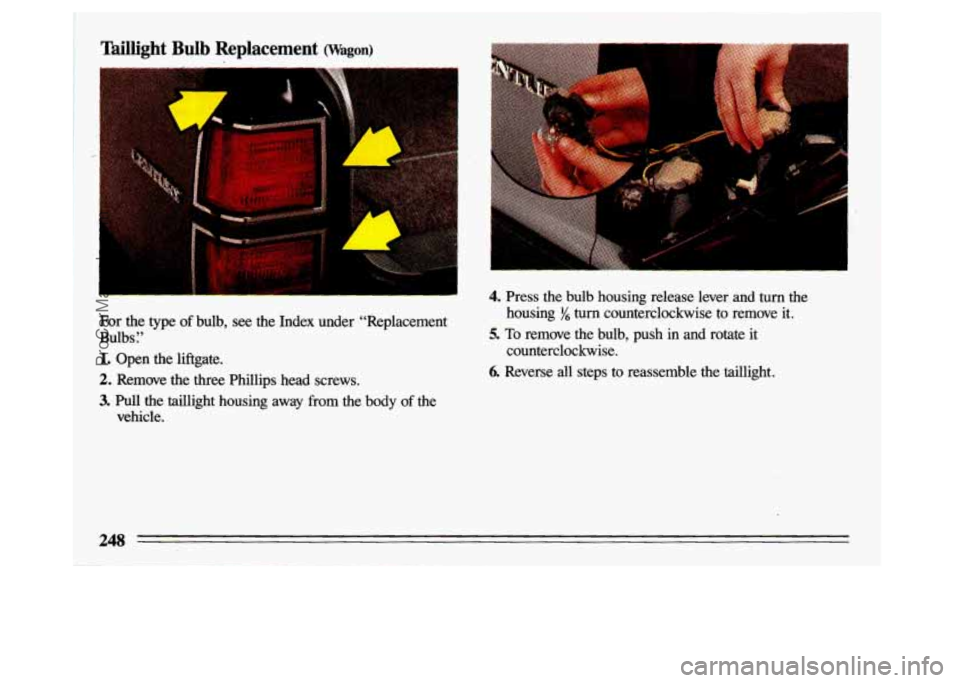
aillight Bulb Replacement (Wagon)
For the type of bulb, see the Index under “Replacement
Bulbs
r’
1. Open the liftgate.
2. Remove the three Phillips head screws.
3. Pull the taillight housing away from the body of the
vehicle.
4. Press the bulb housing release lever and turn the
housing
yS turn counterclockwise to remove it.
5. To remove the bulb, push in and rotate it
counterclockwise.
6. Reverse all steps to reassemble the taillight.
248
3
ProCarManuals.com