engine BUICK CENTURY 1994 Repair Manual
[x] Cancel search | Manufacturer: BUICK, Model Year: 1994, Model line: CENTURY, Model: BUICK CENTURY 1994Pages: 308, PDF Size: 16.3 MB
Page 225 of 308
How to Add Fluid
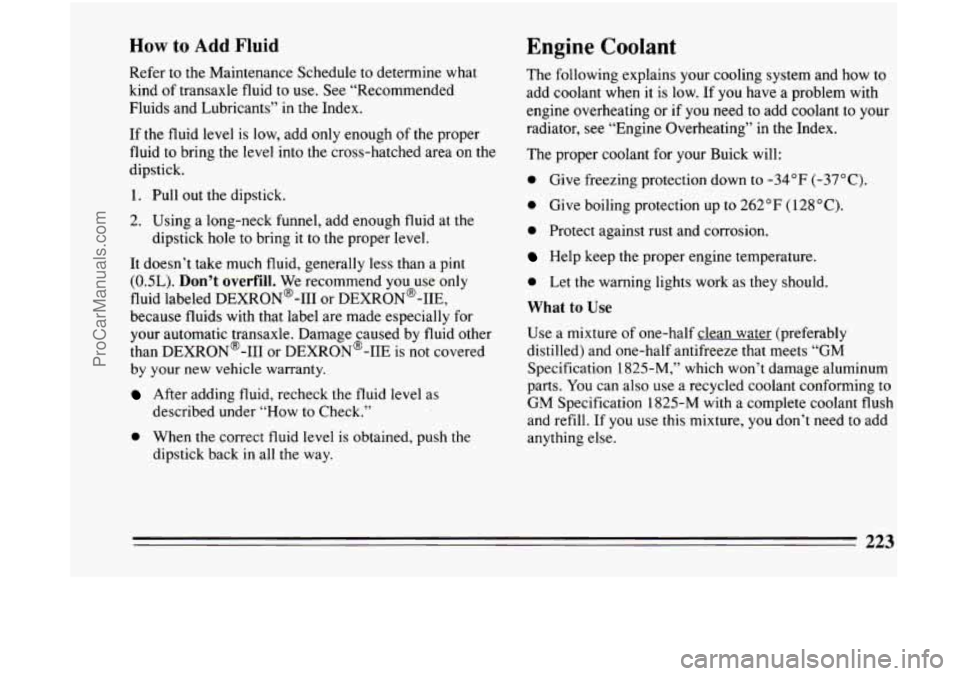
Refer to the Maintenance Schedule to determine what
kind of transaxle fluid
to use. See “Recommended
Fluids and Lubricants” in the Index.
Engine Coolant
If the fluid level is low, add only enough of the proper
fluid to bring the level into the cross-hatched area on the
dipstick.
1. Pull
out the dipstick.
2. Using a long-neck funnel, add enough fluid at the
It doesn’t take much fluid, generally less than a pint
(OSL).
Don’t overfill. We recommend you use only
fluid labeled DEXRON@-I11 or DEXRON@-IIE,
because fluids with that label are made especially for
your automatic transaxle. Damage caused by fluid other
than DEXRON@-I11 or DEXRON@-IIE is
not covered
by your new vehicle warranty. dipstick
hole
to bring it to the proper level.
After adding fluid, recheck the fluid level as
described under “How to Check.”
0 When the correct fluid level is obtained, push the
dipstick back in all the way. The following explains
your cooling system and how to
add coolant when it is low. If you have a problem with
engine overheating or if
you need to add coolant to your
radiator, see “Engine Overheating” in the Index.
The proper coolant for your Buick will:
0 Give freezing protection down to -34°F (-37°C).
0 Give boiling protection up to 262 “F ( 128 “C).
0 Protect against rust and corrosion.
Help keep the proper engine temperature.
0 Let the warning lights work as they should.
What to Use
Use a mixture of one-half clean water (preferably
distilled) and one-half antifreeze that meets “GM
Specification 1825-M,” which won’t damage aluminum
parts.
You can also use a recycled coolant conforming to
GM Specification 1825-M with a complete coolant flush
and refill. If you use this mixture,
you don’t need to add
anything else.
223
ProCarManuals.com
Page 226 of 308
Adding Coolant
NOTICE:
If you use an improper coolant mix, your engine
could overheat and be badly damaged. The
repair cost wouldn’t be covered by your
warranty.
Too much water in the mix can freeze
and crack the engine, radiator, heater core and
other parts.
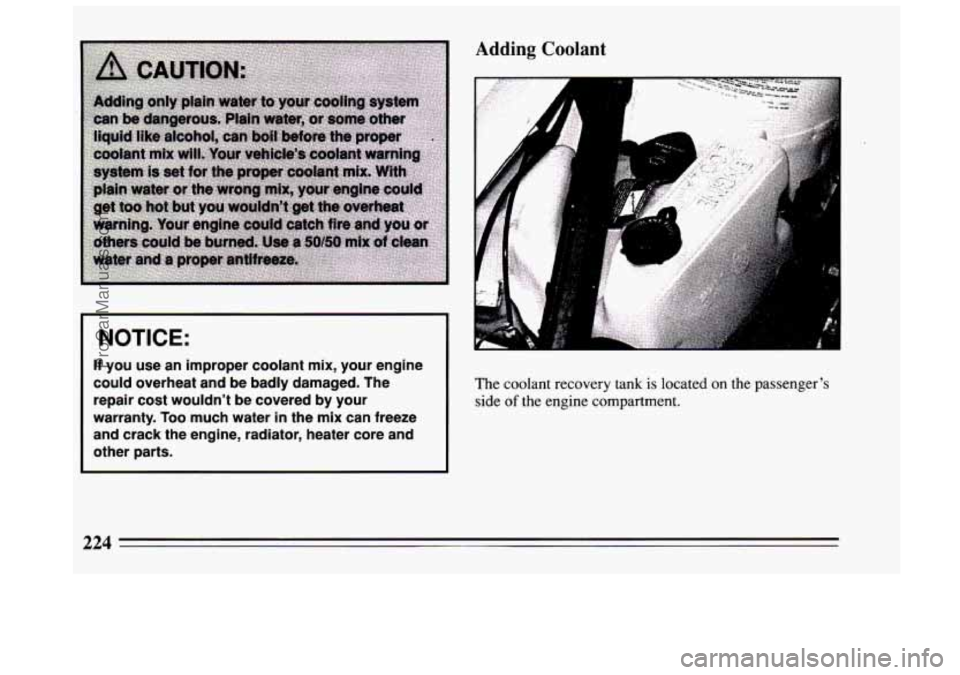
The coolant recovery tank is located on the passenger’s
side
of the engine compartment.
224
ProCarManuals.com
Page 227 of 308
To Check Coolant
When your engine is cold, the coolant level should be at
“ADD” or a little higher. When your engine is warm, the
level should be up to
“FULL HOT’’ or a little higher.
To Add Coolant
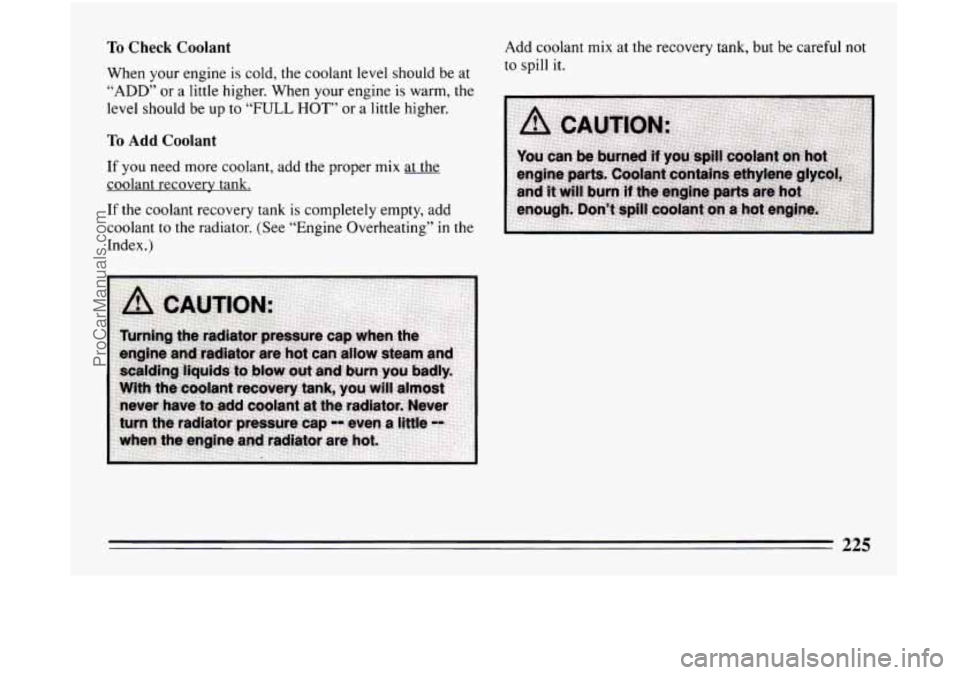
If you need more coolant, add the proper mix at the
coolant recovery tank.
If the coolant recovery tank is completely empty, add
coolant to the radiator. (See “Engine Overheating” in the
Index.) Add
coolant mix at the recovery tank, but be careful not
to spill it.
225
ProCarManuals.com
Page 228 of 308
Radiator Pressure Cap
I NOTICE:
Your radiator cap is a 15 psi (105 kPa)
pressure-type cap and must be tightly installed
to prevent coolant
loss and possible engine
damage from overheating. Be sure the arrows on
the cap line up with the overflow tube on the radiator filler neck.
When you replace your radiator pressure cap, an AC@
cap is recommended.
Thermostat
Engine coolant temperature is controlled by a thermostat
in the engine coolant system. The thermostat stops the
flow
of coolant through the radiator until the coolant
reaches a preset temperature.
When
you replace your thermostat, an AC@ thermostat
is recommended.
Power Steering Fluid
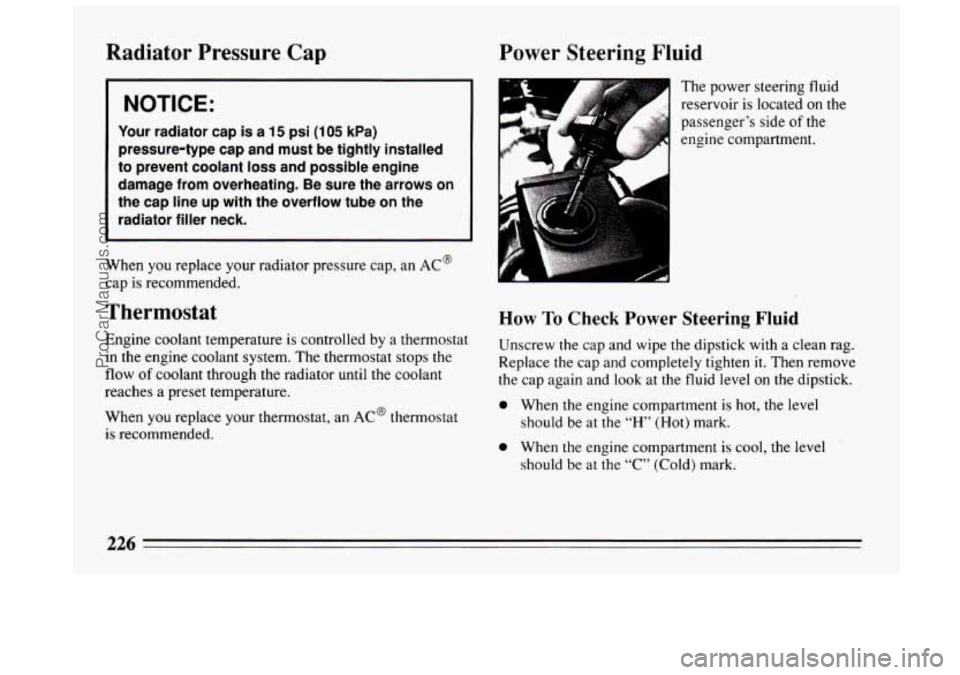
The power steering fluid
reservoir
is located on the
passenger’s side
of the
engine compartment.
How To Check Power Steering Fluid
Unscrew the cap and wipe the dipstick with a clean rag.
Replace the cap and completely tighten it. Then remove
the cap again and look at the fluid level
on the dipstick.
0 When the engine compartment is hot, the level
should be at the
“H” (Hot) mark.
0 When the engine compartment is cool, the level
should be at the “C” (Cold) mark.
ProCarManuals.com
Page 229 of 308
What to Add
Refer to the Maintenance Schedule to determine what
kind
of fluid to use. See “Recommended Fluids and
Lubricants” in the Index.
NOTICE:
When adding power steering fluid or making a
complete fluid change, always use the proper
fluid. Failure to use the proper fluid can cause
leaks and damage hoses and seals.
Windshield Washer Fluid
To Add
- a
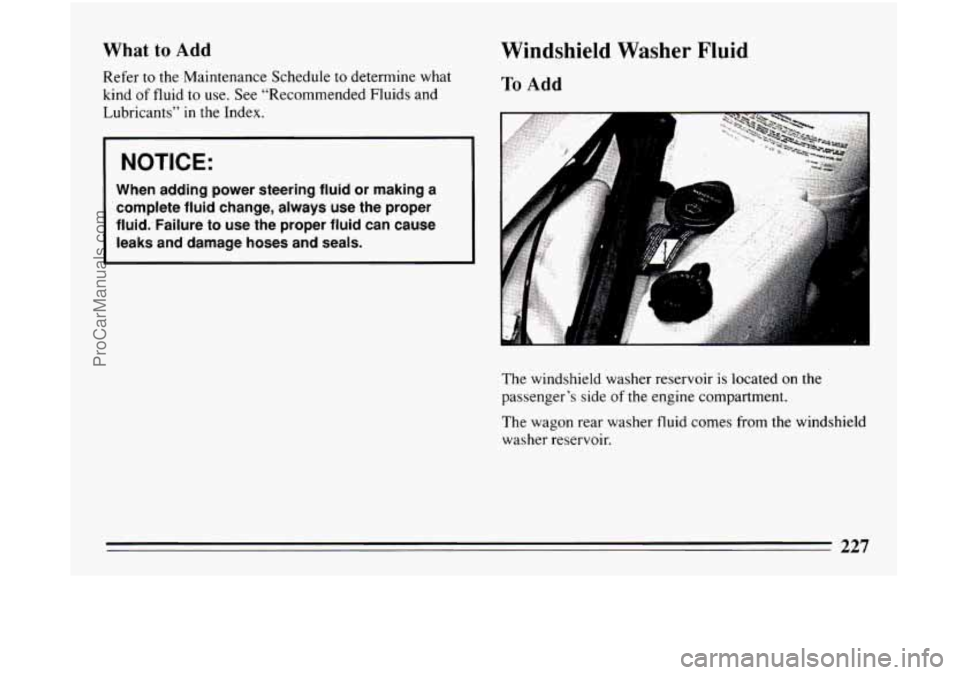
The windshield washer reservoir is located on the
passenger’s side
of the engine compartment.
The wagon rear washer fluid comes from the windshield
washer reservoir.
227
ProCarManuals.com
Page 231 of 308
should have your brake system fixed, since a leak means
that sooner or later your brakes won’t work well,
or
won’t work at all. So, it isn’t a good idea to “top off’
your brake fluid. Adding brake fluid won’t correct a
leak. If you add fluid when your linings are worn, then
you’ll have too much fluid when you get new brake
linings. You should add (or remove) brake fluid, as
necessary, only when work
is done on the brake
hydraulic system.
When
your brake fluid falls to a low level, your brake
warning light will come on. See “Brake System Warning
Light” in the Index.
What to Add
When you do need brake fluid, use only DOT-3 brake
fluid
-- such as Delco Supreme 11 @ (GM Part
No. 1052535). Use new brake fluid from a sealed
container only, and always clean the brake fluid
reservoir cap before removing it.
NOTICE:
DOT-5 silicone brake fluid can damage
your vehicle. Don’t use
it.
a Don’t let someone put in the wrong kind of
fluid. For example,
just a few drops of
mineral-based
oil, such as engine oil, in
your brake system can damage brake
system parts
so badly that they’ll have to
be replaced.
Brake fluid can damage paint, so be careful
not to spill brake
fluid on your vehicle. If
,you do, wash it off immediately. See
“Appearance Care” in the Index.
229
ProCarManuals.com
Page 255 of 308
Vehicle Identification Number (VIN)
I 1111 11111 11 11 I I 111 I 11 111n1 111 I 11111 111 I 11111111 11 1111 111 11 I 111111 II I
I
ENGINE A4 f ASSEMBLY
CODE MODEL YEAR PLANT
mII I1 111111111 I111 111 1111l111111111111111111111111111111111111l111 II=
SAMPLE4UXRM072675 I
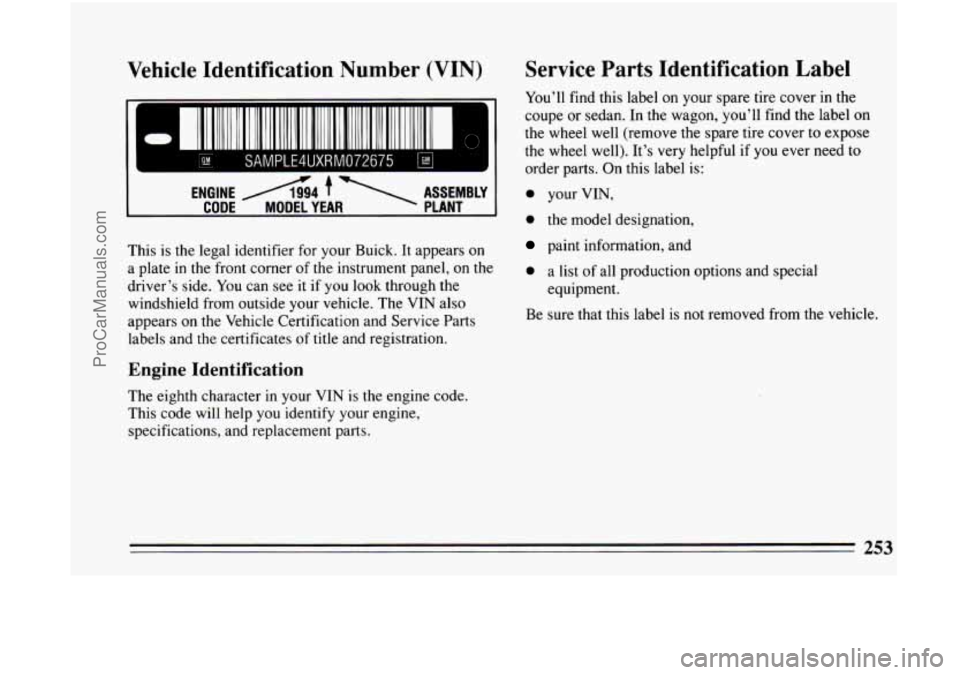
This is the legal identifier for your Buick. It appears on
a plate in the front corner of the instrument panel, on the
driver’s side.
You can see it if you look through the
windshield from outside your vehicle. The VIN also
appears on the Vehicle Certification and Service Parts
labels and the certificates of title and registration.
Engine Identification
The eighth character in your VIN is the engine code.
This code will help you identify your engine,
specifications, and replacement parts.
Service Parts Identification Label
You’ll find this label on your spare tire cover in the
coupe
or sedan. In the wagon, you’ll find the label on
the wheel well (remove the spare tire cover to expose
the wheel well). It’s very helpful if
you ever need to
order parts. On this label is:
0 your VIN,
0 the model designation,
paint information, and
0 a list of all production options and special.
equipment.
Be sure that this label is not removed from the vehicle.
ProCarManuals.com
Page 257 of 308
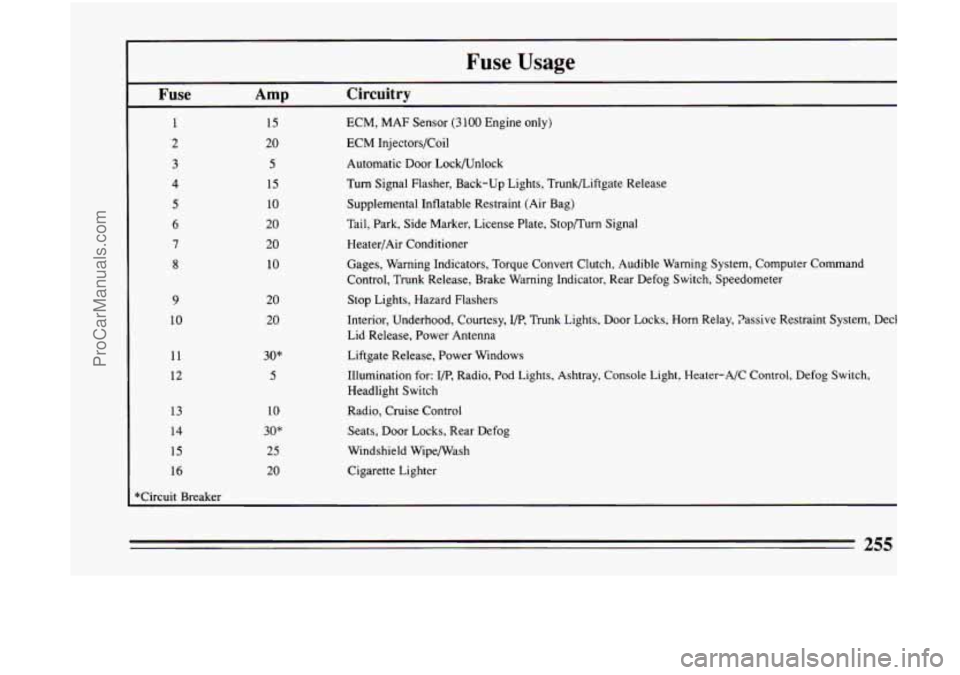
r Fuse Usage
I
Fuse Amp Circuitry
1 15 ECM, MAF Sensor (3 100 Engine only)
2 20 ECM Injectors/Coil
3
4
5
6
7
8
9
10
11
12
13
14
15
I 16
5
15
10
20
20
10
20 20
30"
5
10
30"
25
20
Automatic Door LockAJnlock
Turn Signal Flasher, Back-up Lights, Trunkbiftgate Release
Supplemental Inflatable Restraint (Air Bag)
Tail, Park, Side Marker, License Plate, Stop/Turn Signal Heater/Air Conditioner
Gages, Warning Indicators, Torque Convert Clutch, Audible Warning\
System, Computer Command
Control, Trunk Release, Brake Warning Indicator, Rear Defog Swit\
ch, Speedometer
Stop Lights, Hazard Flashers
Interior, Underhood, Courtesy,
I/P, Trunk Lights, Door Locks, Horn Relay, Passive Restraint System, \
Deck
Lid Release, Power Antenna
Liftgate Release, Power Windows
Illumination for:
I/P, Radio, Pod Lights, Ashtray, Console Light, Heater-A/C Control, D\
efog Switch,
Headlight Switch
Radio, Cruise Control
Seats, Door Locks, Rear Defog
Windshield WipefWash
Cigarette Lighter
255
ProCarManuals.com
Page 261 of 308
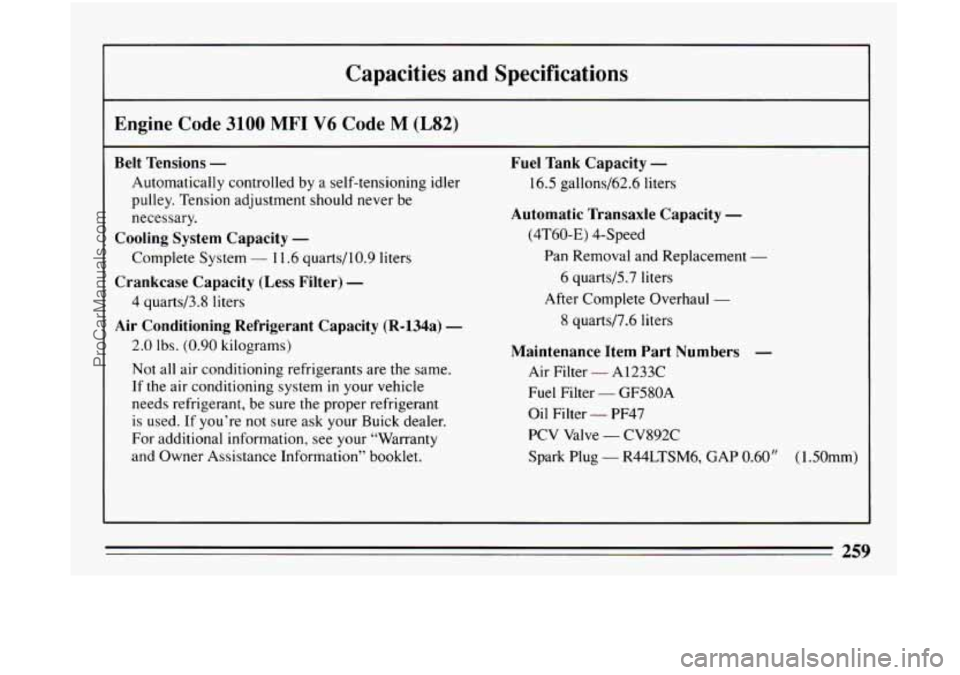
Capacities and Specifications
Engine Code 3100 MFI V6 Code M (L82)
Belt Tensions - Fuel Tank Capacity -
Automatically controlled by a self-tensioning idler 16.5 gallons/62.6 liters
pulley. Tension adjustment should never be
Automatic Transaxle Capacity -
(4T60-E) 4-Speed
necessary.
Complete System
- 1 1.6 quarts/l0.9 1
Cooling System Capacity -
Crankcase Capacity (Less Filter) -
4 quarts/3.8 liters iters
Air
Conditioning Refrigerant Capacity (R-134a) -
2.0 lbs. (0.90 kilograms)
Not all air conditioning refrigerants are the same.
If the air conditioning system
in your vehicle
needs refrigerant, be sure
the proper refrigerant
is used.
If you’re not sure ask your Buick dealer.
For additional information, see your “Warranty
and Owner Assistance Information’’ booklet. Pan
Removal and Replacement
-
6 quarts/5.7 liters
8 quarts/7.6 liters
After
Complete Overhaul
-
Maintenance Item Part Numbers -
Air Filter - A1233C
Fuel Filter
- GF580A
Oil Filter
- PF47
PCV Valve
- CV892C
Spark Plug
- R44LTSM6, GAP 0.60” (1 SOmm)
3 rn
ProCarManuals.com
Page 262 of 308
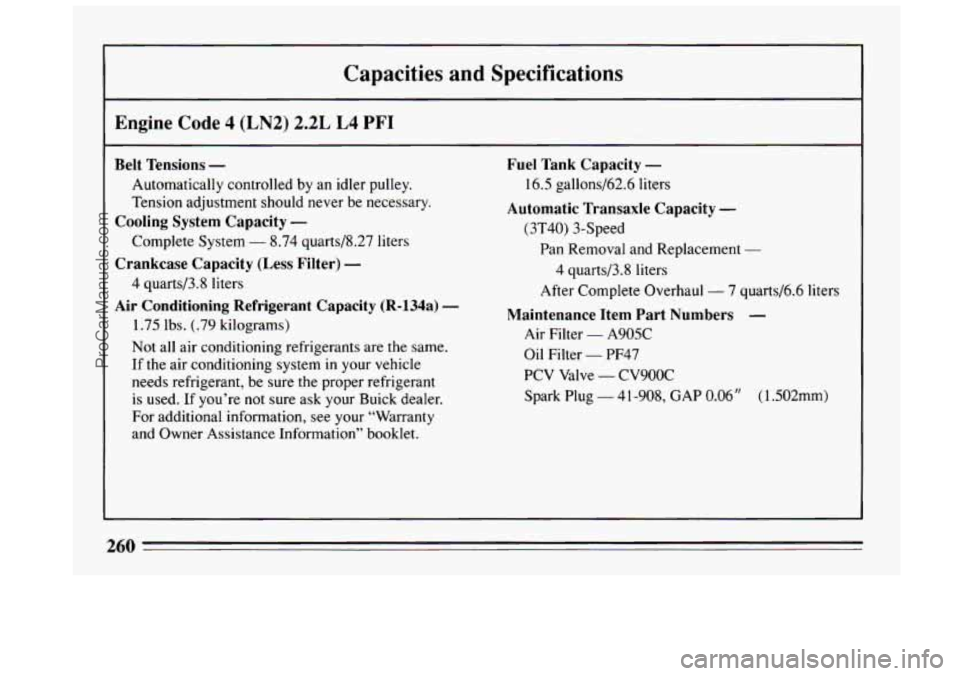
Capacities and Specifications
I
I Engine Code 4 (LN2) 2.2L L4 PFI
Belt Tensions -
Automatically controlled by an idler pulley.
Tension adjustment should never be necessary.
Cooling System Capacity -
Complete System - 8.74 quarts/8.27 liters
Crankcase Capacity (Less Filter) -
4 quarts/3.8 liters
Air Conditioning Refrigerant Capacity (R-134a) -
1.75 lbs. (.79 kilograms)
Not all air conditioning refrigerants are
the same.
If the air conditioning system in your vehicle
needs refrigerant, be sure the proper refrigerant
is used.
If you’re not sure ask your Buick dealer.
For additional information, see your “Warranty
and Owner Assistance Information” booklet.
Fuel Tank Capacity -
Automatic Transaxle Capacity -
16.5 gallons/62.6 liters
(3T40) 3-Speed
Pan Removal and Replacement
-
After Complete Overhaul - 7 quarts/6.6 liters
4 quarts/3.8 liters
Maintenance Item Part Numbers -
Air Filter - A905C
Oil Filter - PF47
PCV Valve - CV9OOC
Spark Plug
- 41-908, GAP 0.06” (1.502mm)
260
ProCarManuals.com