ABS BUICK CENTURY 1996 Owners Manual
[x] Cancel search | Manufacturer: BUICK, Model Year: 1996, Model line: CENTURY, Model: BUICK CENTURY 1996Pages: 340, PDF Size: 17.61 MB
Page 136 of 340
Avoid needless heavy braking. Some people drive
in spurts
-- heavy acceleration followed by heavy
braking
-- rather than keeping pace with traffic. This
is a mistake. Your brakes may not have time
to cool
between hard stops. Your brakes will wear out much
faster if you do
a lot of heavy braking. If you keep pace
with the traffic and allow realistic following distances,
you will eliminate
a lot of unnecessary braking. That
means better braking and longer brake life.
If your engine ever stops while you’re driving, brake
normally but don’t pump your brakes. If you do,
the
pedal may get harder to push down. If your engine
stops, you will still have some power brake assist. But
you will
use it when you brake. Once the power assist is
used up, it may take longer to stop and the brake pedal
will be harder to push. Your
vehicle has anti-lock brakes (ABS). ABS
is an
advanced electronic braking system that will help
prevent a braking skid.
When you start your engine, or when you begin to drive
away, your anti-lock brake system will check itself. You
may hear a momentary motor or clicking noise while
this test is going on, and you may even notice that your
brake pedal moves a little. This
is normal.
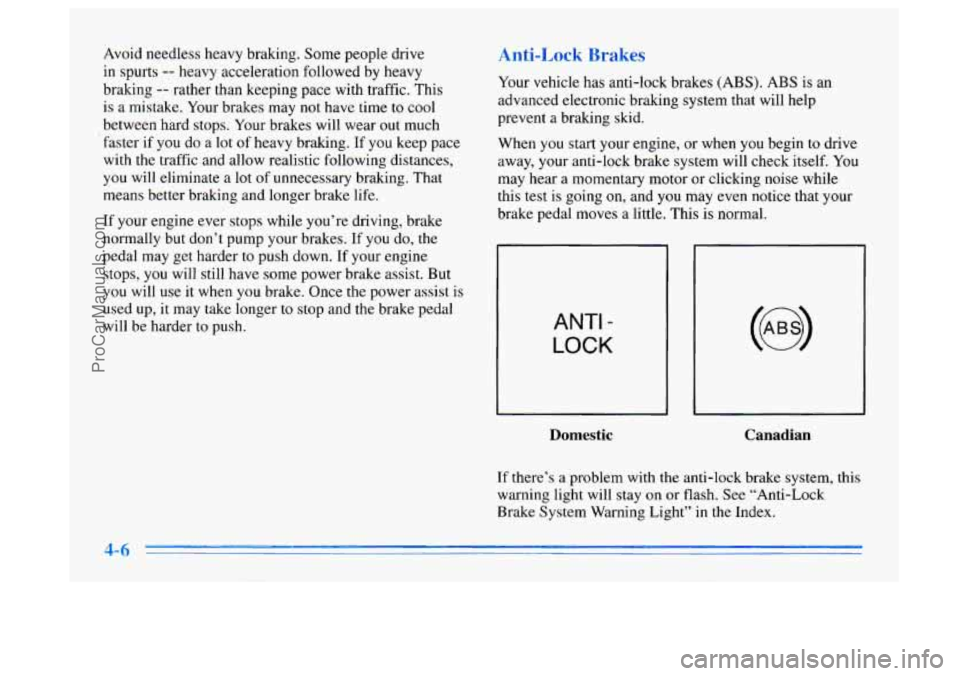
ANTI -
LOCK
Domestic Canadian
If there’s a problem with the anti-lock brake system, this
warning light will stay
on or flash. See “Anti-Lock
Brake System Warning Light” in the Index.
ProCarManuals.com
Page 137 of 340
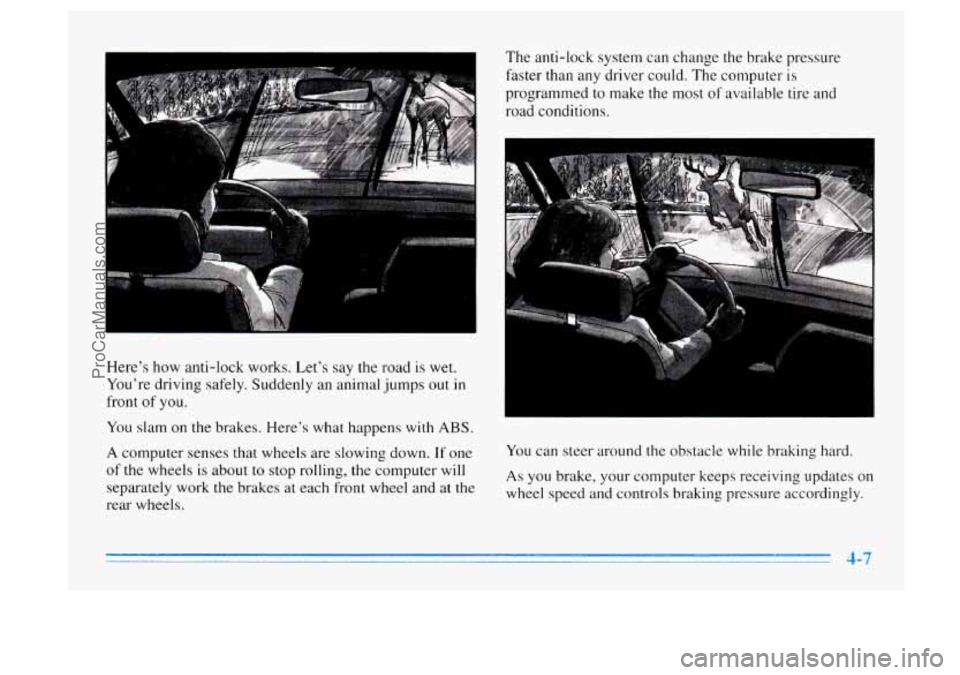
Here’s how anti-lock works. Let’s say the road is wet.
You’re driving safely. Suddenly an animal jumps out
in
front of you.
You slam on the brakes. Here’s what happens with
ABS.
A computer senses that wheels are slowing down. If one
of the wheels is about to stop rolling, the computer will
separately work the brakes at each front wheel and at the
rear wheels. The anti-lock system can change the
brake pressure
faster than any driver could. The computer
is
programmed to make the most of available tire and
road conditions.
You can steer around the obstacle while braking hard.
As you brake, your computer keeps receiving updates on
wheel speed and controls braking pressure accordingly.
ProCarManuals.com
Page 143 of 340
Let’s review what driving experts say about what
happens when the three control systems (brakes, steering
and acceleration) don’t have enough friction where the
tires meet the road to do what the driver has asked.
In any emergency, don’t give up. Keep trying to steer and
constantly seek an escape route or area of less danger.
In a skid, a driver can lose control of the vehicle.
Defensive drivers avoid most skids by taking reasonable
care suited to existing conditions, and by not
“overdriving” those conditions. But skids are always
possible.
The three types of skids correspond to your Buick’s
three control systems. In the braking skid, your wheels
aren’t rolling.
In the steering or cornering skid, too
much speed or steering in a curve causes tires to slip and
lose cornering force. And in the acceleration skid, too
much throttle causes the driving wheels
to spin.
A cornering skid and an acceleration skid are best
handled by easing your foot
off the accelerator pedal. If
your vehicle starts to slide, ease your foot
off the
accelerator pedal and quickly steer the way you want the
vehicle to go. If you start steering quickly enough, your
vehicle may straighten out. Always be ready for a
second skid if it occurs.
Of course, traction is reduced when water, snow, ice,
gravel or other material is on the road. For safety, you’ll
want to slow down and adjust your driving to these
conditions. It is important to slow down on slippery
surfaces because stopping distance will be longer and
vehicle control more limited.
While driving
on a surface with reduced traction, try
your best to avoid sudden steering, acceleration or
braking (including engine braking by shifting to a lower
gear). Any sudden changes could cause the tires to
slide.
You may not realize the surface is slippery until
your vehicle is skidding. Learn to recognize warning
clues
-- such as enough water, ice or packed snow
on the road to make a “mirrored surface”
-- and
slow down when you have any doubt.
Remember: Any anti-lock brake system (ABS) helps
avoid only the braking skid.
ProCarManuals.com
Page 166 of 340
Parking on Hills
You really should not parK your vehicle, with a trailer
attached,
on a hill. If something goes wrong, your rig
could start to move. People can be injured, and both
your vehicle and the trailer can be damaged.
But if
you ever have to park your rig on a hill, here’s
how to do it:
1. Apply your regular brakes, but don’t shift into
2. Have someone place chocks under the trailer wheels.
PARK
(P) yet.
3. When the wheel
chocks are in place, release the
regular brakes until the chocks absorb the load.
4. Reapply the regular brakes. Then, apply your
parking brake, and then shift
to PARK (P).
5. Release the regular brakes.
When You Are Ready to Leave After
Parking on
a Hill
1. Apply your regular brakes and hold the pedal down
while
you:
m Start your engine;
0 Shift into a gear; and
Release the parking brake.
2. Let up on the brake pedal.
3. Drive slowly until the trailer is clear of the chocks.
4. Stop and have someone pick up and store the chocks.
Maintenance When Trailer Towing
Your vehicle will need service more often when you’re
pulling a trailer. See the Maintenance Schedule for more
on this. Things that are especially important in trailer
operation are automatic transaxle fluid (don’t overfill),
engine oil, belt, cooling system and brake adjustment.
Each of these is covered in this manual, and the Index
will help
you find them quickly. If you’re trailering, it’s
a good idea to review these sections before you start
your trip.
Check periodically to see that all hitch nuts and bolts
are tight.
4-
ProCarManuals.com
Page 203 of 340
Wagon Spare Cover Replacement
To install the spare tire cover in your station wagon
when you are finished changing the tire:
1.
2.
3.
4.
5.
Put the front lower corner of the cover into the floor
track. Overlap the lower rear edge of the front panel
1 (2.54 m) to 2 inches (5.08 m).
Slide the cover to the front; the tabs must go under
the rear edge.
Insert the front upper corner into the track,
at the
bottom
of the glass.
Adjust the position
of the cover to fit over the
weatherstrip. Push the panel down into the track
in
the floor.
Push the panel
to lock it into the track of the molding
at the bottom of the glass.
Compact Spare Tire
Although the compact spare tire was fully inflated
when your vehicle was new, it can
lose air after a time.
Check the inflation pressure regularly. It should be
60 psi (420 kPa).
After installing the compact spare on your vehicle, you
should stop as soon as possible and make sure your
spare tire is correctly inflated. The compact spare is
made to perform well at posted speed limits for
distances up to
3,000 miles (5 000 km), so you can
finish your trip and have your full-size tire repaired or
replaced where
you want. Of course, it’s best to replace
your spare with a full-size tire as soon as you can. Your
spare will last longer and be in good shape in case
you
need it again.
NOTICE:
When the compact spare is installed, don’t take
your vehicle through an automatic car wash with
guide rails. The compact spare can get caught on
the rails. That can damage the tire and wheel,
and maybe other parts
of your vehicle.
5’ -7
ProCarManuals.com
Page 227 of 340
How to Add Fluid
Refer to the Maintenance Schedule to determine what
kind of transaxle fluid to
use. See “Recommended
Fluids and Lubricants” in the Index.
If the fluid level is low, add only enough of the proper
fluid to bring the level into the cross-hatched area
on
the dipstick.
1. Pull out the dipstick.
2. Using a long-neck funnel, add enough fluid at the
It doesn’t take much fluid, generally less than a pint
(0.5
L). Don’t overfiill. We recommend you use only
fluid labeled
DEXRON@-111, because fluid with that
label
is made especially for your automatic transaxle.
Damage caused by fluid other than
DEXRON-I11 is not
covered by your new vehicle warranty.
0 After adding fluid, recheck the fluid level as
dipstick hole
to bring it to the proper level.
described under “How to Check.”
0 When the correct fluid level is obtained, push the
dipstick back in all
the way.
Superlift Shock Absc :rs (Option)
If you have this option, you can level your vehicle for
different loads. As you need to, add air to the rear shock
absorbers through the air valve, located next to the fuel
filler cap behind the fuel filler door. Always keep
a
minimum pressure of 10- 15 psi (70- 105 kPa).
After you load your vehicle, you can add pressure until
the rear gets back to its normal riding height, but don’t
go above 90 psi (620 kPa).
NOTICE:
Do not use superlifts to raise your vehicle above
its normal riding height.
You can damage your
superlifts or other parts if you drive that way for
long periods.
ProCarManuals.com
Page 336 of 340
Seats Folding Rear
.................................. 1-4
Folding Second Seat
............................ 1-4
Folding Third Seat
............................. 1-5
ManualFront ................................. 1-1
Power ....................................... 1-2
Restraint Systems
.............................. I - 1
Seat Controls ................................. 1 . 1
Securing a Child Restraint ...................... 1-33
Second Gear, Automatic Transaxle
................. 2- 18
Service
........................................ 6-1
Bulletins. Ordering
............................. 8-9
EngineSoonLight ............................ 2-54
Manuals. Ordering
............................. 8-9
Parts Identification Label
....................... 6-55
Publications. Ordering
.......................... 8-9
Work. Doing Your Own
......................... 6- 1
Service and Appearance Care ...................... 6- 1
Servicing Your Air Bag-Equipped Buick ............ 1-25
Sheet Metal Damage
............................ 6-52
ShiftLever
.................................... 2-16
Shifting
Automatic Transaxle
.......................... 2- 16
IntoPark
.................................... 2-20
OutofPark
.................................. 2-23
Shock Absorbers. Superlift
....................... 6-2 1
SignalingTurns ................................ 2-27
Skidding
...................................... 4-13
Spare Tire. Compact
............................. 5-37
Specifications and Capacities
...................... 6-6 1
Sound Equipment. Adding ......................... 3-9 Specifications. Engine
........................... 6-63
Speech Impaired. Customer Assistance
............... 8-3
Speedometer
................................... 2-48
SRS
......................................... 1-21
Stains. Cleaning
................................ 6-48
Starter Switch Check
............................ 7-39
Starting Your Engine
....................... 2- 12. 2- 13
Steam
........................................ 5-13
Steering
....................................... 4-8
Column Lock Check
.......................... 7-40
In Emergencies ............................... 4-10
Power
....................................... 4-8
Tips
......................................... 4-9
Wheel.
Tilt .................................. 2-26
Storage Areas
.................................. 2-38
Storage Compartment. Rear
....................... 2-39
Storage. Vehicle
................................ 6-32
Stuck:
In Sand. Mud. Ice or Snow .................. 5-38
Sunvisors
.................................... 2-43
Supplemental Restraint System
.................... 1-21
Symbols. Vehicle
.................................. x
System Controls. Climate Control System ............. 3-1
Taillamp Bulb Replacement
...................... 6-36
TapePlayerCare
................................ 3-9
Theft
.......................................... 2-9
Thermostat
.................................... 6-25
Third Gear Automatic Transaxle
................... 2-18
Tilt Steering Wheel
............................. 2-26
Time. Setting the
................................ 3-4
Tire-Loading Information
Label ................... 4-28
9-8
ProCarManuals.com