stop start BUICK CENTURY 1997 User Guide
[x] Cancel search | Manufacturer: BUICK, Model Year: 1997, Model line: CENTURY, Model: BUICK CENTURY 1997Pages: 406, PDF Size: 20.64 MB
Page 160 of 406
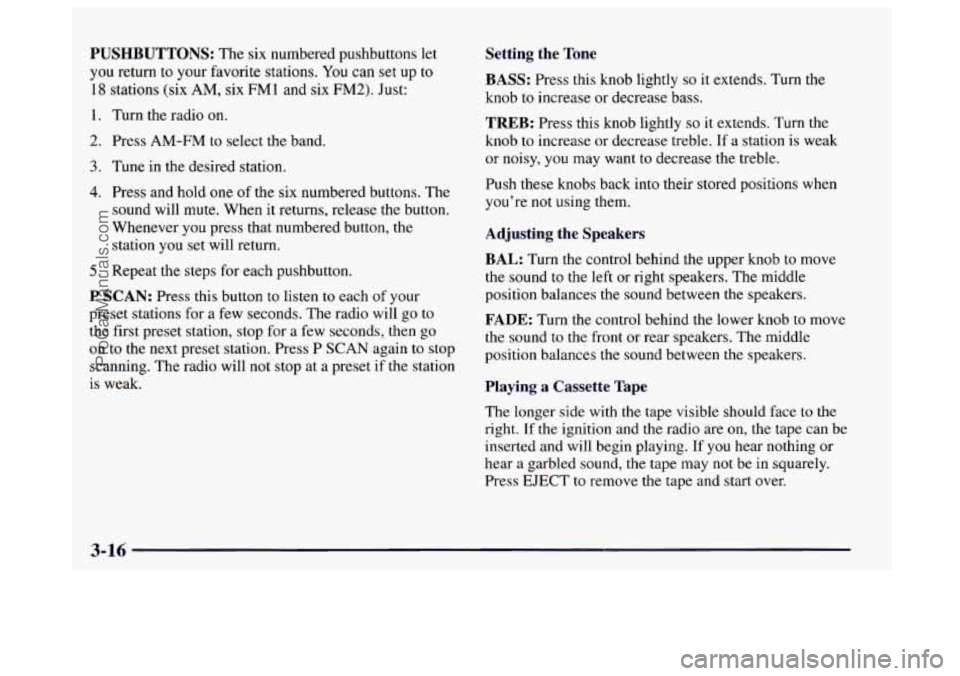
PUSHBUTTONS: The six numbered pushbuttons let
you return to your favorite stations. You can set up to
18 stations (six AM, six FM 1 and six FM2). Just:
1. Turn the radio on.
2. Press AM-FM to select the band.
3. Tune in the desired station.
4. Press and hold one of the six numbered buttons. The
sound will mute. When it returns, release the button.
Whenever you press that numbered button, the
station
you set will return.
5. Repeat the steps for each pushbutton.
P SCAN: Press this button to listen to each of your
preset stations for a few seconds. The radio will go to
the first preset station, stop for a few seconds, then
go
on to the next preset station. Press P SCAN again to stop
scanning. The radio will
not stop at a preset if the station
is weak.
Setting the Tone
BASS:
Press this knob lightly so it extends. Turn the
knob
to increase or decrease bass.
TREB: Press this knob lightly so it extends. Turn the
knob to increase or decrease treble. If a station is weak
or noisy, you may want to decrease the treble.
Push these knobs back into their stored positions when
you’re not using them.
Adjusting the Speakers
BAL: Turn the control behind the upper knob to move
the sound
to the left or right speakers. The middle
position balances the sound between the speakers.
FADE: Turn the control behind the lower knob to move
the sound to the front or rear speakers. The middle
position balances the sound between the speakers.
Playing a Cassette Tape
The longer side with the tape visible should face to the
right. If the ignition and the radio are on, the tape can be
inserted and will begin playing. If
you hear nothing or
hear a garbled sound,
the tape may not be in squarely.
Press EJECT to remove the tape and start over.
3-16
ProCarManuals.com
Page 169 of 406
0 E20: It is dirty, scratched or wet.
E20: There's too much moisture in the air. (Wait
If any error occurs' fbpeatedly or if an error can't be
corrected, please contact your dealer.
If your radio
displays an error number, write it down and provide it to
your dealer when reporting the problem.
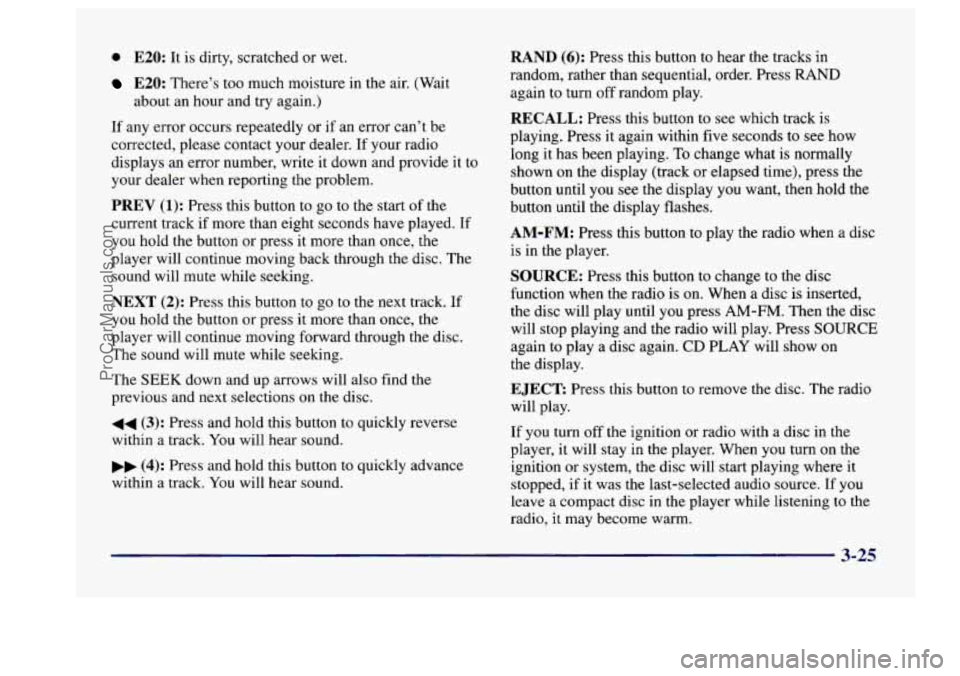
PREV (1): Press this button to go to the start of the
current track if more than eight seconds have played. If
you hold the button or press it more than once, the
player will continue moving back through the disc. The
sound will mute while seeking.
NEXT (2): Press this button to go to the next track. If
you hold the button or press
it more than once, the
player will continue moving forward through the disc.
The sound will mute while seeking.
The
SEEK down and up arrows will also find the
previous and next selections on the disc.
about an hour and
try again.)
44 (3): Press and hold this button to quickly reverse
within a track. You will hear sound.
.. (4): Press and hold this button to quickly advance
within a track.
You will hear sound.
RAND (6): Press this button to hear the tracks in
random, rather than sequential, order. Press
RAND
again to turn off random play.
RECALL: Press this button to see which track is
playing. Press it again within five seconds to see how
long it has been playing.
To change what is normally
shown on the display (track or elapsed time), press the
button until you
see the display you want, then hold the
button until the display flashes.
AM-FM: Press this button to play the radio when a disc
is in the player.
SOURCE: Press this button to change to the disc
function when the radio
is on. When a disc is inserted,
the disc will play until you press
AM-FM. Then the disc
will stop playing and the radio will play. Press
SOURCE
again to play a disc again. CD PLAY will show on
the display.
E JECR Press this button to remove the disc. The raalo
will play.
If you turn off the ignition or radio with a disc in the
player, it will stay in the player. When you turn on the
ignition or system, the disc will start playing where it
stopped,
if it was the last-selected audio source. If you
leave a compact disc
in the player while listening to the
radio, it may become warm.
3-25
ProCarManuals.com
Page 175 of 406
AM-FM: Press this button to play the radio when a d
is in the player.
SOURCE: Press this button to change to the disc
function when the radio is on. When a disc is inserted .i
, sc
9
the disc
will play until you press AM-FM. Then the disc
will stop playing and the radio will play. Press SOURCE
again to play a disc again. CD PLAY will show on
the
display.
EJECT Press this button to remove the disc. The radio
will play.
If you turn off the ignition or radio with a disc in the
player, it will stay in the player. When you turn on the
ignition or system, the disc will start playing where it
stopped, if it was the last-selected audio source.
Also,
as a protection feature, if a CD is ejected and left
in the player,
it will be pulled back in the player with the
ignition on or off. If you leave a compact disc in the
player while listening to the radio, it may become warm.
Theft-Deterrent Feature
THEFTLOCK” is designed to discourage theft of your
radio.
It works by using a secret code to disable all radio
functions whenever battery power is removed.
If THEFTLOCK is active, the THEFTLOCK indicator
will
flash when the ignition is off.
The THEFTLOCK feature for the radio may be used
or
ignored. If ignored, the system plays normally and the
radio is not protected by the feature.
If THEFTLOCK is
activated, your radio will
not operate if stolen.
When THEFTLOCK is activated, the radio will display
LOC
to indicate a locked condition anytime battery
power is removed.
If your battery loses power for any
reason,
you must unlock the radio with the secret code
before
it will operate.
Activating the Theft-Deterrent Feature
The instructions which follow, explain how to enter your
secret code to activate the THEFTLOCK system. It is
recommended that you read through all nine steps
before starting the procedure.
3-31
ProCarManuals.com
Page 193 of 406
Avoid needless heavy bralung. Some people drive in
spurts
-- heavy acceleration followed by heavy
braking
-- rather than keeping pace with traffic. This is a
mistake. Your brakes may not have time to cool between
hard stops. Your brakes will wear out much faster if you
do
a lot of heavy braking. If you keep pace with the
traffic and allow realistic following distances,
you will
eliminate a lot
of unnecessary braking. That means
better braking and longer brake life.
If your engine ever stops while you’re driving, brake
normally but don’t pump your brakes.
If you do, the
pedal may get harder to push down.
If your engine
stops,
you will still have some power brake assist. But
you will
use it when you brake. Once the power assist is
used up, it may take longer to stop and the brake pedal
will be harder
to push.
Anti-Lock Brakes (ABS)
Your vehicle has anti-lock brakes (ABS). ABS is an
advanced electronic braking system that will help
prevent a braking skid.
When you start your engine, or when
you begin to drive
away, your anti-lock brake system will check itself. You
may hear a momentary motor or clicking noise while
this
test is going on, and you may even notice that your
brake pedal moves a little. This is normal.
ANTI -
LOCK
If there’s a problem with the
anti-lock brake system, this
warning light will stay on or
flash. See “Anti-Lock
Brake System Warning
Light” in the Index.
4-7
ProCarManuals.com
Page 198 of 406
Passing
The driver of a vehicle about to pass another on a
two-lane highway waits for just the right moment,
accelerates, moves around the vehicle ahead, then goes
back into the right lane again.
A simple maneuver?
Not necessarily! Passing another vehicle on a two-lane
highway is a potentially dangerous move, since the
passing vehicle occupies the same lane
as oncoming
traffic for several seconds.
A miscalculation, an error in
judgment, or a brief surrender to frustration or anger can
suddenly put the passing driver face to face
with the
worst of all traffic accidents
-- the head-on collision.
So here are some tips for passing:
“Drive ahead.” Look down the road, to the sides and to
crossroads for situations that might affect your passing
patterns.
If you have any doubt whatsoever about
making
a successful pass, wait for a better time.
Watch for traffic signs, pavement markings and lines.
If you can see
a sign up ahead that might indicate a
turn or an intersection, delay your pass. A broken
center line usually indicates it’s
all right to pass
(providing the road ahead
is clear). Never cross a solid
line on your side of the lane or a double solid line,
even if the road seems empty of approaching traff‘ic.
Do not get too close to the vehicle you want to
pass while you’re awaiting an opportunity.
For one
thing, following too closely reduces your area of
vision, especially
if you’re following a larger
vehicle.
Also, you won’t have adequate space if the
vehicle ahead suddenly slows or stops. Keep back
a
reasonable distance.
0 When it looks like a chance to pass 1s coming up,
start to accelerate but stay in the right lane and don’t
get too close. Time your move
so you will be
increasing speed as the time comes to move into the
other lane.
If the way is clear to pass, you will have a
“running start” that more than makes up for the
distance you would lose by dropping back. And if
something happens to cause you to cancel your pass,
you need only slow down and drop back again and
wait for another opportunity.
0 If other cars are lined up to pass a slow vehicle, wait
your turn. But take care that someone
isn’t trying to
pass you
as you pull out to pass the slow vehicle.
Remember to glance over your shoulder and check
the blind spot.
4-12
ProCarManuals.com
Page 200 of 406
If your vehicle starts to slide, ease your foot off the
accelerator pedal and quickly steer the way you want the
vehicle to go. If you start steering quickly enough, your
vehicle may straighten out. Always be ready for a
second skid if it occurs.
Of course, traction is reduced when water, snow, ice,
gravel or other material is on the road. For safety, you’ll
want to slow down and adjust your driving
to these
conditions. It is important to slow down on slippery
surfaces because stopping distance will be longer and
vehicle control more limited.
While driving on a surface with reduced traction, try
your best to avoid sudden steering, acceleration or
braking (including engine braking by shifting to a lower
gear). Any sudden changes could cause the tires
to
slide. You may not realize the surface is slippery until
your vehicle is skidding. Learn to recognize warning
clues
-- such as enough water, ice or packed snow on
the road to make a “mirrored surface’’
-- and slow
down when you have any doubt.
Remember: Any anti-lock brake system (ABS) helps
avoid only the braking skid.
Driving at Night
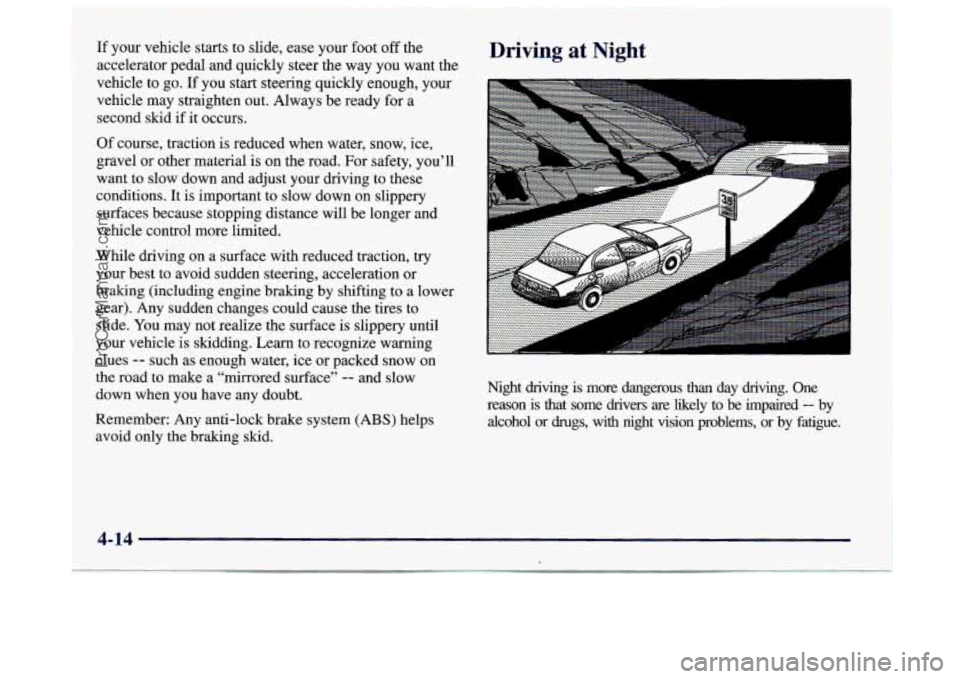
Night driving is more dangerous than day driving. One
reason is that some drivers
are likely to be impaired -- by
alcohol or
drugs, with night vision problems, or by fatigue.
4-14 1
ProCarManuals.com
Page 202 of 406
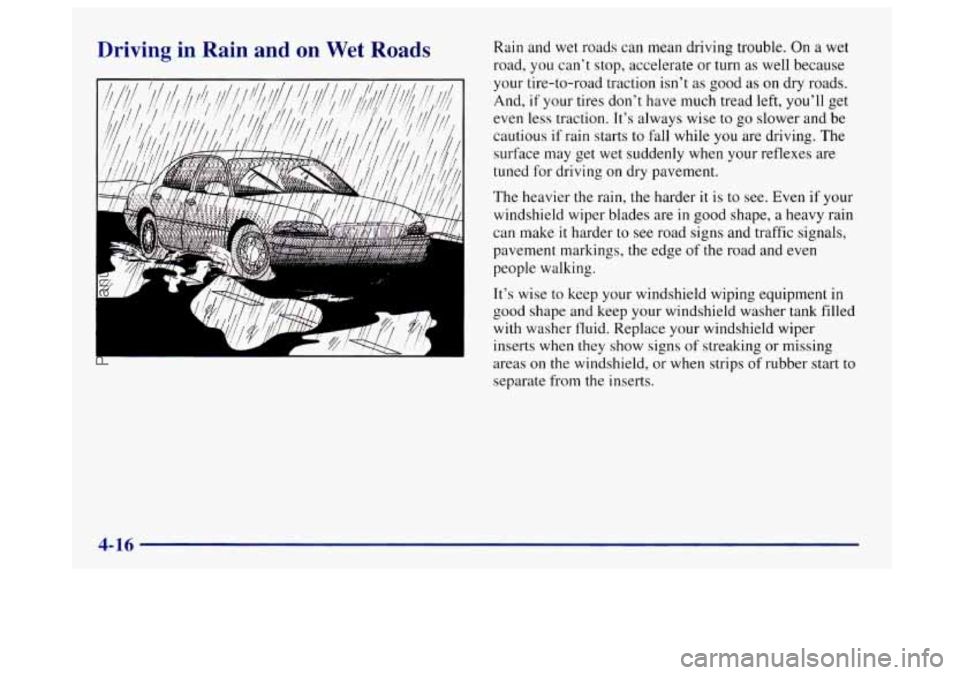
Driving in Rain and on Wet Roads Rain and wet roads can mean driving trouble. On a wet
road, you can’t stop, accelerate or turn as well because
your tire-to-road traction isn’t
as good as on dry roads.
And,
if your tires don’t have much tread left, you’ll get
even less traction. It’s always wise to go slower and be
cautious if rain starts to fall while you are driving. The
surface may get wet suddenly when your reflexes are
tuned for driving on dry pavement.
The heavier
the rain, the harder it is to see. Even if your
windshield wiper blades are
in good shape, a heavy rain
can make
it harder to see road signs and traffic signals,
pavement markings, the edge of the road and even
people walking.
It’s wise to keep your windshield wiping equipment
in
good shape and keep your windshield washer tank filled
with washer fluid. Replace your windshield wiper
inserts
when they show signs of streaking or missing
areas on the Windshield, or when strips
of rubber start to
separate from
the inserts.
4-16
ProCarManuals.com
Page 222 of 406
Turn Signals When Towing a Trailer
When you tow a trailer, your vehicle may need a
different turn signal flasher and/or extra wiring. Check
with your Buick dealer. The green arrows on your
instrument panel will flash whenever you signal a turn
or lane change. Properly hooked
up, the trailer lamps
will also flash, telling other drivers you’re about to turn,
change lanes or stop.
When towing a trailer, the green arrows on your
instrument panel will flash for turns even
if the bulbs on
the trailer are burned
out. Thus, you may think drivers
behind you are seeing your signal when they are not.
It’s important to check occasionally to be sure the trailer
bulbs
are still working.
Driving On Grades
Reduce speed and shift to a lower gear before you start
down a long
or steep downgrade. If you don’t shift
down, you might have to
use your brakes so much that
they would get hot and no longer work well.
On a long uphill grade, shift down and reduce your
speed to around
45 mph (70 km/h) to reduce the
possibility of engine and transaxle overheating.
Parking on Hills
You really should not park your vehicle, with a trailer
attached,
on a hill. If something goes wrong, your rig
could start to move. People can be injured, and both
your vehicle and the trailer
can be damaged.
But if you ever have to park your rig on a hill, here’s
how to do it:
1.
2.
3.
4.
5.
Apply your regular brakes, but don’t shift into
PARK (P) yet.
Have someone place chocks under the
trailer’s wheels.
When the wheel chocks are
in place, release the
regular brakes until the chocks absorb the load.
Reapply the regular brakes. Then apply your parking
brake, and shift
to PARK (P).
Release the regular brakes.
4-36
ProCarManuals.com
Page 223 of 406
When You Are Ready to Leave After
Parking on a Hill
1. Apply your regular brakes and hold the pedal down
while you:
Start your engine;
Shift into a gear; and
Release the parking brake.
2. Let up on the brake pedal.
3. Drive slowly until the trailer is clear of the chocks.
4. Stop and have someone pick up and store the chocks.
Maintenance When Trailer Towing
Your vehicle will need service more often when you’re
pulling a trailer. See the Maintenance Schedule for more
on this. Things that are especially important
in trailer
operation are automatic transaxle fluid (don’t overfill),
engine oil, belt, cooling system and brake adjustment.
Each of these
is covered in this manual, and the Index
will help you find them quickly.
If you’re trailering, it’s
a good idea to review these sections before you start
your trip.
Check periodically to see that all hitch nuts and bolts
are tight.
4-37
ProCarManuals.com
Page 326 of 406
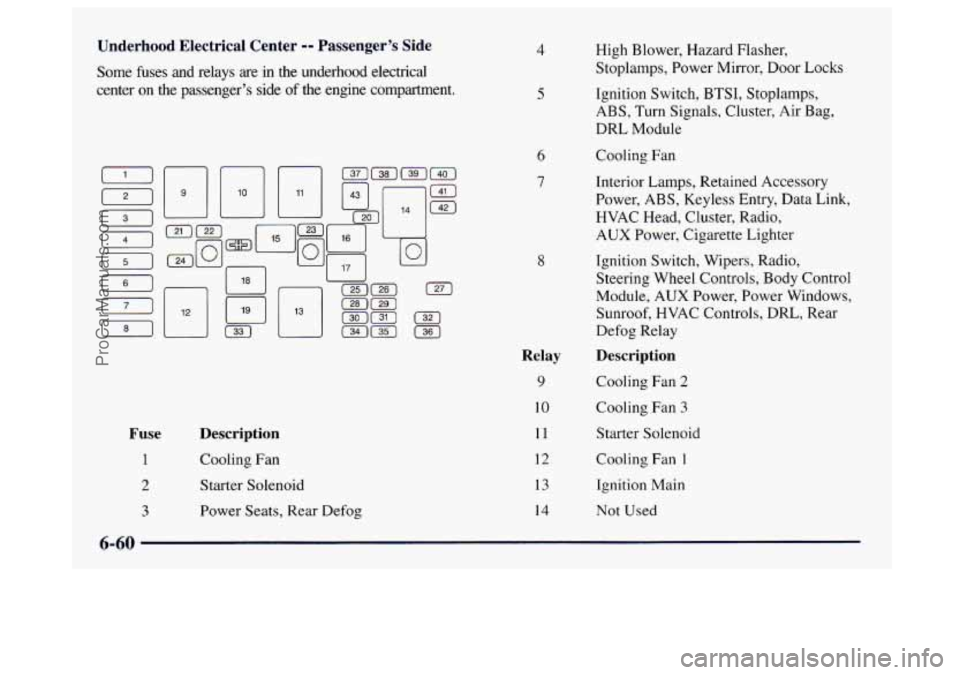
Underhood Electrical Center -- Passenger's Side
Some fuses and relays are in the underhood electrical
center on the passenger's side
of the engine compartment.
D
121
(31
(41
(51 F I I I I
m
[61
18j
(71 [TI
Fuse
1
2
3
Description
Cooling Fan
Starter Solenoid
Power Seats, Rear Defog
4
5
6
7
8
Relay
9
10
11
12
13
14
High Blower, Hazard Flasher,
Stoplamps, Power Mirror, Door Locks
Ignition Switch, BTSI, Stoplamps,
ABS, Turn Signals, Cluster, Air Bag,
DRL Module
Cooling Fan
Interior Lamps, Retained Accessory
Power, ABS, Keyless Entry, Data Link,
HVAC Head, Cluster, Radio,
AUX Power, Cigarette Lighter
Ignition Switch, Wipers, Radio,
Steering Wheel Controls, Body Control
Module, AUX Power, Power Windows,
Sunroof, HVAC Controls, DRL, Rear
Defog Relay
Description
Cooling Fan 2
Cooling Fan 3
Starter Solenoid
Cooling Fan
1
Ignition Main
Not Used
ProCarManuals.com