warning light BUICK CENTURY 2003 Owner's Guide
[x] Cancel search | Manufacturer: BUICK, Model Year: 2003, Model line: CENTURY, Model: BUICK CENTURY 2003Pages: 344, PDF Size: 2.57 MB
Page 179 of 344
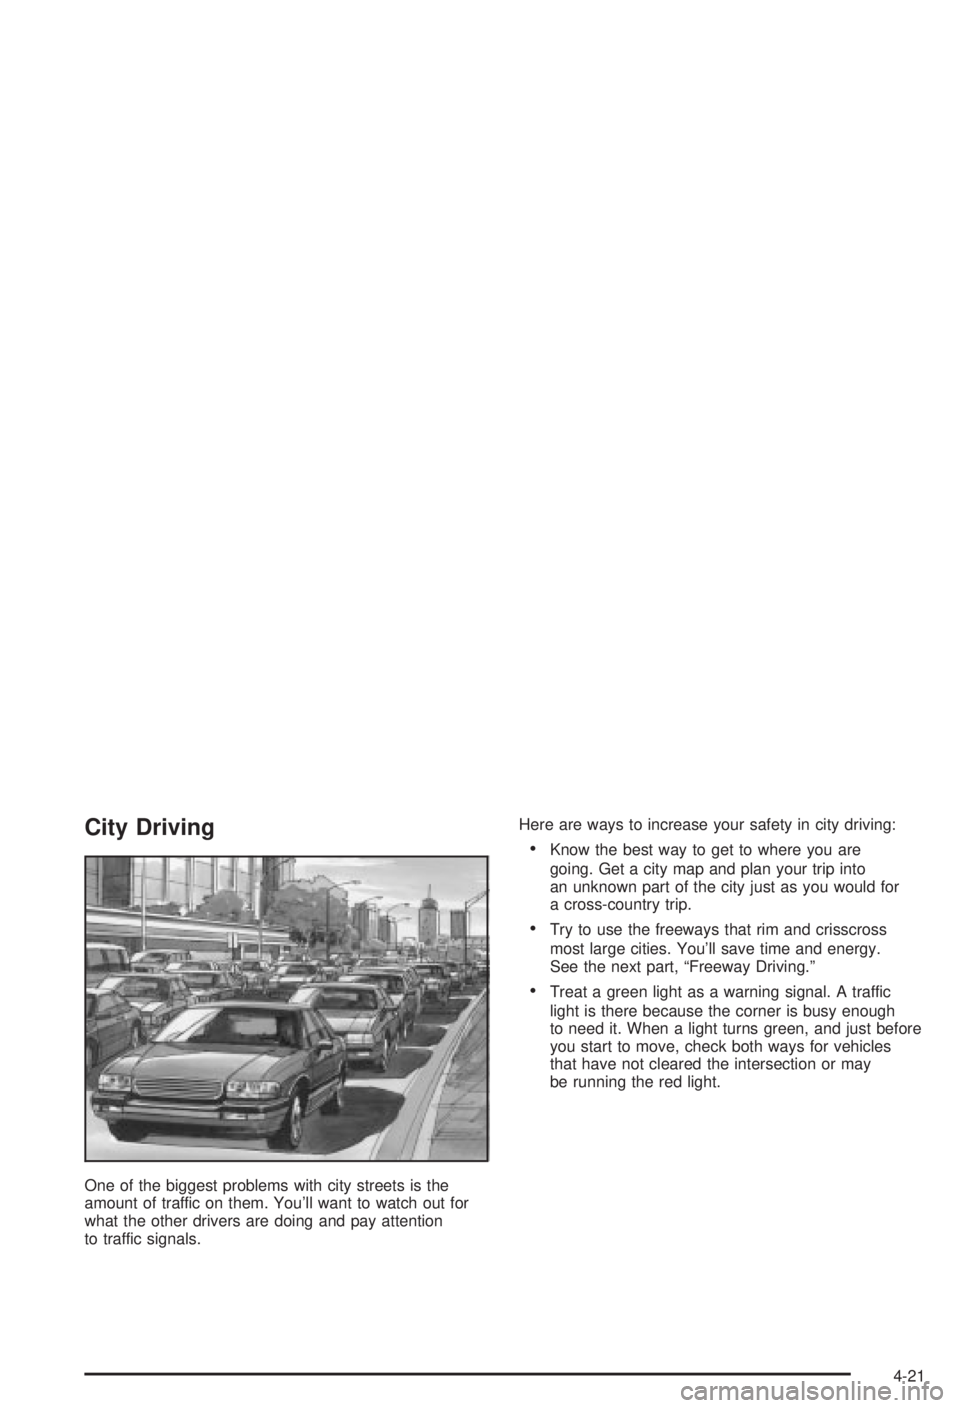
City Driving
One of the biggest problems with city streets is the
amount of traffic on them. You'll want to watch out for
what the other drivers are doing and pay attention
to traffic signals.Here are ways to increase your safety in city driving:
·Know the best way to get to where you are
going. Get a city map and plan your trip into
an unknown part of the city just as you would for
a cross-country trip.
·Try to use the freeways that rim and crisscross
most large cities. You'll save time and energy.
See the next part, ªFreeway Driving.º
·Treat a green light as a warning signal. A traffic
light is there because the corner is busy enough
to need it. When a light turns green, and just before
you start to move, check both ways for vehicles
that have not cleared the intersection or may
be running the red light.
4-21
Page 185 of 344
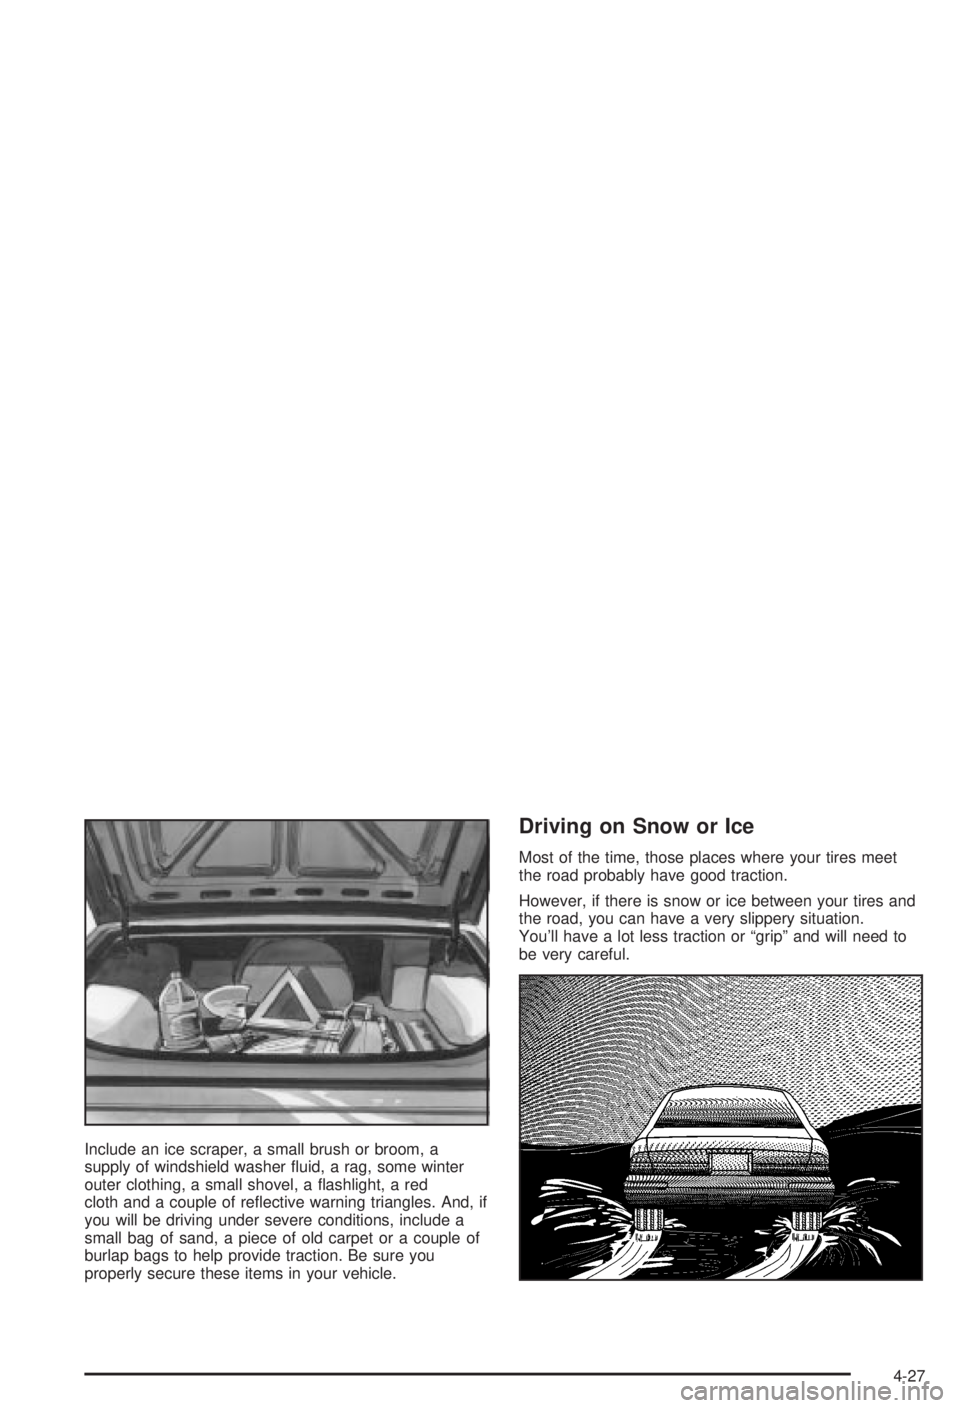
Include an ice scraper, a small brush or broom, a
supply of windshield washer ¯uid, a rag, some winter
outer clothing, a small shovel, a ¯ashlight, a red
cloth and a couple of re¯ective warning triangles. And, if
you will be driving under severe conditions, include a
small bag of sand, a piece of old carpet or a couple of
burlap bags to help provide traction. Be sure you
properly secure these items in your vehicle.
Driving on Snow or Ice
Most of the time, those places where your tires meet
the road probably have good traction.
However, if there is snow or ice between your tires and
the road, you can have a very slippery situation.
You'll have a lot less traction or ªgripº and will need to
be very careful.
4-27
Page 217 of 344
How to Reset the CHANGE OIL SOON
Light
The GM Oil Life System calculates when to change
your engine oil and ®lter based on vehicle use. Anytime
your oil is changed, reset the system so it can
calculate when the next oil change is required. If a
situation occurs where you change your oil prior to a
CHANGE OIL SOON light being turned on, reset
the system.
After changing the engine oil, reset the system by
performing the following steps:
1. With the engine off, turn the ignition key to RUN.
2. Fully push and release the accelerator pedal slowly
three times within ®ve seconds.
If the CHANGE OIL SOON light ¯ashes, the system
is resetting.
3. Turn the key to OFF, then start the vehicle. The oil
life will change to 100 percent.
If the CHANGE OIL SOON light comes back on, the
system has not reset. Repeat the procedure.
What to Do with Used Oil
Used engine oil contains certain elements that may be
unhealthy for your skin and could even cause cancer.
Don't let used oil stay on your skin for very long. Clean
your skin and nails with soap and water, or a good
hand cleaner. Wash or properly dispose of clothing or
rags containing used engine oil. See the manufacturer's
warnings about the use and disposal of oil products.
Used oil can be a threat to the environment. If you
change your own oil, be sure to drain all the oil from the
®lter before disposal. Never dispose of oil by putting it
in the trash, pouring it on the ground, into sewers, or into
streams or bodies of water. Instead, recycle it by
taking it to a place that collects used oil. If you have a
problem properly disposing of your used oil, ask
your dealer, a service station or a local recycling center
for help.
5-17
Page 223 of 344
Engine Coolant
The cooling system in your vehicle is ®lled with
DEX-COOLžengine coolant. This coolant is designed
to remain in your vehicle for 5 years or 150,000 miles
(240 000 km), whichever occurs ®rst, if you add
only DEX-COOL
žextended life coolant.
The following explains your cooling system and how to
add coolant when it is low. If you have a problem
with engine overheating or if you need to add coolant to
your radiator, see
Engine Overheating on page 5-26.
A 50/50 mixture of clean, drinkable water and
DEX-COOL
žcoolant will:
·Give freezing protection down to-34ÉF (-37ÉC).
·Give boiling protection up to 265ÉF (129ÉC).
·Protect against rust and corrosion.
·Help keep the proper engine temperature.
·Let the warning lights and gages work as they
should.
Notice:When adding coolant, it is important that
you use only DEX-COOLž(silicate-free) coolant.
If coolant other than DEX-COOLžis added to
the system, premature engine, heater core or
radiator corrosion may result. In addition, the engine
coolant will require change sooner Ð at 30,000 miles
(50,000 km) or 24 months, whichever occurs ®rst.
Damage caused by the use of coolant other
than DEX-COOL
žis not covered by your new vehicle
warranty.
5-23
Page 226 of 344
Radiator Pressure Cap
Notice:Your radiator cap is a pressure-type cap
and must be tightly installed to prevent coolant loss
and possible engine damage from overheating.
Be sure the arrows on the cap line up with the
over¯ow tube on the radiator ®ller neck.
The radiator pressure cap is located near the front of
the engine compartment on the passenger's side of the
vehicle. See
Engine Compartment Overview on
page 5-12for more information on location.
Engine Overheating
You will ®nd a coolant temperature gage and a hot
engine warning light on your instrument panel.
See
Engine Coolant Temperature Gage on page 3-30andEngine Coolant Temperature Warning Light on
page 3-29.
Overheated Engine Protection
Operating Mode
The emergency engine protection operating mode
allows your vehicle to be driven to a safe place in an
emergency situation. If an overheated engine condition
exists, this protection mode alternates ®ring groups
of cylinders to help prevent engine damage. In
this mode, you will notice a signi®cant loss in power and
engine performance. The engine coolant temperature
gage indicator will move to the red area, showing that an
overheated engine condition exists. Driving extended
miles (km) and/or towing a trailer in the overheated
protection mode should be avoided.
Notice:After driving in the overheated engine
protection operating mode, to avoid engine damage,
allow the engine to cool before attempting any repair.
The engine oil will be severely degraded. Repair the
cause of coolant loss, change the oil and reset the oil
life system. See ªEngine Oilº in the Index.
5-26
Page 240 of 344
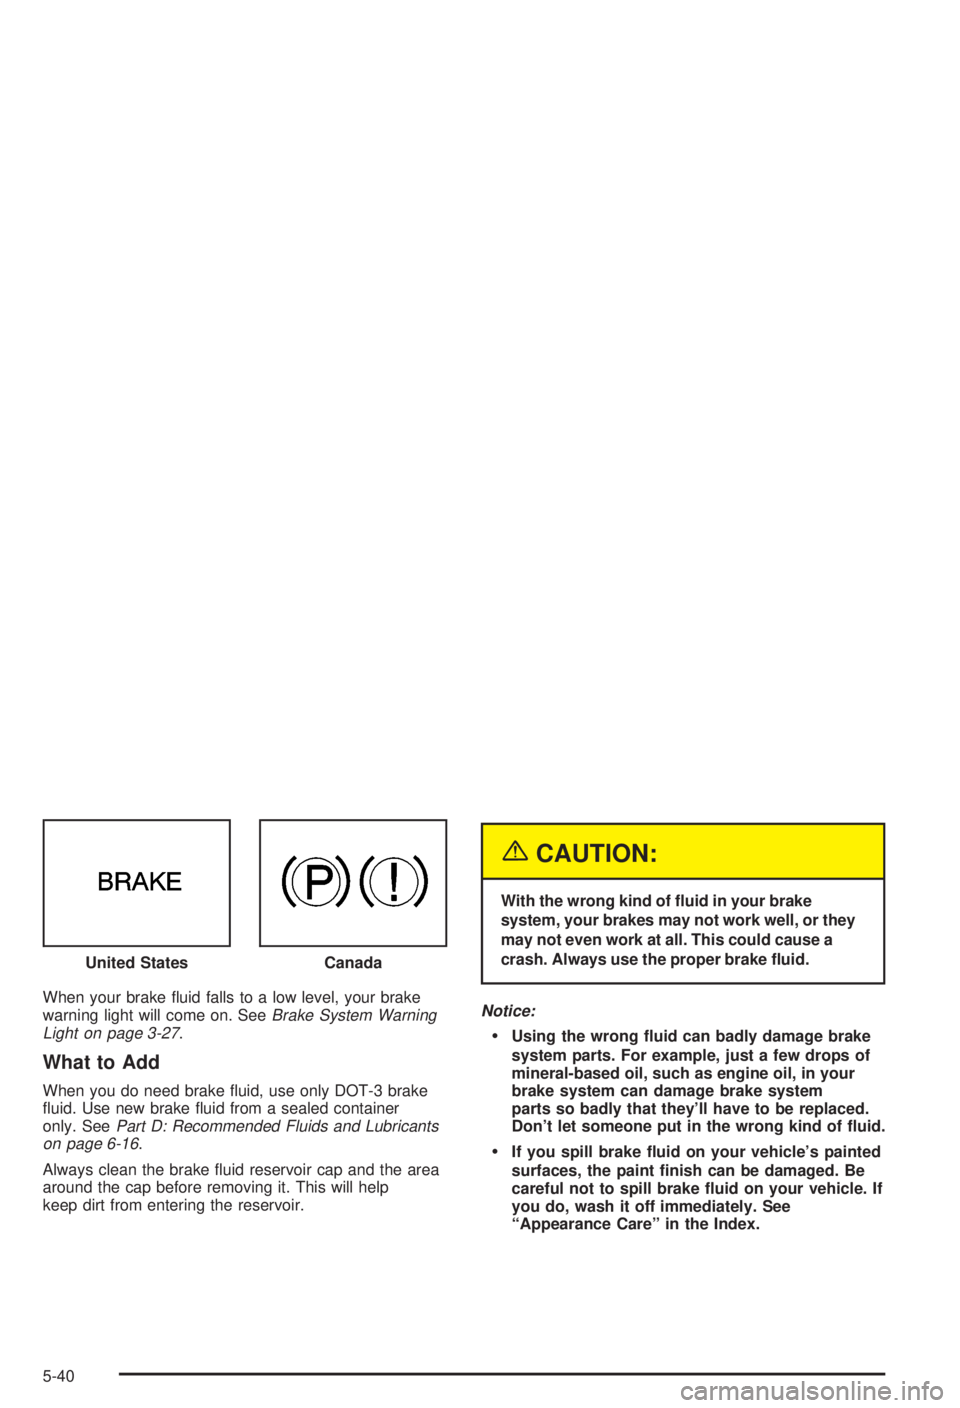
When your brake ¯uid falls to a low level, your brake
warning light will come on. SeeBrake System Warning
Light on page 3-27.
What to Add
When you do need brake ¯uid, use only DOT-3 brake
¯uid. Use new brake ¯uid from a sealed container
only. See
Part D: Recommended Fluids and Lubricants
on page 6-16.
Always clean the brake ¯uid reservoir cap and the area
around the cap before removing it. This will help
keep dirt from entering the reservoir.
{CAUTION:
With the wrong kind of ¯uid in your brake
system, your brakes may not work well, or they
may not even work at all. This could cause a
crash. Always use the proper brake ¯uid.
Notice:
·Using the wrong ¯uid can badly damage brake
system parts. For example, just a few drops of
mineral-based oil, such as engine oil, in your
brake system can damage brake system
parts so badly that they'll have to be replaced.
Don't let someone put in the wrong kind of ¯uid.
·If you spill brake ¯uid on your vehicle's painted
surfaces, the paint ®nish can be damaged. Be
careful not to spill brake ¯uid on your vehicle. If
you do, wash it off immediately. See
ªAppearance Careº in the Index. United States
Canada
5-40
Page 241 of 344
Brake Wear
Your vehicle has front disc brakes and rear drum
brakes.
Disc brake pads have built-in wear indicators that make
a high-pitched warning sound when the brake pads
are worn and new pads are needed. The sound
may come and go or be heard all the time your vehicle
is moving (except when you are pushing on the
brake pedal ®rmly).
{CAUTION:
The brake wear warning sound means that
soon your brakes won't work well. That could
lead to an accident. When you hear the brake
wear warning sound, have your vehicle
serviced.
Notice:Continuing to drive with worn-out brake
pads could result in costly brake repair.Some driving conditions or climates may cause a brake
squeal when the brakes are ®rst applied or lightly
applied. This does not mean something is wrong with
your brakes.
Properly torqued wheel nuts are necessary to help
prevent brake pulsation. When tires are rotated, inspect
brake pads for wear and evenly tighten wheel nuts in
the proper sequence to GM torque speci®cations.
Your rear drum brakes don't have wear indicators, but if
you ever hear a rear brake rubbing noise, have the
rear brake linings inspected immediately. Also, the rear
brake drums should be removed and inspected each
time the tires are removed for rotation or changing.
When you have the front brake pads replaced have the
rear brakes inspected, too.
Brake linings should always be replaced as complete
axle sets.
See
Brake System Inspection on page 6-15.
Brake Pedal Travel
See your dealer if the brake pedal does not return to
normal height, or if there is a rapid increase in
pedal travel. This could be a sign of brake trouble.
Brake Adjustment
Every time you apply the brakes, with or without the
vehicle moving, your brakes adjust for wear.
5-41
Page 263 of 344
Uniform Tire Quality Grading
Quality grades can be found where applicable on the
tire sidewall between tread shoulder and maximum
section width. For example:
Treadwear 200 Traction AA Temperature A
The following information relates to the system
developed by the United States National Highway
Traffic Safety Administration, which grades tires by
treadwear, traction and temperature performance. (This
applies only to vehicles sold in the United States.)
The grades are molded on the sidewalls of most
passenger car tires. The Uniform Tire Quality Grading
system does not apply to deep tread, winter-type
snow tires, space-saver or temporary use spare tires,
tires with nominal rim diameters of 10 to 12 inches
(25 to 30 cm), or to some limited-production tires.
While the tires available on General Motors passenger
cars and light trucks may vary with respect to these
grades, they must also conform to federal safety
requirements and additional General Motors Tire
Performance Criteria (TPC) standards.
Treadwear
The treadwear grade is a comparative rating based on
the wear rate of the tire when tested under controlled
conditions on a speci®ed government test course.
For example, a tire graded 150 would wear one and
a half (1.5) times as well on the government course as
a tire graded 100. The relative performance of tires
depends upon the actual conditions of their use,
however, and may depart signi®cantly from the norm
due to variations in driving habits, service practices and
differences in road characteristics and climate.
Traction ± AA, A, B, C
The traction grades, from highest to lowest, are AA, A,
B, and C. Those grades represent the tire's ability
to stop on wet pavement as measured under controlled
conditions on speci®ed government test surfaces of
asphalt and concrete. A tire marked C may have poor
traction performance. Warning: The traction grade
assigned to this tire is based on straight-ahead braking
traction tests, and does not include acceleration,
cornering, hydroplaning, or peak traction characteristics.
5-63
Page 329 of 344
A
Activating the Theft-Deterrent Feature................3-48
Adding Washer Fluid.......................................5-38
Additional Program Information........................... 7-9
Additives, Fuel................................................. 5-6
Add-On Electrical Equipment............................5-88
Adjusting the Speakers (Balance/Fade)......3-41, 3-44
Air Bag Systems.............................................1-53
How Does an Air Bag Restrain?....................1-59
Servicing Your Air Bag-Equipped Vehicle.........1-62
What Makes an Air Bag In¯ate?....................1-59
What Will You See After an Air Bag In¯ates?......1-60
When Should an Air Bag In¯ate?...................1-58
Where Are the Air Bags?..............................1-56
Air Bag .........................................................3-25
Readiness Light..........................................3-25
Air Cleaner/Filter, Engine.................................5-18
AM-FM Radio.................................................3-40
AM ...............................................................3-50
Antenna, Fixed Mast.......................................3-52
Anti-lock Brake System (ABS)............................ 4-7
Anti-Lock Brake, System Warning Light..............3-28
Appearance Care............................................5-79
Care of Safety Belts....................................5-82
Chemical Paint Spotting...............................5-85
Cleaning the Inside of Your Vehicle................5-79Appearance Care (cont.)
Cleaning the Outside of Your Vehicle..............5-82
Finish Damage............................................5-84
Sheet Metal Damage...................................5-84
Underbody Maintenance...............................5-85
Vehicle Care/Appearance Materials................5-85
Weatherstrips..............................................5-82
Ashtrays........................................................3-16
Audio System(s).............................................3-39
AM-FM Radio.............................................3-40
Audio Steering Wheel Controls......................3-50
Care of Your Cassette Tape Player................3-51
Care of Your CD Player...............................3-52
Care of Your CDs........................................3-52
Fixed Mast Antenna.....................................3-52
Radio with Cassette and CD.........................3-42
Setting the Time..........................................3-39
Theft-Deterrent Feature................................3-48
Understanding Radio Reception.....................3-50
Automatic Transaxle Check..............................6-11
Automatic Transaxle Shift Lock Control System
Check........................................................6-12
Automatic Transaxle........................................5-19
Fluid..........................................................5-19
Operation...................................................2-23
Auxiliary Power Connection (Power Drop)...........3-16
1
Page 330 of 344
B
Backing Up....................................................4-39
Battery Replacement......................................... 2-8
Battery Rundown Protection.............................3-15
Battery..........................................................5-42
Before Leaving on a Long Trip.........................4-23
Body Lubrication Service..................................6-11
Brake Fluid....................................................5-39
Brake Wear...................................................5-41
Brake............................................................2-26
Parking......................................................2-26
System Inspection.......................................6-15
System Warning Light..................................3-27
Brakes..........................................................5-39
Braking in Emergencies..................................... 4-9
Braking........................................................... 4-6
Break-In, New Vehicle.....................................2-19
Bulb Replacement...........................................5-51
Back-Up Lamps...........................................5-55
Center High-Mounted Stoplamp (CHMSL)........5-53
Front Turn Signal and Parking Lamps.............5-52
Halogen Bulbs............................................5-51
Headlamp Aiming........................................5-49
Headlamps.................................................5-51
Replacement Bulbs......................................5-55
Taillamps, Turn Signal, and Stoplamps............5-54
Buying New Tires...........................................5-62
C
California Fuel.................................................. 5-6
Canada ± Customer Assistance.......................... 7-5
Canadian Owners................................................ ii
Canadian Roadside Assistance........................... 7-7
Capacities and Speci®cations............................5-94
Carbon Monoxide...................4-26, 4-35, 2-13, 2-30
Care of.........................................................5-82
Safety Belts................................................5-82
Your Cassette Tape Player............................3-51
Your CD Player...........................................3-52
Your CDs ...................................................3-52
Cassette Tape Messages.................................3-45
Cassette Tape Player Service...........................6-10
Center High-Mounted Stoplamp (CHMSL)...........5-53
Center Passenger Position, Safety Belts.............1-22
Chains, Tires..................................................5-66
Charging System Light....................................3-26
Checking Coolant............................................5-24
Checking Engine Oil........................................5-13
Checking Things Under the Hood......................5-10
Checking Your Restraint Systems......................1-63
Check...........................................................3-31
Engine Light...............................................3-31
Chemical Paint Spotting...................................5-85
Child Restraints..............................................1-36
Child Restraint Systems...............................1-36
2