AUX BUICK CENTURY 2003 Owner's Manual
[x] Cancel search | Manufacturer: BUICK, Model Year: 2003, Model line: CENTURY, Model: BUICK CENTURY 2003Pages: 344, PDF Size: 2.57 MB
Page 107 of 344
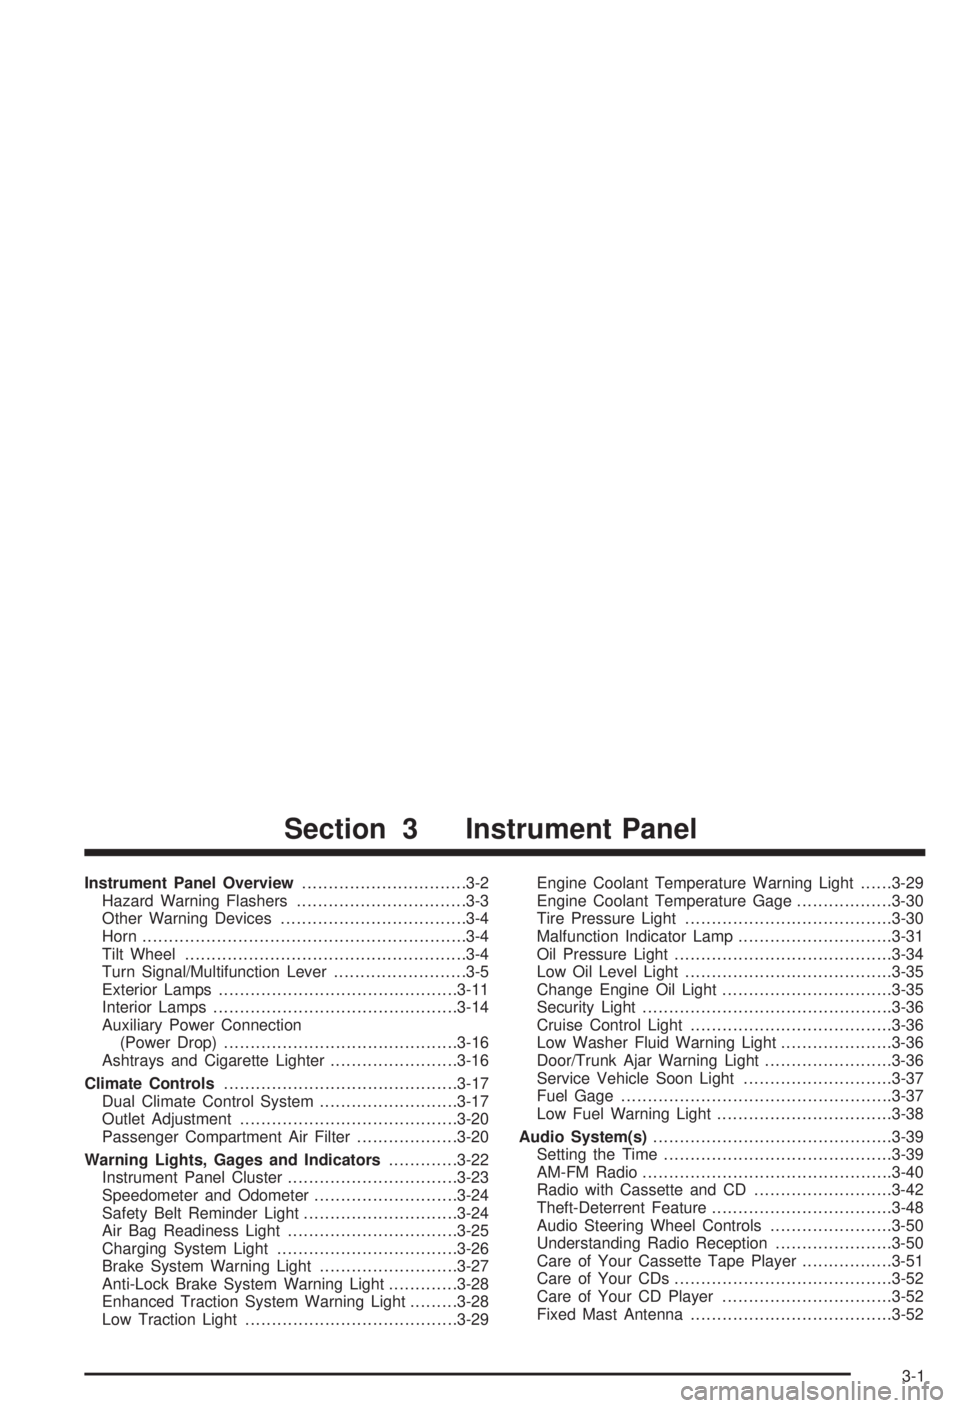
Instrument Panel Overview...............................3-2
Hazard Warning Flashers................................3-3
Other Warning Devices...................................3-4
Horn.............................................................3-4
Tilt Wheel.....................................................3-4
Turn Signal/Multifunction Lever.........................3-5
Exterior Lamps.............................................3-11
Interior Lamps..............................................3-14
Auxiliary Power Connection
(Power Drop)............................................3-16
Ashtrays and Cigarette Lighter........................3-16
Climate Controls............................................3-17
Dual Climate Control System..........................3-17
Outlet Adjustment.........................................3-20
Passenger Compartment Air Filter...................3-20
Warning Lights, Gages and Indicators.............3-22
Instrument Panel Cluster................................3-23
Speedometer and Odometer...........................3-24
Safety Belt Reminder Light.............................3-24
Air Bag Readiness Light................................3-25
Charging System Light..................................3-26
Brake System Warning Light..........................3-27
Anti-Lock Brake System Warning Light.............3-28
Enhanced Traction System Warning Light.........3-28
Low Traction Light........................................3-29Engine Coolant Temperature Warning Light......3-29
Engine Coolant Temperature Gage..................3-30
Tire Pressure Light.......................................3-30
Malfunction Indicator Lamp.............................3-31
Oil Pressure Light.........................................3-34
Low Oil Level Light.......................................3-35
Change Engine Oil Light................................3-35
Security Light...............................................3-36
Cruise Control Light......................................3-36
Low Washer Fluid Warning Light.....................3-36
Door/Trunk Ajar Warning Light........................3-36
Service Vehicle Soon Light............................3-37
Fuel Gage...................................................3-37
Low Fuel Warning Light.................................3-38
Audio System(s).............................................3-39
Setting the Time...........................................3-39
AM-FM Radio...............................................3-40
Radio with Cassette and CD..........................3-42
Theft-Deterrent Feature..................................3-48
Audio Steering Wheel Controls.......................3-50
Understanding Radio Reception......................3-50
Care of Your Cassette Tape Player.................3-51
Care of Your CDs.........................................3-52
Care of Your CD Player................................3-52
Fixed Mast Antenna......................................3-52
Section 3 Instrument Panel
3-1
Page 122 of 344
Auxiliary Power Connection
(Power Drop)
Your vehicle is equipped with an auxiliary power
connection. This feature provides power, ground and
accessory wires which can be accessed to add
aftermarket electrical equipment to your vehicle.
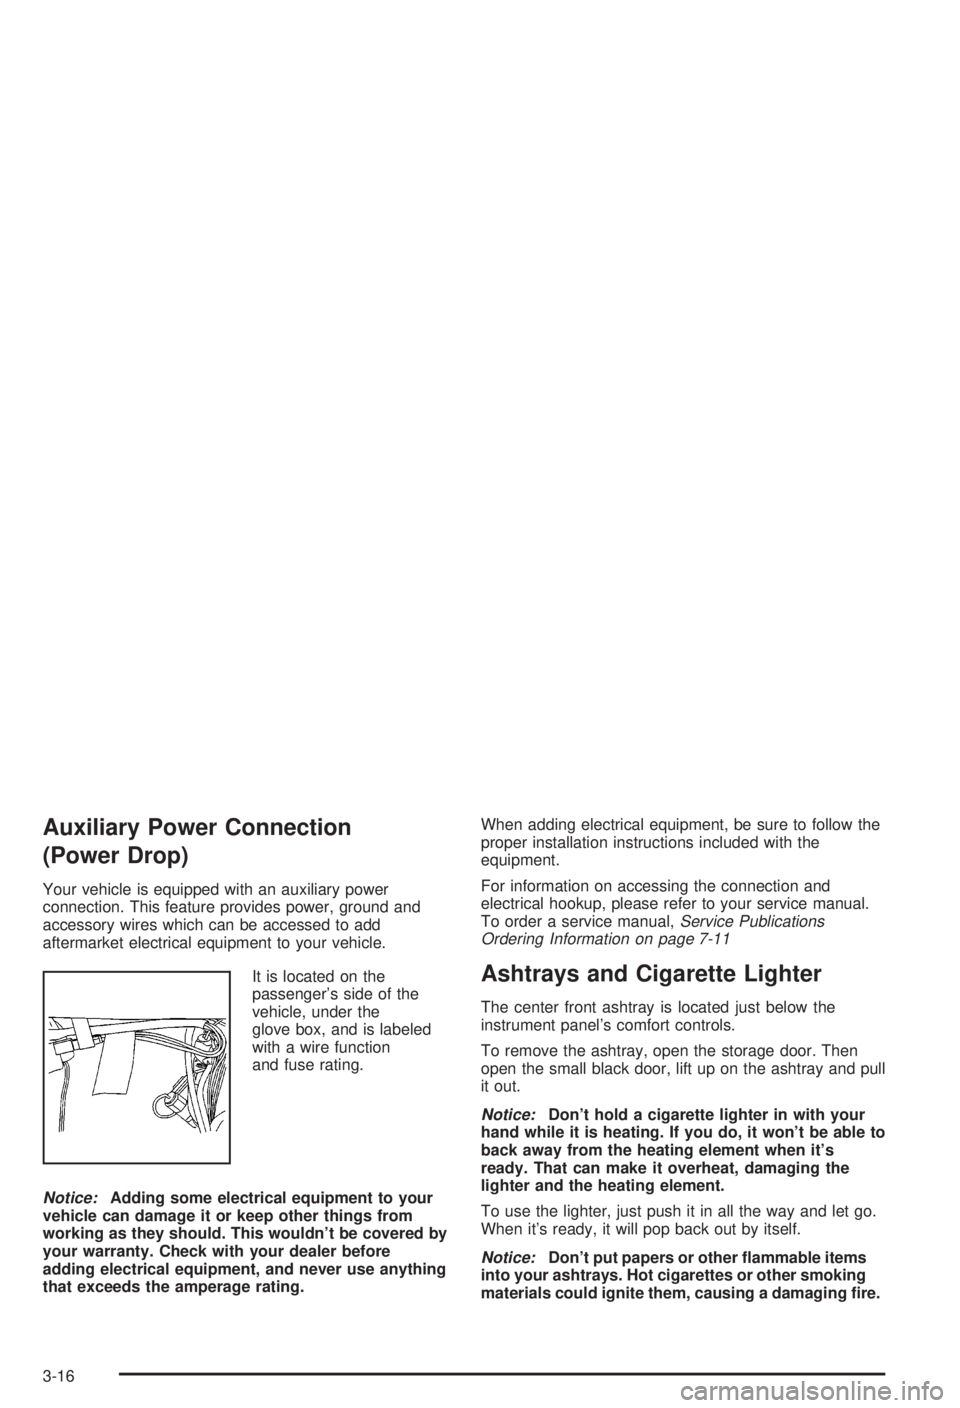
It is located on the
passenger's side of the
vehicle, under the
glove box, and is labeled
with a wire function
and fuse rating.
Notice:Adding some electrical equipment to your
vehicle can damage it or keep other things from
working as they should. This wouldn't be covered by
your warranty. Check with your dealer before
adding electrical equipment, and never use anything
that exceeds the amperage rating.When adding electrical equipment, be sure to follow the
proper installation instructions included with the
equipment.
For information on accessing the connection and
electrical hookup, please refer to your service manual.
To order a service manual,
Service Publications
Ordering Information on page 7-11
Ashtrays and Cigarette Lighter
The center front ashtray is located just below the
instrument panel's comfort controls.
To remove the ashtray, open the storage door. Then
open the small black door, lift up on the ashtray and pull
it out.
Notice:Don't hold a cigarette lighter in with your
hand while it is heating. If you do, it won't be able to
back away from the heating element when it's
ready. That can make it overheat, damaging the
lighter and the heating element.
To use the lighter, just push it in all the way and let go.
When it's ready, it will pop back out by itself.
Notice:Don't put papers or other ¯ammable items
into your ashtrays. Hot cigarettes or other smoking
materials could ignite them, causing a damaging ®re.
3-16
Page 243 of 344
Jump Starting
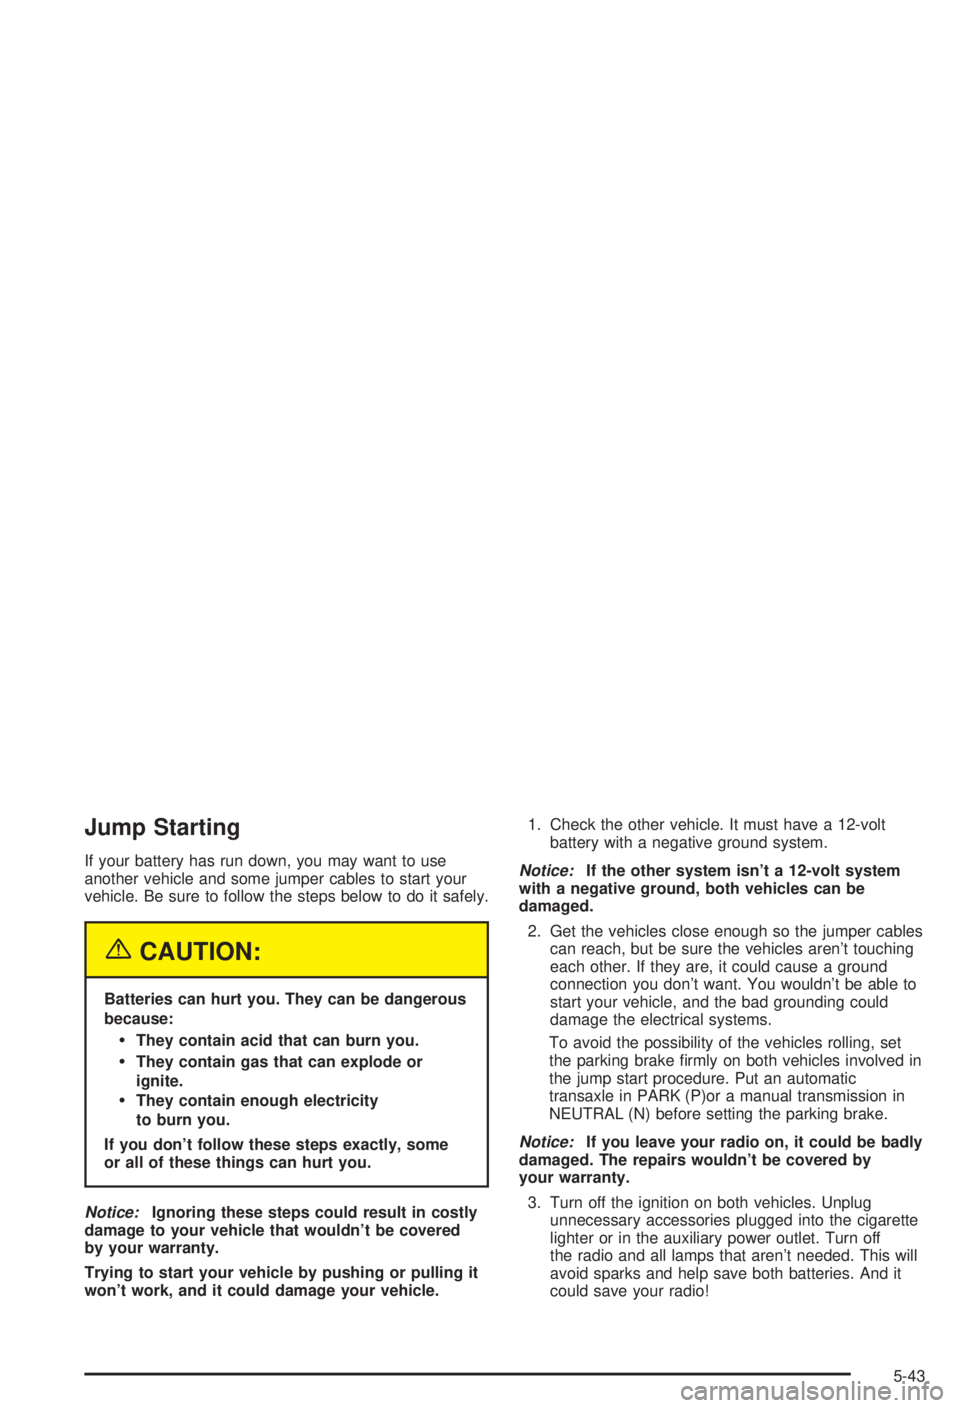
If your battery has run down, you may want to use
another vehicle and some jumper cables to start your
vehicle. Be sure to follow the steps below to do it safely.
{CAUTION:
Batteries can hurt you. They can be dangerous
because:
·They contain acid that can burn you.
·They contain gas that can explode or
ignite.
·They contain enough electricity
to burn you.
If you don't follow these steps exactly, some
or all of these things can hurt you.
Notice:Ignoring these steps could result in costly
damage to your vehicle that wouldn't be covered
by your warranty.
Trying to start your vehicle by pushing or pulling it
won't work, and it could damage your vehicle.1. Check the other vehicle. It must have a 12-volt
battery with a negative ground system.
Notice:If the other system isn't a 12-volt system
with a negative ground, both vehicles can be
damaged.
2. Get the vehicles close enough so the jumper cables
can reach, but be sure the vehicles aren't touching
each other. If they are, it could cause a ground
connection you don't want. You wouldn't be able to
start your vehicle, and the bad grounding could
damage the electrical systems.
To avoid the possibility of the vehicles rolling, set
the parking brake ®rmly on both vehicles involved in
the jump start procedure. Put an automatic
transaxle in PARK (P)or a manual transmission in
NEUTRAL (N) before setting the parking brake.
Notice:If you leave your radio on, it could be badly
damaged. The repairs wouldn't be covered by
your warranty.
3. Turn off the ignition on both vehicles. Unplug
unnecessary accessories plugged into the cigarette
lighter or in the auxiliary power outlet. Turn off
the radio and all lamps that aren't needed. This will
avoid sparks and help save both batteries. And it
could save your radio!
5-43
Page 329 of 344
A
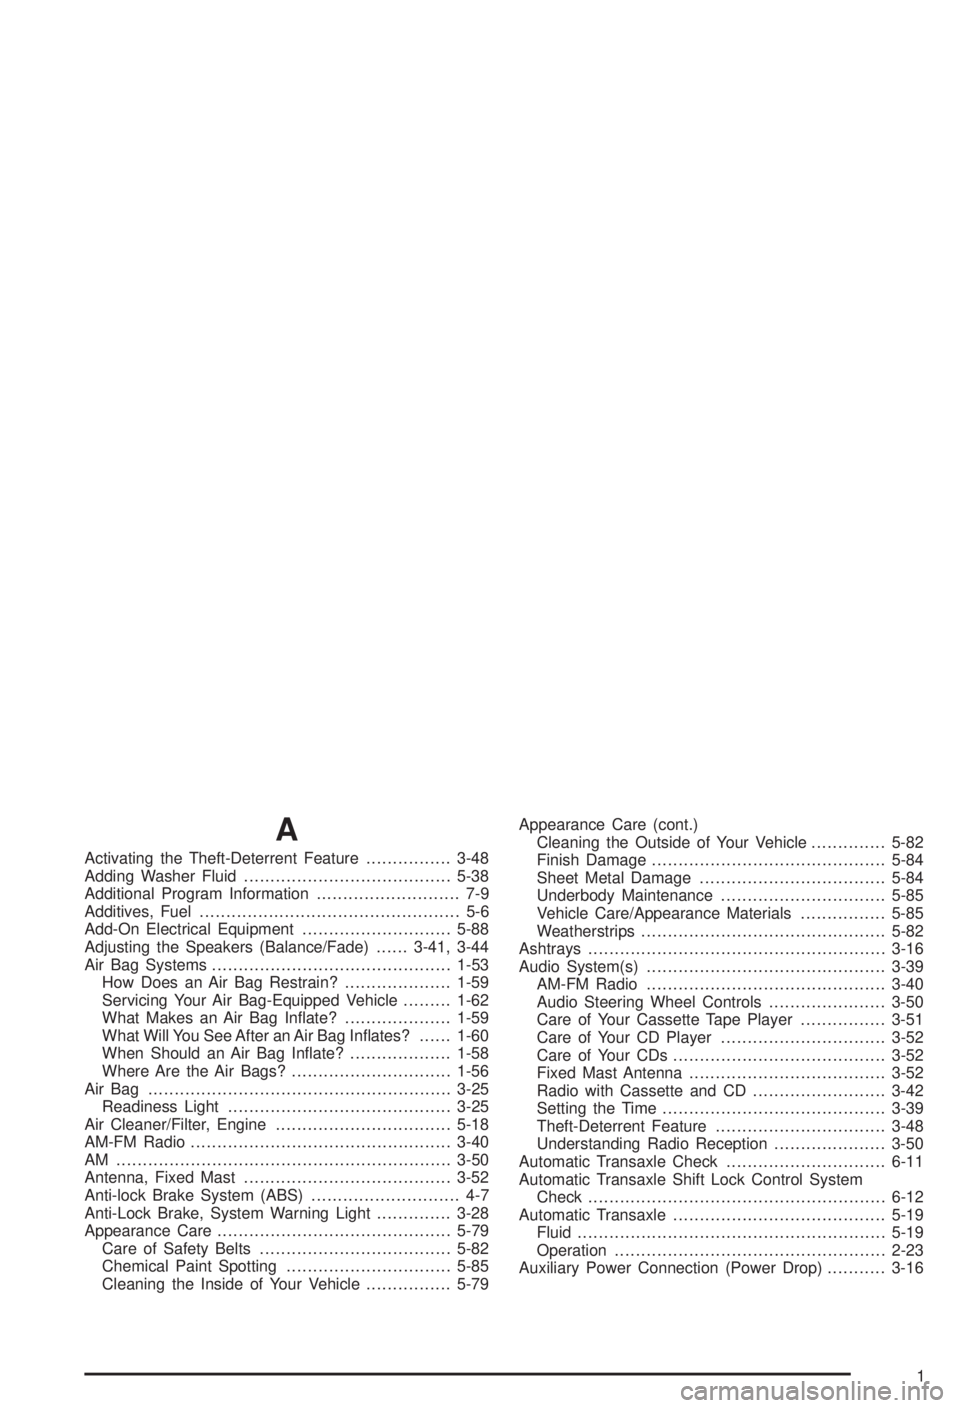
Activating the Theft-Deterrent Feature................3-48
Adding Washer Fluid.......................................5-38
Additional Program Information........................... 7-9
Additives, Fuel................................................. 5-6
Add-On Electrical Equipment............................5-88
Adjusting the Speakers (Balance/Fade)......3-41, 3-44
Air Bag Systems.............................................1-53
How Does an Air Bag Restrain?....................1-59
Servicing Your Air Bag-Equipped Vehicle.........1-62
What Makes an Air Bag In¯ate?....................1-59
What Will You See After an Air Bag In¯ates?......1-60
When Should an Air Bag In¯ate?...................1-58
Where Are the Air Bags?..............................1-56
Air Bag .........................................................3-25
Readiness Light..........................................3-25
Air Cleaner/Filter, Engine.................................5-18
AM-FM Radio.................................................3-40
AM ...............................................................3-50
Antenna, Fixed Mast.......................................3-52
Anti-lock Brake System (ABS)............................ 4-7
Anti-Lock Brake, System Warning Light..............3-28
Appearance Care............................................5-79
Care of Safety Belts....................................5-82
Chemical Paint Spotting...............................5-85
Cleaning the Inside of Your Vehicle................5-79Appearance Care (cont.)
Cleaning the Outside of Your Vehicle..............5-82
Finish Damage............................................5-84
Sheet Metal Damage...................................5-84
Underbody Maintenance...............................5-85
Vehicle Care/Appearance Materials................5-85
Weatherstrips..............................................5-82
Ashtrays........................................................3-16
Audio System(s).............................................3-39
AM-FM Radio.............................................3-40
Audio Steering Wheel Controls......................3-50
Care of Your Cassette Tape Player................3-51
Care of Your CD Player...............................3-52
Care of Your CDs........................................3-52
Fixed Mast Antenna.....................................3-52
Radio with Cassette and CD.........................3-42
Setting the Time..........................................3-39
Theft-Deterrent Feature................................3-48
Understanding Radio Reception.....................3-50
Automatic Transaxle Check..............................6-11
Automatic Transaxle Shift Lock Control System
Check........................................................6-12
Automatic Transaxle........................................5-19
Fluid..........................................................5-19
Operation...................................................2-23
Auxiliary Power Connection (Power Drop)...........3-16
1
Page 338 of 344
Other Warning Devices...................................... 3-4
Outlet Adjustment............................................3-20
Outside.........................................................2-33
Convex Mirror.............................................2-33
Power Mirrors.............................................2-33
Overheated Engine Protection Operating Mode . . . 5-26
Overseas ± Customer Assistance........................ 7-5
Owners, Canadian............................................... ii
Owner's Information........................................7-12
P
Park (P)........................................................2-29
Shifting Out of............................................2-29
Parking Brake and Automatic Transaxle Park (P)
Mechanism Check.......................................6-13
Parking on Hills..............................................4-40
Parking.........................................................2-26
Brake........................................................2-26
Over Things That Burn.................................2-29
Park(P).........................................................2-26
Shifting Into................................................2-26Part A - Scheduled Maintenance Services............ 6-4
Part B - Owner Checks and Services................6-10
Part C - Periodic MaintenanceInspections..........6-14
Part D - Recommended Fluids and Lubricants....6-16
Part E - Maintenance Record...........................6-17
Passenger Compartment Air Filter.....................3-20
Passing.................................................4-14, 4-39
PASS-Key
žII .................................................2-17
Plan Ahead When Possible................................ 7-8
Playing a Cassette Tape..................................3-44
Playing a Compact Disc...................................3-46
Playing the Radio...................................3-40, 3-42
Power Steering...............................................4-11
Power...........................................................3-16
Auxiliary Connection.....................................3-16
Door Locks.................................................2-11
Drop..........................................................3-16
Electrical System.........................................5-88
Six-Way Seats.............................................. 1-3
Steering Fluid.............................................5-36
Windows....................................................2-16
Programmable Automatic Door Locks.................2-11
10