ECO mode BUICK CENTURY 2003 Owner's Manual
[x] Cancel search | Manufacturer: BUICK, Model Year: 2003, Model line: CENTURY, Model: BUICK CENTURY 2003Pages: 344, PDF Size: 2.57 MB
Page 75 of 344
Remote Keyless Entry System
Operation
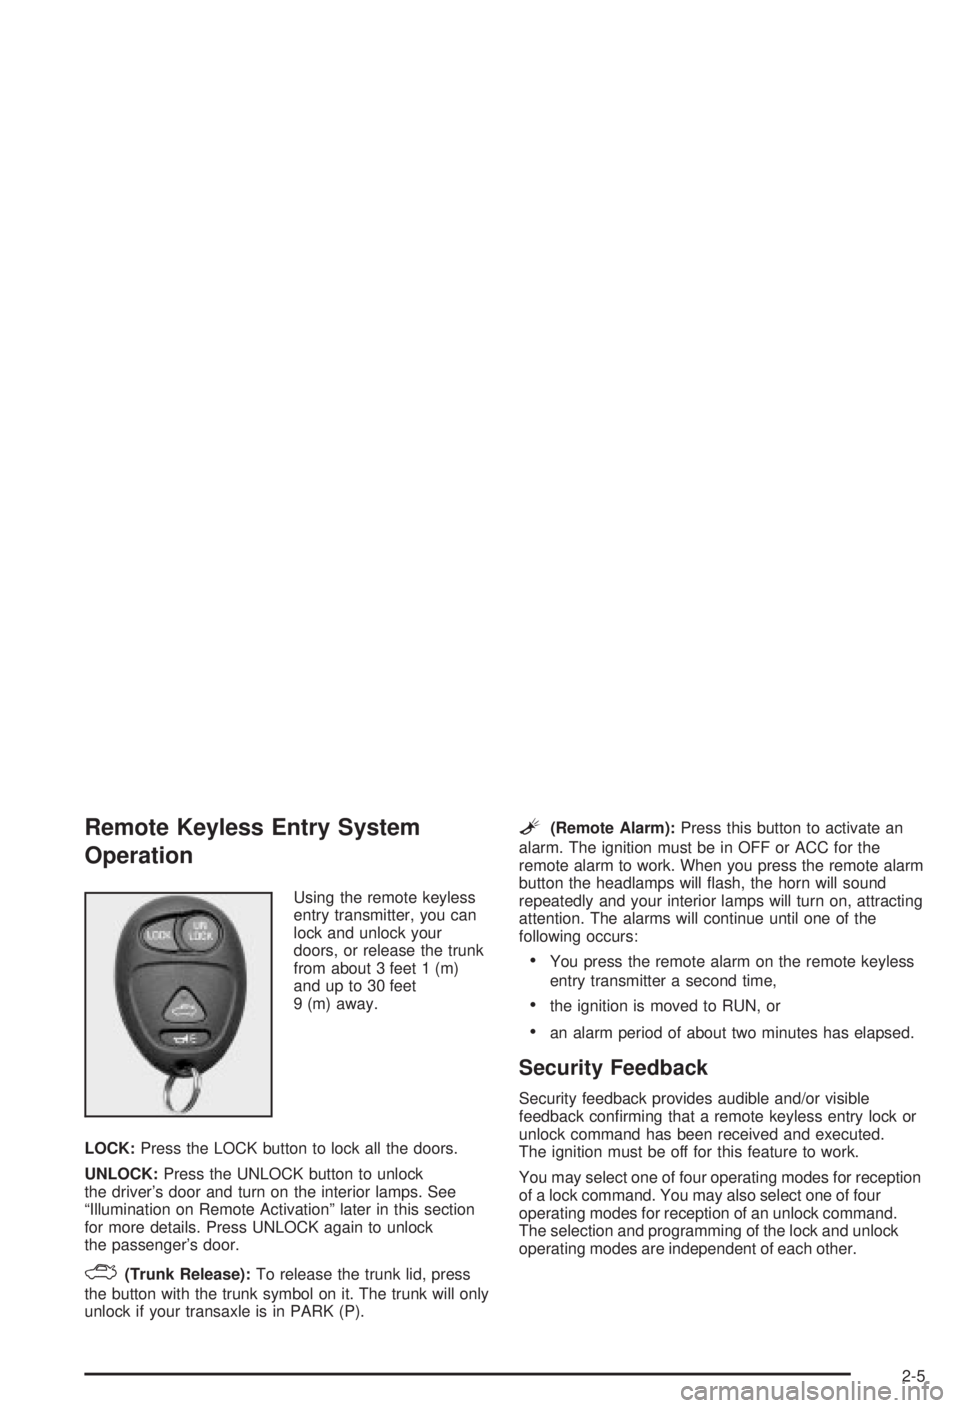
Using the remote keyless
entry transmitter, you can
lock and unlock your
doors, or release the trunk
from about 3 feet 1 (m)
and up to 30 feet
9 (m) away.
LOCK:Press the LOCK button to lock all the doors.
UNLOCK:Press the UNLOCK button to unlock
the driver's door and turn on the interior lamps. See
ªIllumination on Remote Activationº later in this section
for more details. Press UNLOCK again to unlock
the passenger's door.
F(Trunk Release):To release the trunk lid, press
the button with the trunk symbol on it. The trunk will only
unlock if your transaxle is in PARK (P).
L(Remote Alarm):Press this button to activate an
alarm. The ignition must be in OFF or ACC for the
remote alarm to work. When you press the remote alarm
button the headlamps will ¯ash, the horn will sound
repeatedly and your interior lamps will turn on, attracting
attention. The alarms will continue until one of the
following occurs:
·You press the remote alarm on the remote keyless
entry transmitter a second time,
·the ignition is moved to RUN, or
·an alarm period of about two minutes has elapsed.
Security Feedback
Security feedback provides audible and/or visible
feedback con®rming that a remote keyless entry lock or
unlock command has been received and executed.
The ignition must be off for this feature to work.
You may select one of four operating modes for reception
of a lock command. You may also select one of four
operating modes for reception of an unlock command.
The selection and programming of the lock and unlock
operating modes are independent of each other.
2-5
Page 78 of 344
After an initial transaxle cycle, each additional cycle will
toggle the enable/disable state of the delayed locking
feature. During this procedure, the chime will sound,
providing you with feedback. In Mode 1, a single chime
will be heard if the delayed locking feature is disabled.
In Mode 2, two chimes will be heard if the feature
is enabled. When the door lock switch is released, the
vehicle will remain in the most recent operating mode.
Disconnecting the vehicle battery for up to a year will not
change the programmed mode for the delayed locking
feature.
Illumination on Remote Activation
This feature provides interior lighting when a remote
keyless entry door unlock command is received by your
vehicle. Your ignition must be off for this feature to
work. The interior lamps will light until either the ignition
is turned to RUN or until a period of 40 seconds has
elapsed. If a door is opened during this period, the timed
lighting will be canceled, and the interior lamps will
remain on. Also see ªEntry Lightingº under
Interior
Lamps on page 3-14for more information.
Matching Transmitter(s) to Your
Vehicle
Each remote keyless entry transmitter is coded to
prevent another transmitter from unlocking your vehicle.
If a transmitter is lost or stolen, a replacement can
be purchased through your dealer. Remember to bring
any remaining transmitters with you when you go to
your dealer. When the dealer matches the replacement
transmitter to your vehicle, any remaining transmitters
must also be matched. Once your dealer has coded the
new transmitter, the lost transmitter will not unlock
your vehicle. Each vehicle can have a maximum of four
transmitters matched to it.
Battery Replacement
Under normal use, the battery in your remote keyless
entry transmitter should last about three years.
You can tell the battery is weak if the transmitter won't
work at the normal range in any location. If you have
to get close to your vehicle before the transmitter works,
it's probably time to change the battery.
2-8
Page 82 of 344
5. While holding the door lock switch in the lock
position, move the shift lever out of and back
into PARK (P).
6. Release the door lock switch to set
the desired mode.
After initially moving the shift lever out of and back into
PARK (P), each additional shift cycle will advance
the programming from the current mode to the next
operating mode. The automatic door lock and unlock
functions will operate as de®ned by each mode
listed previously. If cycled beyond Mode 4, the vehicle
will enter operating Mode 1.
Disconnecting the vehicle's battery for up to a year will
not change the last programmed mode of the
programmable automatic power door locks.Lockout Protection
This feature helps to prevent a driver from locking the
keys inside of the vehicle by disabling the power
door locks when the following occurs:
·A door is opened,
·the key is left in the ignition, and
·a power door lock is pressed.
You may override the lockout protection feature by
holding the power door lock switch in the lock position
for more than three seconds while the key is in the
ignition and any door is open.
Remember, this feature can't guarantee that you'll never
be locked out of your vehicle. If you use the manual
door lock or if you leave the key in your vehicle, but not
in the ignition you could still be locked out of your
vehicle. Always remember to take your keys with you.
Leaving Your Vehicle
If you are leaving the vehicle, take your keys, open your
door and set the locks from inside. Then get out and
close the door. See ªDelayed Lockingº in this section for
more information.
2-12
Page 130 of 344
Speedometer and Odometer
The speedometer lets you see your speed in both miles
per hour (mph) and kilometers per hour (km/h). The
odometer shows how far your vehicle has been driven
in either miles (used in the United States) or in
kilometers (used in Canada).
Your vehicle has a tamper-resistant odometer. If you
see ERROR, you'll know someone has probably
tampered with it and the numbers may not be accurate.
You may wonder what happens if your vehicle needs
a new odometer installed. If the new one can be set to
the mileage total of the old odometer, then that will
be done. But if it can't, then it will be set at zero and a
label must be put on the driver's door to show the
old mileage reading when the new odometer was
installed.
Trip Odometer
The trip odometer tells how far you have driven since
you last reset it. To set it to zero, press the button on the
right side of the instrument panel cluster.
The trip/select reset button will go back and forth
between the odometer and the trip odometer if the
button is pressed and released within 1.5 seconds.If the button is pressed and held for longer than
1.5 seconds while in the trip odometer mode, it will be
reset to zero. If the button is pressed and held for longer
than 1.5 seconds while in the odometer mode, it will
have no effect.
Safety Belt Reminder Light
When the key is turned to RUN or START, a chime will
come on for several seconds to remind people to
fasten their safety belts, unless the driver's safety belt is
already buckled.
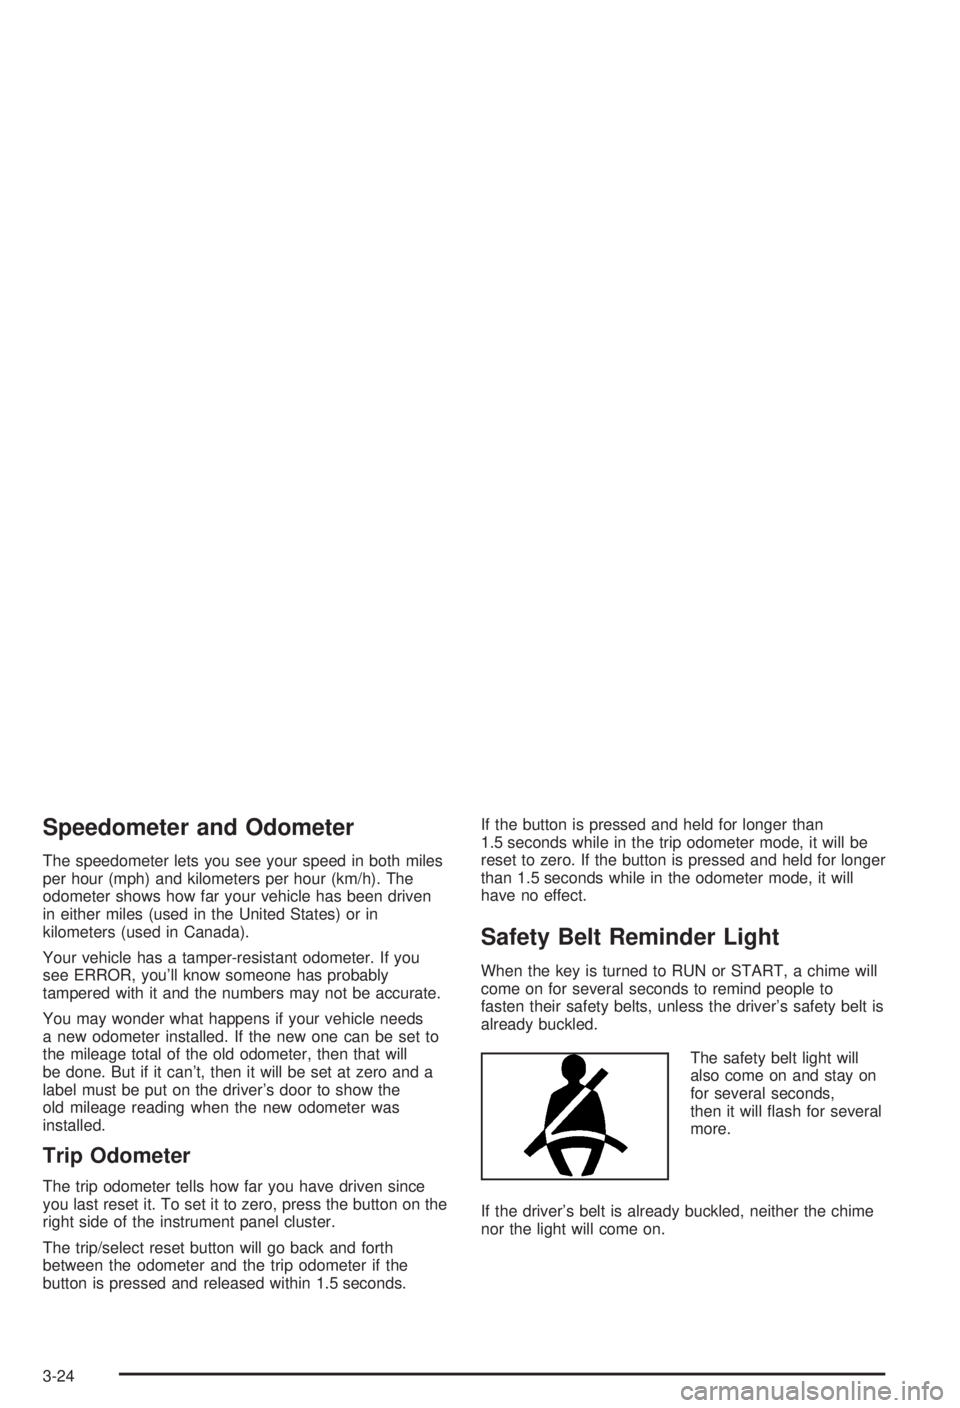
The safety belt light will
also come on and stay on
for several seconds,
then it will ¯ash for several
more.
If the driver's belt is already buckled, neither the chime
nor the light will come on.
3-24
Page 149 of 344
P SCAN (Preset Scan):Press this button to listen to
each of your preset stations for a few seconds.
Press P SCAN again to stop scanning.
The radio will scan only to preset stations that are in the
selected band and only to those with a strong signal.
AUTO SET (Automatic Set):Press this button,
after selecting AM or FM, to seek and set the
12 strongest FM or the 6 strongest AM stations on your
preset pushbuttons. AUTO SET will ¯ash while
seeking and will remain on until this function is complete.
To return to the stations you manually set, press
AUTO SET again.
Setting Preset Stations
The six numbered pushbuttons let you return to your
favorite stations. You can set up to 18 stations (six AM,
six FM1 and six FM2) by performing the following steps:
1. Turn the radio on.
2. Press AM-FM to select AM, FM1 or FM2.
3. Tune in the desired station.
4. Press TONE to select the setting you prefer.5. Press and hold one of the six numbered
pushbuttons. The sound will mute. When it returns,
release the pushbutton. Whenever you press
that numbered pushbutton, the station you set will
return and the tone you selected will be
automatically selected for that pushbutton.
6. Repeat the steps for each pushbutton.
Setting the Tone (Bass/Treble)
BASS:Press this knob lightly so it extends. Turn the
knob to increase or to decrease bass.
TREB (Treble):Press this knob lightly so it extends.
Turn the knob to increase or to decrease treble. If
a station is weak or noisy, you may want to decrease
the treble.
Return these knobs to their stored positions when
you're not using them.
TONE:Press this button to choose bass and treble
equalization settings designed for country/western, jazz,
talk, pop and classical stations.
To return the bass and treble to the manual mode,
press either TONE until MANUAL appears or press and
release the BASS or TREB knob and turn it until the
display goes blank. See ªSetting Preset Stationsº listed
previously to program the auto tone feature.
3-43
Page 230 of 344
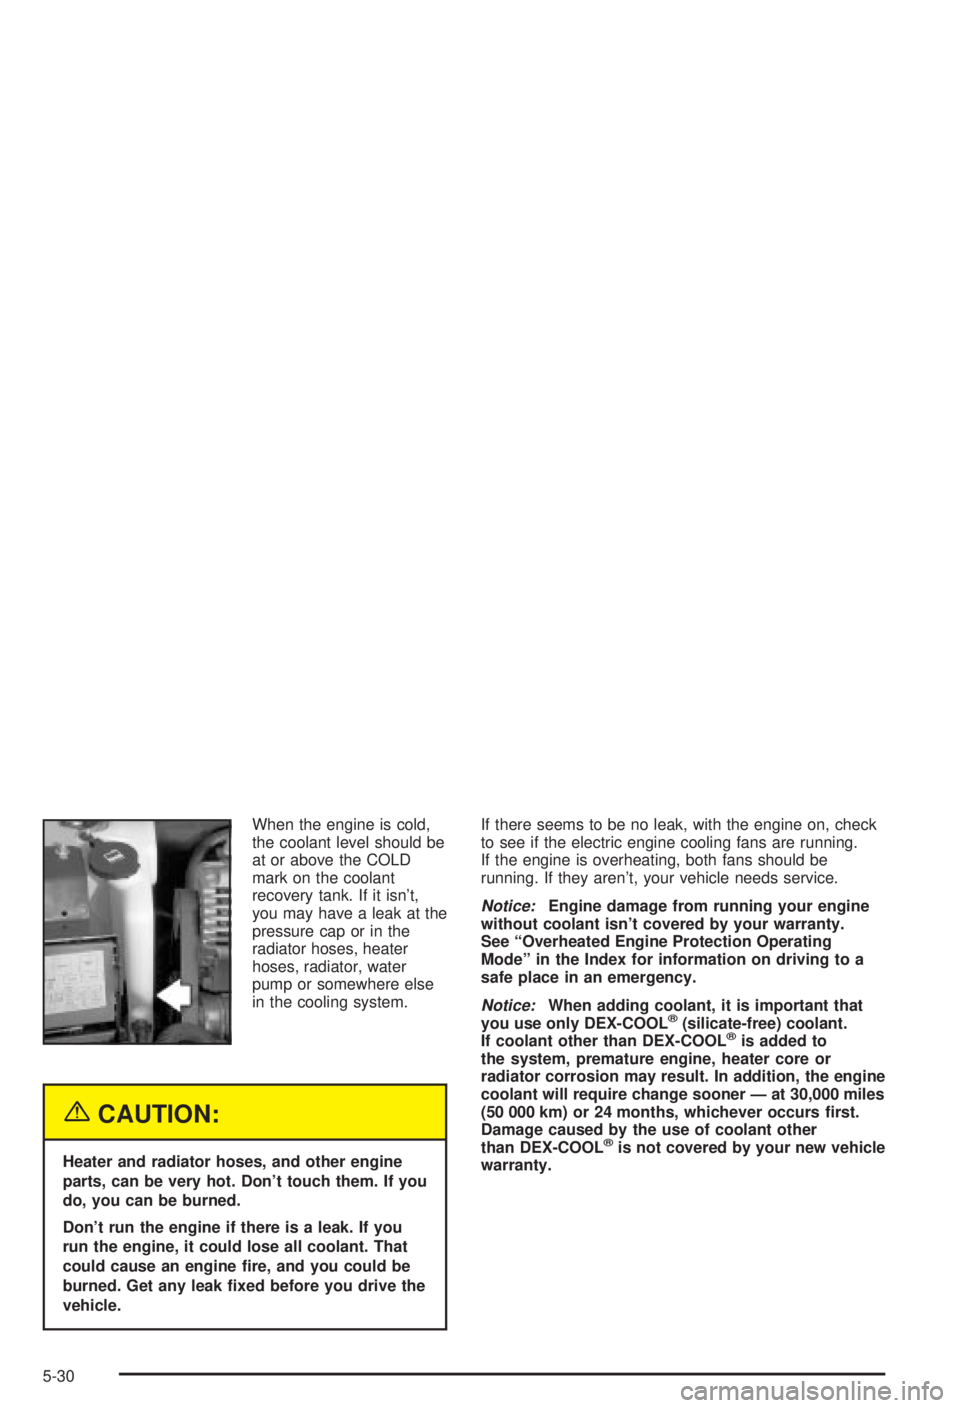
When the engine is cold,
the coolant level should be
at or above the COLD
mark on the coolant
recovery tank. If it isn't,
you may have a leak at the
pressure cap or in the
radiator hoses, heater
hoses, radiator, water
pump or somewhere else
in the cooling system.
{CAUTION:
Heater and radiator hoses, and other engine
parts, can be very hot. Don't touch them. If you
do, you can be burned.
Don't run the engine if there is a leak. If you
run the engine, it could lose all coolant. That
could cause an engine ®re, and you could be
burned. Get any leak ®xed before you drive the
vehicle.If there seems to be no leak, with the engine on, check
to see if the electric engine cooling fans are running.
If the engine is overheating, both fans should be
running. If they aren't, your vehicle needs service.
Notice:Engine damage from running your engine
without coolant isn't covered by your warranty.
See ªOverheated Engine Protection Operating
Modeº in the Index for information on driving to a
safe place in an emergency.
Notice:When adding coolant, it is important that
you use only DEX-COOLž(silicate-free) coolant.
If coolant other than DEX-COOLžis added to
the system, premature engine, heater core or
radiator corrosion may result. In addition, the engine
coolant will require change sooner Ð at 30,000 miles
(50 000 km) or 24 months, whichever occurs ®rst.
Damage caused by the use of coolant other
than DEX-COOL
žis not covered by your new vehicle
warranty.
5-30
Page 323 of 344
We have quick, easy access to telephone numbers of
the following additional services depending on your
needs:
·Hotels
·Glass replacement
·Tire repair facilities
·Rental vehicle or taxis
·Airports or train stations
·Police, ®re department or hospitals
In many instances, mechanical failures are covered
under Buick's comprehensive warranty. However, when
other services are utilized, our advisors will explain
any payment obligations you might incur.
For prompt and efficient assistance when calling, please
provide the following information to give the advisor:
·Location of vehicle
·Telephone number of your location
·Vehicle model, year and color
·Mileage of vehicle
·Vehicle Identi®cation Number (VIN)
·Vehicle license plate number
Buick reserves the right to limit services or
reimbursement to an owner or driver when, in Buick's
judgement, the claims become excessive in frequency or
type of occurrence.
While we hope you never have the occasion to use our
service, it is added security while traveling for you
and your family. Remember, we're only a phone call
away. Buick Roadside Assistance: 1-800-252-1112, text
telephone (TTY) users, call 1-888-889-2438.
Canadian Roadside Assistance
Vehicles purchased in Canada have an extensive
Roadside Assistance program accessible from anywhere
in Canada or the United States. Please refer to the
Warranty and Owner Assistance Information book.
7-7
Page 338 of 344
Other Warning Devices...................................... 3-4
Outlet Adjustment............................................3-20
Outside.........................................................2-33
Convex Mirror.............................................2-33
Power Mirrors.............................................2-33
Overheated Engine Protection Operating Mode . . . 5-26
Overseas ± Customer Assistance........................ 7-5
Owners, Canadian............................................... ii
Owner's Information........................................7-12
P
Park (P)........................................................2-29
Shifting Out of............................................2-29
Parking Brake and Automatic Transaxle Park (P)
Mechanism Check.......................................6-13
Parking on Hills..............................................4-40
Parking.........................................................2-26
Brake........................................................2-26
Over Things That Burn.................................2-29
Park(P).........................................................2-26
Shifting Into................................................2-26Part A - Scheduled Maintenance Services............ 6-4
Part B - Owner Checks and Services................6-10
Part C - Periodic MaintenanceInspections..........6-14
Part D - Recommended Fluids and Lubricants....6-16
Part E - Maintenance Record...........................6-17
Passenger Compartment Air Filter.....................3-20
Passing.................................................4-14, 4-39
PASS-Key
žII .................................................2-17
Plan Ahead When Possible................................ 7-8
Playing a Cassette Tape..................................3-44
Playing a Compact Disc...................................3-46
Playing the Radio...................................3-40, 3-42
Power Steering...............................................4-11
Power...........................................................3-16
Auxiliary Connection.....................................3-16
Door Locks.................................................2-11
Drop..........................................................3-16
Electrical System.........................................5-88
Six-Way Seats.............................................. 1-3
Steering Fluid.............................................5-36
Windows....................................................2-16
Programmable Automatic Door Locks.................2-11
10