heating BUICK CENTURY 2003 Owner's Manual
[x] Cancel search | Manufacturer: BUICK, Model Year: 2003, Model line: CENTURY, Model: BUICK CENTURY 2003Pages: 344, PDF Size: 2.57 MB
Page 83 of 344
Trunk
{CAUTION:
It can be dangerous to drive with the trunk lid
open because carbon monoxide (CO) gas can
come into your vehicle. You can't see or smell
CO. It can cause unconsciousness and even
death. If you must drive with the trunk lid open
or if electrical wiring or other cable
connections must pass through the seal
between the body and the trunk lid:
·Make sure all other windows are shut.
·Turn the fan on your heating or cooling
system to its highest speed and select the
control setting that will force outside air
into your vehicle. See ªClimate Control
Systemº in the Index.
·If you have air outlets on or under the
instrument panel, open them all the way.
See ªEngine Exhaustº in the Index.
Trunk Lock
To unlock the trunk lid from the outside, insert the door
key into its lock and turn it. You can also press the trunk
release symbol on the remote keyless entry transmitter.
Remote Trunk Release
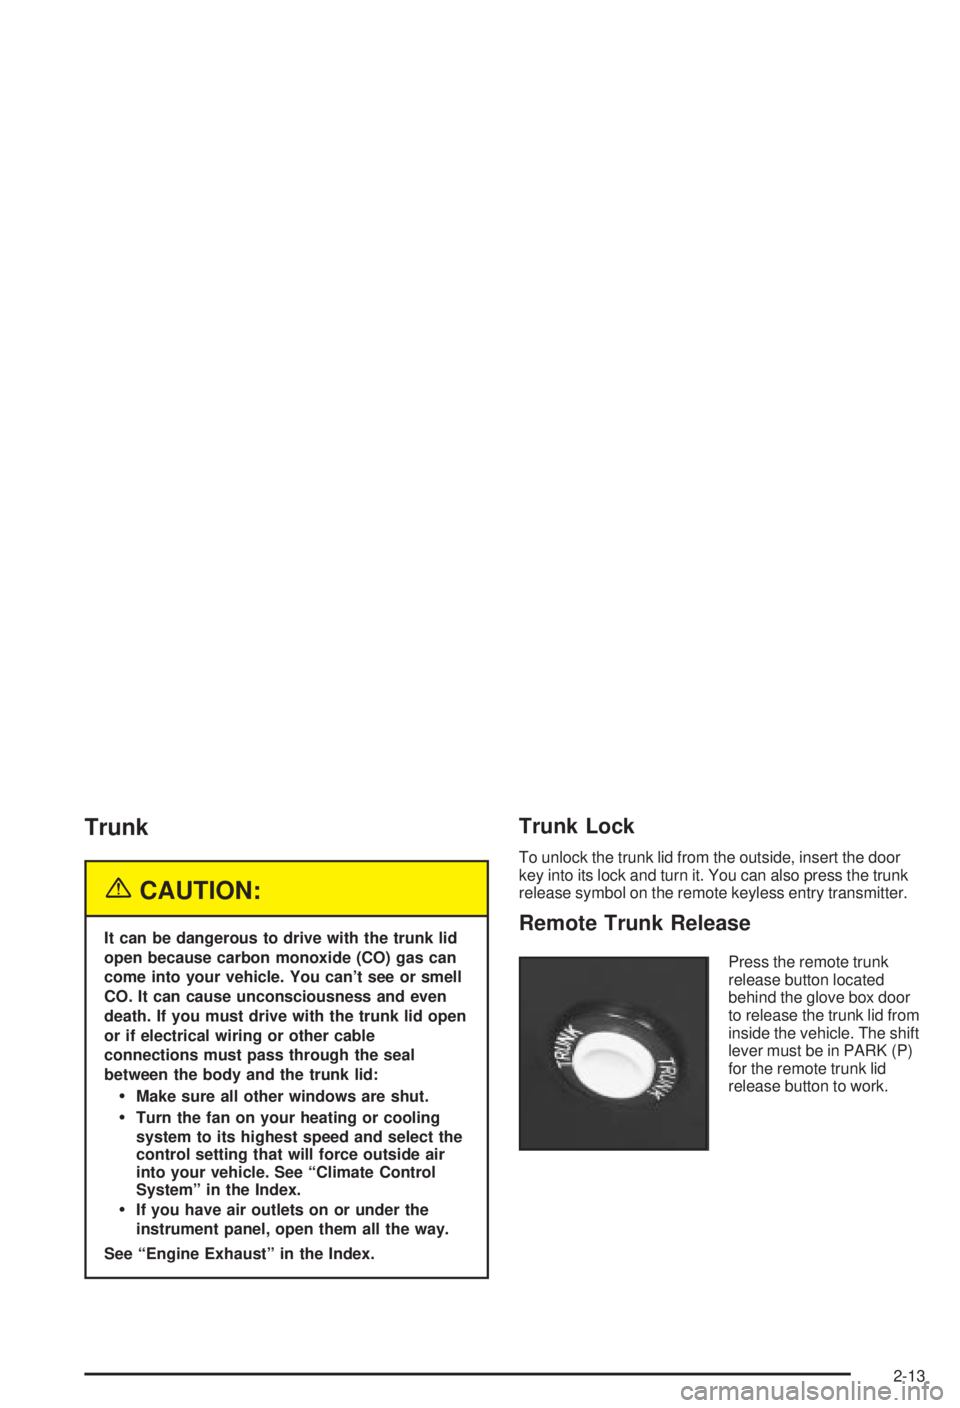
Press the remote trunk
release button located
behind the glove box door
to release the trunk lid from
inside the vehicle. The shift
lever must be in PARK (P)
for the remote trunk lid
release button to work.
2-13
Page 122 of 344
Auxiliary Power Connection
(Power Drop)
Your vehicle is equipped with an auxiliary power
connection. This feature provides power, ground and
accessory wires which can be accessed to add
aftermarket electrical equipment to your vehicle.
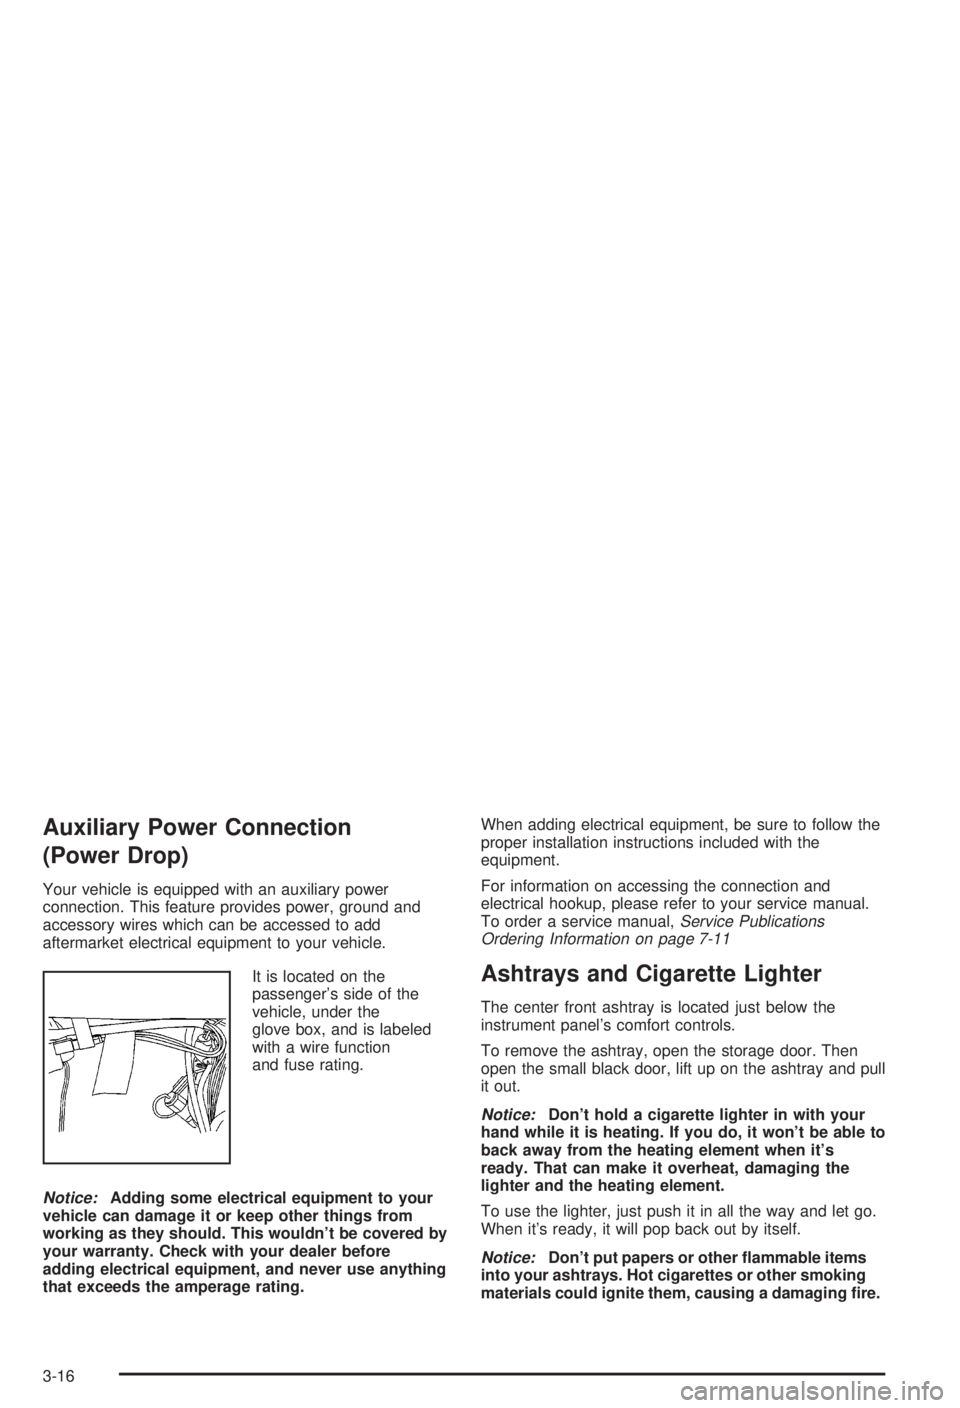
It is located on the
passenger's side of the
vehicle, under the
glove box, and is labeled
with a wire function
and fuse rating.
Notice:Adding some electrical equipment to your
vehicle can damage it or keep other things from
working as they should. This wouldn't be covered by
your warranty. Check with your dealer before
adding electrical equipment, and never use anything
that exceeds the amperage rating.When adding electrical equipment, be sure to follow the
proper installation instructions included with the
equipment.
For information on accessing the connection and
electrical hookup, please refer to your service manual.
To order a service manual,
Service Publications
Ordering Information on page 7-11
Ashtrays and Cigarette Lighter
The center front ashtray is located just below the
instrument panel's comfort controls.
To remove the ashtray, open the storage door. Then
open the small black door, lift up on the ashtray and pull
it out.
Notice:Don't hold a cigarette lighter in with your
hand while it is heating. If you do, it won't be able to
back away from the heating element when it's
ready. That can make it overheat, damaging the
lighter and the heating element.
To use the lighter, just push it in all the way and let go.
When it's ready, it will pop back out by itself.
Notice:Don't put papers or other ¯ammable items
into your ashtrays. Hot cigarettes or other smoking
materials could ignite them, causing a damaging ®re.
3-16
Page 123 of 344
Climate Controls
Dual Climate Control System
With this system you can control the heating, cooling
and ventilation for your vehicle.
Manual Operation
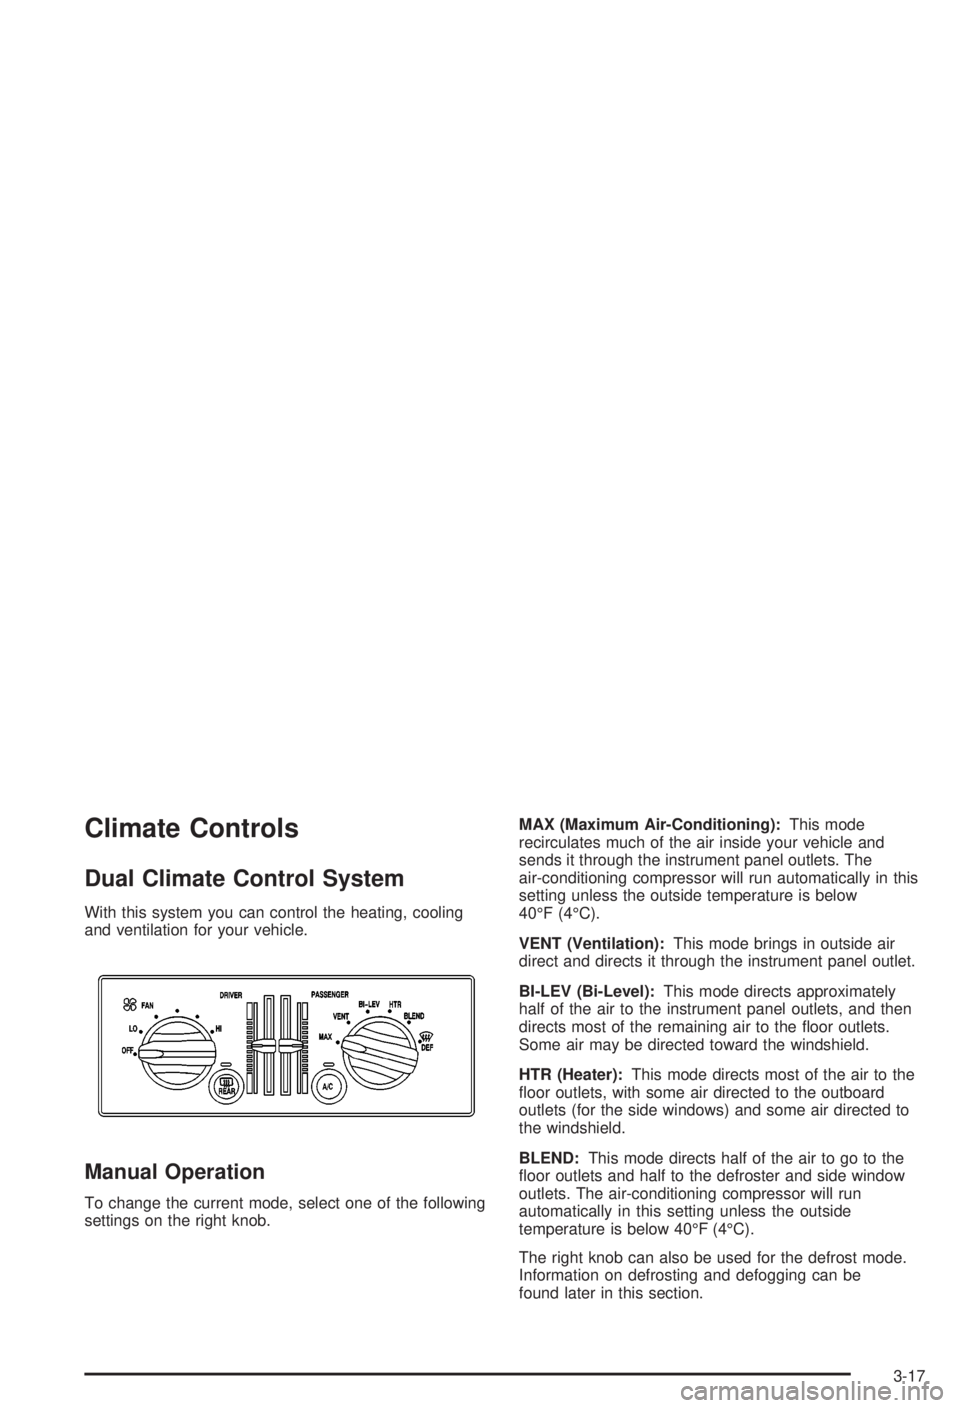
To change the current mode, select one of the following
settings on the right knob.MAX (Maximum Air-Conditioning):This mode
recirculates much of the air inside your vehicle and
sends it through the instrument panel outlets. The
air-conditioning compressor will run automatically in this
setting unless the outside temperature is below
40ÉF (4ÉC).
VENT (Ventilation):This mode brings in outside air
direct and directs it through the instrument panel outlet.
BI-LEV (Bi-Level):This mode directs approximately
half of the air to the instrument panel outlets, and then
directs most of the remaining air to the ¯oor outlets.
Some air may be directed toward the windshield.
HTR (Heater):This mode directs most of the air to the
¯oor outlets, with some air directed to the outboard
outlets (for the side windows) and some air directed to
the windshield.
BLEND:This mode directs half of the air to go to the
¯oor outlets and half to the defroster and side window
outlets. The air-conditioning compressor will run
automatically in this setting unless the outside
temperature is below 40ÉF (4ÉC).
The right knob can also be used for the defrost mode.
Information on defrosting and defogging can be
found later in this section.
3-17
Page 135 of 344
If the transaxle shift lever is in any position other
than FIRST (1) or SECOND (2) and the warning
light stays on after your parking brake is fully
released, it means there's a problem with the
system.
·If the traction control system is affected by an
engine-related problem, the system will turn off
and the warning light will come on.
When this warning light is on, the system will not limit
wheel spin. Adjust your driving accordingly.
Low Traction Light
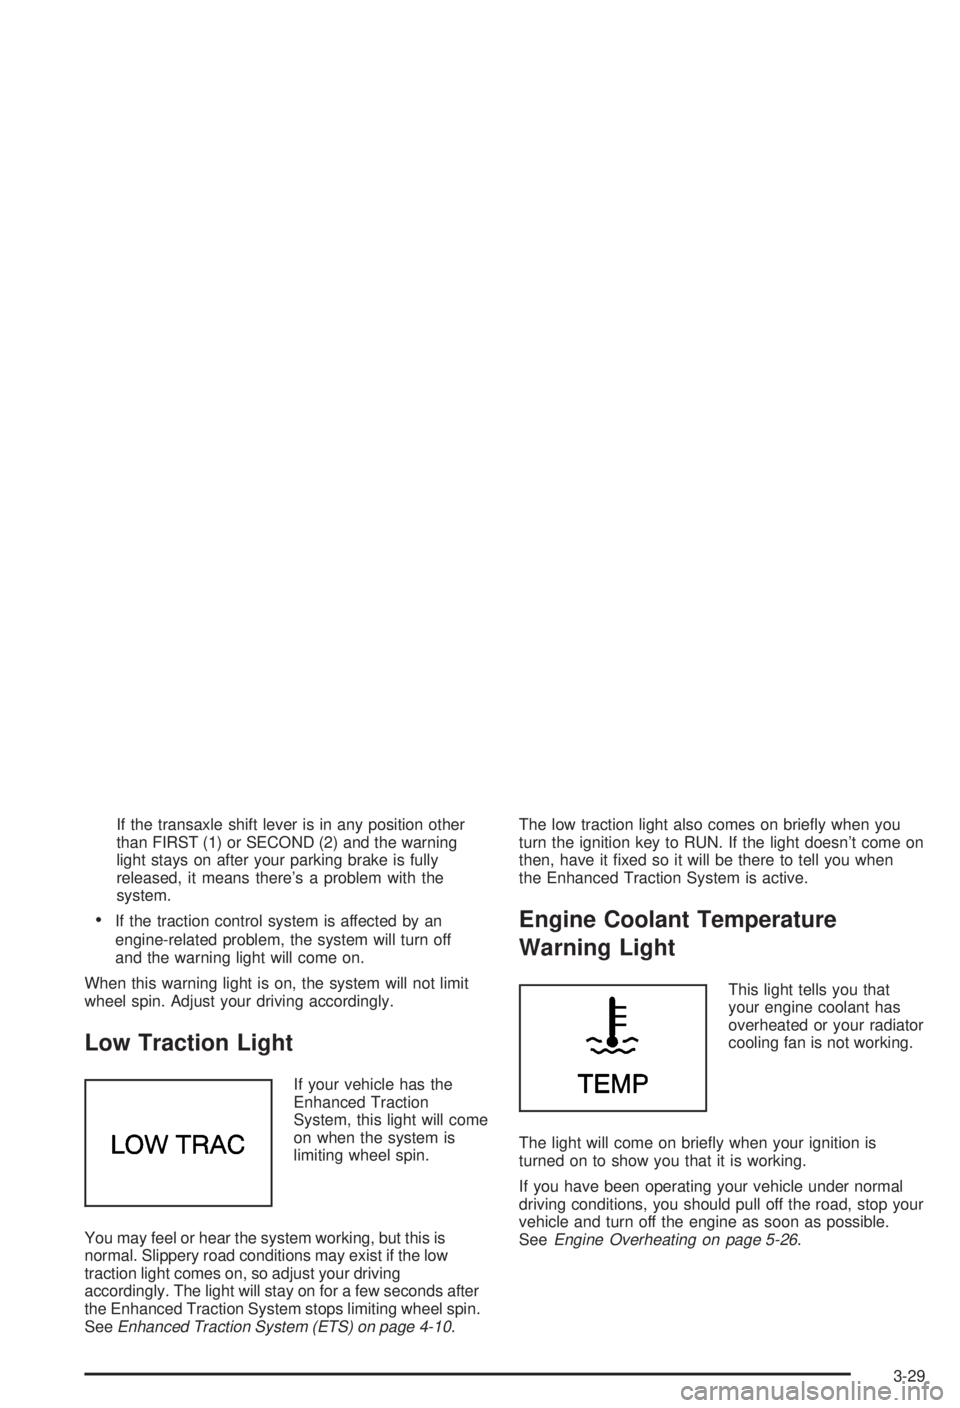
If your vehicle has the
Enhanced Traction
System, this light will come
on when the system is
limiting wheel spin.
You may feel or hear the system working, but this is
normal. Slippery road conditions may exist if the low
traction light comes on, so adjust your driving
accordingly. The light will stay on for a few seconds after
the Enhanced Traction System stops limiting wheel spin.
See
Enhanced Traction System (ETS) on page 4-10.The low traction light also comes on brie¯y when you
turn the ignition key to RUN. If the light doesn't come on
then, have it ®xed so it will be there to tell you when
the Enhanced Traction System is active.
Engine Coolant Temperature
Warning Light
This light tells you that
your engine coolant has
overheated or your radiator
cooling fan is not working.
The light will come on brie¯y when your ignition is
turned on to show you that it is working.
If you have been operating your vehicle under normal
driving conditions, you should pull off the road, stop your
vehicle and turn off the engine as soon as possible.
See
Engine Overheating on page 5-26.
3-29
Page 136 of 344
Engine Coolant Temperature Gage
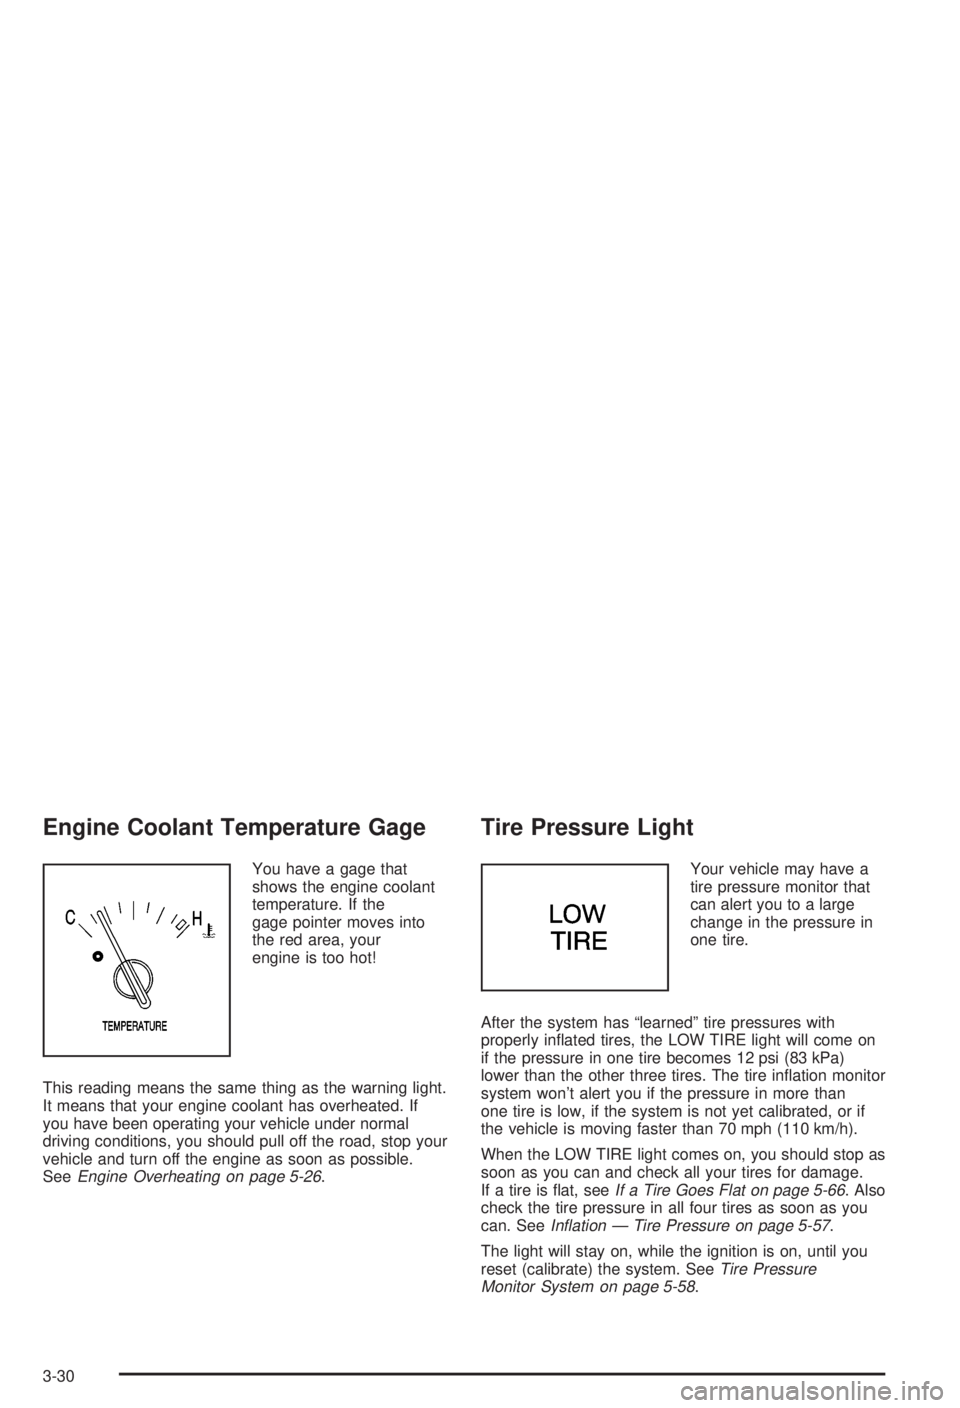
You have a gage that
shows the engine coolant
temperature. If the
gage pointer moves into
the red area, your
engine is too hot!
This reading means the same thing as the warning light.
It means that your engine coolant has overheated. If
you have been operating your vehicle under normal
driving conditions, you should pull off the road, stop your
vehicle and turn off the engine as soon as possible.
See
Engine Overheating on page 5-26.
Tire Pressure Light
Your vehicle may have a
tire pressure monitor that
can alert you to a large
change in the pressure in
one tire.
After the system has ªlearnedº tire pressures with
properly in¯ated tires, the LOW TIRE light will come on
if the pressure in one tire becomes 12 psi (83 kPa)
lower than the other three tires. The tire in¯ation monitor
system won't alert you if the pressure in more than
one tire is low, if the system is not yet calibrated, or if
the vehicle is moving faster than 70 mph (110 km/h).
When the LOW TIRE light comes on, you should stop as
soon as you can and check all your tires for damage.
If a tire is ¯at, see
If a Tire Goes Flat on page 5-66. Also
check the tire pressure in all four tires as soon as you
can. See
In¯ation Ð Tire Pressure on page 5-57.
The light will stay on, while the ignition is on, until you
reset (calibrate) the system. See
Tire Pressure
Monitor System on page 5-58.
3-30
Page 198 of 344
Turn Signals When Towing a Trailer
When you tow a trailer, your vehicle may need a
different turn signal ¯asher and/or extra wiring. Check
with your dealer. The arrows on your instrument
panel will ¯ash whenever you signal a turn or lane
change. Properly hooked up, the trailer lamps will also
¯ash, telling other drivers you're about to turn,
change lanes or stop.
When towing a trailer, the arrows on your instrument
panel will ¯ash for turns even if the bulbs on the trailer
are burned out. Thus, you may think drivers behind
you are seeing your signal when they are not. It's
important to check occasionally to be sure the trailer
bulbs are still working.
Driving On Grades
Reduce speed and shift to a lower gearbeforeyou start
down a long or steep downgrade. If you don't shift
down, you might have to use your brakes so much that
they would get hot and no longer work well.
On a long uphill grade, shift down and reduce your
speed to around 45 mph (70 km/h) to reduce the
possibility of engine and transaxle overheating.
If you are towing a trailer, you may want to drive in
THIRD (3) instead of AUTOMATIC OVERDRIVE (
X).
Shift to a lower gear as needed.
Parking on Hills
{CAUTION:
You really should not park your vehicle, with a
trailer attached, on a hill. If something goes
wrong, your rig could start to move. People
can be injured, and both your vehicle and the
trailer can be damaged.
But if you ever have to park your rig on a hill, here's
how to do it:
1. Apply your regular brakes, but don't shift into
PARK (P) yet.
2. Have someone place chocks under the trailer's
wheels.
3. When the wheel chocks are in place, release the
regular brakes until the chocks absorb the load.
4. Reapply the regular brakes. Then apply your
parking brake, and shift to PARK (P).
5. Release the regular brakes.
4-40
Page 199 of 344
When You Are Ready to Leave After
Parking on a Hill
1. Apply your regular brakes and hold the pedal down
while you:
·start your engine,
·shift into a gear, and
·release the parking brake.
2. Let up on the brake pedal.
3. Drive slowly until the trailer is clear of the chocks.
4. Stop and have someone pick up and store
the chocks.
Maintenance When Trailer Towing
Your vehicle will need service more often when you're
pulling a trailer. See the Maintenance Schedule for more
on this. Things that are especially important in trailer
operation are automatic transaxle ¯uid (don't over®ll),
engine oil, drive belt, cooling system and brake system.
Each of these is covered in this manual, and the
Index will help you ®nd them quickly. If you're trailering,
it's a good idea to review this information before you
start your trip.
Check periodically to see that all hitch nuts and bolts
are tight.
Engine Cooling When Trailer Towing
Your cooling system may temporarily overheat during
severe operating conditions. SeeEngine Overheating
on page 5-26.
4-41
Page 201 of 344
Service............................................................5-3
Doing Your Own Service Work.........................5-3
Adding Equipment to the Outside
of Your Vehicle...........................................5-4
Fuel................................................................5-5
Gasoline Octane............................................5-5
Gasoline Speci®cations....................................5-5
California Fuel...............................................5-6
Additives.......................................................5-6
Fuels in Foreign Countries...............................5-7
Filling Your Tank............................................5-7
Filling a Portable Fuel Container.......................5-9
Checking Things Under the Hood....................5-10
Hood Release..............................................5-11
Engine Compartment Overview.......................5-12
Engine Oil...................................................5-13
Engine Air Cleaner/Filter................................5-18
Automatic Transaxle Fluid..............................5-19
Engine Coolant.............................................5-23
Radiator Pressure Cap..................................5-26
Engine Overheating.......................................5-26
Cooling System............................................5-29
Power Steering Fluid.....................................5-36
Windshield Washer Fluid................................5-38
Brakes........................................................5-39Battery........................................................5-42
Jump Starting...............................................5-43
Headlamp Aiming...........................................5-49
Bulb Replacement..........................................5-51
Halogen Bulbs..............................................5-51
Headlamps..................................................5-51
Front Turn Signal and Parking Lamps..............5-52
Center High-Mounted Stoplamp (CHMSL).........5-53
Taillamps, Turn Signal, and Stoplamps............5-54
Back-Up Lamps............................................5-55
Replacement Bulbs.......................................5-55
Windshield Wiper Blade Replacement..............5-56
Tires..............................................................5-57
In¯ation Ð Tire Pressure...............................5-57
Tire Pressure Monitor System.........................5-58
Tire Inspection and Rotation...........................5-60
When It Is Time for New Tires.......................5-61
Buying New Tires.........................................5-62
Uniform Tire Quality Grading..........................5-63
Wheel Alignment and Tire Balance..................5-64
Wheel Replacement......................................5-64
Tire Chains..................................................5-66
If a Tire Goes Flat........................................5-66
Changing a Flat Tire.....................................5-67
Compact Spare Tire......................................5-78
Section 5 Service and Appearance Care
5-1
Page 223 of 344
Engine Coolant
The cooling system in your vehicle is ®lled with
DEX-COOLžengine coolant. This coolant is designed
to remain in your vehicle for 5 years or 150,000 miles
(240 000 km), whichever occurs ®rst, if you add
only DEX-COOL
žextended life coolant.
The following explains your cooling system and how to
add coolant when it is low. If you have a problem
with engine overheating or if you need to add coolant to
your radiator, see
Engine Overheating on page 5-26.
A 50/50 mixture of clean, drinkable water and
DEX-COOL
žcoolant will:
·Give freezing protection down to-34ÉF (-37ÉC).
·Give boiling protection up to 265ÉF (129ÉC).
·Protect against rust and corrosion.
·Help keep the proper engine temperature.
·Let the warning lights and gages work as they
should.
Notice:When adding coolant, it is important that
you use only DEX-COOLž(silicate-free) coolant.
If coolant other than DEX-COOLžis added to
the system, premature engine, heater core or
radiator corrosion may result. In addition, the engine
coolant will require change sooner Ð at 30,000 miles
(50,000 km) or 24 months, whichever occurs ®rst.
Damage caused by the use of coolant other
than DEX-COOL
žis not covered by your new vehicle
warranty.
5-23
Page 226 of 344
Radiator Pressure Cap
Notice:Your radiator cap is a pressure-type cap
and must be tightly installed to prevent coolant loss
and possible engine damage from overheating.
Be sure the arrows on the cap line up with the
over¯ow tube on the radiator ®ller neck.
The radiator pressure cap is located near the front of
the engine compartment on the passenger's side of the
vehicle. See
Engine Compartment Overview on
page 5-12for more information on location.
Engine Overheating
You will ®nd a coolant temperature gage and a hot
engine warning light on your instrument panel.
See
Engine Coolant Temperature Gage on page 3-30andEngine Coolant Temperature Warning Light on
page 3-29.
Overheated Engine Protection
Operating Mode
The emergency engine protection operating mode
allows your vehicle to be driven to a safe place in an
emergency situation. If an overheated engine condition
exists, this protection mode alternates ®ring groups
of cylinders to help prevent engine damage. In
this mode, you will notice a signi®cant loss in power and
engine performance. The engine coolant temperature
gage indicator will move to the red area, showing that an
overheated engine condition exists. Driving extended
miles (km) and/or towing a trailer in the overheated
protection mode should be avoided.
Notice:After driving in the overheated engine
protection operating mode, to avoid engine damage,
allow the engine to cool before attempting any repair.
The engine oil will be severely degraded. Repair the
cause of coolant loss, change the oil and reset the oil
life system. See ªEngine Oilº in the Index.
5-26