keyless BUICK CENTURY 2003 Owner's Manual
[x] Cancel search | Manufacturer: BUICK, Model Year: 2003, Model line: CENTURY, Model: BUICK CENTURY 2003Pages: 344, PDF Size: 2.57 MB
Page 71 of 344
Keys...............................................................2-2
Remote Keyless Entry System.........................2-4
Remote Keyless Entry System Operation...........2-5
Doors and Locks............................................2-10
Door Locks..................................................2-10
Power Door Locks........................................2-11
Programmable Automatic Door Locks..............2-11
Lockout Protection........................................2-12
Leaving Your Vehicle....................................2-12
Trunk..........................................................2-13
Windows........................................................2-15
Power Windows............................................2-16
Sun Visors...................................................2-16
Theft-Deterrent Systems..................................2-17
PASS-Key
žII ...............................................2-17
Starting and Operating Your Vehicle................2-19
New Vehicle Break-In....................................2-19
Ignition Positions..........................................2-19Starting Your Engine.....................................2-20
Engine Coolant Heater..................................2-21
Automatic Transaxle Operation.......................2-23
Parking Brake..............................................2-26
Shifting Into Park (P).....................................2-26
Shifting Out of Park (P).................................2-29
Parking Over Things That Burn.......................2-29
Engine Exhaust............................................2-30
Running Your Engine While You Are Parked. . . .2-31
Mirrors...........................................................2-32
Manual Rearview Mirror.................................2-32
Manual Rearview Mirror with OnStar
ž..............2-32
Outside Power Mirrors...................................2-33
Outside Convex Mirror...................................2-33
OnStar
žSystem.............................................2-34
Storage Areas................................................2-35
Glove Box...................................................2-35
Convenience Net..........................................2-35
Section 2 Features and Controls
2-1
Page 74 of 344
Remote Keyless Entry System
Your keyless entry system operates on a radio
frequency subject to Federal Communications
Commission (FCC) Rules and with Industry Canada.
This device complies with Part 15 of the FCC Rules.
Operation is subject to the following two conditions:
1. This device may not cause interference, and
2. This device must accept any interference received,
including interference that may cause undesired
operation of the device.
This device complies with RSS-210 of Industry Canada.
Operation is subject to the following two conditions:
1. This device may not cause interference, and
2. This device must accept any interference received,
including interference that may cause undesired
operation of the device.
Changes or modi®cations to this system by other than
an authorized service facility could void authorization to
use this equipment.At times you may notice a decrease in range. This is
normal for any remote keyless entry system. If the
transmitter does not work or if you have to stand closer
to your vehicle for the transmitter to work, try this:
·Check the distance. You may be too far from your
vehicle. You may need to stand closer during
rainy or snowy weather.
·Check the location. Other vehicles or objects may
be blocking the signal. Take a few steps to the
left or right, hold the transmitter higher, and
try again.
·Check to determine if battery replacement is
necessary. See ªBattery Replacementº under
Remote Keyless Entry System Operation on
page 2-5.
·If you are still having trouble, see your dealer or
a quali®ed technician for service.
2-4
Page 75 of 344
Remote Keyless Entry System
Operation
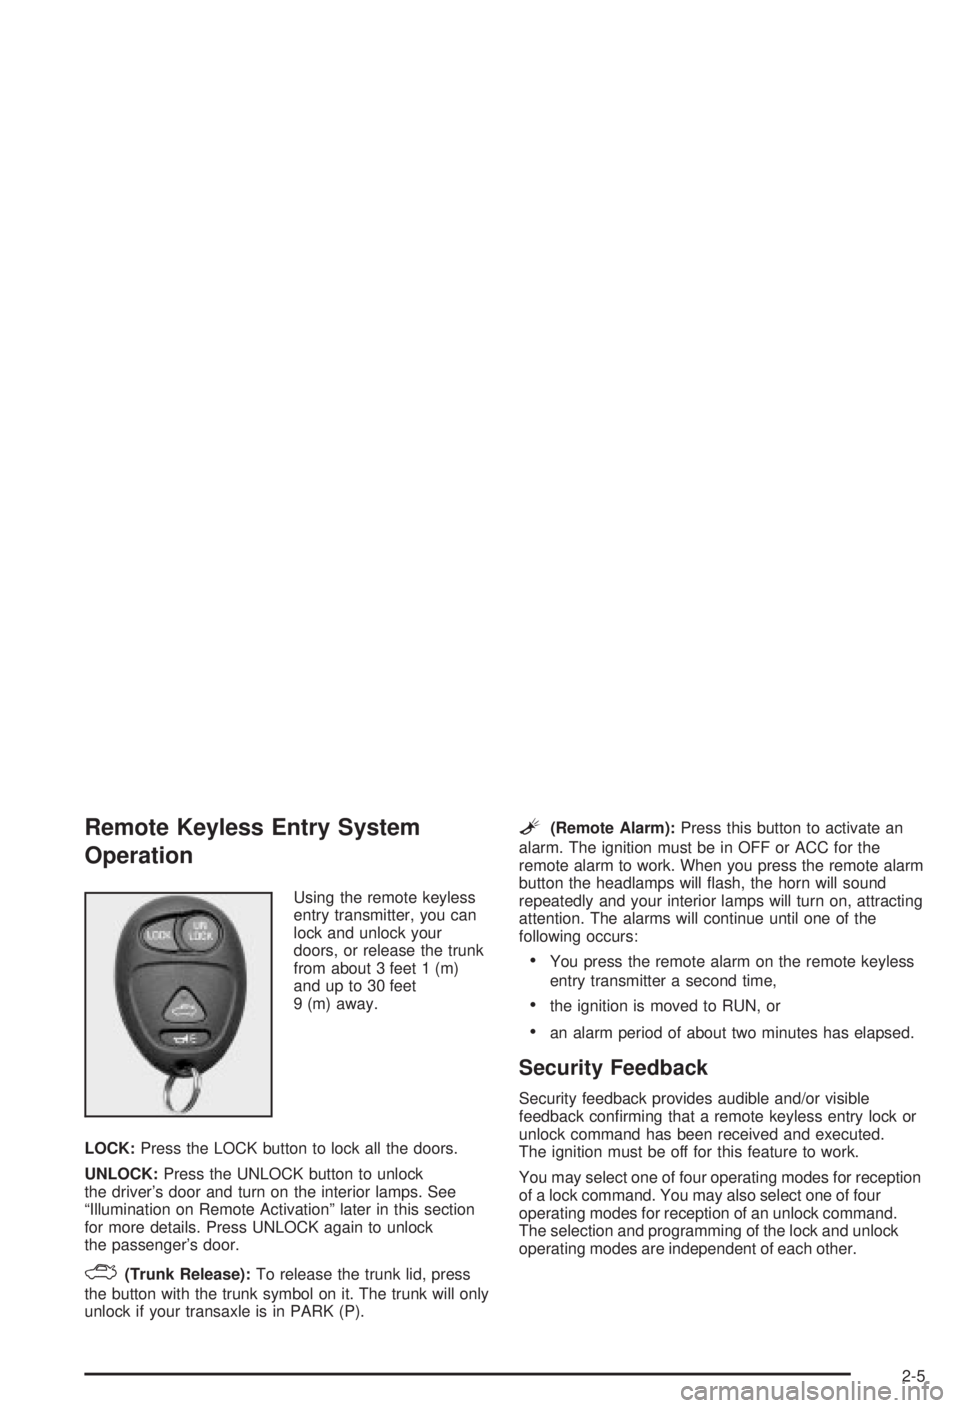
Using the remote keyless
entry transmitter, you can
lock and unlock your
doors, or release the trunk
from about 3 feet 1 (m)
and up to 30 feet
9 (m) away.
LOCK:Press the LOCK button to lock all the doors.
UNLOCK:Press the UNLOCK button to unlock
the driver's door and turn on the interior lamps. See
ªIllumination on Remote Activationº later in this section
for more details. Press UNLOCK again to unlock
the passenger's door.
F(Trunk Release):To release the trunk lid, press
the button with the trunk symbol on it. The trunk will only
unlock if your transaxle is in PARK (P).
L(Remote Alarm):Press this button to activate an
alarm. The ignition must be in OFF or ACC for the
remote alarm to work. When you press the remote alarm
button the headlamps will ¯ash, the horn will sound
repeatedly and your interior lamps will turn on, attracting
attention. The alarms will continue until one of the
following occurs:
·You press the remote alarm on the remote keyless
entry transmitter a second time,
·the ignition is moved to RUN, or
·an alarm period of about two minutes has elapsed.
Security Feedback
Security feedback provides audible and/or visible
feedback con®rming that a remote keyless entry lock or
unlock command has been received and executed.
The ignition must be off for this feature to work.
You may select one of four operating modes for reception
of a lock command. You may also select one of four
operating modes for reception of an unlock command.
The selection and programming of the lock and unlock
operating modes are independent of each other.
2-5
Page 76 of 344
Programmable Modes
Your vehicle can be programmed to one of the following
modes.
Mode 1:No Veri®cation
Mode 2:Horn Chirp only
Mode 3:Headlamps Flash only
Mode 4:Horn Chirp and Headlamps Flash
The vehicle was originally programmed to Mode 3. The
mode may have been changed since then. To
determine the current mode, or to change the mode, do
the following:
1. Close all doors and turn the ignition key to RUN.
2. Press and hold the power door lock switch in
the lock position.
3. While holding the door lock switch in the lock
position, press and release the remote keyless entry
transmitter LOCK button. This will start the
customization mode. While in the customizationmode, the feature will sound the number of chimes
corresponding to the current lock mode. If you
do not wish to change the current mode, you can
either exit the programming mode by following
the instructions listed here or program the
next feature available on your vehicle.
4. Each additional press of the remote keyless entry
transmitter LOCK button will cause your vehicle to
advance the lock mode by one, starting from
the current lock mode.
5. If cycled beyond Mode 4, the vehicle will enter
Mode 1. When the door lock switch is released,
the vehicle will remain in the most recent lock mode.
The mode you selected is now set. You can either exit
the programming mode by following the previous
instructions or program the next feature available on
your vehicle.
Disconnecting the vehicle's battery for up to a year will
not change the programmed mode for the lock and
unlock security feedback features.
2-6
Page 77 of 344
Delayed Locking
Delayed locking allows the doors to be locked while the
passengers are exiting the vehicle. This feature also
allows a brief time period for you to re-enter the vehicle
after the doors have been closed. Delayed locking is
user programmable for enabling or disabling the feature.
Delayed locking is activated when a door lock switch
is pressed while the key is not in the vehicle's ignition,
and a door is open. The door lock switch may be
either the lock switch on the door or on the remote
keyless entry transmitter. See ªRemote Keyless Entry
System Operationº earlier in this section for more
details. The doors do not lock when the lock switch is
pressed, but instead, three chimes are heard. These
chimes indicate that the delayed locking function
has been activated.
You have three actions possible once delayed locking is
activated:
·Cancel the delayed locking by pressing the unlock
switch or by fully inserting the key in the ignition.
·Override the delayed locking feature and lock the
doors immediately by pressing the lock switch a
second time.
·Let the delayed locking feature complete the locking
of the vehicle.If you wish to let the delayed locking feature complete
the locking of the vehicle, no additional action is
required. The delayed locking feature will lock the doors
automatically after all the doors have been closed for
a period of ®ve seconds. During this ®ve second period,
any door may be reopened, at which time the three
possible actions shown above are again available.
You may also customize your vehicle to activate the
delayed locking feature as described previously, or you
may choose to completely disable the feature at all
times. If disabled, the power door locks will activate
immediately when a power door lock switch is pressed.
The enabled/disabled state of the delayed locking
feature will be toggled when you perform the following
sequence:
1. Close the doors.
2. Move the ignition key to the RUN position.
3. Apply your regular brakes.
4. Press and hold the power door unlock switch. While
holding the door unlock switch, move the shift lever
out of and back into PARK (P).
2-7
Page 78 of 344
After an initial transaxle cycle, each additional cycle will
toggle the enable/disable state of the delayed locking
feature. During this procedure, the chime will sound,
providing you with feedback. In Mode 1, a single chime
will be heard if the delayed locking feature is disabled.
In Mode 2, two chimes will be heard if the feature
is enabled. When the door lock switch is released, the
vehicle will remain in the most recent operating mode.
Disconnecting the vehicle battery for up to a year will not
change the programmed mode for the delayed locking
feature.
Illumination on Remote Activation
This feature provides interior lighting when a remote
keyless entry door unlock command is received by your
vehicle. Your ignition must be off for this feature to
work. The interior lamps will light until either the ignition
is turned to RUN or until a period of 40 seconds has
elapsed. If a door is opened during this period, the timed
lighting will be canceled, and the interior lamps will
remain on. Also see ªEntry Lightingº under
Interior
Lamps on page 3-14for more information.
Matching Transmitter(s) to Your
Vehicle
Each remote keyless entry transmitter is coded to
prevent another transmitter from unlocking your vehicle.
If a transmitter is lost or stolen, a replacement can
be purchased through your dealer. Remember to bring
any remaining transmitters with you when you go to
your dealer. When the dealer matches the replacement
transmitter to your vehicle, any remaining transmitters
must also be matched. Once your dealer has coded the
new transmitter, the lost transmitter will not unlock
your vehicle. Each vehicle can have a maximum of four
transmitters matched to it.
Battery Replacement
Under normal use, the battery in your remote keyless
entry transmitter should last about three years.
You can tell the battery is weak if the transmitter won't
work at the normal range in any location. If you have
to get close to your vehicle before the transmitter works,
it's probably time to change the battery.
2-8
Page 80 of 344
Doors and Locks
Door Locks
{CAUTION:
Unlocked doors can be dangerous.
·Passengers Ð especially children Ð can
easily open the doors and fall out of a
moving vehicle. When a door is locked, the
handle won't open it. You increase the
chance of being thrown out of the vehicle
in a crash if the doors aren't locked. So,
wear safety belts properly and lock the
doors whenever you drive.
·Young children who get into unlocked
vehicles may be unable to get out. A child
can be overcome by extreme heat and can
suffer permanent injuries or even death
from heat stroke. Always lock your vehicle
whenever you leave it.
·Outsiders can easily enter through an
unlocked door when you slow down or
stop your vehicle. Locking your doors can
help prevent this from happening.There are several ways to lock and unlock your vehicle.
From the outside, use your door key or remote
keyless entry transmitter.
From the inside use the manual or power door locks.
To manually unlock the driver's door from the outside,
insert the key and turn it toward the front of the vehicle.
To manually lock the driver's door from the outside,
insert the key and turn it toward the rear of the vehicle.
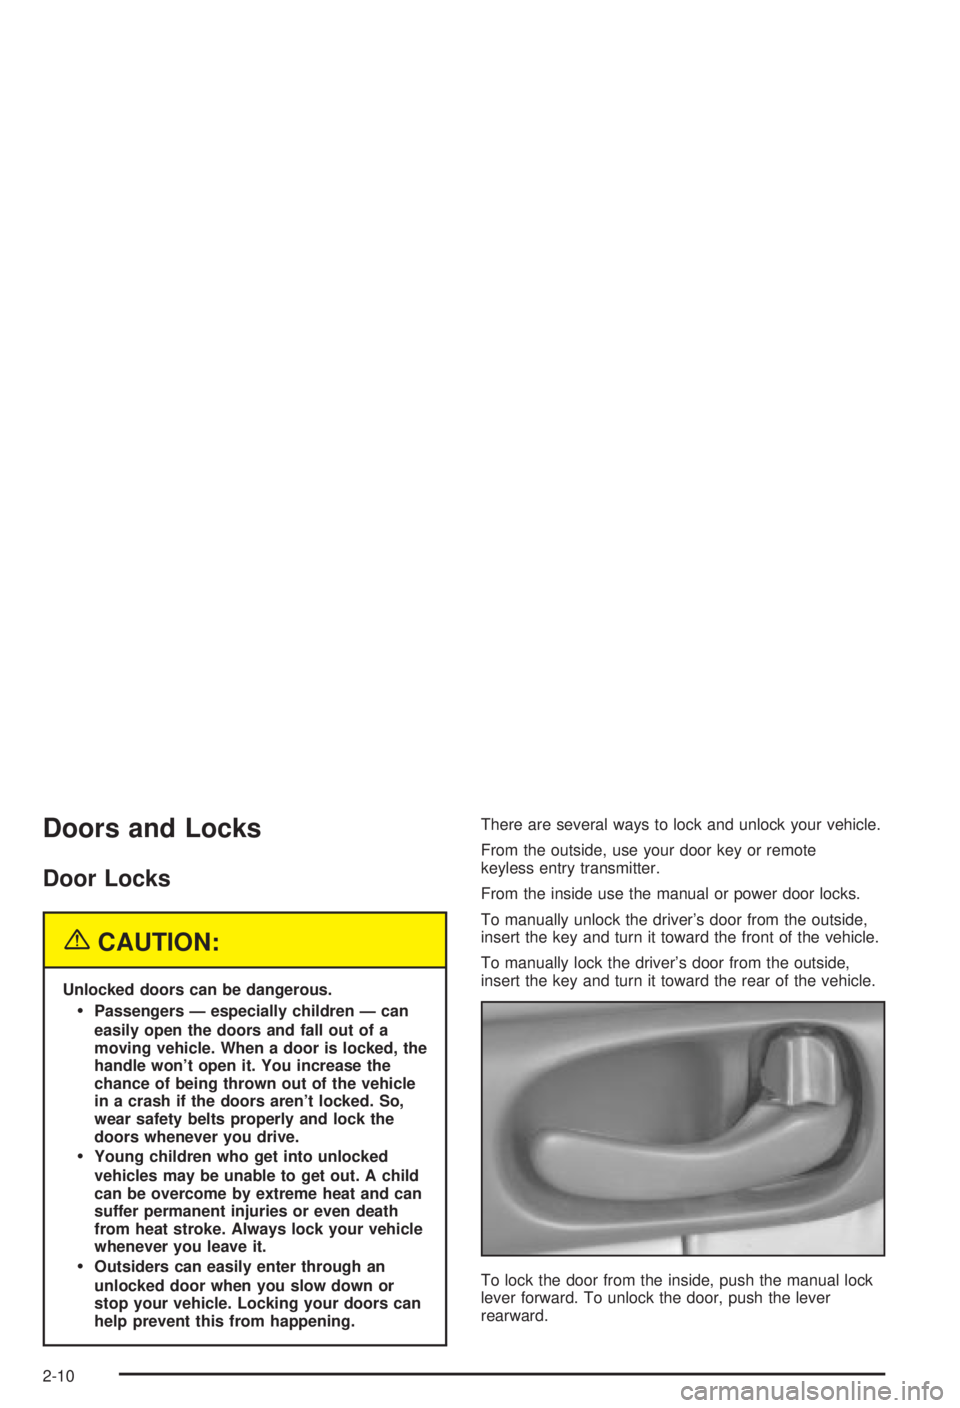
To lock the door from the inside, push the manual lock
lever forward. To unlock the door, push the lever
rearward.
2-10
Page 83 of 344
Trunk
{CAUTION:
It can be dangerous to drive with the trunk lid
open because carbon monoxide (CO) gas can
come into your vehicle. You can't see or smell
CO. It can cause unconsciousness and even
death. If you must drive with the trunk lid open
or if electrical wiring or other cable
connections must pass through the seal
between the body and the trunk lid:
·Make sure all other windows are shut.
·Turn the fan on your heating or cooling
system to its highest speed and select the
control setting that will force outside air
into your vehicle. See ªClimate Control
Systemº in the Index.
·If you have air outlets on or under the
instrument panel, open them all the way.
See ªEngine Exhaustº in the Index.
Trunk Lock
To unlock the trunk lid from the outside, insert the door
key into its lock and turn it. You can also press the trunk
release symbol on the remote keyless entry transmitter.
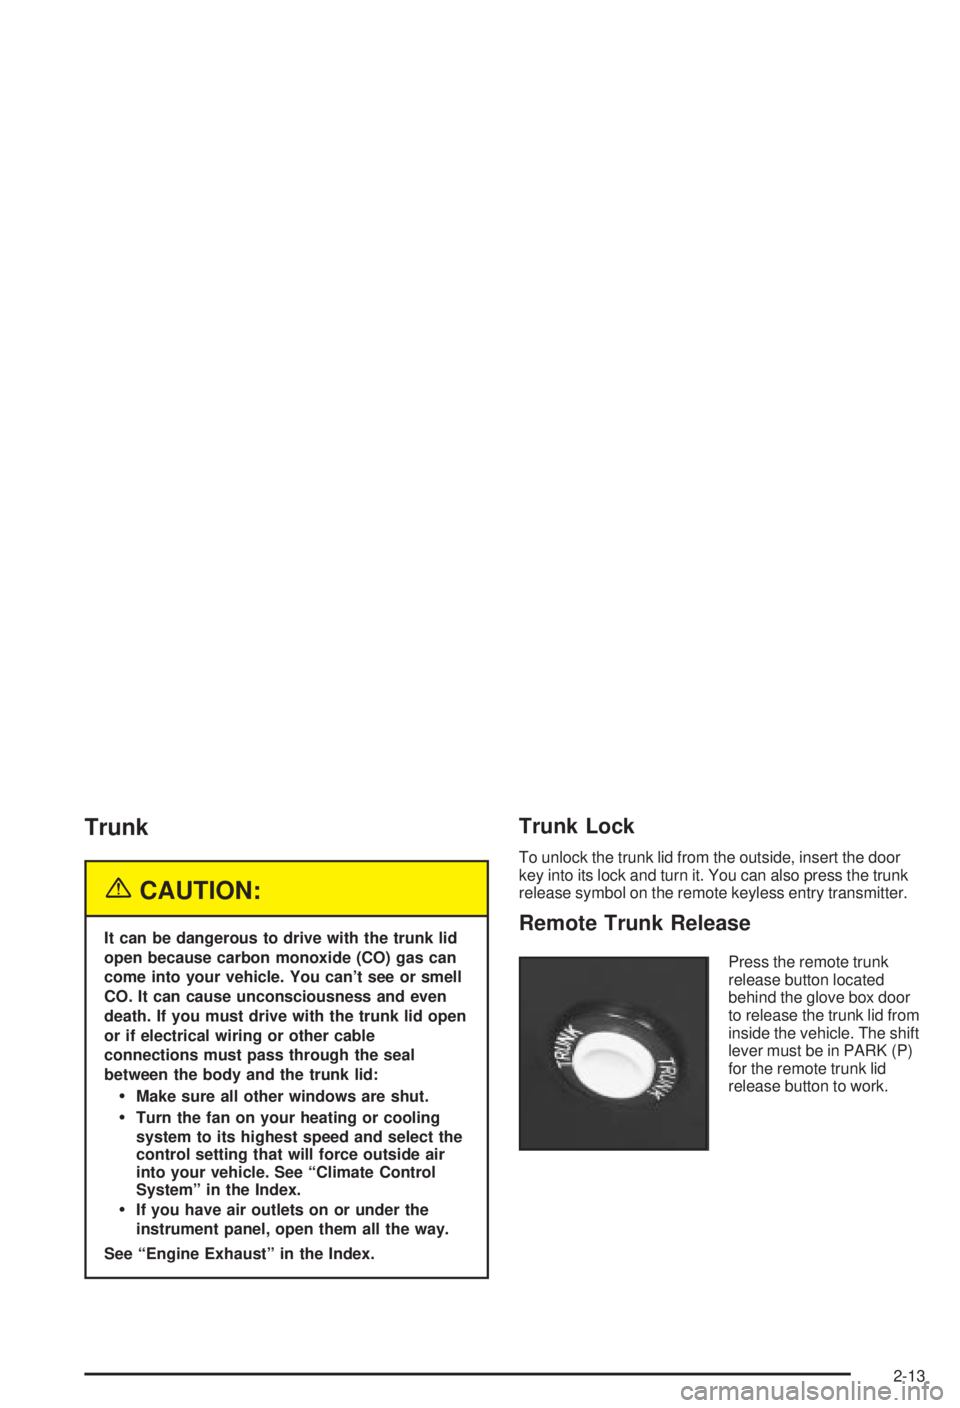
Remote Trunk Release
Press the remote trunk
release button located
behind the glove box door
to release the trunk lid from
inside the vehicle. The shift
lever must be in PARK (P)
for the remote trunk lid
release button to work.
2-13
Page 120 of 344
Interior Lamps
Instrument Panel Brightness
You can brighten or dim the instrument panel lights by
turning the exterior lamps control.
Turning the control all the way clockwise turns on the
courtesy lamps. If the control is turned all the way
counterclockwise, the lamps and lights will turn off.
Courtesy Lamps
When any door is opened, several courtesy lamps come
on. They make it easy for you to enter and leave your
vehicle. You can also turn these lamps on by turning the
exterior lamps control all the way clockwise to MAX.
Entry Lighting
The courtesy lamps will come on and stay on for a set
time whenever you press UNLOCK on the remote
keyless entry transmitter.
If you open a door, the lamps will stay on while it's open
and then turn off automatically about 25 seconds after
you close it. If you press UNLOCK and don't open
a door, the lamps will turn off after about 40 seconds.Entry lighting includes a feature called theater dimming.
With theater dimming, the lamps don't just turn off at
the end of the delay time. Instead, they slowly dim after
the delay time until they go out. The delay time is
canceled if you turn the ignition key to RUN or START.
When the ignition is on, entry lighing is inactive,
which means the courtesy lamps won't come on unless
a door is opened.
Delayed Entry Lighting
Delayed entry lighting lights your vehicle's interior for a
period of time after all the doors have been closed.
The ignition must be off for delayed entry lighting
to work. Just after all the doors have been closed, the
delayed entry lighting feature will continue to work
until one of the following occurs:
·The ignition is in RUN, or
·the doors are locked, or
·an illumination period of 25 seconds has elapsed.
If during the illumination period a door is opened,
the timed illumination period will be canceled and the
interior lamps will remain on.
3-14
Page 291 of 344
Fuses Usage
BTSI PARK
LOCKShifter Lock Solenoid
AIR BAG Air Bag
BCM PWR Body Control Module
HAZARD Hazard Flashers
LH HEATED
SEATDriver's Heated Seat
Blank Not Used
BCM ACCIgnition Signal: Hot in ACC and Run,
Body Control Module
Blank Not Used
LOW BLOWER Low Blower
ABS Anti-Lock Brakes
TURN
SIGNALS,
CORN LPSTurn Signals, Cornering Lamps
RADIO, HVAC,
RFA,
CLUSTERRadio, Heating Ventilation Air
Conditioning Head, Remote Keyless
Entry, Cluster
HIGH BLOWER High Blower
RH HEATED
SEATPassenger's Heated Seat
STRG WHL
CONTAudio Steering Wheel Controls
WIPER Windshield WipersUnderhood Fuse Block
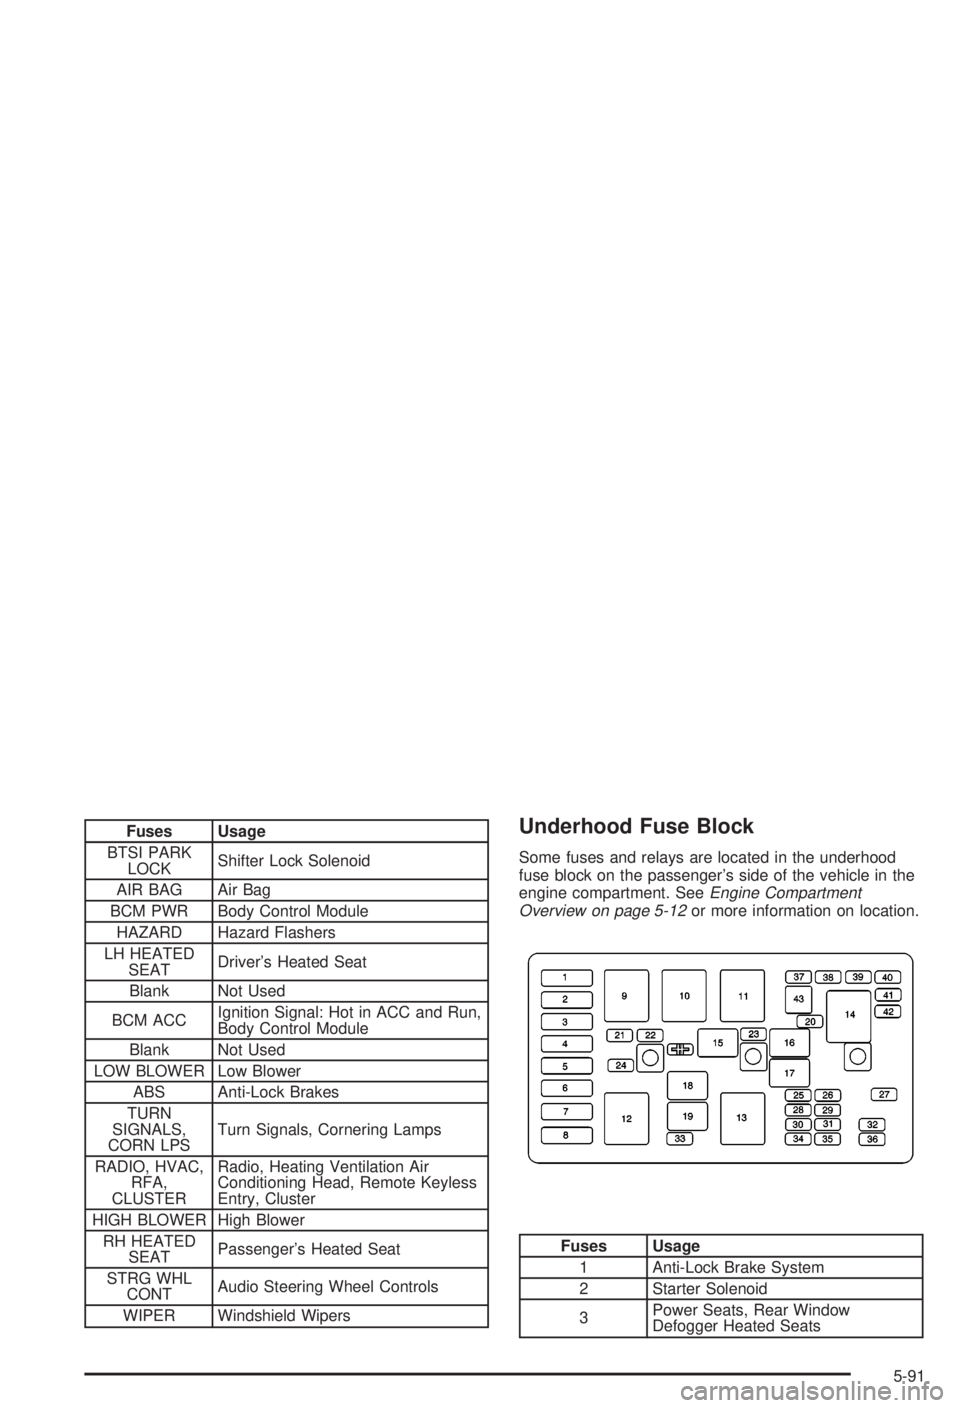
Some fuses and relays are located in the underhood
fuse block on the passenger's side of the vehicle in the
engine compartment. See
Engine Compartment
Overview on page 5-12or more information on location.
Fuses Usage
1 Anti-Lock Brake System
2 Starter Solenoid
3Power Seats, Rear Window
Defogger Heated Seats
5-91