oil level BUICK CENTURY 2003 Owner's Manual
[x] Cancel search | Manufacturer: BUICK, Model Year: 2003, Model line: CENTURY, Model: BUICK CENTURY 2003Pages: 344, PDF Size: 2.57 MB
Page 107 of 344
Instrument Panel Overview...............................3-2
Hazard Warning Flashers................................3-3
Other Warning Devices...................................3-4
Horn.............................................................3-4
Tilt Wheel.....................................................3-4
Turn Signal/Multifunction Lever.........................3-5
Exterior Lamps.............................................3-11
Interior Lamps..............................................3-14
Auxiliary Power Connection
(Power Drop)............................................3-16
Ashtrays and Cigarette Lighter........................3-16
Climate Controls............................................3-17
Dual Climate Control System..........................3-17
Outlet Adjustment.........................................3-20
Passenger Compartment Air Filter...................3-20
Warning Lights, Gages and Indicators.............3-22
Instrument Panel Cluster................................3-23
Speedometer and Odometer...........................3-24
Safety Belt Reminder Light.............................3-24
Air Bag Readiness Light................................3-25
Charging System Light..................................3-26
Brake System Warning Light..........................3-27
Anti-Lock Brake System Warning Light.............3-28
Enhanced Traction System Warning Light.........3-28
Low Traction Light........................................3-29Engine Coolant Temperature Warning Light......3-29
Engine Coolant Temperature Gage..................3-30
Tire Pressure Light.......................................3-30
Malfunction Indicator Lamp.............................3-31
Oil Pressure Light.........................................3-34
Low Oil Level Light.......................................3-35
Change Engine Oil Light................................3-35
Security Light...............................................3-36
Cruise Control Light......................................3-36
Low Washer Fluid Warning Light.....................3-36
Door/Trunk Ajar Warning Light........................3-36
Service Vehicle Soon Light............................3-37
Fuel Gage...................................................3-37
Low Fuel Warning Light.................................3-38
Audio System(s).............................................3-39
Setting the Time...........................................3-39
AM-FM Radio...............................................3-40
Radio with Cassette and CD..........................3-42
Theft-Deterrent Feature..................................3-48
Audio Steering Wheel Controls.......................3-50
Understanding Radio Reception......................3-50
Care of Your Cassette Tape Player.................3-51
Care of Your CDs.........................................3-52
Care of Your CD Player................................3-52
Fixed Mast Antenna......................................3-52
Section 3 Instrument Panel
3-1
Page 141 of 344
Low Oil Level Light
If your vehicle is equipped
with an oil level monitoring
system, the LOW OIL
light will come on brie¯y
when the ignition key
is turned on.
If the light does not come on brie¯y, have it ®xed so it
will be ready to warn you if there's a problem.
If the light stays on, stop the vehicle on a level surface
and turn the engine off. Check the oil level using the
engine oil dipstick. See
Engine Oil on page 5-13.Ifthe
light does not come on brie¯y, have the low oil level
sensor system repaired so it will be ready to warn you if
there's a problem.
The oil level monitoring system only checks oil level
during the brief period between key on and engine
crank. It does not monitor engine oil level when
the engine is running. Additionally, an oil level check is
only performed if the engine has been turned off for
a considerable period of time, allowing the oil normally
in circulation to drain back into the oil pan.
Change Engine Oil Light
The CHANGE OIL SOON
light should come on
brie¯y as a bulb check
when you start the engine.
If the light doesn't come
on, have it serviced.
If the CHANGE OIL SOON light comes on and stays on
after you start the engine, have the oil changed.
For additional information, see ªWhen to Change Engine
Oil (GM Oil Life System)º under
Engine Oil on page 5-13.
To reset the CHANGE OIL SOON light, see ªHow to
Reset the Systemº under
Engine Oil on page 5-13.
3-35
Page 181 of 344
Once you are moving on the freeway, make certain you
allow a reasonable following distance.
Expect to move slightly slower at night.
When you want to leave the freeway, move to the
proper lane well in advance. If you miss your exit, do
not, under any circumstances, stop and back up. Drive
on to the next exit.
The exit ramp can be curved, sometimes quite sharply.
The exit speed is usually posted. Reduce your speed
according to your speedometer, not to your sense
of motion. After driving for any distance at higher
speeds, you may tend to think you are going slower
than you actually are.
Before Leaving on a Long Trip
Make sure you're ready. Try to be well rested. If you
must start when you're not fresh Ð such as after a day's
work Ð don't plan to make too many miles that ®rst
part of the journey. Wear comfortable clothing and shoes
you can easily drive in.
Is your vehicle ready for a long trip? If you keep it
serviced and maintained, it's ready to go. If it needs
service, have it done before starting out. Of course,
you'll ®nd experienced and able service experts in GM
dealerships all across North America. They'll be
ready and willing to help if you need it.Here are some things you can check before a trip:
·Windshield Washer Fluid:Is the reservoir full? Are
all windows clean inside and outside?
·Wiper Blades:Are they in good shape?
·Fuel, Engine Oil, Other Fluids:Have you checked
all levels?
·Lamps:Are they all working? Are the lenses clean?
·Tires:They are vitally important to a safe,
trouble-free trip. Is the tread good enough for
long-distance driving? Are the tires all in¯ated to the
recommended pressure?
·Weather Forecasts:What's the weather outlook
along your route? Should you delay your trip a
short time to avoid a major storm system?
·Maps:Do you have up-to-date maps?
4-23
Page 213 of 344
A. Windshield Washer Fluid Reservoir. SeeWindshield
Washer Fluid on page 5-38.
B. Battery. See
Battery on page 5-42.
C. Underhood Fuse Block. See
Fuses and Circuit
Breakers on page 5-89.
D. Remote Positive (+) Battery Terminal. See
Jump
Starting on page 5-43.
E. Radiator Pressure Cap. See
Radiator Pressure Cap
on page 5-26.
F. Engine Coolant Recovery Tank. See
Engine Coolant
on page 5-23.
G. Power Steering Fluid Reservoir. See
Power Steering
Fluid on page 5-36.
H. Electric Engine Cooling Fan. See
Jump Starting on
page 5-43.
I. Engine Oil Fill Cap. See
Engine Oil on page 5-13.
J. Engine Oil Dipstick. See
Engine Oil on page 5-13.
K. Automatic Transaxle Fluid Dipstick. See
Automatic
Transaxle Fluid on page 5-19.
L. Brake Fluid Reservoir. See
Brakes on page 5-39.
M. Engine Air Cleaner/Filter. See
Engine Air
Cleaner/Filter on page 5-18.
Engine Oil
Checking Engine Oil
It's a good idea to check your engine oil every time you
get fuel. In order to get an accurate reading, the oil
must be warm and the vehicle must be on level ground.
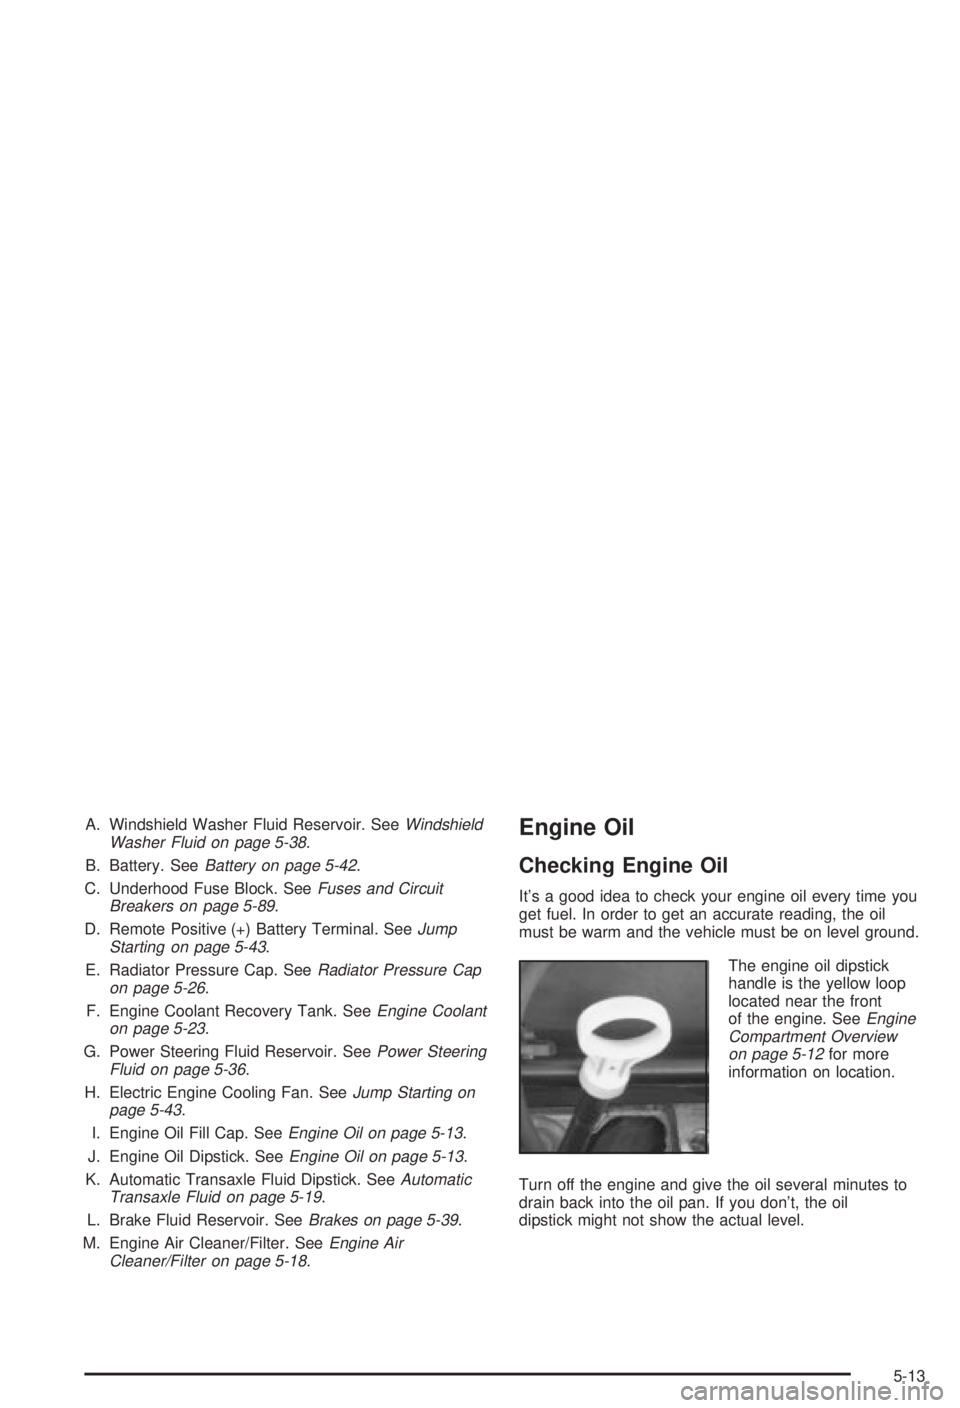
The engine oil dipstick
handle is the yellow loop
located near the front
of the engine. See
Engine
Compartment Overview
on page 5-12
for more
information on location.
Turn off the engine and give the oil several minutes to
drain back into the oil pan. If you don't, the oil
dipstick might not show the actual level.
5-13
Page 214 of 344
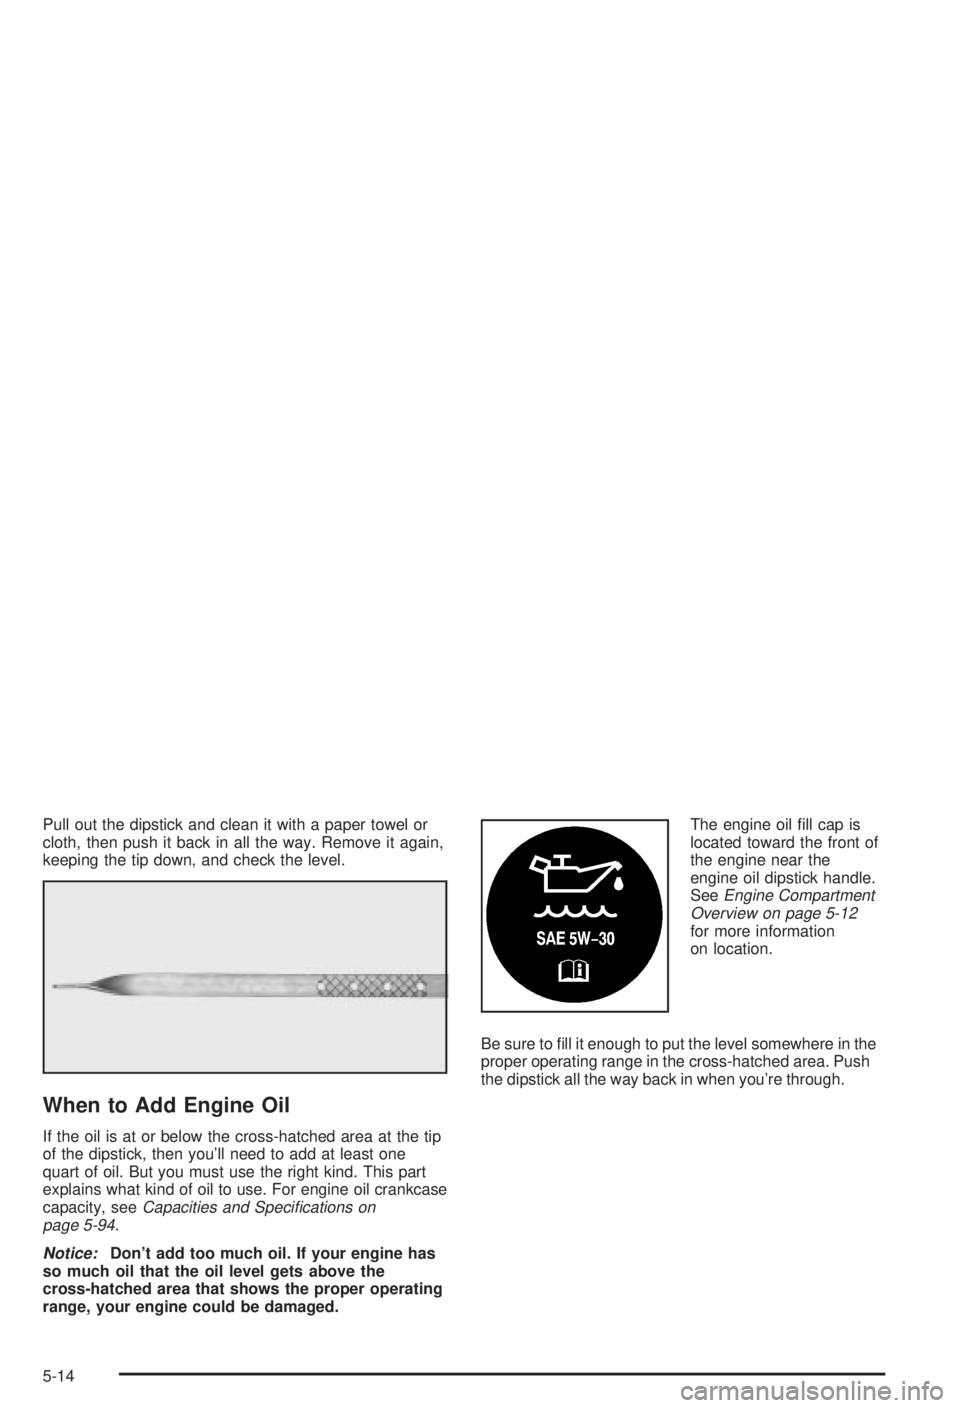
Pull out the dipstick and clean it with a paper towel or
cloth, then push it back in all the way. Remove it again,
keeping the tip down, and check the level.
When to Add Engine Oil
If the oil is at or below the cross-hatched area at the tip
of the dipstick, then you'll need to add at least one
quart of oil. But you must use the right kind. This part
explains what kind of oil to use. For engine oil crankcase
capacity, see
Capacities and Speci®cations on
page 5-94.
Notice:Don't add too much oil. If your engine has
so much oil that the oil level gets above the
cross-hatched area that shows the proper operating
range, your engine could be damaged.The engine oil ®ll cap is
located toward the front of
the engine near the
engine oil dipstick handle.
See
Engine Compartment
Overview on page 5-12
for more information
on location.
Be sure to ®ll it enough to put the level somewhere in the
proper operating range in the cross-hatched area. Push
the dipstick all the way back in when you're through.
5-14
Page 216 of 344
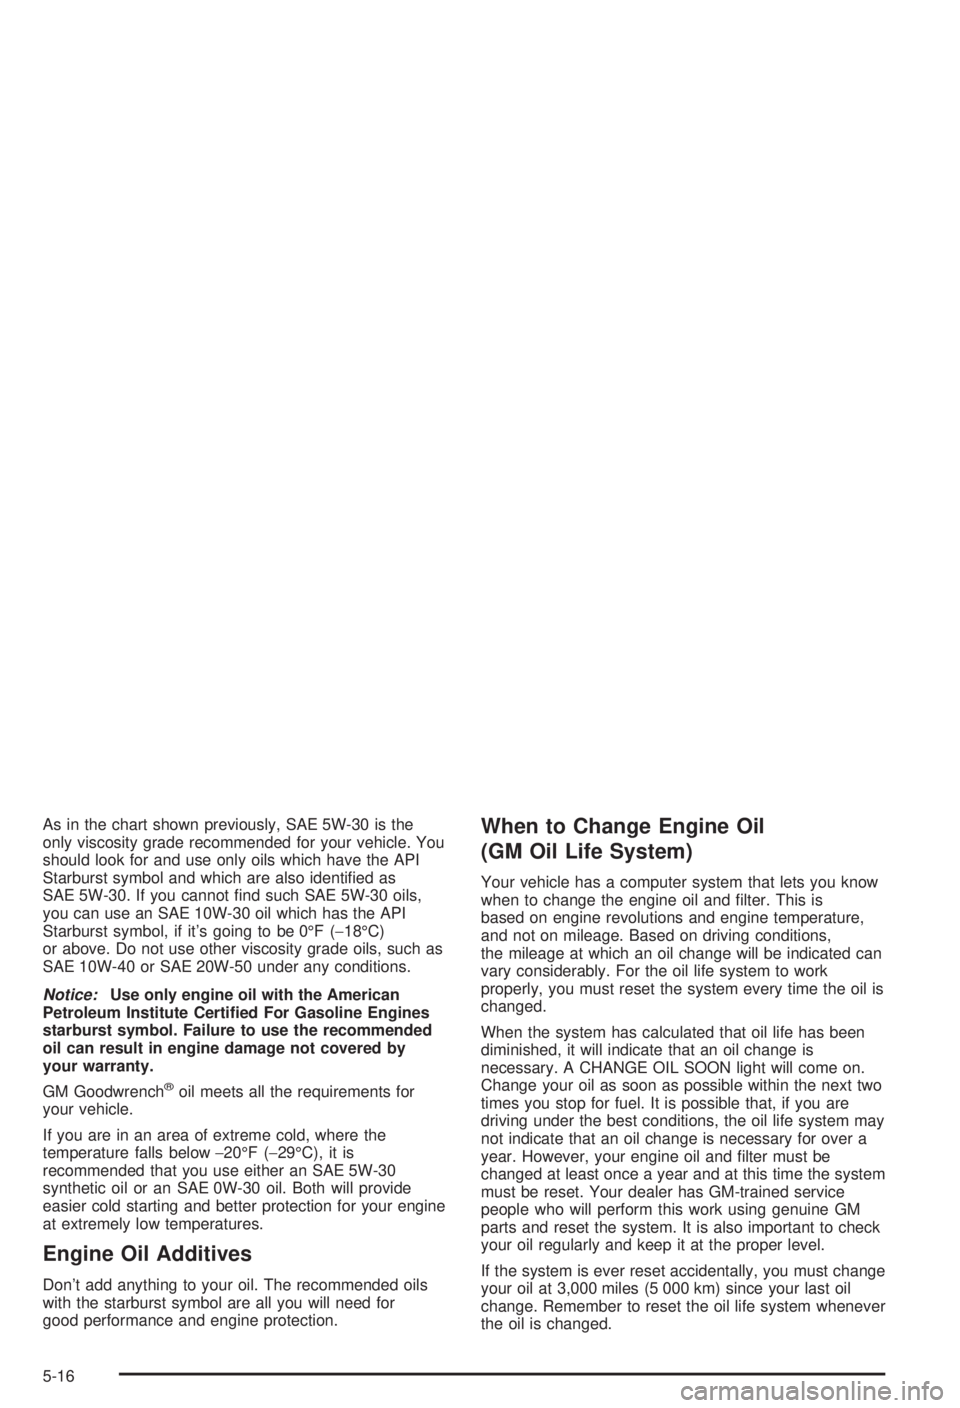
As in the chart shown previously, SAE 5W-30 is the
only viscosity grade recommended for your vehicle. You
should look for and use only oils which have the API
Starburst symbol and which are also identi®ed as
SAE 5W-30. If you cannot ®nd such SAE 5W-30 oils,
you can use an SAE 10W-30 oil which has the API
Starburst symbol, if it's going to be 0ÉF (-18ÉC)
or above. Do not use other viscosity grade oils, such as
SAE 10W-40 or SAE 20W-50 under any conditions.
Notice:Use only engine oil with the American
Petroleum Institute Certi®ed For Gasoline Engines
starburst symbol. Failure to use the recommended
oil can result in engine damage not covered by
your warranty.
GM Goodwrench
žoil meets all the requirements for
your vehicle.
If you are in an area of extreme cold, where the
temperature falls below-20ÉF (-29ÉC), it is
recommended that you use either an SAE 5W-30
synthetic oil or an SAE 0W-30 oil. Both will provide
easier cold starting and better protection for your engine
at extremely low temperatures.
Engine Oil Additives
Don't add anything to your oil. The recommended oils
with the starburst symbol are all you will need for
good performance and engine protection.
When to Change Engine Oil
(GM Oil Life System)
Your vehicle has a computer system that lets you know
when to change the engine oil and ®lter. This is
based on engine revolutions and engine temperature,
and not on mileage. Based on driving conditions,
the mileage at which an oil change will be indicated can
vary considerably. For the oil life system to work
properly, you must reset the system every time the oil is
changed.
When the system has calculated that oil life has been
diminished, it will indicate that an oil change is
necessary. A CHANGE OIL SOON light will come on.
Change your oil as soon as possible within the next two
times you stop for fuel. It is possible that, if you are
driving under the best conditions, the oil life system may
not indicate that an oil change is necessary for over a
year. However, your engine oil and ®lter must be
changed at least once a year and at this time the system
must be reset. Your dealer has GM-trained service
people who will perform this work using genuine GM
parts and reset the system. It is also important to check
your oil regularly and keep it at the proper level.
If the system is ever reset accidentally, you must change
your oil at 3,000 miles (5 000 km) since your last oil
change. Remember to reset the oil life system whenever
the oil is changed.
5-16
Page 219 of 344
{CAUTION:
Operating the engine with the air cleaner/®lter
off can cause you or others to be burned. The
air cleaner not only cleans the air, it helps to
stop ¯ame if the engine back®res. If it isn't there
and the engine back®res, you could be burned.
Don't drive with it off, and be careful working on
the engine with the air cleaner/®lter off.
Notice:If the air cleaner/®lter is off, a back®re can
cause a damaging engine ®re. And, dirt can
easily get into your engine, which will damage it.
Always have the air cleaner/®lter in place when
you're driving.
Automatic Transaxle Fluid
When to Check and Change
A good time to check your automatic transaxle ¯uid
level is when the engine oil is changed.
Change both the ¯uid and ®lter every 50,000 miles
(83 000 km) if the vehicle is mainly driven under one or
more of these conditions:
·In heavy city traffic where the outside temperature
regularly reaches 90ÉF (32ÉC) or higher.
·In hilly or mountainous terrain.
·When doing frequent trailer towing.
·Uses such as found in taxi, police or delivery
service.
If you do not use your vehicle under any of these
conditions, change the ¯uid and ®lter at 100,000 miles
(166 000 km).
See
Part A: Scheduled Maintenance Services on
page 6-4.
5-19
Page 229 of 344
Cooling System
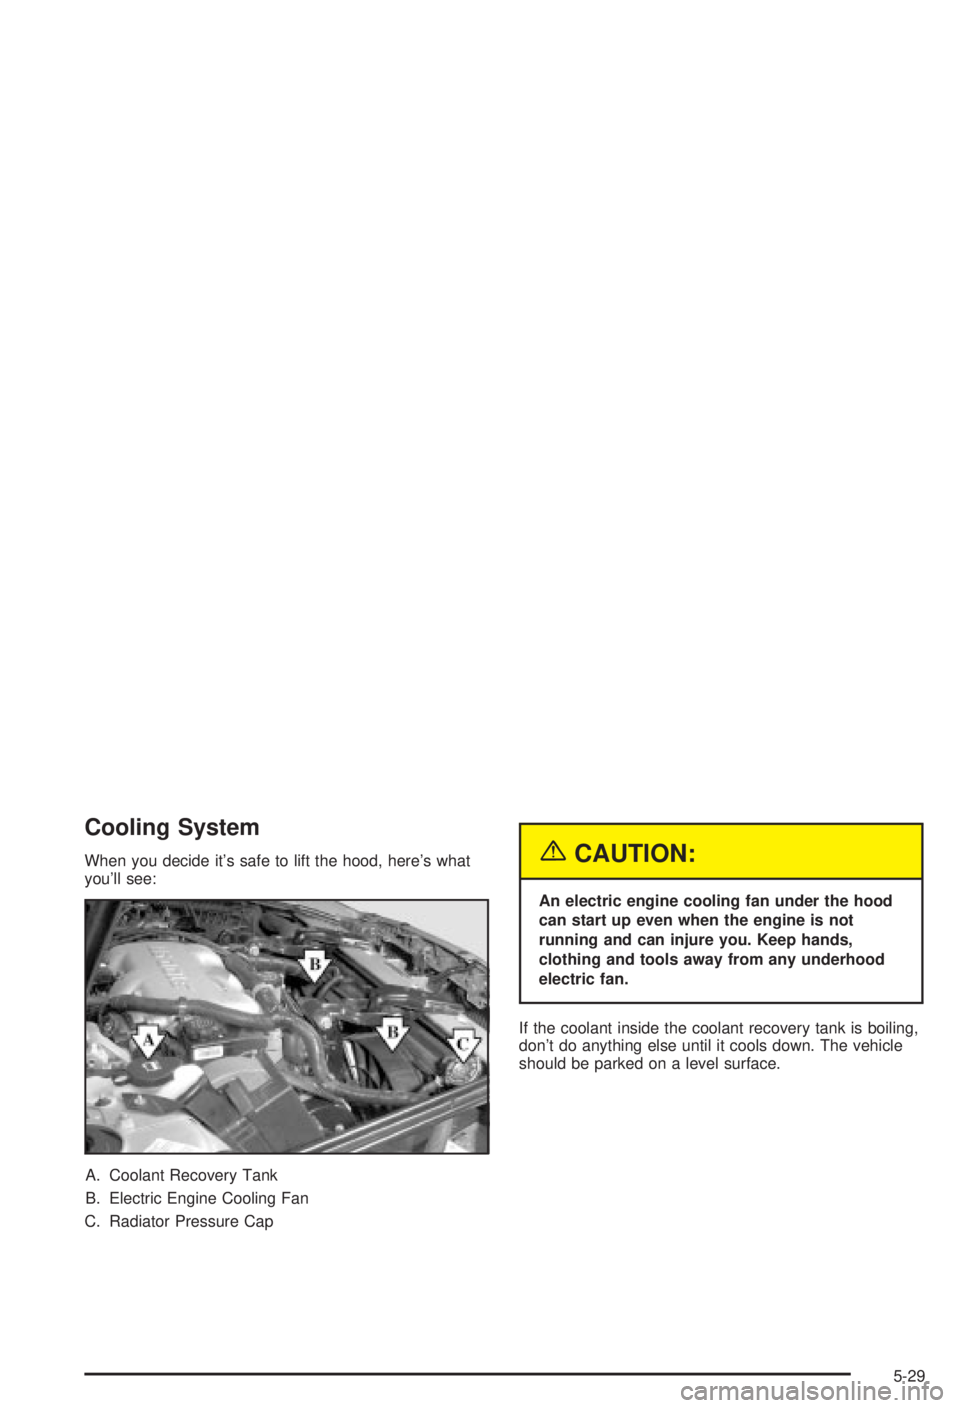
When you decide it's safe to lift the hood, here's what
you'll see:
A. Coolant Recovery Tank
B. Electric Engine Cooling Fan
C. Radiator Pressure Cap{CAUTION:
An electric engine cooling fan under the hood
can start up even when the engine is not
running and can injure you. Keep hands,
clothing and tools away from any underhood
electric fan.
If the coolant inside the coolant recovery tank is boiling,
don't do anything else until it cools down. The vehicle
should be parked on a level surface.
5-29
Page 231 of 344
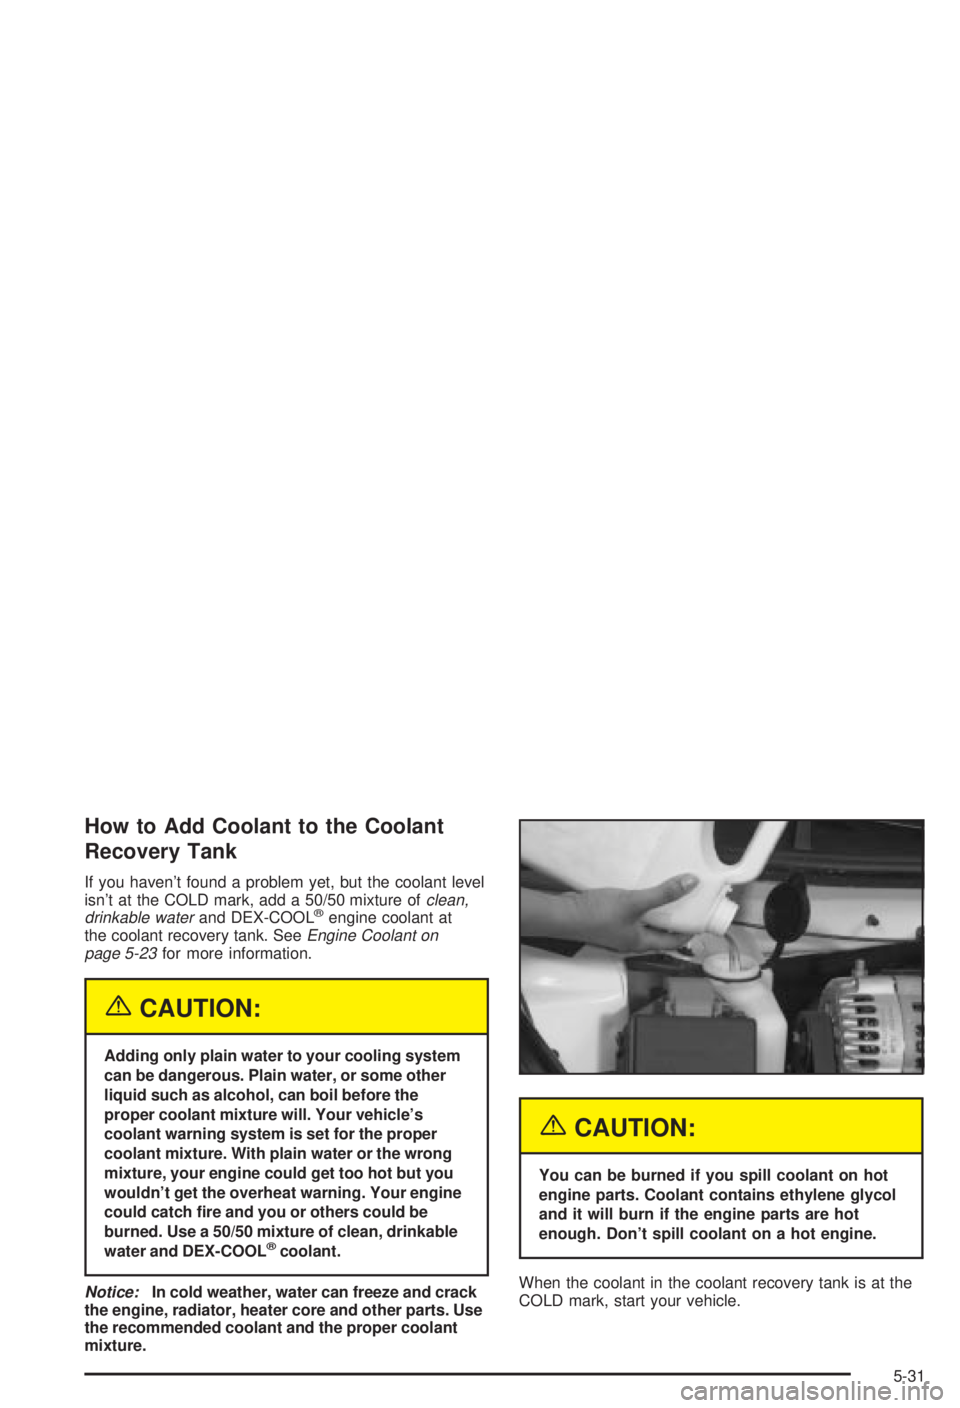
How to Add Coolant to the Coolant
Recovery Tank
If you haven't found a problem yet, but the coolant level
isn't at the COLD mark, add a 50/50 mixture ofclean,
drinkable waterand DEX-COOLžengine coolant at
the coolant recovery tank. SeeEngine Coolant on
page 5-23for more information.
{CAUTION:
Adding only plain water to your cooling system
can be dangerous. Plain water, or some other
liquid such as alcohol, can boil before the
proper coolant mixture will. Your vehicle's
coolant warning system is set for the proper
coolant mixture. With plain water or the wrong
mixture, your engine could get too hot but you
wouldn't get the overheat warning. Your engine
could catch ®re and you or others could be
burned. Use a 50/50 mixture of clean, drinkable
water and DEX-COOL
žcoolant.
Notice:In cold weather, water can freeze and crack
the engine, radiator, heater core and other parts. Use
the recommended coolant and the proper coolant
mixture.
{CAUTION:
You can be burned if you spill coolant on hot
engine parts. Coolant contains ethylene glycol
and it will burn if the engine parts are hot
enough. Don't spill coolant on a hot engine.
When the coolant in the coolant recovery tank is at the
COLD mark, start your vehicle.
5-31
Page 240 of 344
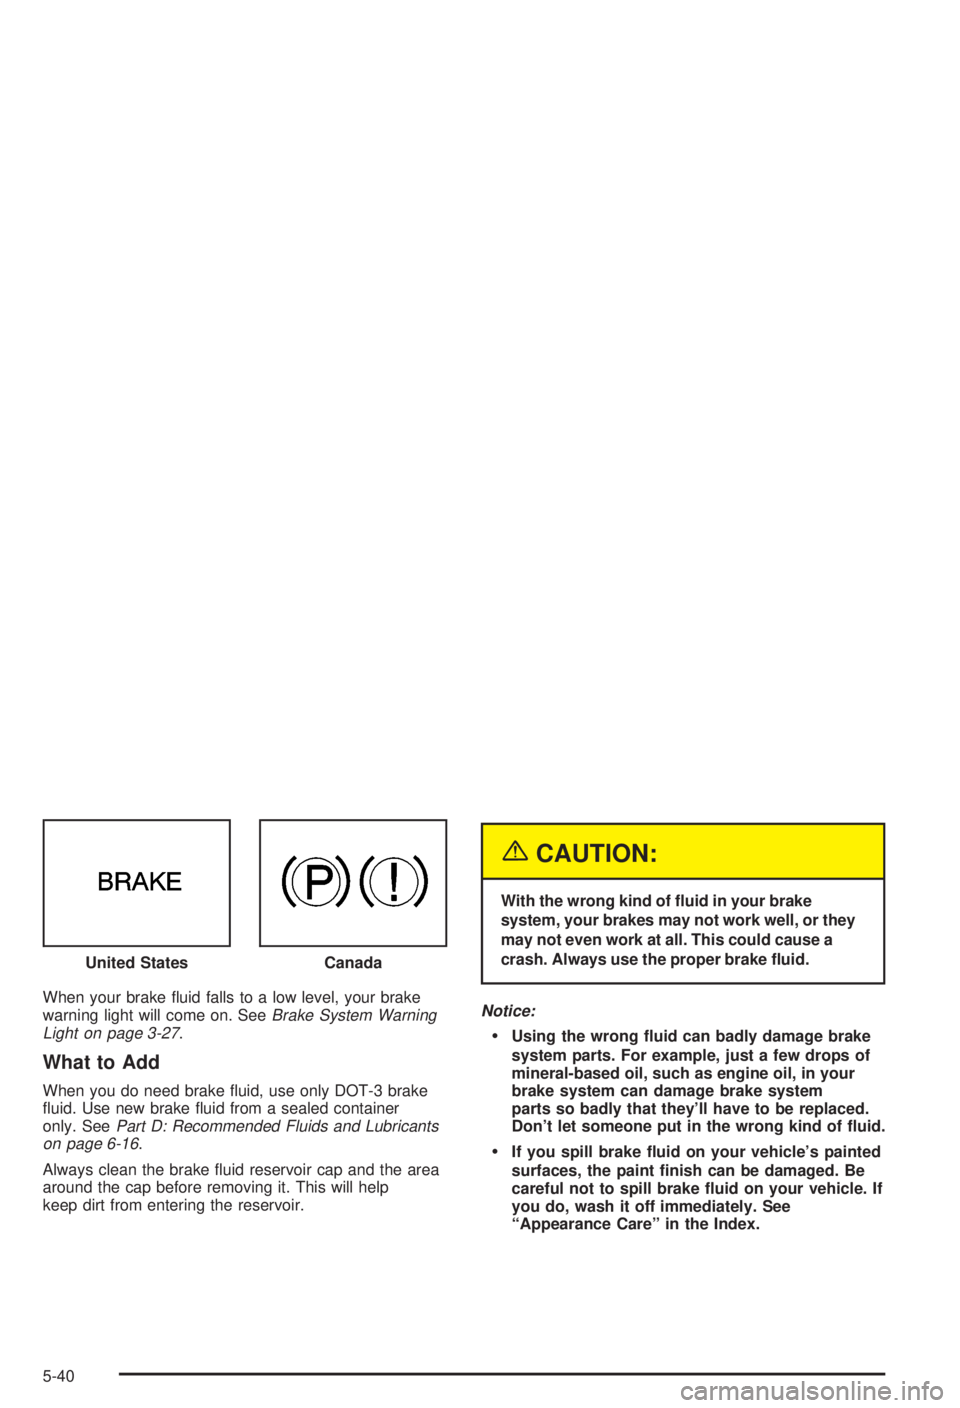
When your brake ¯uid falls to a low level, your brake
warning light will come on. SeeBrake System Warning
Light on page 3-27.
What to Add
When you do need brake ¯uid, use only DOT-3 brake
¯uid. Use new brake ¯uid from a sealed container
only. See
Part D: Recommended Fluids and Lubricants
on page 6-16.
Always clean the brake ¯uid reservoir cap and the area
around the cap before removing it. This will help
keep dirt from entering the reservoir.
{CAUTION:
With the wrong kind of ¯uid in your brake
system, your brakes may not work well, or they
may not even work at all. This could cause a
crash. Always use the proper brake ¯uid.
Notice:
·Using the wrong ¯uid can badly damage brake
system parts. For example, just a few drops of
mineral-based oil, such as engine oil, in your
brake system can damage brake system
parts so badly that they'll have to be replaced.
Don't let someone put in the wrong kind of ¯uid.
·If you spill brake ¯uid on your vehicle's painted
surfaces, the paint ®nish can be damaged. Be
careful not to spill brake ¯uid on your vehicle. If
you do, wash it off immediately. See
ªAppearance Careº in the Index. United States
Canada
5-40