tire pressure BUICK CENTURY 2003 Owner's Manual
[x] Cancel search | Manufacturer: BUICK, Model Year: 2003, Model line: CENTURY, Model: BUICK CENTURY 2003Pages: 344, PDF Size: 2.57 MB
Page 107 of 344
Instrument Panel Overview...............................3-2
Hazard Warning Flashers................................3-3
Other Warning Devices...................................3-4
Horn.............................................................3-4
Tilt Wheel.....................................................3-4
Turn Signal/Multifunction Lever.........................3-5
Exterior Lamps.............................................3-11
Interior Lamps..............................................3-14
Auxiliary Power Connection
(Power Drop)............................................3-16
Ashtrays and Cigarette Lighter........................3-16
Climate Controls............................................3-17
Dual Climate Control System..........................3-17
Outlet Adjustment.........................................3-20
Passenger Compartment Air Filter...................3-20
Warning Lights, Gages and Indicators.............3-22
Instrument Panel Cluster................................3-23
Speedometer and Odometer...........................3-24
Safety Belt Reminder Light.............................3-24
Air Bag Readiness Light................................3-25
Charging System Light..................................3-26
Brake System Warning Light..........................3-27
Anti-Lock Brake System Warning Light.............3-28
Enhanced Traction System Warning Light.........3-28
Low Traction Light........................................3-29Engine Coolant Temperature Warning Light......3-29
Engine Coolant Temperature Gage..................3-30
Tire Pressure Light.......................................3-30
Malfunction Indicator Lamp.............................3-31
Oil Pressure Light.........................................3-34
Low Oil Level Light.......................................3-35
Change Engine Oil Light................................3-35
Security Light...............................................3-36
Cruise Control Light......................................3-36
Low Washer Fluid Warning Light.....................3-36
Door/Trunk Ajar Warning Light........................3-36
Service Vehicle Soon Light............................3-37
Fuel Gage...................................................3-37
Low Fuel Warning Light.................................3-38
Audio System(s).............................................3-39
Setting the Time...........................................3-39
AM-FM Radio...............................................3-40
Radio with Cassette and CD..........................3-42
Theft-Deterrent Feature..................................3-48
Audio Steering Wheel Controls.......................3-50
Understanding Radio Reception......................3-50
Care of Your Cassette Tape Player.................3-51
Care of Your CDs.........................................3-52
Care of Your CD Player................................3-52
Fixed Mast Antenna......................................3-52
Section 3 Instrument Panel
3-1
Page 136 of 344
Engine Coolant Temperature Gage
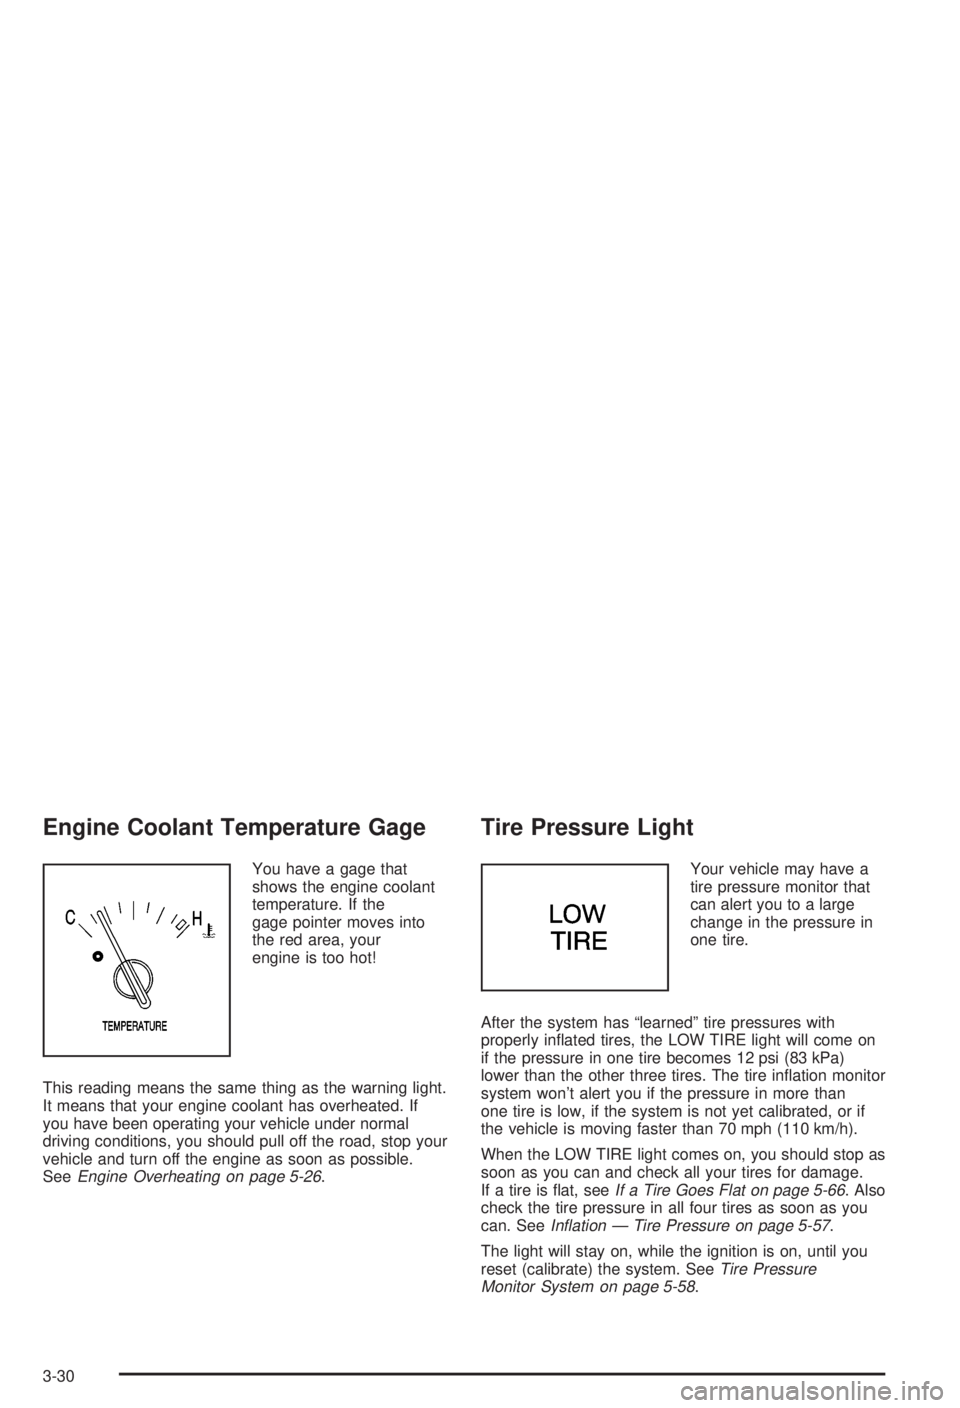
You have a gage that
shows the engine coolant
temperature. If the
gage pointer moves into
the red area, your
engine is too hot!
This reading means the same thing as the warning light.
It means that your engine coolant has overheated. If
you have been operating your vehicle under normal
driving conditions, you should pull off the road, stop your
vehicle and turn off the engine as soon as possible.
See
Engine Overheating on page 5-26.
Tire Pressure Light
Your vehicle may have a
tire pressure monitor that
can alert you to a large
change in the pressure in
one tire.
After the system has ªlearnedº tire pressures with
properly in¯ated tires, the LOW TIRE light will come on
if the pressure in one tire becomes 12 psi (83 kPa)
lower than the other three tires. The tire in¯ation monitor
system won't alert you if the pressure in more than
one tire is low, if the system is not yet calibrated, or if
the vehicle is moving faster than 70 mph (110 km/h).
When the LOW TIRE light comes on, you should stop as
soon as you can and check all your tires for damage.
If a tire is ¯at, see
If a Tire Goes Flat on page 5-66. Also
check the tire pressure in all four tires as soon as you
can. See
In¯ation Ð Tire Pressure on page 5-57.
The light will stay on, while the ignition is on, until you
reset (calibrate) the system. See
Tire Pressure
Monitor System on page 5-58.
3-30
Page 166 of 344
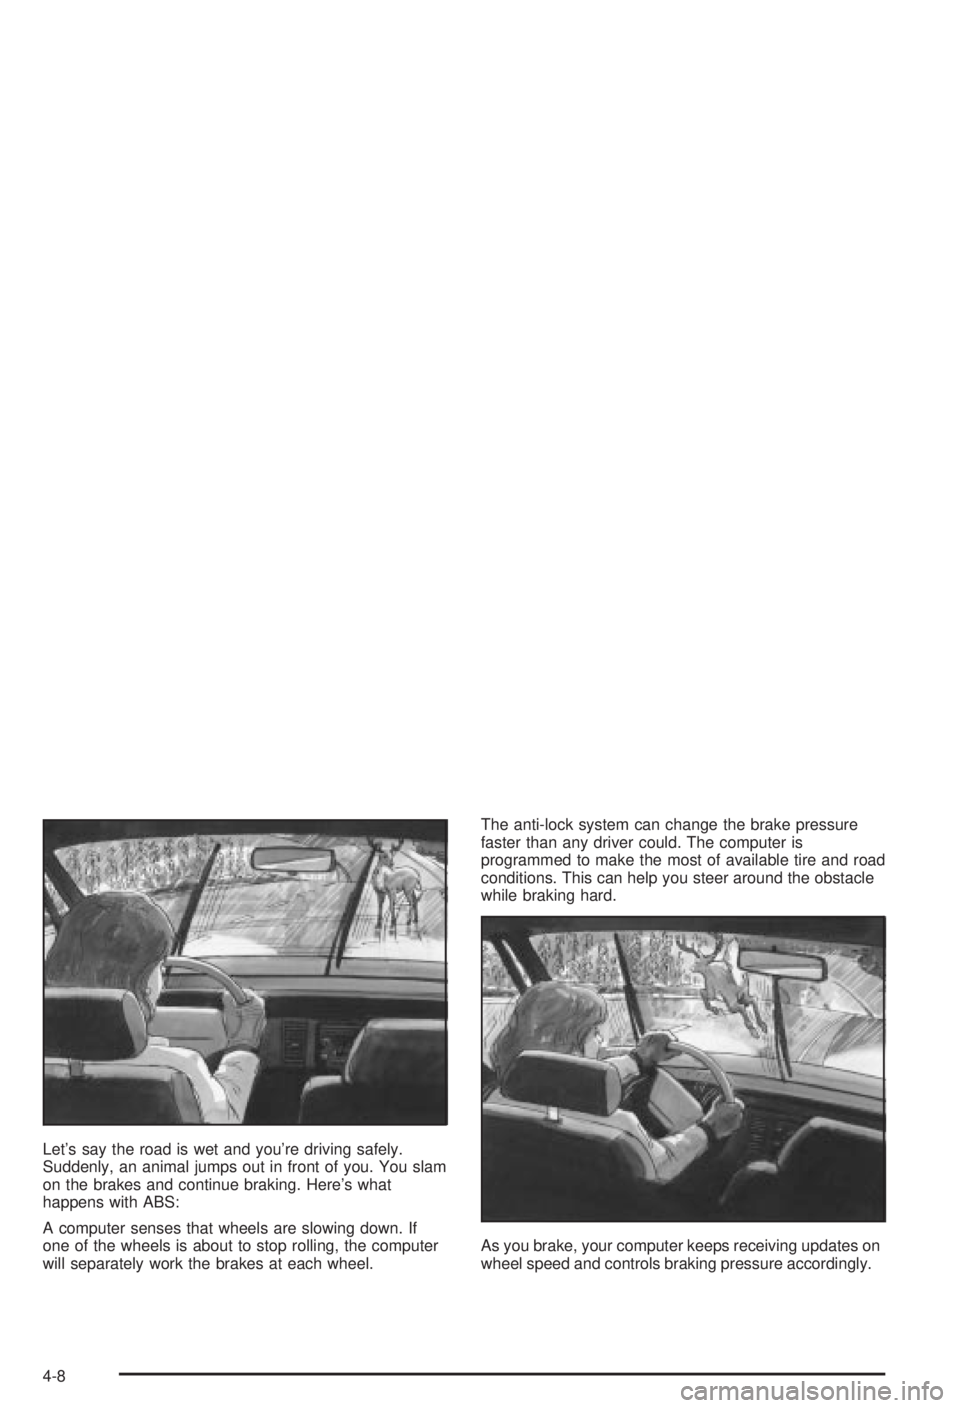
Let's say the road is wet and you're driving safely.
Suddenly, an animal jumps out in front of you. You slam
on the brakes and continue braking. Here's what
happens with ABS:
A computer senses that wheels are slowing down. If
one of the wheels is about to stop rolling, the computer
will separately work the brakes at each wheel.The anti-lock system can change the brake pressure
faster than any driver could. The computer is
programmed to make the most of available tire and road
conditions. This can help you steer around the obstacle
while braking hard.
As you brake, your computer keeps receiving updates on
wheel speed and controls braking pressure accordingly.
4-8
Page 174 of 344
Of course, traction is reduced when water, snow, ice,
gravel or other material is on the road. For safety, you'll
want to slow down and adjust your driving to these
conditions. It is important to slow down on slippery
surfaces because stopping distance will be longer and
vehicle control more limited.
While driving on a surface with reduced traction, try
your best to avoid sudden steering, acceleration
or braking (including engine braking by shifting to a
lower gear). Any sudden changes could cause the tires
to slide. You may not realize the surface is slippery
until your vehicle is skidding. Learn to recognize warning
clues Ð such as enough water, ice or packed snow
on the road to make a ªmirrored surfaceº Ð and slow
down when you have any doubt.
If you have the anti-lock braking system, remember:
It helps avoid only the braking skid. If you do not have
anti-lock, then in a braking skid (where the wheels
are no longer rolling), release enough pressure on the
brakes to get the wheels rolling again. This restores
steering control. Push the brake pedal down steadily
when you have to stop suddenly. As long as the wheels
are rolling, you will have steering control.Driving at Night
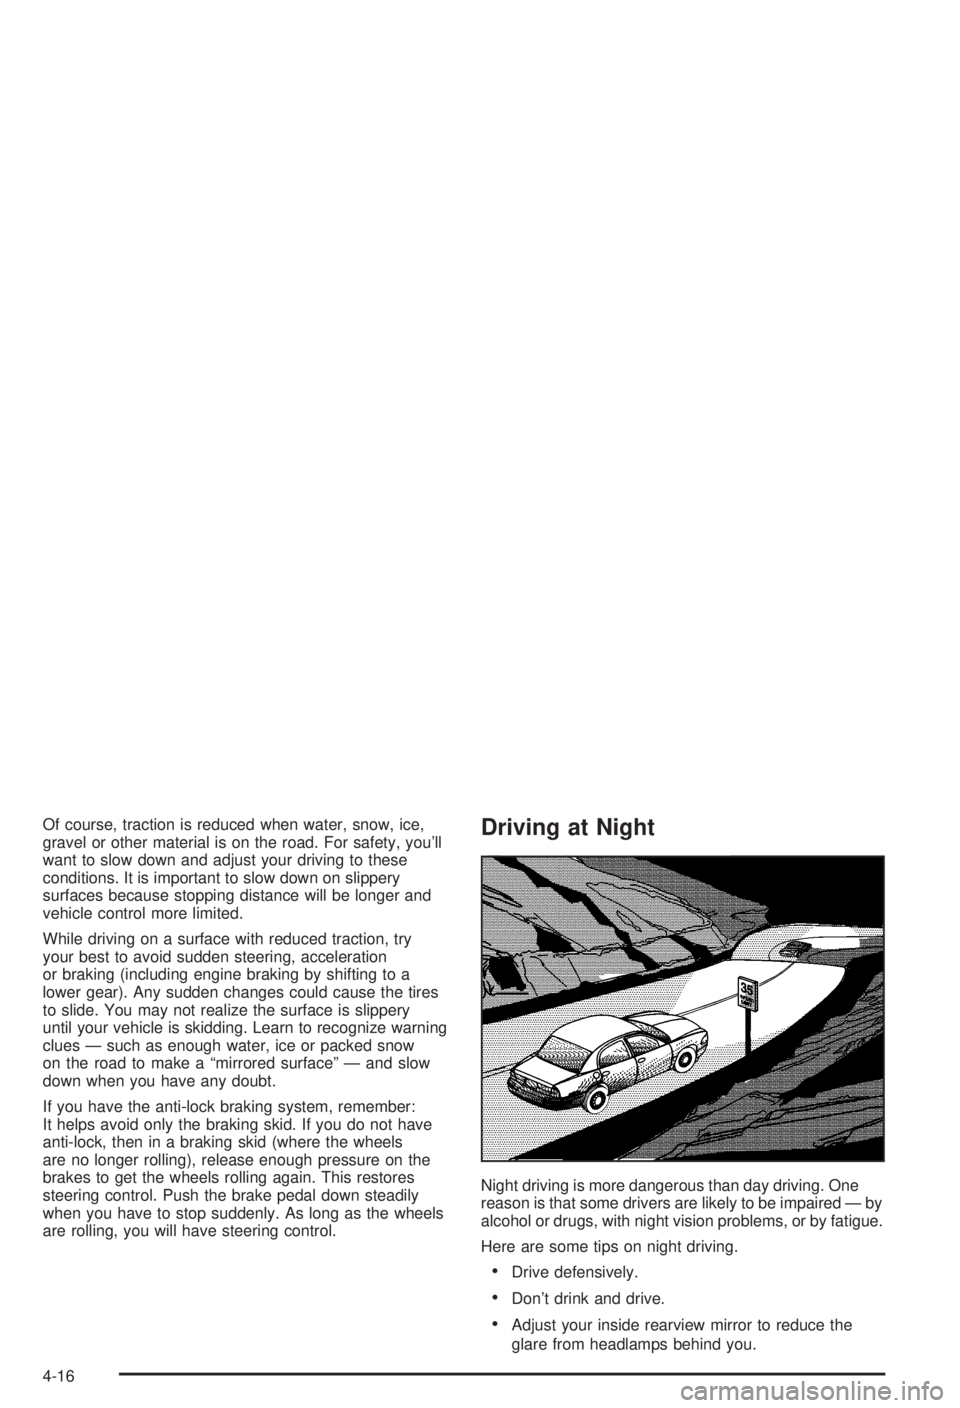
Night driving is more dangerous than day driving. One
reason is that some drivers are likely to be impaired Ð by
alcohol or drugs, with night vision problems, or by fatigue.
Here are some tips on night driving.
·Drive defensively.
·Don't drink and drive.
·Adjust your inside rearview mirror to reduce the
glare from headlamps behind you.
4-16
Page 177 of 344
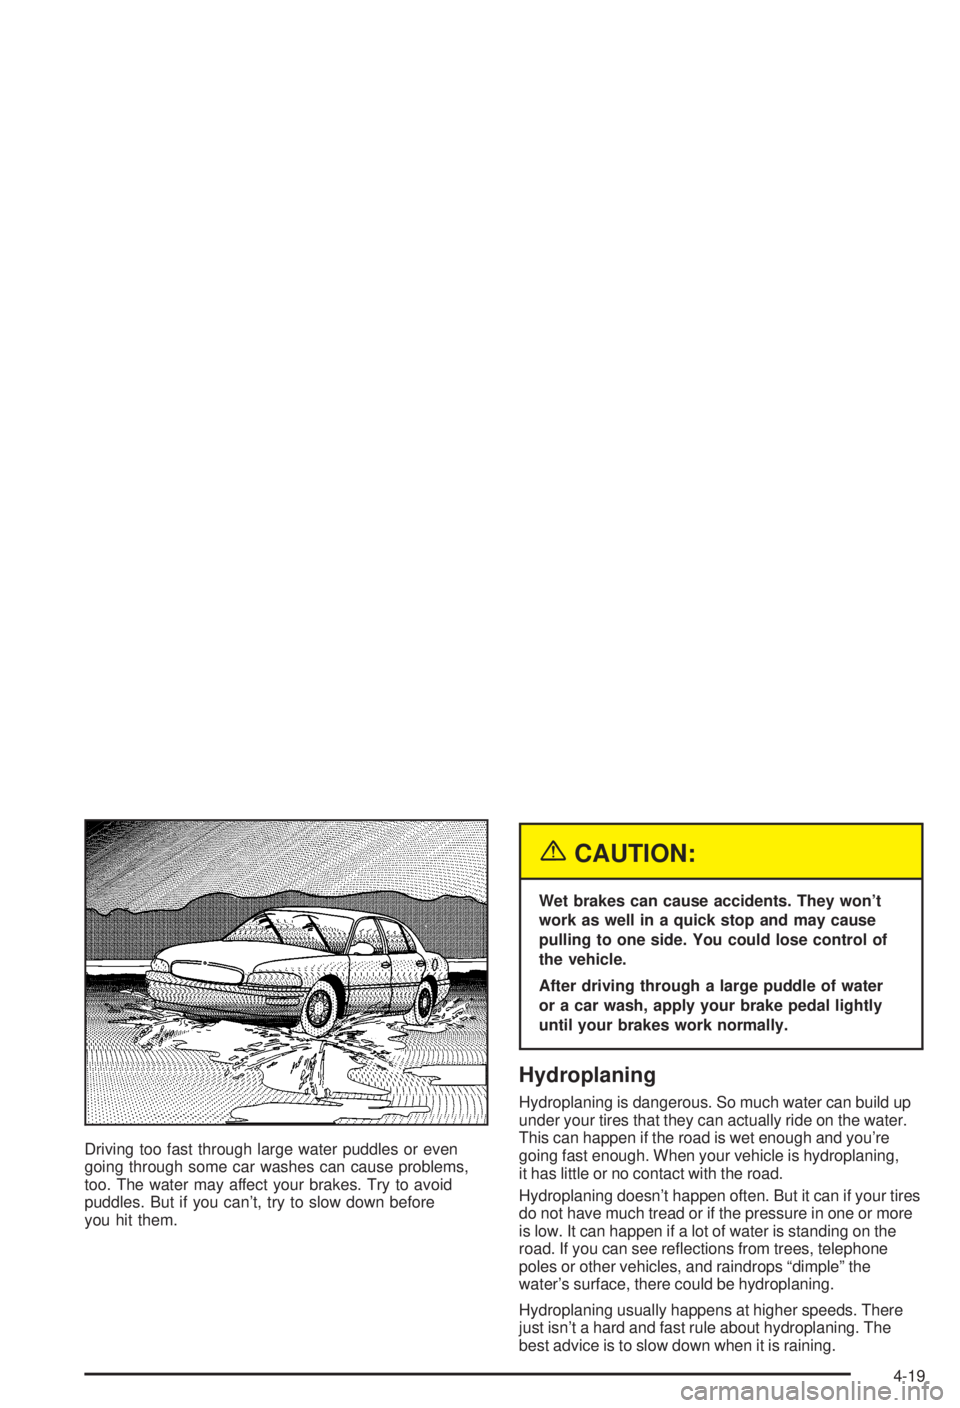
Driving too fast through large water puddles or even
going through some car washes can cause problems,
too. The water may affect your brakes. Try to avoid
puddles. But if you can't, try to slow down before
you hit them.
{CAUTION:
Wet brakes can cause accidents. They won't
work as well in a quick stop and may cause
pulling to one side. You could lose control of
the vehicle.
After driving through a large puddle of water
or a car wash, apply your brake pedal lightly
until your brakes work normally.
Hydroplaning
Hydroplaning is dangerous. So much water can build up
under your tires that they can actually ride on the water.
This can happen if the road is wet enough and you're
going fast enough. When your vehicle is hydroplaning,
it has little or no contact with the road.
Hydroplaning doesn't happen often. But it can if your tires
do not have much tread or if the pressure in one or more
is low. It can happen if a lot of water is standing on the
road. If you can see re¯ections from trees, telephone
poles or other vehicles, and raindrops ªdimpleº the
water's surface, there could be hydroplaning.
Hydroplaning usually happens at higher speeds. There
just isn't a hard and fast rule about hydroplaning. The
best advice is to slow down when it is raining.
4-19
Page 181 of 344
Once you are moving on the freeway, make certain you
allow a reasonable following distance.
Expect to move slightly slower at night.
When you want to leave the freeway, move to the
proper lane well in advance. If you miss your exit, do
not, under any circumstances, stop and back up. Drive
on to the next exit.
The exit ramp can be curved, sometimes quite sharply.
The exit speed is usually posted. Reduce your speed
according to your speedometer, not to your sense
of motion. After driving for any distance at higher
speeds, you may tend to think you are going slower
than you actually are.
Before Leaving on a Long Trip
Make sure you're ready. Try to be well rested. If you
must start when you're not fresh Ð such as after a day's
work Ð don't plan to make too many miles that ®rst
part of the journey. Wear comfortable clothing and shoes
you can easily drive in.
Is your vehicle ready for a long trip? If you keep it
serviced and maintained, it's ready to go. If it needs
service, have it done before starting out. Of course,
you'll ®nd experienced and able service experts in GM
dealerships all across North America. They'll be
ready and willing to help if you need it.Here are some things you can check before a trip:
·Windshield Washer Fluid:Is the reservoir full? Are
all windows clean inside and outside?
·Wiper Blades:Are they in good shape?
·Fuel, Engine Oil, Other Fluids:Have you checked
all levels?
·Lamps:Are they all working? Are the lenses clean?
·Tires:They are vitally important to a safe,
trouble-free trip. Is the tread good enough for
long-distance driving? Are the tires all in¯ated to the
recommended pressure?
·Weather Forecasts:What's the weather outlook
along your route? Should you delay your trip a
short time to avoid a major storm system?
·Maps:Do you have up-to-date maps?
4-23
Page 191 of 344
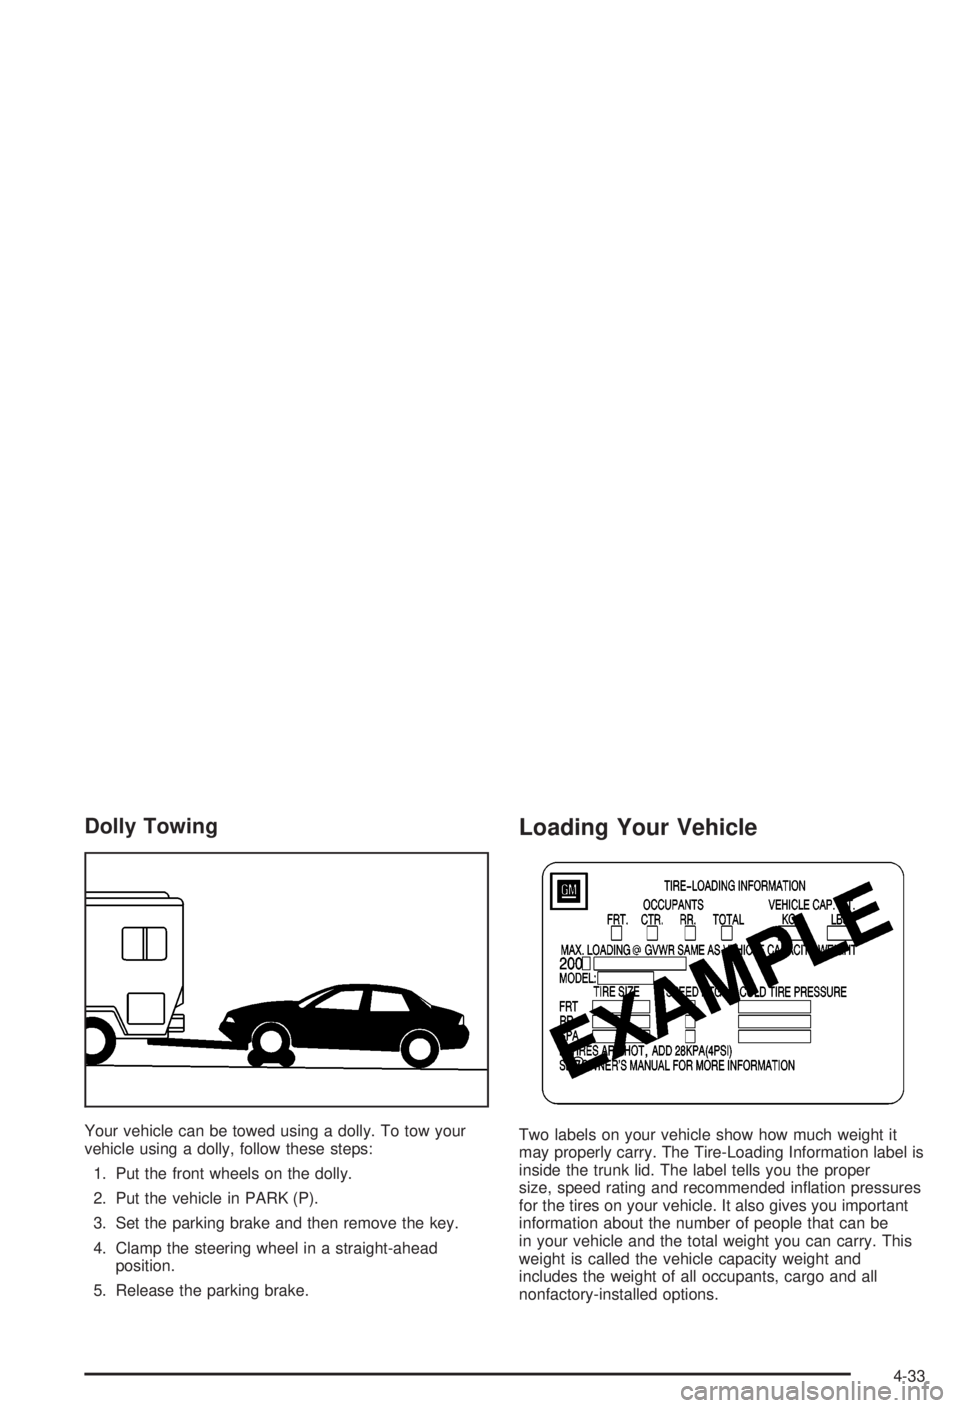
Dolly Towing
Your vehicle can be towed using a dolly. To tow your
vehicle using a dolly, follow these steps:
1. Put the front wheels on the dolly.
2. Put the vehicle in PARK (P).
3. Set the parking brake and then remove the key.
4. Clamp the steering wheel in a straight-ahead
position.
5. Release the parking brake.
Loading Your Vehicle
Two labels on your vehicle show how much weight it
may properly carry. The Tire-Loading Information label is
inside the trunk lid. The label tells you the proper
size, speed rating and recommended in¯ation pressures
for the tires on your vehicle. It also gives you important
information about the number of people that can be
in your vehicle and the total weight you can carry. This
weight is called the vehicle capacity weight and
includes the weight of all occupants, cargo and all
nonfactory-installed options.
4-33
Page 201 of 344
Service............................................................5-3
Doing Your Own Service Work.........................5-3
Adding Equipment to the Outside
of Your Vehicle...........................................5-4
Fuel................................................................5-5
Gasoline Octane............................................5-5
Gasoline Speci®cations....................................5-5
California Fuel...............................................5-6
Additives.......................................................5-6
Fuels in Foreign Countries...............................5-7
Filling Your Tank............................................5-7
Filling a Portable Fuel Container.......................5-9
Checking Things Under the Hood....................5-10
Hood Release..............................................5-11
Engine Compartment Overview.......................5-12
Engine Oil...................................................5-13
Engine Air Cleaner/Filter................................5-18
Automatic Transaxle Fluid..............................5-19
Engine Coolant.............................................5-23
Radiator Pressure Cap..................................5-26
Engine Overheating.......................................5-26
Cooling System............................................5-29
Power Steering Fluid.....................................5-36
Windshield Washer Fluid................................5-38
Brakes........................................................5-39Battery........................................................5-42
Jump Starting...............................................5-43
Headlamp Aiming...........................................5-49
Bulb Replacement..........................................5-51
Halogen Bulbs..............................................5-51
Headlamps..................................................5-51
Front Turn Signal and Parking Lamps..............5-52
Center High-Mounted Stoplamp (CHMSL).........5-53
Taillamps, Turn Signal, and Stoplamps............5-54
Back-Up Lamps............................................5-55
Replacement Bulbs.......................................5-55
Windshield Wiper Blade Replacement..............5-56
Tires..............................................................5-57
In¯ation Ð Tire Pressure...............................5-57
Tire Pressure Monitor System.........................5-58
Tire Inspection and Rotation...........................5-60
When It Is Time for New Tires.......................5-61
Buying New Tires.........................................5-62
Uniform Tire Quality Grading..........................5-63
Wheel Alignment and Tire Balance..................5-64
Wheel Replacement......................................5-64
Tire Chains..................................................5-66
If a Tire Goes Flat........................................5-66
Changing a Flat Tire.....................................5-67
Compact Spare Tire......................................5-78
Section 5 Service and Appearance Care
5-1
Page 257 of 344
Tires
Your new vehicle comes with high-quality tires made by
a leading tire manufacturer. If you ever have questions
about your tire warranty and where to obtain service,
see your Buick Warranty booklet for details.
{CAUTION:
Poorly maintained and improperly used tires
are dangerous.
·Overloading your tires can cause
overheating as a result of too much
friction. You could have an air-out and a
serious accident. See ªLoading Your
Vehicleº in the Index.
·Underin¯ated tires pose the same danger
as overloaded tires. The resulting accident
could cause serious injury. Check all tires
frequently to maintain the recommended
pressure. Tire pressure should be checked
when your tires are cold.
CAUTION: (Continued)
CAUTION: (Continued)
·
Overin¯ated tires are more likely to be cut,
punctured or broken by a sudden
impact Ð such as when you hit a pothole.
Keep tires at the recommended pressure.
·Worn, old tires can cause accidents. If
your tread is badly worn, or if your tires
have been damaged, replace them.
In¯ation Ð Tire Pressure
The Tire-Loading Information label, which is on the
inside of the trunk lid, shows the correct in¯ation
pressures for your tires when they're cold. ªColdº means
your vehicle has been sitting for at least three hours
or driven no more than 1 mile (1,6 km).
5-57
Page 258 of 344
Notice:Don't let anyone tell you that underin¯ation
or overin¯ation is all right. It's not. If your tires
don't have enough air (underin¯ation), you can get
the following:
·Too much ¯exing
·Too much heat
·Tire overloading
·Bad wear
·Bad handling
·Bad fuel economy
If your tires have too much air (overin¯ation), you
can get the following:
·Unusual wear
·Bad handling
·Rough ride
·Needless damage from road hazards
When to Check
Check your tires once a month or more.
Don't forget your compact spare tire. It should be at
60 psi (420 kPa).
How to Check
Use a good quality pocket-type gage to check tire
pressure. You can't tell if your tires are properly in¯ated
simply by looking at them. Radial tires may look
properly in¯ated even when they're underin¯ated.
Be sure to put the valve caps back on the valve stems.
They help prevent leaks by keeping out dirt and
moisture.
Tire Pressure Monitor System
If your vehicle has the tire in¯ation monitor system, it
can alert you to a large change in the pressure of
one tire. The system ªlearnsº the pressure at each tire
throughout the operating speed range of your vehicle.
The system normally takes between 45 and 90 minutes
of driving to learn the tire pressures. This time may
be longer depending on your individual driving habits.
Learning need not be accumulated during a single
trip. Once learned, the system will remember the tire
pressures until the system is recalibrated.
After the system has learned tire pressures with properly
in¯ated tires, the LOW TIRE light will come on if the
pressure in one tire becomes 12 psi (83 kPa) lower than
the other three tires. The tire in¯ation monitor system
won't alert you if the pressure in more than one tire is low,
if the system is not properly calibrated, or if the vehicle is
moving faster than 70 mph (110 km/h).
5-58