start stop button BUICK ENCLAVE 2010 User Guide
[x] Cancel search | Manufacturer: BUICK, Model Year: 2010, Model line: ENCLAVE, Model: BUICK ENCLAVE 2010Pages: 438, PDF Size: 2.47 MB
Page 217 of 438
Infotainment System 7-39
c(Stop):Press to stop playing,
rewinding, or fast forwarding a DVD.
Press twice to return to the
beginning of the DVD.
s(Play/Pause): Press to start
playing a DVD. Press while a DVD
is playing to pause it. Press again to
continue playing the DVD.
When the DVD is playing,
depending on the radio, play may
be slowed down by pressing
s
then[. The DVD continues
playing in a slow play mode.
Depending on the radio, perform
reverse slow play by pressing
s
thenr. To cancel slow play mode,
press
sagain.
t(Previous Track/Chapter):
Press to return to the start of the
current track or chapter. Press again
to go to the previous track or
chapter. This button might not work
when the DVD is playing the
copyright information or the
previews.
u(Next Track/Chapter): Press to
go to the beginning of the next
chapter or track. This button might
not work when the DVD is playing
the copyright information or the
previews.
r(Fast Reverse): Press to
quickly reverse the DVD or CD. To
stop fast reversing a DVD video,
press
s. To stop fast reversing a
DVD audio or CD, release
r. This
button might not work when the
DVD is playing the copyright
information or the previews.
[(Fast Forward): Press to fast
forward the DVD or CD. To stop fast
forwarding a DVD video, press
s.
To stop fast forwarding a DVD audio
or CD, release
[. This button
might not work when the DVD is
playing the copyright information or
the previews.
e(Audio): Press to change audio
tracks on DVDs that have this
feature when the DVD is playing.
The format and content of this
function vary for each disc.
{(Subtitles): Press to turn ON/
OFF subtitles and to move through
subtitle options when a DVD is
playing. The format and content of
this function vary for each disc.
AUX (Auxiliary): Press to switch
the system between the DVD player
and an auxiliary source.
d(Camera): Press to change
camera angles on DVDs that have
this feature when a DVD is playing.
The format and content of this
function vary for each disc.
1 through 0 (Numeric Keypad):
The numeric keypad provides the
capability of direct chapter or track
number selection.
\(Clear): Press within
three seconds after entering a
numeric selection, to clear all
numerical inputs.
Page 219 of 438
Infotainment System 7-41
Tips and Troubleshooting Chart (cont'd)
ProblemRecommended Action
After stopping the player, I push
Play but sometimes the DVD starts
where I left off and sometimes at the
beginning. If the stop button was pressed one
time, the DVD player resumes
playing where the DVD was
stopped. If the stop button was
pressed two times the DVD player
begins to play from the beginning of
the DVD.
The auxiliary source is running but
there is no picture or sound. Check that the RSE video screen is
in the auxiliary source mode.
Check the auxiliary input
connections at both devices.
Sometimes the wireless headphone
audio cuts out or buzzes. Check for obstructions, low
batteries, reception range, and
interference from cellular telephone
towers or by using a cellular
telephone in the vehicle.
Check that the headphones are on
correctly using the L (left) and
R (right) on the headphones.
I lost the remote and/or the
headphones. See your dealer/retailer for
assistance.
The DVD is playing, but there is no
picture or sound. Check that the RSE video screen is
sourced to the DVD player.
DVD Display Error Messages
The DVD display error message
depends on which radio the vehicle
has. The video screen might display
one of the following:
Disc Load/Eject Error:
This
message displays when there are
disc load or eject problems.
Disc Format Error: This message
displays if the disc is inserted with
the disc label wrong side up, or if
the disc is damaged.
Disc Region Error: This message
displays if the disc is not from a
correct region.
No Disc Inserted: This message
displays if no disc is present when
the
ZEJECT button is pressed on
the radio.
Page 221 of 438
Infotainment System 7-43
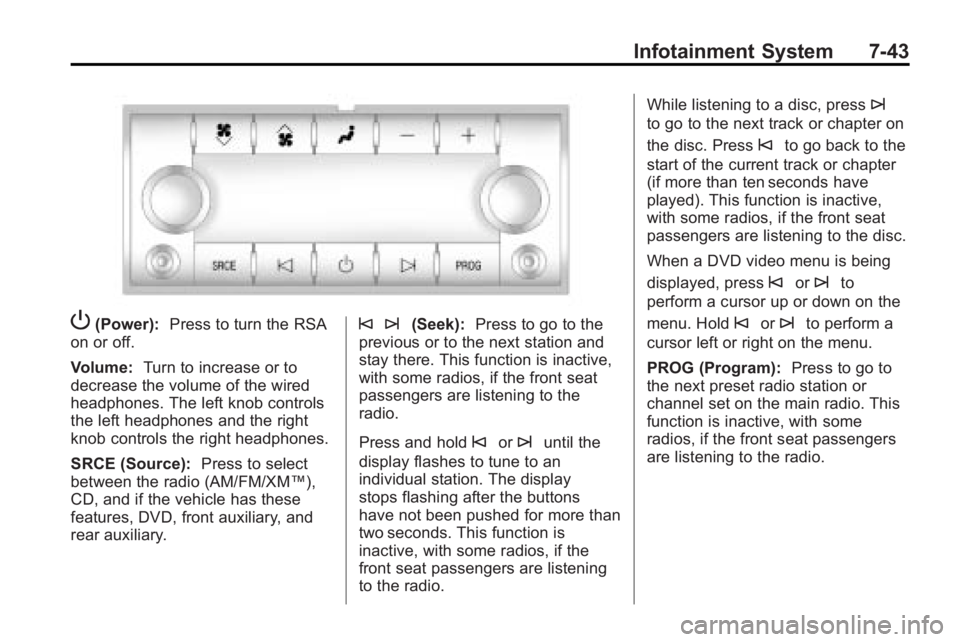
P(Power):Press to turn the RSA
on or off.
Volume: Turn to increase or to
decrease the volume of the wired
headphones. The left knob controls
the left headphones and the right
knob controls the right headphones.
SRCE (Source): Press to select
between the radio (AM/FM/XM™),
CD, and if the vehicle has these
features, DVD, front auxiliary, and
rear auxiliary.© ¨(Seek): Press to go to the
previous or to the next station and
stay there. This function is inactive,
with some radios, if the front seat
passengers are listening to the
radio.
Press and hold
©or¨until the
display flashes to tune to an
individual station. The display
stops flashing after the buttons
have not been pushed for more than
two seconds. This function is
inactive, with some radios, if the
front seat passengers are listening
to the radio. While listening to a disc, press
¨
to go to the next track or chapter on
the disc. Press
©to go back to the
start of the current track or chapter
(if more than ten seconds have
played). This function is inactive,
with some radios, if the front seat
passengers are listening to the disc.
When a DVD video menu is being
displayed, press
©or¨to
perform a cursor up or down on the
menu. Hold
©or¨to perform a
cursor left or right on the menu.
PROG (Program): Press to go to
the next preset radio station or
channel set on the main radio. This
function is inactive, with some
radios, if the front seat passengers
are listening to the radio.
Page 266 of 438
9-24 Driving and Operating
system. You must fully apply the
regular brake first and then press
the shift lever button before shifting
from P (Park) when the ignition key
is in ON/RUN. If you cannot shift out
of P (Park), ease pressure on the
shift lever, then push the shift lever
all the way into P (Park) as you
maintain brake application. Then
press the shift lever button and
move the shift lever into another
gear. SeeShifting Out of Park
on
page 9‑21.
R (Reverse): Use this gear to
back up.
Notice: Shifting to R (Reverse)
while the vehicle is moving
forward could damage the
transmission. The repairs would
not be covered by the vehicle
warranty. Shift to R (Reverse) only
after the vehicle is stopped.
To rock the vehicle back and forth to
get out of snow, ice or sand without
damaging the transmission, see If
the Vehicle is Stuck on page 9‑11. N (Neutral):
In this position, the
engine does not connect with the
wheels. To restart the engine when
the vehicle is already moving,
use N (Neutral) only. Also, use
N (Neutral) when the vehicle is
being towed.
{WARNING
Shifting into a drive gear while the
engine is running at high speed is
dangerous. Unless your foot is
firmly on the brake pedal, the
vehicle could move very rapidly.
You could lose control and hit
people or objects. Do not shift
into a drive gear while the engine
is running at high speed.
Notice: Shifting out of P (Park) or
N (Neutral) with the engine
running at high speed may
damage the transmission. The
repairs would not be covered by
the vehicle warranty. Be sure the
engine is not running at high
speed when shifting the vehicle. D (Drive):
This position is for
normal driving. It provides the best
fuel economy. If you need more
power for passing, and you are:
.Going less than 56 km/h
(35 mph), push the accelerator
pedal about halfway down.
.Going about 56 km/h (35 mph) or
more, push the accelerator all
the way down.
Notice: If the vehicle seems to
accelerate slowly or not shift
gears when you go faster, and
you continue to drive the vehicle
that way, you could damage the
transmission. Have the vehicle
serviced right away. You can
drive in L (Low) when you are
driving less than 56 km/h (35 mph)
and D (Drive) for higher speeds
until then.
L (Low): This position gives you
access to gear ranges. This
provides more engine braking but
lower fuel economy than D (Drive).
You can use it on very steep hills,
or in deep snow or mud.
Page 289 of 438
Driving and Operating 9-47
Tow/Haul Mode
Tow/Haul assists when pulling a
heavy trailer or a large or heavy
load. The purpose of the Tow/Haul
mode is to:
.Reduce the frequency and
improve the predictability of
transmission shifts.
.Provide the same solid shift feel
as when the vehicle is unloaded.
.Improve control of vehicle speed
while requiring less throttle pedal
activity.
.Increase the charging system
voltage to assist in recharging a
battery installed in a trailer.
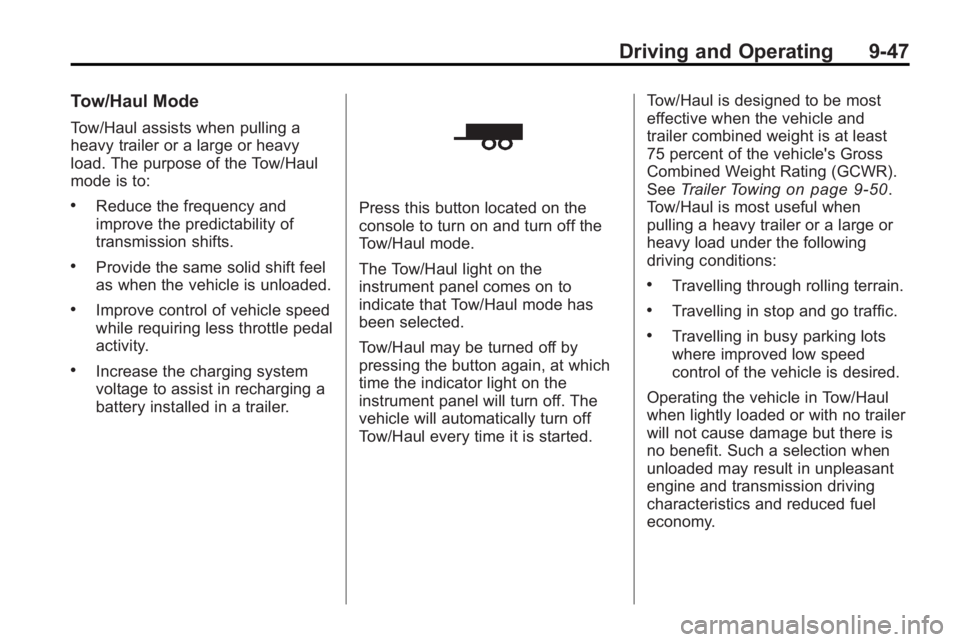
Press this button located on the
console to turn on and turn off the
Tow/Haul mode.
The Tow/Haul light on the
instrument panel comes on to
indicate that Tow/Haul mode has
been selected.
Tow/Haul may be turned off by
pressing the button again, at which
time the indicator light on the
instrument panel will turn off. The
vehicle will automatically turn off
Tow/Haul every time it is started.Tow/Haul is designed to be most
effective when the vehicle and
trailer combined weight is at least
75 percent of the vehicle's Gross
Combined Weight Rating (GCWR).
See
Trailer Towing
on page 9‑50.
Tow/Haul is most useful when
pulling a heavy trailer or a large or
heavy load under the following
driving conditions:
.Travelling through rolling terrain.
.Travelling in stop and go traffic.
.Travelling in busy parking lots
where improved low speed
control of the vehicle is desired.
Operating the vehicle in Tow/Haul
when lightly loaded or with no trailer
will not cause damage but there is
no benefit. Such a selection when
unloaded may result in unpleasant
engine and transmission driving
characteristics and reduced fuel
economy.
Page 347 of 438

Vehicle Care 10-49
The TPMS sensors can also be
matched to each tire/wheel position
by increasing or decreasing the
tire's air pressure. If increasing the
tire's air pressure, do not exceed
the maximum inflation pressure
indicated on the tire's sidewall.
To decrease air-pressure out of a
tire you can use the pointed end of
the valve cap, a pencil-style air
pressure gage, or a key.
You have two minutes to match the
first tire/wheel position, and
five minutes overall to match all
four tire/wheel positions. If it takes
longer than two minutes, to match
the first tire and wheel, or more than
five minutes to match all four tire
and wheel positions the matching
process stops and you need to
start over.
The TPMS sensor matching process
is outlined below:
1. Set the parking brake.
2. Turn the ignition switch to ON/RUN with the engine off. 3. Press the Remote Keyless Entry
(RKE) transmitter's LOCK and
UNLOCK buttons at the same
time for approximately
five seconds. The horn sounds
twice to signal the receiver is in
relearn mode and TIRE
LEARNING ACTIVE message
displays on the DIC screen.
4. Start with the driver side front tire.
5. Remove the valve cap from the valve cap stem. Activate the
TPMS sensor by increasing or
decreasing the tire's air pressure
for five seconds, or until a horn
chirp sounds. The horn chirp,
which may take up to
30 seconds to sound, confirms
that the sensor identification
code has been matched to this
tire and wheel position.
6. Proceed to the passenger side front tire, and repeat the
procedure in Step 5. 7. Proceed to the passenger side
rear tire, and repeat the
procedure in Step 5.
8. Proceed to the driver side rear tire, and repeat the procedure in
Step 5. The horn sounds two
times to indicate the sensor
identification code has been
matched to the driver side rear
tire, and the TPMS sensor
matching process is no longer
active. The TIRE LEARNING
ACTIVE message on the DIC
display screen goes off.
9. Turn the ignition switch to LOCK/OFF.
10. Set all four tires to the recommended air pressure
level as indicated on the Tire
and Loading Information label.
11. Put the valve caps back on the valve stems.