controls BUICK ENCLAVE 2010 Owner's Guide
[x] Cancel search | Manufacturer: BUICK, Model Year: 2010, Model line: ENCLAVE, Model: BUICK ENCLAVE 2010Pages: 438, PDF Size: 2.47 MB
Page 54 of 438
3-4 Seats and Restraints
A second seating and mirror
position can be programmed by
repeating the above steps and
pressing button 2.
To recall the memory positions, the
vehicle must be in P (Park). Press
and release either button 1 or 2. The
seat, outside mirrors, and power
steering column will move to the
position previously stored. You will
hear a single beep.
If the RKE transmitter is used to
enter the vehicle and the remote
recall memory feature has been
turned on, automatic seat and mirror
movement will occur. See
“MEMORY SEAT RECALL”under
Vehicle Personalization
on
page 5‑40for more information.
To stop recall movement of the
memory feature at any time, press
one of the power seat controls,
memory buttons, or power mirror
buttons. If something has blocked the driver
seat while recalling a memory
position, the driver seat recall may
stop working. If this happens,
remove the obstruction and press
the appropriate control for the area
that is not recalling for two seconds.
Try pressing the memory button
again. If the memory position is still
not being recalled, see your dealer/
retailer for service.
Easy Exit Seat
S:
With the vehicle in P (Park),
press the exit button. You will hear a
single beep. The driver seat will
move back into the exit position.
If the easy exit seat feature has
been turned on in the Driver
Information Center (DIC), automatic
seat movement will occur when the
key is removed from the ignition.
For programming information, see
Vehicle Personalization
on
page 5‑40for more information.
Lumbar Adjustment
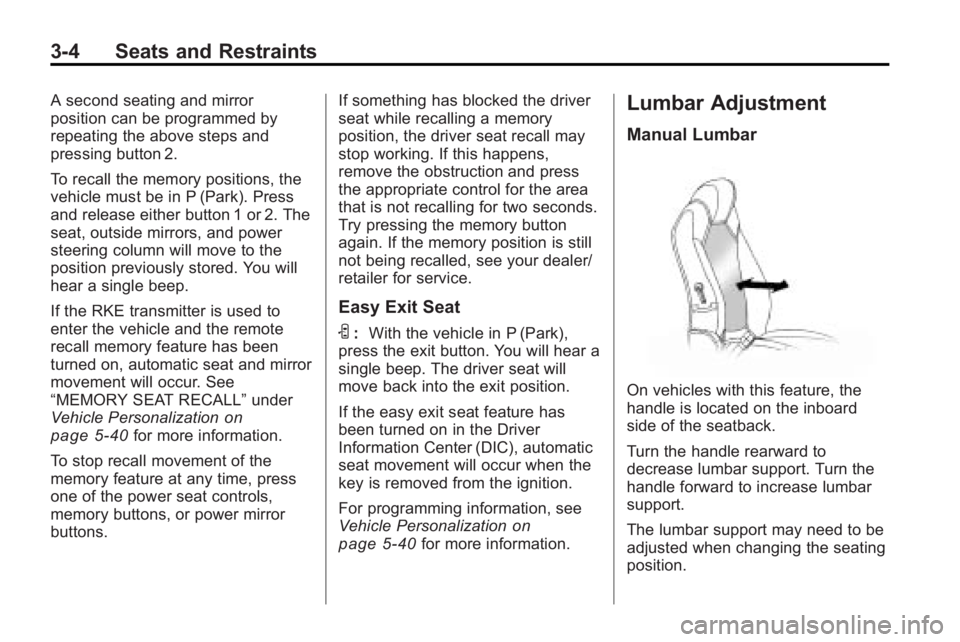
Manual Lumbar
On vehicles with this feature, the
handle is located on the inboard
side of the seatback.
Turn the handle rearward to
decrease lumbar support. Turn the
handle forward to increase lumbar
support.
The lumbar support may need to be
adjusted when changing the seating
position.
Page 55 of 438
Seats and Restraints 3-5
Power Lumbar
On vehicles with power lumbar, the
controls used to operate this feature
are located on the outboard side of
the seats. See“Power Lumbar”
under Power Seat Adjustment
on
page 3‑3for more information.
To increase or decrease lumbar
support, press and hold the front or
rear of the control (C).
Release the control when the
seatback reaches the desired level
of lumbar support.
The lumbar support may need to be
adjusted when changing the seating
position.
Reclining Seatbacks
Manual Reclining Seatbacks
{WARNING
You can lose control of the
vehicle if you try to adjust a
manual driver's seat while the
vehicle is moving. The sudden
movement could startle and
confuse you, or make you push a
pedal when you do not want to.
Adjust the driver's seat only when
the vehicle is not moving.
{WARNING
If either seatback is not locked, it
could move forward in a sudden
stop or crash. That could cause
injury to the person sitting there.
Always push and pull on the
seatbacks to be sure they are
locked.
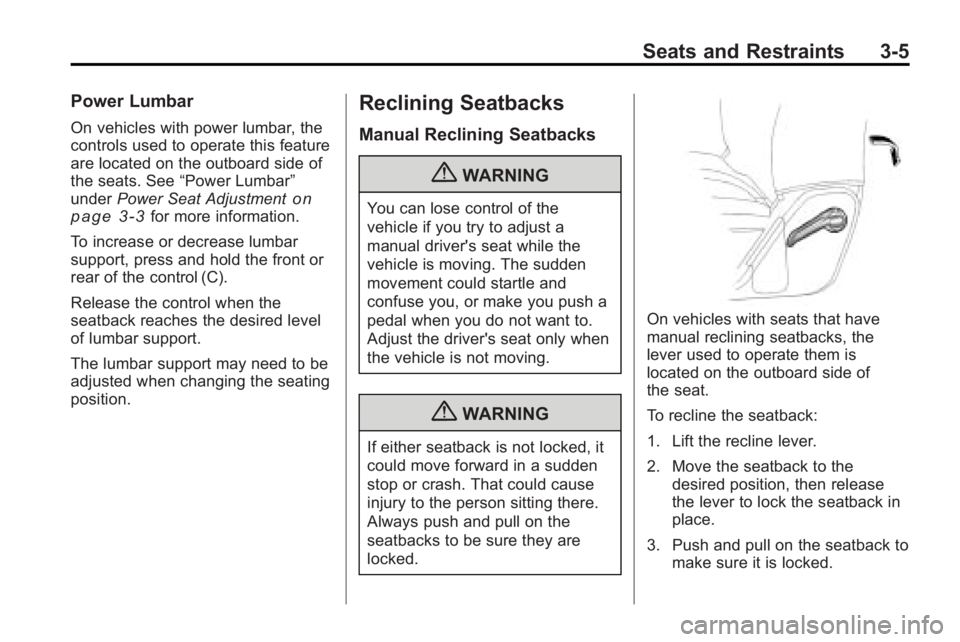
On vehicles with seats that have
manual reclining seatbacks, the
lever used to operate them is
located on the outboard side of
the seat.
To recline the seatback:
1. Lift the recline lever.
2. Move the seatback to the desired position, then release
the lever to lock the seatback in
place.
3. Push and pull on the seatback to make sure it is locked.
Page 57 of 438
Seats and Restraints 3-7
Heated Front Seats
{WARNING
If you cannot feel temperature
change or pain to the skin, the
seat heater may cause burns
even at low temperatures. To
reduce the risk of burns, people
with such a condition should use
care when using the seat heater,
especially for long periods of
time. Do not place anything on
the seat that insulates against
heat, such as a blanket, cushion,
cover or similar item. This may
cause the seat heater to
overheat. An overheated seat
heater may cause a burn or may
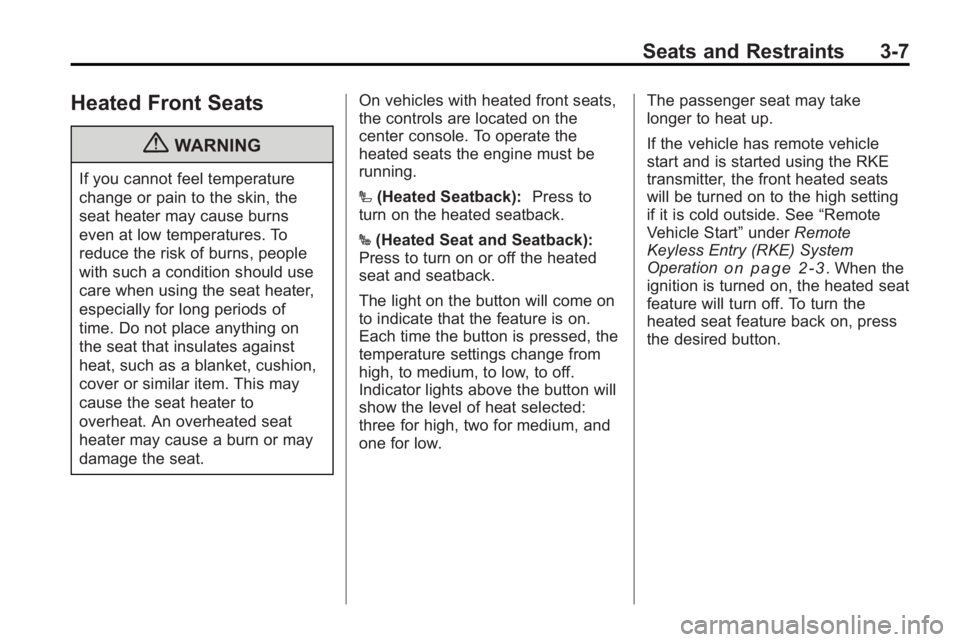
damage the seat.On vehicles with heated front seats,
the controls are located on the
center console. To operate the
heated seats the engine must be
running.
I
(Heated Seatback): Press to
turn on the heated seatback.
J (Heated Seat and Seatback):
Press to turn on or off the heated
seat and seatback.
The light on the button will come on
to indicate that the feature is on.
Each time the button is pressed, the
temperature settings change from
high, to medium, to low, to off.
Indicator lights above the button will
show the level of heat selected:
three for high, two for medium, and
one for low. The passenger seat may take
longer to heat up.
If the vehicle has remote vehicle
start and is started using the RKE
transmitter, the front heated seats
will be turned on to the high setting
if it is cold outside. See
“Remote
Vehicle Start” underRemote
Keyless Entry (RKE) System
Operation
on page 2‑3. When the
ignition is turned on, the heated seat
feature will turn off. To turn the
heated seat feature back on, press
the desired button.
Page 58 of 438
3-8 Seats and Restraints
Heated and Ventilated
Front Seats
{WARNING
If you cannot feel temperature
change or pain to the skin, the
seat heater may cause burns
even at low temperatures. To
reduce the risk of burns, people
with such a condition should use
care when using the seat heater,
especially for long periods of
time. Do not place anything on
the seat that insulates against
heat, such as a blanket, cushion,
cover or similar item. This may
cause the seat heater to
overheat. An overheated seat
heater may cause a burn or may
damage the seat.
On vehicles with the heated and
ventilated seat feature, the controls
are located on the front doors near
the door handle.
H(Ventilated Seat): Press to
ventilate the entire seat.
This symbol appears on the climate
control display to indicate that the
feature is on.
z(Heated Seat and Seatback):
Press to heat the entire seat.
This symbol appears on the climate
control display to indicate that the
feature is on.
For either feature press the button
once for the highest setting. With
each press of the switch, the seat
changes to the next lower setting,
and then the off setting. The lights
indicate three for the highest setting
and one for the lowest.
The heated and ventilated seats are
canceled after the ignition is turned
off. To use the heated and ventilated
seat feature after the vehicle is
started, you will need to press the
appropriate seat button again.
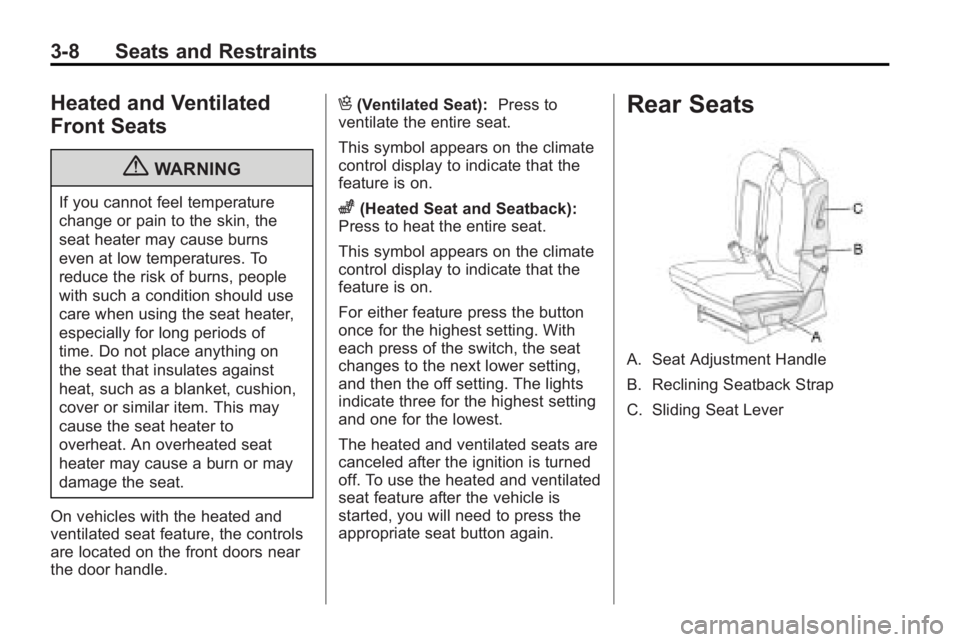
Rear Seats
A. Seat Adjustment Handle
B. Reclining Seatback Strap
C. Sliding Seat Lever
Page 86 of 438
3-36 Seats and Restraints
You can lock the doors, turn off the
interior lamps and hazard warning
flashers by using the controls for
those features.
{WARNING
A crash severe enough to inflate
the airbags may have also
damaged important functions in
the vehicle, such as the fuel
system, brake and steering
systems, etc. Even if the vehicle
appears to be drivable after a
moderate crash, there may be
concealed damage that could
make it difficult to safely operate
the vehicle.
Use caution if you should attempt
to restart the engine after a crash
has occurred.In many crashes severe enough to
inflate the airbag, windshields are
broken by vehicle deformation.
Additional windshield breakage may
also occur from the right front
passenger airbag..Airbags are designed to inflate
only once. After an airbag
inflates, you will need some new
parts for the airbag system.
If you do not get them, the
airbag system will not be there
to help protect you in another
crash. A new system will include
airbag modules and possibly
other parts. The service manual
for your vehicle covers the need
to replace other parts.
.The vehicle has a crash sensing
and diagnostic module which
records information after a
crash. See
Vehicle Data
Recording and Privacy
on
page 13‑15and Event Data
Recorders on page 13‑15.
.Let only qualified technicians
work on the airbag systems.
Improper service can mean that
an airbag system will not work
properly. See your dealer/retailer
for service.
Page 119 of 438
Instruments and Controls 5-1
Instruments and
Controls
Controls
Steering Wheel Adjustment . . . 5-2
Steering Wheel Controls . . . . . . 5-3
Horn . . . . . . . . . . . . . . . . . . . . . . . . . . 5-5
Windshield Wiper/Washer . . . . . 5-5
Rear Window Wiper/Washer . . . . . . . . . . . . . . . . . . . . . . 5-6
Compass . . . . . . . . . . . . . . . . . . . . . 5-6
Clock . . . . . . . . . . . . . . . . . . . . . . . . . 5-8
Power Outlets . . . . . . . . . . . . . . . 5-10
Warning Lights, Gages, and
Indicators
Warning Lights, Gages, and Indicators . . . . . . . . . . . . . . . . . . 5-12
Instrument Cluster . . . . . . . . . . . 5-13
Speedometer . . . . . . . . . . . . . . . . 5-14
Odometer . . . . . . . . . . . . . . . . . . . . 5-14
Tachometer . . . . . . . . . . . . . . . . . . 5-14
Fuel Gage . . . . . . . . . . . . . . . . . . . 5-14
Engine Coolant Temperature Gage . . . . . . . . . 5-15 Voltmeter Gage . . . . . . . . . . . . . . 5-15
Safety Belt Reminders . . . . . . . 5-16
Airbag Readiness Light . . . . . . 5-16
Passenger Airbag Status
Indicator . . . . . . . . . . . . . . . . . . . . 5-17
Charging System Light . . . . . . 5-18
Malfunction Indicator Lamp . . . . . . . . . . . . . 5-18
Brake System Warning Light . . . . . . . . . . . . . . . . . . . . . . . 5-21
Antilock Brake System (ABS) Warning Light . . . . . . . . . . . . . . 5-22
Tow/Haul Mode Light . . . . . . . . 5-22
StabiliTrak
®Indicator Light . . . 5-22
Engine Coolant Temperature Warning Light . . . . . . . . . . . . . . 5-23
Tire Pressure Light . . . . . . . . . . 5-23
Engine Oil Pressure Light . . . . 5-24
Security Light . . . . . . . . . . . . . . . . 5-24
High-Beam on Light . . . . . . . . . 5-24
Fog Lamp Light . . . . . . . . . . . . . . 5-25
Cruise Control Light . . . . . . . . . 5-25
Information Displays
Driver Information Center (DIC) . . . . . . . . . . . . . . . 5-25
Vehicle Messages
Vehicle Messages . . . . . . . . . . . 5-31
Battery Voltage and ChargingMessages . . . . . . . . . . . . . . . . . . 5-31
Brake System Messages . . . . 5-32
Cruise Control Messages . . . . 5-32
Door Ajar Messages . . . . . . . . . 5-32
Engine Cooling System Messages . . . . . . . . . . . . . . . . . . 5-33
Engine Oil Messages . . . . . . . . 5-34
Engine Power Messages . . . . 5-34
Fuel System Messages . . . . . . 5-34
Key and Lock Messages . . . . . 5-35
Lamp Messages . . . . . . . . . . . . . 5-35
Object Detection System Messages . . . . . . . . . . . . . . . . . . 5-35
Ride Control System Messages . . . . . . . . . . . . . . . . . . 5-36
Airbag System Messages . . . . 5-36
Anti-Theft Alarm System Messages . . . . . . . . . . . . . . . . . . 5-36
Service Vehicle Messages . . . 5-37
Tire Messages . . . . . . . . . . . . . . . 5-37
Transmission Messages . . . . . 5-38
Page 120 of 438
5-2 Instruments and Controls
Vehicle ReminderMessages . . . . . . . . . . . . . . . . . . 5-39
Vehicle Speed Messages . . . . 5-39
Washer Fluid Messages . . . . . 5-39
Vehicle Personalization
Vehicle Personalization . . . . . . 5-40
Universal Remote System
Universal Remote System . . . 5-47
Universal Remote System Programming . . . . . . . . . . . . . . . 5-47
Universal Remote System Operation . . . . . . . . . . . . . . . . . . 5-51
Controls
Steering Wheel
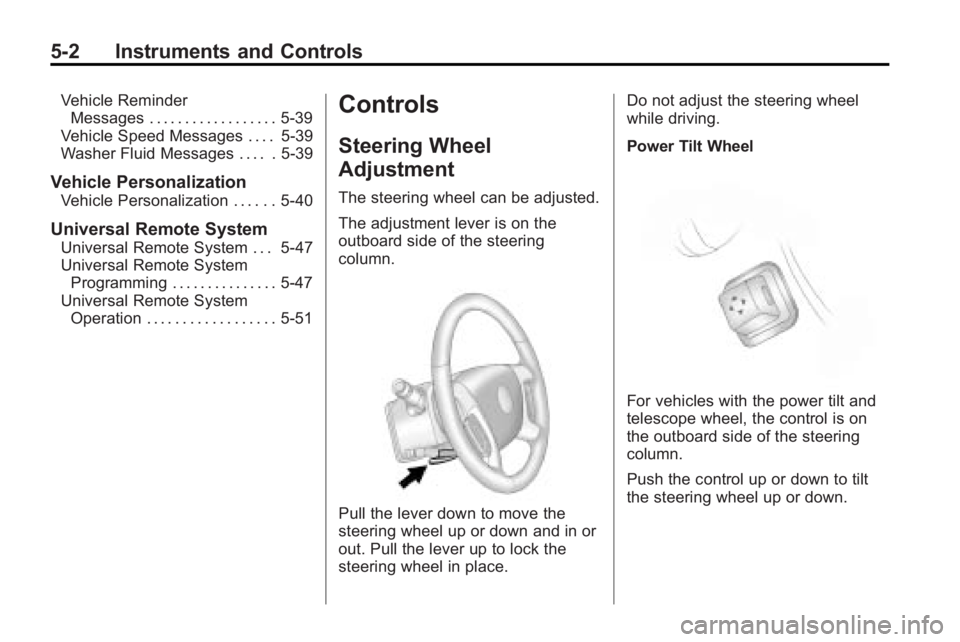
Adjustment
The steering wheel can be adjusted.
The adjustment lever is on the
outboard side of the steering
column.
Pull the lever down to move the
steering wheel up or down and in or
out. Pull the lever up to lock the
steering wheel in place. Do not adjust the steering wheel
while driving.
Power Tilt Wheel
For vehicles with the power tilt and
telescope wheel, the control is on
the outboard side of the steering
column.
Push the control up or down to tilt
the steering wheel up or down.
Page 121 of 438
Instruments and Controls 5-3
Push the control forward or
rearward to move the steering wheel
toward the front or rear of the
vehicle. To set the memory position,
seeVehicle Personalization
on
page 5‑40.
Steering Wheel Controls
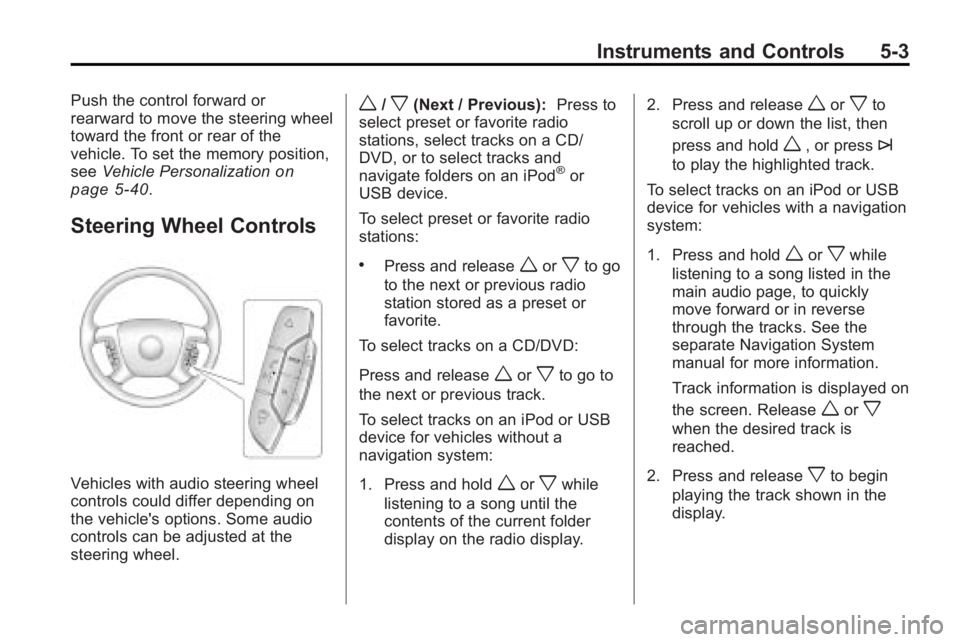
Vehicles with audio steering wheel
controls could differ depending on
the vehicle's options. Some audio
controls can be adjusted at the
steering wheel.
w/x(Next / Previous): Press to
select preset or favorite radio
stations, select tracks on a CD/
DVD, or to select tracks and
navigate folders on an iPod
®or
USB device.
To select preset or favorite radio
stations:
.Press and releaseworxto go
to the next or previous radio
station stored as a preset or
favorite.
To select tracks on a CD/DVD:
Press and release
worxto go to
the next or previous track.
To select tracks on an iPod or USB
device for vehicles without a
navigation system:
1. Press and hold
worxwhile
listening to a song until the
contents of the current folder
display on the radio display. 2. Press and release
worxto
scroll up or down the list, then
press and hold
w, or press¨
to play the highlighted track.
To select tracks on an iPod or USB
device for vehicles with a navigation
system:
1. Press and hold
worxwhile
listening to a song listed in the
main audio page, to quickly
move forward or in reverse
through the tracks. See the
separate Navigation System
manual for more information.
Track information is displayed on
the screen. Release
worx
when the desired track is
reached.
2. Press and release
xto begin
playing the track shown in the
display.
Page 122 of 438
5-4 Instruments and Controls
To navigate folders on an iPod or
USB device for vehicles without a
navigation system:
1. Press and hold
worxwhile
listening to a song until the
contents of the current folder
display on the radio display.
2. Press and hold
xto go back to
the previous folder list.
3. Press and release
worxto
scroll up or down the list.
.To select a folder, press
and hold
w, or press¨
when the folder is
highlighted.
.To go back further in the
folder list, press and
hold
x. To navigate folders on an iPod or
USB device for vehicles with a
navigation system:
1. Go to the Music Navigator by
first touching the center touch
screen folder button in the main
audio page.
2. While in Music Navigator, select the folder/artist/genre/category,
etc. using the touch screen.
3. Press and release
xto scroll
through the selected music list.
Touch the track label on the
touch screen to highlight and
begin playing the track from
that list.
4. Press and hold
xto quickly
scroll through the selected
music list
b g(Mute/Push to Talk): Press
to silence the vehicle speakers only.
Press again to turn the sound on.
For vehicles with Bluetooth or
OnStar
®systems, press and hold
for longer than two seconds to interact with those systems. See
Bluetooth
on page 7‑44and the
OnStar Owner's Guide for more
information.
c(End): Press to reject an
incoming call, or end a current call.
SRCE (Source/Voice
Recognition): Press to switch
between the radio, CD, and for
vehicles with, DVD, front auxiliary,
and rear auxiliary.
For vehicles with the navigation
system, press and hold this button
for longer than one second to
initiate voice recognition. See “Voice
Recognition” in the Navigation
System manual for more
information.
¨(Seek): Press to go to the next
radio station while in AM,
FM, or XM™.
For vehicles with or without a
navigation system:
Press
¨to go to the next track or
chapter while sourced to the CD or
DVD slot.
Page 123 of 438
Instruments and Controls 5-5
Press¨to select a track or a
folder when navigating folders on an
iPod or USB device.
For vehicles with a navigation
system:
1. Press and hold
¨until a beep
is heard, to place the radio into
SCAN mode, a station will play
for five seconds before moving
to the next station.
2. To stop the SCAN function, press
¨again.
3. In CD/DVD, iPod, or AUX USB, press and hold to quickly move
forward through the tracks.
Release to stop on the desired
track.
+
e−e(Volume): Press to
increase or to decrease the volume.
Horn
Press near or on the horn symbols
on the steering wheel pad to sound
the horn.
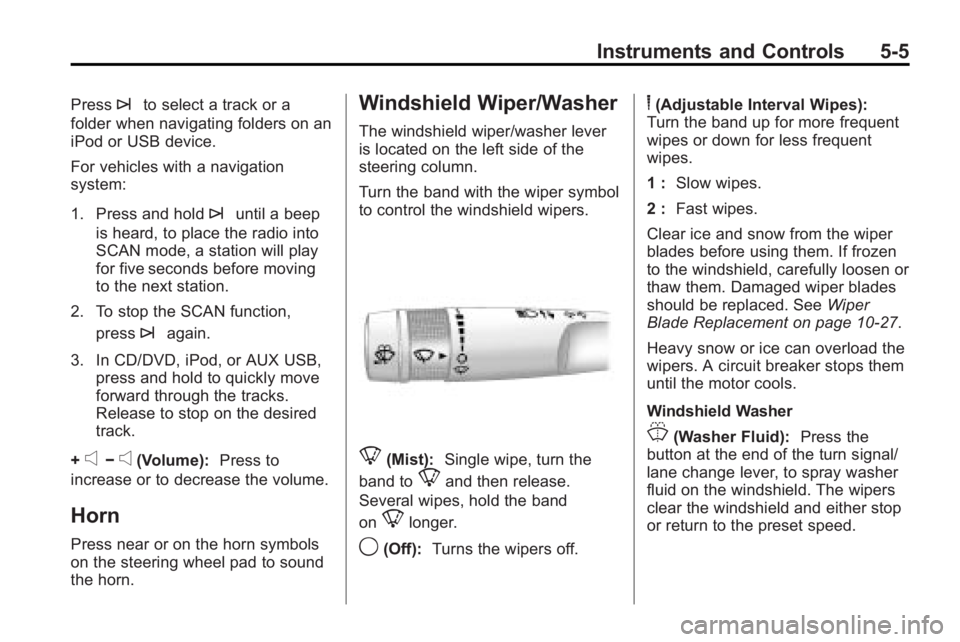
Windshield Wiper/Washer
The windshield wiper/washer lever
is located on the left side of the
steering column.
Turn the band with the wiper symbol
to control the windshield wipers.
8(Mist): Single wipe, turn the
band to
8and then release.
Several wipes, hold the band
on
8longer.
9(Off): Turns the wipers off.
6(Adjustable Interval Wipes):
Turn the band up for more frequent
wipes or down for less frequent
wipes.
1 : Slow wipes.
2 : Fast wipes.
Clear ice and snow from the wiper
blades before using them. If frozen
to the windshield, carefully loosen or
thaw them. Damaged wiper blades
should be replaced. See Wiper
Blade Replacement on page 10‑27.
Heavy snow or ice can overload the
wipers. A circuit breaker stops them
until the motor cools.
Windshield Washer
J(Washer Fluid): Press the
button at the end of the turn signal/
lane change lever, to spray washer
fluid on the windshield. The wipers
clear the windshield and either stop
or return to the preset speed.