run flat BUICK ENCLAVE 2012 Owner's Manual
[x] Cancel search | Manufacturer: BUICK, Model Year: 2012, Model line: ENCLAVE, Model: BUICK ENCLAVE 2012Pages: 382, PDF Size: 5.43 MB
Page 26 of 382
Black plate (20,1)Buick Verano Owner Manual - 2013 - crc - 10/17/12
1-20 In Brief
StabiliTrak®System
The StabiliTrak system assists with
directional control of the vehicle in
difficult driving conditions. The
system is on when the vehicle is
started.
.To turn off both Traction Control
and StabiliTrak, press and
hold
guntilgandiilluminate
and the appropriate DIC
message displays. See Ride
Control System Messages on
page 5‑28.
.Pressgagain to turn on both
systems.
For more information, see
StabiliTrak
®System on page 9‑34.
Tire Pressure Monitor
This vehicle may have a Tire
Pressure Monitor System (TPMS).
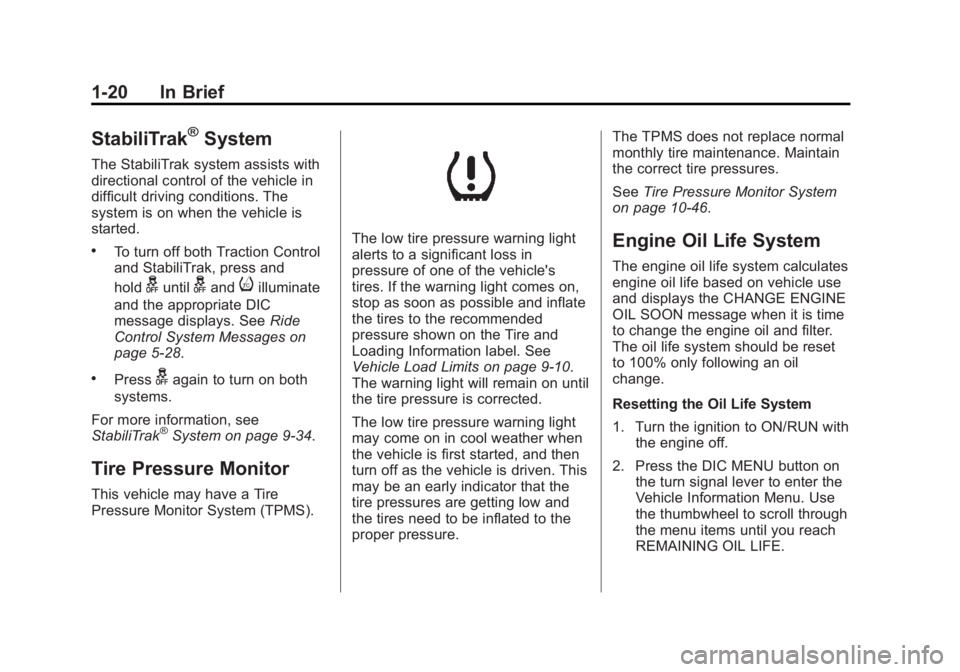
The low tire pressure warning light
alerts to a significant loss in
pressure of one of the vehicle's
tires. If the warning light comes on,
stop as soon as possible and inflate
the tires to the recommended
pressure shown on the Tire and
Loading Information label. See
Vehicle Load Limits on page 9‑10.
The warning light will remain on until
the tire pressure is corrected.
The low tire pressure warning light
may come on in cool weather when
the vehicle is first started, and then
turn off as the vehicle is driven. This
may be an early indicator that the
tire pressures are getting low and
the tires need to be inflated to the
proper pressure. The TPMS does not replace normal
monthly tire maintenance. Maintain
the correct tire pressures.
See
Tire Pressure Monitor System
on page 10‑46.Engine Oil Life System
The engine oil life system calculates
engine oil life based on vehicle use
and displays the CHANGE ENGINE
OIL SOON message when it is time
to change the engine oil and filter.
The oil life system should be reset
to 100% only following an oil
change.
Resetting the Oil Life System
1. Turn the ignition to ON/RUN with the engine off.
2. Press the DIC MENU button on the turn signal lever to enter the
Vehicle Information Menu. Use
the thumbwheel to scroll through
the menu items until you reach
REMAINING OIL LIFE.
Page 114 of 382
Black plate (12,1)Buick Verano Owner Manual - 2013 - crc - 10/17/12
5-12 Instruments and Controls
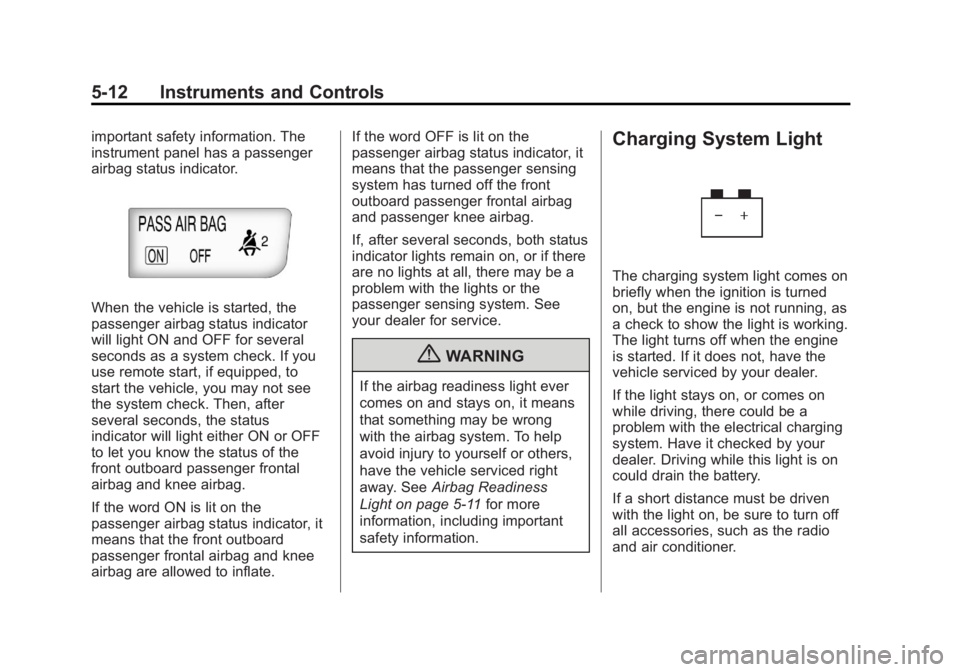
important safety information. The
instrument panel has a passenger
airbag status indicator.
When the vehicle is started, the
passenger airbag status indicator
will light ON and OFF for several
seconds as a system check. If you
use remote start, if equipped, to
start the vehicle, you may not see
the system check. Then, after
several seconds, the status
indicator will light either ON or OFF
to let you know the status of the
front outboard passenger frontal
airbag and knee airbag.
If the word ON is lit on the
passenger airbag status indicator, it
means that the front outboard
passenger frontal airbag and knee
airbag are allowed to inflate.If the word OFF is lit on the
passenger airbag status indicator, it
means that the passenger sensing
system has turned off the front
outboard passenger frontal airbag
and passenger knee airbag.
If, after several seconds, both status
indicator lights remain on, or if there
are no lights at all, there may be a
problem with the lights or the
passenger sensing system. See
your dealer for service.
{WARNING
If the airbag readiness light ever
comes on and stays on, it means
that something may be wrong
with the airbag system. To help
avoid injury to yourself or others,
have the vehicle serviced right
away. See
Airbag Readiness
Light on page 5‑11 for more
information, including important
safety information.
Charging System Light
The charging system light comes on
briefly when the ignition is turned
on, but the engine is not running, as
a check to show the light is working.
The light turns off when the engine
is started. If it does not, have the
vehicle serviced by your dealer.
If the light stays on, or comes on
while driving, there could be a
problem with the electrical charging
system. Have it checked by your
dealer. Driving while this light is on
could drain the battery.
If a short distance must be driven
with the light on, be sure to turn off
all accessories, such as the radio
and air conditioner.
Page 200 of 382
Black plate (16,1)Buick Verano Owner Manual - 2013 - crc - 10/17/12
9-16 Driving and Operating
warning and indicator lights. This
position can also be used for
service and diagnostics, and to
verify the proper operation of the
malfunction indicator lamp as may
be required for emission inspection
purposes. The transmission is also
unlocked in this position on
automatic transmission vehicles.
The battery could be drained if the
key is left in the ACC/ACCESSORY
or ON/RUN position with the engine
off. The vehicle might not start if the
battery is allowed to drain for an
extended period of time.
4 (START):This position starts the
engine. When the engine starts,
release the key. The ignition switch
will return to ON/RUN for normal
driving.
A warning tone sounds when the
driver door is opened if the ignition
is still in ACC/ACCESSORY and the
key is in the ignition.
If the ignition becomes difficult to
turn, see Keys on page 2‑1.Key Lock Release
Vehicles with an automatic
transmission are equipped with an
electronic key lock release system.
The key lock release is designed to
prevent ignition key removal unless
the shift lever is in P (Park).
The key lock release is always
functional except in the case of an
uncharged or low voltage (less than
9-volt) battery. If the vehicle has an
uncharged battery or a battery with low voltage, try charging or jump
starting the battery. See
Jump
Starting on page 10‑66.
If charging or jump starting the
battery does not work, locate the
hole below the ignition lock. Insert a
flat bladed tool or another key from
the key chain into the opening.
When the lever can be felt, actuate
the lever toward the driver, and
remove the key from the ignition.
Ignition Positions
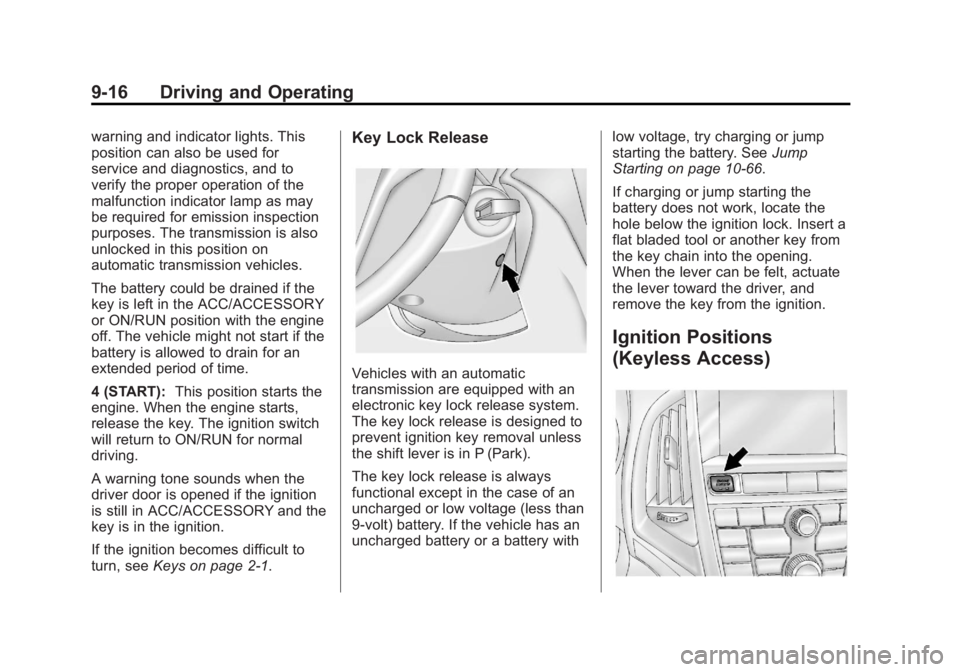
(Keyless Access)
Page 237 of 382
Black plate (53,1)Buick Verano Owner Manual - 2013 - crc - 10/17/12
Driving and Operating 9-53
shoulders, curbs, road signs, trees,
or other objects. Avoid jerky or
sudden maneuvers. Signal well in
advance.
Turn Signals When Towing a
Trailer
The arrows on the instrument panel
flash whenever signaling a turn or
lane change. Properly hooked up,
the trailer lamps also flash, telling
other drivers the vehicle is turning,
changing lanes, or stopping.
When towing a trailer, the arrows on
the instrument panel flash for turns
even if the bulbs on the trailer are
burned out. For this reason you may
think other drivers are seeing the
signal when they are not. It is
important to check occasionally to
be sure the trailer bulbs are still
working.
Driving On Grades
Reduce speed and shift to a lower
gear before starting down a long or
steep downgrade. If the
transmission is not shifted down, thebrakes might have to be used so
much that they would get hot and no
longer work well.
Vehicles with an automatic
transmission can tow in D (Drive)
but M (Manual Mode) is
recommended. Shift the
transmission to a lower gear if the
transmission shifts too often under
heavy loads and/or hilly conditions.
When towing at high altitude on
steep uphill grades, consider the
following: Engine coolant will boil at
a lower temperature than at normal
altitudes. If the engine is turned off
immediately after towing at high
altitude on steep uphill grades, the
vehicle may show signs similar to
engine overheating. To avoid this,
let the engine run while parked,
preferably on level ground, with the
automatic transmission in P (Park)
for a few minutes before turning the
engine off. If the overheat warning
comes on, see
Engine Overheating
on page 10‑19.
Parking on Hills
{WARNING
Parking the vehicle on a hill with
the trailer attached can be
dangerous. If something goes
wrong, the rig could start to move.
People can be injured, and both
the vehicle and the trailer can be
damaged. When possible, always
park the rig on a flat surface.
If parking the rig on a hill:
1. Press the brake pedal, but do not shift into P (Park) yet. Turn
the wheels into the curb if facing
downhill or into traffic if facing
uphill.
2. Have someone place chocks under the trailer wheels.
3. When the wheel chocks are in place, release the brake pedal
until the chocks absorb the load.
Page 299 of 382

Black plate (59,1)Buick Verano Owner Manual - 2013 - crc - 10/17/12
Vehicle Care 10-59
WARNING (Continued)
1. Set the parking brake firmly.
2. Put an automatictransmission in P (Park) or a
manual transmission in
1 (First) or R (Reverse).
3. Turn off the engine and do not restart while the vehicle
is raised.
4. Do not allow passengers to remain in the vehicle.
5. Place wheel blocks on both sides of the tire at the
opposite corner of the tire
being changed.
When the vehicle has a flat tire (2),
use the following example as a
guide to assist in the placement of
the wheel blocks (1).
1. Wheel Block
2. Flat Tire
The following information explains
how to repair or change a tire.
Tire Changing
Removing the Spare Tire and
Tools
1. Retainer Nut
2. Tool Bag Tether
3. Tool Bag
4. Spare Tire
To access the spare tire and tools:
1. Open the trunk. See Trunk on
page 2‑11.
2. Lift the load floor.
Page 301 of 382

Black plate (61,1)Buick Verano Owner Manual - 2013 - crc - 10/17/12
Vehicle Care 10-61
damaged. Store the wheel cover in
the trunk until the flat tire is repaired
or replaced.
Once you have removed the wheel
cover, use the following procedure
to remove the flat tire and install the
spare tire.
1. Do a safety check beforeproceeding. See If a Tire Goes
Flat on page 10‑58 for more
information.2. Turn the wheel wrench counterclockwise once on each
wheel nut to loosen it. Do not
remove them yet.
3. Place the jack near the flat tire.
4. Place the wheel blocks on both sides of the tire at the opposite
corner of the tire being changed.
See If a Tire Goes Flat on
page 10‑58 for proper wheel
block placement.
5. Place the jack under the vehicle.
6. If you have a coin/pierce jack, attach the jack handle extension
to the jack by sliding the hook
through the end of the jack.
If you have a hex head jack,
place the hex tube end of the
wrench over the hex head of
the jack. Notice:
Make sure that the jack
lift head is in the correct position
or you may damage your vehicle.
The repairs would not be covered
by your warranty.
7. Position the jack lift head at the
jack location nearest the flat tire.
The location is indicated by a
notch in the flange. The jack
must not be used in any other
position.
Page 306 of 382
Black plate (66,1)Buick Verano Owner Manual - 2013 - crc - 10/17/12
10-66 Vehicle Care
Compact Spare Tire
{WARNING
Driving with more than one
compact spare tire at a time could
result in loss of braking and
handling. This could lead to a
crash and you or others could be
injured. Use only one compact
spare tire at a time.
If this vehicle has a compact spare
tire, it was fully inflated when new;
however, it can lose air over time.
Check the inflation pressure
regularly. It should be 420 kPa
(60 psi).
Stop as soon as possible and check
that the spare tire is correctly
inflated after being installed on the
vehicle. The compact spare tire is
designed for temporary use only.
The vehicle will perform differently
with the spare tire installed and it is
recommended that the vehicle speed be limited to 80 km/h
(50 mph). To conserve the tread of
the spare tire, have the standard tire
repaired or replaced as soon as
convenient and return the spare tire
to the storage area.
Notice:
When the compact spare
is installed, do not take the
vehicle through an automatic car
wash with guide rails. The
compact spare can get caught on
the rails which can damage the
tire, wheel, and other parts of the
vehicle.
Do not use the compact spare on
other vehicles.
Do not mix the compact spare tire or
wheel with other wheels or tires.
They will not fit. Keep the spare tire
and its wheel together.
Notice: Tire chains will not fit the
compact spare. Using them can
damage the vehicle and the
chains. Do not use tire chains on
the compact spare.
Jump Starting
For more information about the
vehicle battery, see Battery on
page 10‑22.
If the battery has run down, try to
use another vehicle and some
jumper cables to start your vehicle.
Be sure to use the following steps to
do it safely.
{WARNING
Batteries can hurt you. They can
be dangerous because:
.They contain acid that can
burn you.
.They contain gas that can
explode or ignite.
.They contain enough
electricity to burn you.
If you do not follow these steps
exactly, some or all of these
things can hurt you.
Page 309 of 382
Black plate (69,1)Buick Verano Owner Manual - 2013 - crc - 10/17/12
Vehicle Care 10-69
9. Start the engine in the vehiclewith the good battery and run
the engine at idle speed for at
least four minutes.
10. Try to start the vehicle that had the dead battery. If it will not
start after a few tries, it
probably needs service.
Notice: If the jumper cables are
connected or removed in the
wrong order, electrical shorting
may occur and damage the
vehicle. The repairs would not be
covered by the vehicle warranty.
Always connect and remove the
jumper cables in the correct
order, making sure that the
cables do not touch each other or
other metal.
Jumper Cable Removal
Reverse the sequence exactly when
removing the jumper cables.Towing
Towing the Vehicle
Notice: Incorrectly towing a
disabled vehicle may cause
damage to the vehicle. The
disabled vehicle should be towed
on a flatbed car carrier. Use care
when there is low ground
clearance and/or special
equipment.
Attempting to pull the vehicle
onto a flatbed without following
the proper steps could damage
the vehicle.
Consult your dealer or a
professional towing service if the
disabled vehicle must be towed.
See Roadside Assistance Program
(Mexico) on page 13‑7 orRoadside
Assistance Program (U.S. and
Canada) on page 13‑10.
To load a vehicle onto a flatbed
carrier:
1. The vehicle must be on a flat surface. 2. The front tires must be properly
inflated. If necessary, move a
rear tire to the front to replace a
flat or damaged tire.
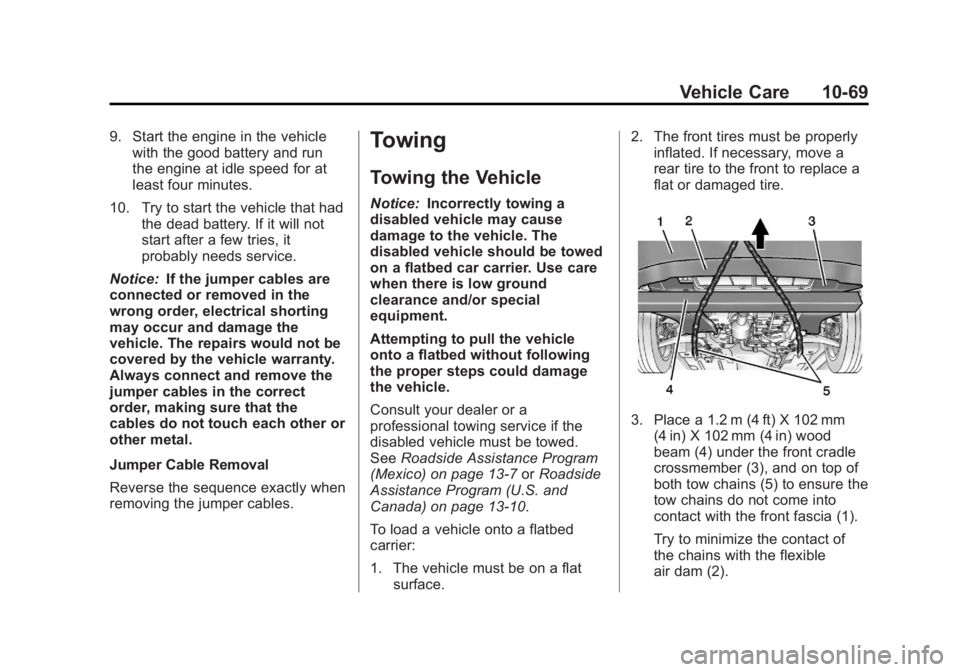
3. Place a 1.2 m (4 ft) X 102 mm
(4 in) X 102 mm (4 in) wood
beam (4) under the front cradle
crossmember (3), and on top of
both tow chains (5) to ensure the
tow chains do not come into
contact with the front fascia (1).
Try to minimize the contact of
the chains with the flexible
air dam (2).
Page 374 of 382
Black plate (4,1)Buick Verano Owner Manual - 2013 - crc - 10/17/12
i-4 INDEX
E
E85 Fuel . . . . . . . . . . . . . . . . . . . . . . . 9-48
Electric Parking Brake Light . . . 5-16
Electrical Equipment,Add-On . . . . . . . . . . . . . . . . . . . . . . 9-56
Electrical System Engine Compartment
Fuse Block . . . . . . . . . . . . . . . . 10-30
Fuses and Circuit Breakers . . . . . . . . . . . . . . . . . . 10-29
Instrument Panel Fuse
Block . . . . . . . . . . . . . . . . . . . . . . 10-33
Overload . . . . . . . . . . . . . . . . . . . 10-29
Rear Compartment Fuse Block . . . . . . . . . . . . . . . . . . . . . . 10-35
Emergency
OnStar
®. . . . . . . . . . . . . . . . . . . . . . 14-2
Engine Air Cleaner/Filter . . . . . . . . . . . 10-13
Check and Service EngineSoon Light . . . . . . . . . . . . . . . . . . 5-13
Compartment Overview . . . . . . . 10-6
Coolant . . . . . . . . . . . . . . . . . . . . . 10-16
Coolant Temperature Gauge . . . . . . . . . . . . . . . . . . . . . . 5-10
Cooling System . . . . . . . . . . . . . 10-14 Engine (cont'd)
Cooling System Messages . . . 5-26
Drive Belt Routing . . . . . . . . . . . . 12-4
Exhaust . . . . . . . . . . . . . . . . . . . . . . 9-24
Heater . . . . . . . . . . . . . . . . . . . . . . . . 9-20
Oil Life System . . . . . . . . . . . . . .10-11
Oil Messages . . . . . . . . . . . . . . . . . 5-26
Overheating . . . . . . . . . . . . . . . . 10-19
Power Messages . . . . . . . . . . . . . 5-27
Pressure Light . . . . . . . . . . . . . . . . 5-18
Running While Parked . . . . . . . . 9-24
Starting . . . . . . . . . . . . . . . . . . . . . . . 9-18
Entry Lighting . . . . . . . . . . . . . . . . . . . 6-6
Equipment, Towing . . . . . . . . . . . . 9-55
Event Data Recorders . . . . . . . . 13-19
Exit Lighting . . . . . . . . . . . . . . . . . . . . 6-6
Extender, Safety Belt . . . . . . . . . . 3-16
Exterior Lamp Controls . . . . . . . . . 6-1
F
Filter, Engine Air Cleaner . . . . . . . . . 10-13
Flash-to-Pass . . . . . . . . . . . . . . . . . . . 6-2
Flashers, Hazard Warning . . . . . . 6-3
Flat Tire . . . . . . . . . . . . . . . . . . . . . . 10-58 Changing . . . . . . . . . . . . . . . . . . . 10-59 Floor Mats . . . . . . . . . . . . . . . . . . . . 10-78
Fluid
Automatic Transmission . . . . 10-12
Brakes . . . . . . . . . . . . . . . . . . . . . . 10-21
Washer . . . . . . . . . . . . . . . . . . . . . 10-19
Fog Lamps Bulb Replacement . . . . . . . . . . 10-26
Front . . . . . . . . . . . . . . . . . . . . . . . . . . 6-4
Folding Mirrors . . . . . . . . . . . . . . . . 2-15
Front Fog Lamp Light . . . . . . . . . . . . . . . . . . . . . . . . . . 5-20
Front Seats Adjustment . . . . . . . . . . . . . . . . . . . . 3-3
Heated . . . . . . . . . . . . . . . . . . . . . . . . 3-6
Fuel . . . . . . . . . . . . . . . . . . . . . . . . . . . 9-45 Additives . . . . . . . . . . . . . . . . . . . . . 9-47
E85 (85% Ethanol) . . . . . . . . . . . 9-48
Economy Driving . . . . . . . . . . . . . 1-21
Filling a Portable Fuel
Container . . . . . . . . . . . . . . . . . . . 9-50
Filling the Tank . . . . . . . . . . . . . . . 9-49
Foreign Countries . . . . . . . . . . . . 9-47
Gasoline Specifications . . . . . . . 9-46
Gauge . . . . . . . . . . . . . . . . . . . . . . . . . 5-9
Low Fuel Warning Light . . . . . . . 5-19