display BUICK ENCLAVE 2022 Owners Manual
[x] Cancel search | Manufacturer: BUICK, Model Year: 2022, Model line: ENCLAVE, Model: BUICK ENCLAVE 2022Pages: 382, PDF Size: 7.67 MB
Page 252 of 382
Buick Enclave Owner Manual (GMNA-Localizing-U.S./Canada/Mexico-
15253195) - 2022 - CRC - 11/4/21
Driving and Operating 251
side blind zone or rapidly approaching that
zone from behind. A lit LCA symbol indicates
it may be unsafe to change lanes. Before
making a lane change, check the LCA
display, check mirrors, glance over your
shoulder, and use the turn signals.
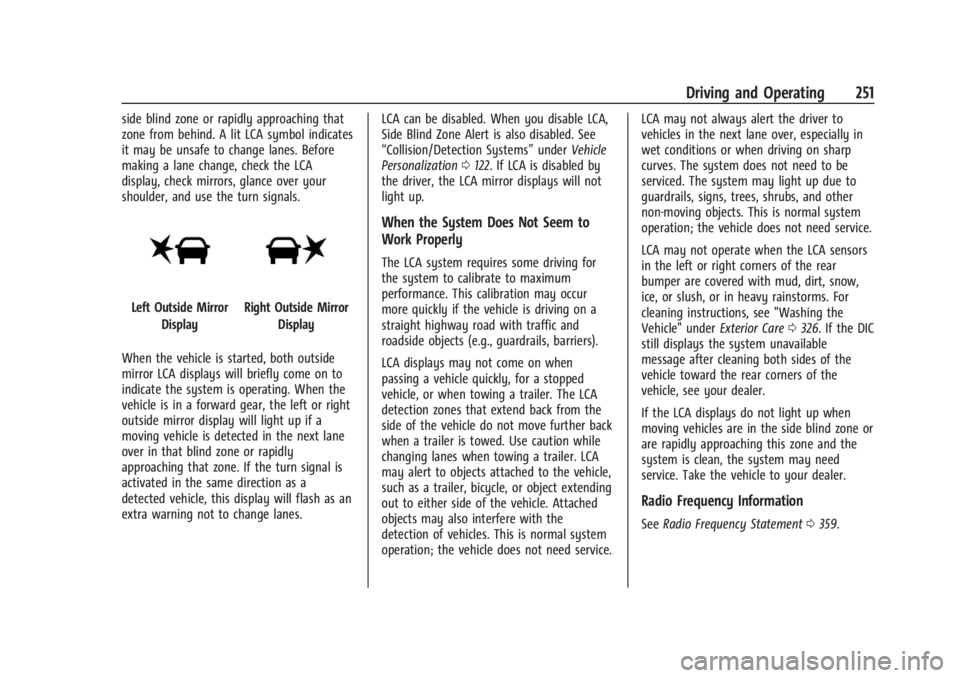
Left Outside MirrorDisplayRight Outside Mirror Display
When the vehicle is started, both outside
mirror LCA displays will briefly come on to
indicate the system is operating. When the
vehicle is in a forward gear, the left or right
outside mirror display will light up if a
moving vehicle is detected in the next lane
over in that blind zone or rapidly
approaching that zone. If the turn signal is
activated in the same direction as a
detected vehicle, this display will flash as an
extra warning not to change lanes. LCA can be disabled. When you disable LCA,
Side Blind Zone Alert is also disabled. See
“Collision/Detection Systems”
underVehicle
Personalization 0122. If LCA is disabled by
the driver, the LCA mirror displays will not
light up.
When the System Does Not Seem to
Work Properly
The LCA system requires some driving for
the system to calibrate to maximum
performance. This calibration may occur
more quickly if the vehicle is driving on a
straight highway road with traffic and
roadside objects (e.g., guardrails, barriers).
LCA displays may not come on when
passing a vehicle quickly, for a stopped
vehicle, or when towing a trailer. The LCA
detection zones that extend back from the
side of the vehicle do not move further back
when a trailer is towed. Use caution while
changing lanes when towing a trailer. LCA
may alert to objects attached to the vehicle,
such as a trailer, bicycle, or object extending
out to either side of the vehicle. Attached
objects may also interfere with the
detection of vehicles. This is normal system
operation; the vehicle does not need service. LCA may not always alert the driver to
vehicles in the next lane over, especially in
wet conditions or when driving on sharp
curves. The system does not need to be
serviced. The system may light up due to
guardrails, signs, trees, shrubs, and other
non-moving objects. This is normal system
operation; the vehicle does not need service.
LCA may not operate when the LCA sensors
in the left or right corners of the rear
bumper are covered with mud, dirt, snow,
ice, or slush, or in heavy rainstorms. For
cleaning instructions, see "Washing the
Vehicle" under
Exterior Care0326. If the DIC
still displays the system unavailable
message after cleaning both sides of the
vehicle toward the rear corners of the
vehicle, see your dealer.
If the LCA displays do not light up when
moving vehicles are in the side blind zone or
are rapidly approaching this zone and the
system is clean, the system may need
service. Take the vehicle to your dealer.
Radio Frequency Information
See Radio Frequency Statement 0359.
Page 254 of 382
Buick Enclave Owner Manual (GMNA-Localizing-U.S./Canada/Mexico-
15253195) - 2022 - CRC - 11/4/21
Driving and Operating 253
How the System Works
LKA uses a camera sensor installed on the
windshield ahead of the rearview mirror to
detect lane markings. It may provide brief
steering assist if it detects an unintended
lane departure. It may further provide an
audible alert or the driver seat may pulse
indicating that a lane marking has been
crossed. The system does not provide a Lane
Departure Warning (LDW) when
intentionally steering across a lane marker.
To turn LKA on and off, press
Aon the
center stack. If equipped, the indicator light
on the button comes on when LKA is on and
turns off when LKA is disabled. In some
vehicles a long press of over three seconds
is required to turn LKA off.
When on,
Ais white, if equipped,
indicating that the system is not ready to
assist.
Ais green if LKA is ready to
assist. LKA may assist by gently turning the
steering wheel if the vehicle approaches a
detected lane marking.
Ais amber when
assisting. It may also provide a Lane
Departure Warning (LDW) alert by flashing
Aamber if the vehicle crosses a
detected lane marking. Additionally, there may be three beeps, or the driver seat may
pulse three times, on the right or left,
depending on the lane departure direction.
Take Steering
The LKA system does not continuously steer
the vehicle. If LKA does not detect active
driver steering, an alert and chime may be
provided. Steer the vehicle to dismiss. LKA
may become temporarily unavailable after
repeated take steering alerts.
When the System Does Not Seem to
Work Properly
The system performance may be
affected by:
.Close vehicles ahead.
.Sudden lighting changes, such as when
driving through tunnels.
.Banked roads.
.Roads with poor lane markings, such as
two-lane roads.
If the LKA system is not functioning
properly when lane markings are clearly
visible, cleaning the windshield may help.
A camera blocked message may display if
the camera is blocked. Some driver
assistance systems may have reduced
performance or not work at all. An LKA or LDW unavailable message may display if the
systems are temporarily unavailable. This
message could be due to a blocked camera.
The LKA system does not need service. Clean
the outside of the windshield behind the
rearview mirror.
LKA assistance and/or LDW alerts may occur
due to tar marks, shadows, cracks in the
road, temporary or construction lane
markings, or other road imperfections. This
is normal system operation; the vehicle does
not need service. Turn LKA off if these
conditions continue.
Fuel
Top Tier Fuel
GM recommends the use of TOP TIER
Detergent Gasoline to keep the engine clean,
reduce engine deposits, and maintain
optimal vehicle performance. Look for the
TOP TIER Logo or see www.toptiergas.com
for a list of TOP TIER Detergent Gasoline
marketers and applicable countries.
Page 273 of 382
Buick Enclave Owner Manual (GMNA-Localizing-U.S./Canada/Mexico-
15253195) - 2022 - CRC - 11/3/21
272 Vehicle Care
1.Engine Air Cleaner/Filter 0275.
2. Engine Oil Fill Cap. See Engine Oil0272.
3. Engine Oil Dipstick. See Engine Oil0272.
4. Engine Cooling Fan (Out of View). See Cooling System 0276.
5. Brake Fluid Reservoir. See Brake Fluid
0 281.
6. Battery - North America 0282.
7. Engine Coolant Surge Tank and Pressure Cap. See Cooling System 0276.
8. Positive (+) Battery Terminal. See Jump
Starting - North America 0321.
9. Windshield Washer Fluid Reservoir. See Washer Fluid 0280.
10. Engine Compartment Fuse Block 0289.
11. Remote Negative (-) Battery Terminal. SeeJump Starting - North America 0321.
Engine Oil
To ensure proper engine performance and
long life, careful attention must be paid to
engine oil. Following these simple, but
important steps will help protect your
investment:
.Use engine oil approved to the proper
specification and of the proper viscosity
grade. See “Selecting the Right Engine
Oil” in this section.
.Check the engine oil level regularly and
maintain the proper oil level. See
“Checking Engine Oil” and“When to Add
Engine Oil” in this section.
.Change the engine oil at the appropriate
time. SeeEngine Oil Life System 0274.
.Always dispose of engine oil properly. See
“What to Do with Used Oil” in this
section.
Checking Engine Oil
Check the engine oil level regularly, every
650 km (400 mi), especially prior to a long
trip. The engine oil dipstick handle is a loop.
See Engine Compartment Overview 0271 for
the location.
{Warning
The engine oil dipstick handle may be
hot; it could burn you. Use a towel or
glove to touch the dipstick handle.
If a low oil Driver Information Center (DIC)
message displays, check the oil level. Follow these guidelines:
.To get an accurate reading, park the
vehicle on level ground. Check the engine
oil level after the engine has been off for
at least two hours. Checking the engine
oil level on steep grades or too soon after
engine shutoff can result in incorrect
readings. Accuracy improves when
checking a cold engine prior to starting.
Remove the dipstick and check the level.
.If unable to wait two hours, the engine
must be off for at least 15 minutes if the
engine is warm, or at least 30 minutes if
the engine is not warm. Pull out the
dipstick, wipe it with a clean paper towel
or cloth, then push it back in all the way.
Remove it again, keeping the tip down,
and check the level.
When to Add Engine Oil
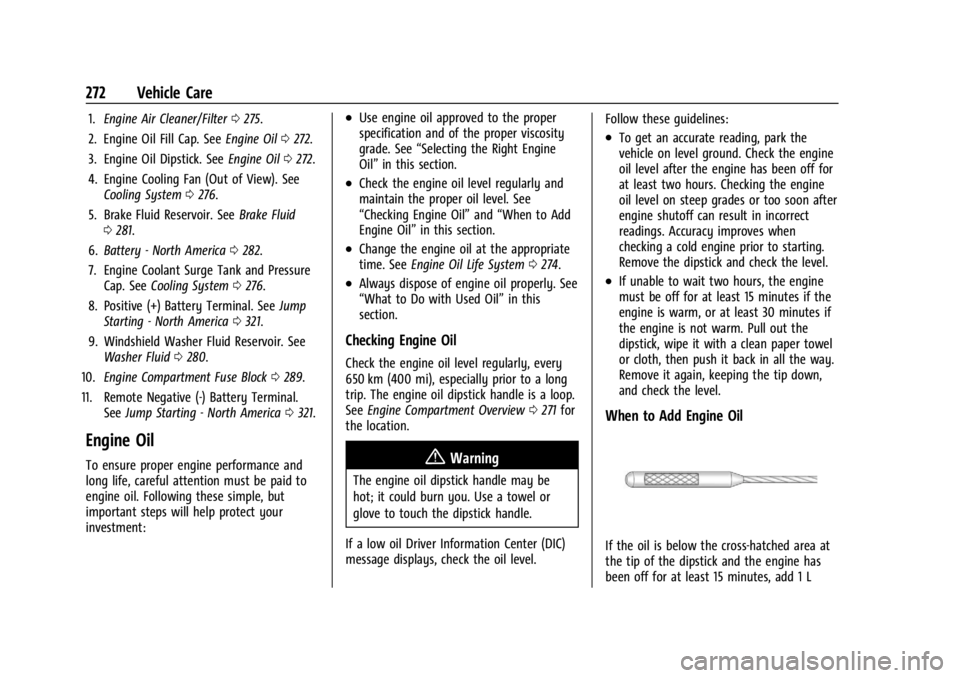
If the oil is below the cross-hatched area at
the tip of the dipstick and the engine has
been off for at least 15 minutes, add 1 L
Page 275 of 382
Buick Enclave Owner Manual (GMNA-Localizing-U.S./Canada/Mexico-
15253195) - 2022 - CRC - 11/3/21
274 Vehicle Care
good hand cleaner. Wash or properly
dispose of clothing or rags containing used
engine oil. See the manufacturer's warnings
about the use and disposal of oil products.
Used oil can be a threat to the environment.
If you change your own oil, be sure to drain
all the oil from the filter before disposal.
Never dispose of oil by putting it in the
trash or pouring it on the ground, into
sewers, or into streams or bodies of water.
Recycle it by taking it to a place that
collects used oil.
Engine Oil Life System
When to Change Engine Oil
This vehicle has a computer system that
indicates when to change the engine oil and
filter. This is based on a combination of
factors which include engine revolutions,
engine temperature, and miles driven. Based
on driving conditions, the mileage at which
an oil change is indicated can vary
considerably. For the oil life system to work
properly, the system must be reset every
time the oil is changed.
When the system has calculated that oil life
has been diminished, it indicates that an oil
change is necessary. A CHANGE ENGINE OILSOON message comes on. Change the oil as
soon as possible within the next 1 000 km
(600 mi). It is possible that, if driving under
the best conditions, the oil life system
might indicate that an oil change is not
necessary for up to a year. The engine oil
and filter must be changed at least once a
year and, at this time, the system must be
reset. Your dealer has trained service people
who will perform this work and reset the
system. It is also important to check the oil
regularly over the course of an oil drain
interval and keep it at the proper level.
If the system is ever reset accidentally, the
oil must be changed at 5 000 km (3,000 mi)
since the last oil change. Remember to reset
the oil life system whenever the oil is
changed.
How to Reset the Engine Oil Life System
Reset the system whenever the engine oil is
changed so that the system can calculate
the next engine oil change. To reset the
system:
1. Display the REMAINING OIL LIFE on the DIC. See Driver Information Center (DIC)
(Base Level) 0114 or
Driver Information Center (DIC) (Uplevel)
0 116. 2. Press and hold
Von the DIC while the
Oil Life display is active. The oil life will
change to 100%.
If the CHANGE ENGINE OIL SOON message
comes back on when the vehicle is started,
the engine oil life system has not been
reset. Repeat the procedure.
Automatic Transmission Fluid
It is not necessary to check the transmission
fluid level. A transmission fluid leak is the
only reason for fluid loss. If a leak occurs,
take the vehicle to the dealer and have it
repaired as soon as possible.
Change the fluid at the intervals listed in
Maintenance Schedule 0336, and be sure to
use the transmission fluid listed in
Recommended Fluids and Lubricants 0344.
Caution
Use of the incorrect automatic
transmission fluid may damage the
vehicle, and the damage may not be
covered by the vehicle warranty. Always
use the correct automatic transmission
fluid. See Recommended Fluids and
Lubricants 0344.
Page 276 of 382
Buick Enclave Owner Manual (GMNA-Localizing-U.S./Canada/Mexico-
15253195) - 2022 - CRC - 11/3/21
Vehicle Care 275
If you need to check the transmission fluid
level, take the vehicle to your dealer.
Engine Air Filter Life System
If equipped, this feature provides the engine
air filter’s remaining life and best timing for
a change. The timing to change an engine
air filter depends on driving and
environmental conditions.
When to Change Engine Air Filter
When the REPLACE AT NEXT OIL CHANGE
message displays, the engine air filter
should be replaced at the next engine oil
change.
When the REPLACE ENGINE AIR FILTER SOON
message displays, the engine air filter
should be replaced at the earliest
convenience. The system must be reset after
the engine air filter is changed.
If the CHECK AIR FILTER SYSTEM message
displays, see your dealer.
How to Reset Engine Air Filter Life
System
Reset the system whenever the engine air
filter is replaced so that the system can
calculate the next engine air filter change.
To reset:1. Place the vehicle in P (Park).
2. Display the Air Filter Life on the DIC. See Driver Information Center (DIC) (Base
Level) 0114 or
Driver Information Center (DIC) (Uplevel)
0 116.
3. Press
pto move to the Reset/Disable
display area. Select Reset then press
V
for several seconds.
4. Press
Vto confirm the reset.
Engine Air Cleaner/Filter
The engine air cleaner/filter is in the engine
compartment on the passenger side of the
vehicle. See Engine Compartment Overview
0 271.
When to Inspect the Engine Air Cleaner/
Filter
.For intervals on changing and inspecting
the engine air filter, see Maintenance
Schedule 0336.
.If equipped with Engine Air Filter Life
System, see Engine Air Filter Life System
0 275.
.If driving in very dusty areas, follow the
engine air filter inspecting and changing
intervals, see Maintenance Schedule
0 336.
How to Inspect/Replace the Engine Air
Cleaner/Filter
Do not start the engine or have the engine
running with the engine air cleaner/filter
housing open. Before removing the engine
air cleaner/filter, make sure that the engine
air cleaner/filter housing and nearby
components are free of dirt and debris.
Remove the engine air cleaner/filter. Lightly
tap and shake the engine air cleaner/filter
(away from the vehicle), to release loose
dust and dirt. Inspect the engine air cleaner/
filter for damage, and replace if damaged.
Do not clean the engine air cleaner/filter or
components with water or compressed air.
Page 280 of 382
Buick Enclave Owner Manual (GMNA-Localizing-U.S./Canada/Mexico-
15253195) - 2022 - CRC - 11/3/21
Vehicle Care 279
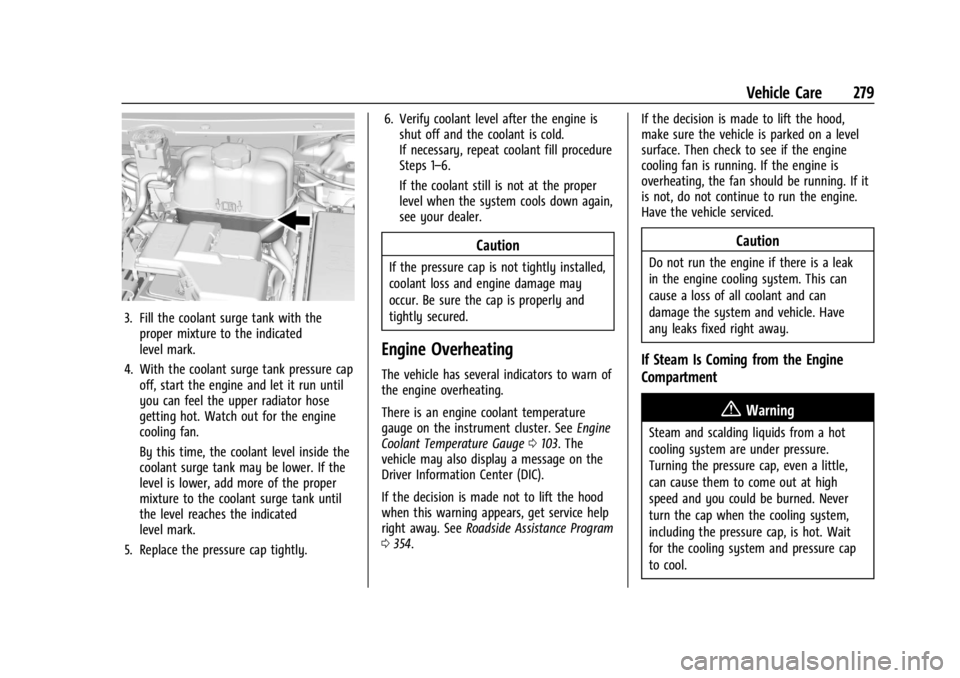
3. Fill the coolant surge tank with theproper mixture to the indicated
level mark.
4. With the coolant surge tank pressure cap off, start the engine and let it run until
you can feel the upper radiator hose
getting hot. Watch out for the engine
cooling fan.
By this time, the coolant level inside the
coolant surge tank may be lower. If the
level is lower, add more of the proper
mixture to the coolant surge tank until
the level reaches the indicated
level mark.
5. Replace the pressure cap tightly. 6. Verify coolant level after the engine is
shut off and the coolant is cold.
If necessary, repeat coolant fill procedure
Steps 1–6.
If the coolant still is not at the proper
level when the system cools down again,
see your dealer.
Caution
If the pressure cap is not tightly installed,
coolant loss and engine damage may
occur. Be sure the cap is properly and
tightly secured.
Engine Overheating
The vehicle has several indicators to warn of
the engine overheating.
There is an engine coolant temperature
gauge on the instrument cluster. See Engine
Coolant Temperature Gauge 0103. The
vehicle may also display a message on the
Driver Information Center (DIC).
If the decision is made not to lift the hood
when this warning appears, get service help
right away. See Roadside Assistance Program
0 354. If the decision is made to lift the hood,
make sure the vehicle is parked on a level
surface. Then check to see if the engine
cooling fan is running. If the engine is
overheating, the fan should be running. If it
is not, do not continue to run the engine.
Have the vehicle serviced.
Caution
Do not run the engine if there is a leak
in the engine cooling system. This can
cause a loss of all coolant and can
damage the system and vehicle. Have
any leaks fixed right away.
If Steam Is Coming from the Engine
Compartment
{Warning
Steam and scalding liquids from a hot
cooling system are under pressure.
Turning the pressure cap, even a little,
can cause them to come out at high
speed and you could be burned. Never
turn the cap when the cooling system,
including the pressure cap, is hot. Wait
for the cooling system and pressure cap
to cool.
Page 281 of 382
Buick Enclave Owner Manual (GMNA-Localizing-U.S./Canada/Mexico-
15253195) - 2022 - CRC - 11/3/21
280 Vehicle Care
If No Steam Is Coming from the Engine
Compartment
If an engine overheat warning is displayed
but no steam can be seen or heard, the
problem may not be too serious. Sometimes
the engine can get a little too hot when the
vehicle:
.Climbs a long hill on a hot day.
.Stops after high-speed driving.
.Idles for long periods in traffic.
If the overheat warning is displayed with no
sign of steam: 1. Turn the air conditioning off.
2. Turn the heater on to the highest temperature and to the highest fan
speed. Open the windows as necessary.
3. When it is safe to do so, pull off the road, shift to P (Park) or N (Neutral), and
let the engine idle.
If the engine coolant temperature gauge is
no longer in the overheated area, the
vehicle can be driven. Continue to drive the
vehicle slowly for about 10 minutes. Keep a
safe distance from the vehicle in front. If the
warning does not come back on, continue to
drive normally and have the cooling system
checked for proper fill and function. If the warning continues, pull over, stop, and
park the vehicle right away.
If there is no sign of steam, idle the engine
for three minutes while parked. If the
warning is still displayed, turn off the
engine until it cools down.
Washer Fluid
What to Use
When windshield washer fluid is needed, be
sure to read the manufacturer's instructions
before use. If operating the vehicle in an
area where the temperature may fall below
freezing, use a fluid that has sufficient
protection against freezing.
Adding Washer Fluid
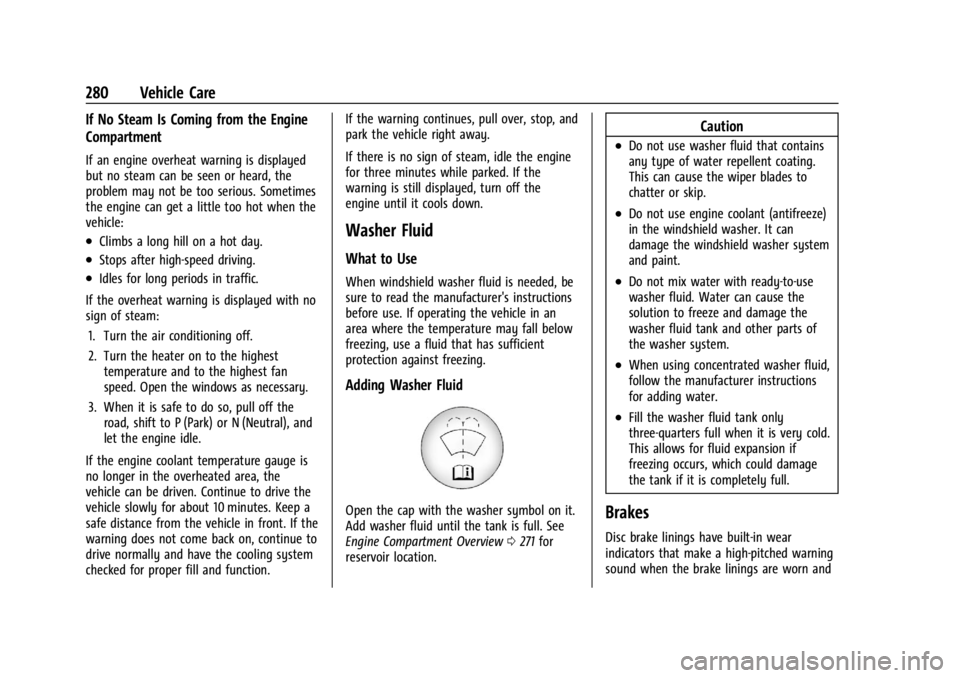
Open the cap with the washer symbol on it.
Add washer fluid until the tank is full. See
Engine Compartment Overview
0271 for
reservoir location.
Caution
.Do not use washer fluid that contains
any type of water repellent coating.
This can cause the wiper blades to
chatter or skip.
.Do not use engine coolant (antifreeze)
in the windshield washer. It can
damage the windshield washer system
and paint.
.Do not mix water with ready-to-use
washer fluid. Water can cause the
solution to freeze and damage the
washer fluid tank and other parts of
the washer system.
.When using concentrated washer fluid,
follow the manufacturer instructions
for adding water.
.Fill the washer fluid tank only
three-quarters full when it is very cold.
This allows for fluid expansion if
freezing occurs, which could damage
the tank if it is completely full.
Brakes
Disc brake linings have built-in wear
indicators that make a high-pitched warning
sound when the brake linings are worn and
Page 285 of 382

Buick Enclave Owner Manual (GMNA-Localizing-U.S./Canada/Mexico-
15253195) - 2022 - CRC - 11/3/21
284 Vehicle Care
2. Lift up on the latch in the middle of thewiper blade where the wiper arm
attaches.
3. With the latch open, pull the wiper blade down toward the windshield far enough
to release it from the J-hooked end of
the wiper arm.
4. Remove the wiper blade.
5. Reverse Steps 1–3 for wiper blade replacement.
Caution
Damage may occur if the wiper blades
are not in contact with the windshield
before turning on the wiper system.
Rear Wiper Blade Replacement
To replace the rear wiper blade:
1. Slide a plastic tool under the cover andpush upward to unsnap.
2. Slide the cover toward the wiper blade tip to unhook it from the blade
assembly.
3. Remove the cover.
4. Lift the wiper arm away from the windshield.
5. Push the release lever (2) to disengagethe hook and push the wiper arm (1) out
of the blade assembly (3).
6. Push the new blade assembly securely on the wiper arm until the release lever
clicks into place.
7. To reinstall the cover, ensure that the cover hook slides into the slot in the
blade assembly.
8. Snap the cover down to secure.
Windshield Replacement
Driver Assistance Systems
If the windshield needs to be replaced and
the vehicle is equipped with a front camera
sensor for the Driver Assistance Systems, a
GM replacement windshield is
recommended. The replacement windshield
must be installed according to GM
specifications for proper alignment. If it is
not, these systems may not work properly,
they may display messages, or they may
not work at all. See your dealer for proper
windshield replacement.
Page 292 of 382

Buick Enclave Owner Manual (GMNA-Localizing-U.S./Canada/Mexico-
15253195) - 2022 - CRC - 11/3/21
Vehicle Care 291
FusesUsage
F19 –
F20 –
F21 –
F22 Electronic Brake Control Module
F23 Parking/Trailer Lamps
F24 Right Trailer Stoplamp/ Turnlamp
F25 Steering Column Lock
F26 –
F27 Left Trailer Stoplamp/ Turnlamp
F28 –
F29 –
F30 Washer Pump F31 –
F32 Left Low –Beam
Headlamp
F33 Daylight Running Lamps
F34 Horn F35 – Fuses
Usage
F36 –
F37 Right Low –Beam
Headlamp
F38 Automatic Headlamp Leveling Motor
F39 Transmission Control Module
F40 Left Rear Bus Electrical Center/Ignition
F41 Instrument Cluster
F42 Heating, Ventilation, and Air Conditioning
F43 Head-up Display/ Reflective Light
Auxiliary Display
F44 Communication Gateway Module/Run/
Crank
F45 –
F46 –
F47 –
F48 –
F49 Interior Rearview Mirror Fuses
Usage
F50 Fuel Tank Zone Module/ Shifter Interface Board/
Run/Crank
F51 Heated Steering Wheel
F52 Folding Seats Switch
F53 Coolant Pump
F54 –
F55 Air Conditioning Clutch
F56 –
F57 Engine Control Module/ Ignition
F58 Transmission Control Module/Ignition
F59 Engine Control Module Battery
F60 Engine Control Module–Even
F61 O2 Sensor 1/Air Flow
F62 –
F63 O2 Sensor 2/Canister/ Engine Oil/Turbo
F64 Aeroshutter
Page 294 of 382

Buick Enclave Owner Manual (GMNA-Localizing-U.S./Canada/Mexico-
15253195) - 2022 - CRC - 11/3/21
Vehicle Care 293
The vehicle may not be equipped with all of
the fuses, relays, and features shown.Fuses Usage
F1 Body Control Module 6
F2 Diagnostic Link
F3 Electric Steering Column Lock
F4 Rear USB Port F5 Rear Sunshade/Park/ Reverse/Neutral/
Drive/Low
F6 Heating, Ventilation, and Air Conditioning
F7 Body Control Module 3
F8 Adaptive Front Lighting System
F9 Right Front Heated Seat
F10 Airbag F11 –
F12 Amplifier
F13 Body Control Module 7
F14 Left Front Heated Seat F15 – Fuses Usage
F16 SunroofF17 Communication Gateway Module
F18 Instrument Cluster/ Head Up Display
F19 Body Control Module 1
F20 Wireless Charger Module
F21 Body Control Module 4
F22 Infotainment
F23 Body Control Module 2
F24 Park/Reverse/Neutral/ Drive/Low
F25 Park Assist/Shifter Interface Board
F26 Communications Integration Module
F27 Video
F28 Radio/Heating, Ventilation, and Air
Conditioning Display
F29 Radio Fuses Usage
F30 Steering Wheel ControlsF31 Front Blower
F32 DC AC Inverter
F33 Driver Power Seat
F34 Passenger Power Seat F35 Feed/Body Control Module 4
F36 Electric Power Steering F37 Power Outlet/Wireless Charger/Accessory
F38 Body Control Module 8
F39 –
Circuit Breakers/ Minifuse Usage
F40 –
F41 –
F42 Auxiliary Power Outlet (CB)/Lighter (Minifuse)