horn BUICK ENCLAVE 2022 Owners Manual
[x] Cancel search | Manufacturer: BUICK, Model Year: 2022, Model line: ENCLAVE, Model: BUICK ENCLAVE 2022Pages: 382, PDF Size: 7.67 MB
Page 6 of 382

Buick Enclave Owner Manual (GMNA-Localizing-U.S./Canada/Mexico-
15253195) - 2022 - CRC - 11/3/21
Introduction 5
1.Air Vents 0195.
2. Turn Signal Lever. See Turn and
Lane-Change Signals 0133.
IntelliBeam System Button (If Equipped).
See Exterior Lamp Controls 0130.
Exterior Lamp Controls 0130.
3. Manual Mode 0221.
4. Instrument Cluster (Base Level) 098 or
Instrument Cluster (Uplevel) 0100.
Driver Information Center (DIC) Display.
See Driver Information Center (DIC) (Base
Level) 0114 or
Driver Information Center (DIC) (Uplevel)
0 116.
5. Windshield Wiper/Washer 091.
6. Auto Stop Disable Switch. See Stop/Start
System 0213.
All-Wheel Drive Button (If Equipped). See
Driver Mode Control 0226.
Sport Mode Button (If Equipped) or Tow/
Haul Mode Button (If Equipped). See
Driver Mode Control 0226.
7. Light Sensor. See Automatic Headlamp
System 0132. 8.
Hazard Warning Flashers 0133.
Assistance Systems for Parking or Backing
0 239 (If Equipped).
Lane Keep Assist (LKA) 0252 (If
Equipped).
9. Infotainment Controls. See Overview
0 138.
10. Dual Automatic Climate Control System
0190.
Heated and Ventilated Front Seats 041
(If Equipped).
11. Wireless Charging 095 (If Equipped).
12. Shift Lever. See Automatic Transmission
0 218.
13. USB Port 0146.
14. ENGINE START/STOP Button. See Ignition
Positions 0211.
15. Steering Wheel Controls 090.
16. Horn 091.
17. Steering Wheel Adjustment 090 (Out
of View). 18.
Cruise Control 0227.
Adaptive Cruise Control (Advanced) 0229
(If Equipped).
Heated Steering Wheel 090 (If
Equipped).
Forward Collision Alert (FCA) System
0 245 (If Equipped).
19. Hood Release. See Hood0270.
20. Data Link Connector (DLC) (Out of View). SeeMalfunction Indicator Lamp (Check
Engine Light) 0107.
21. Instrument Panel Illumination Control
0133.
22. Head-Up Display (HUD) 0119 (If
Equipped).
23. Electric Parking Brake 0223.
Page 9 of 382
Buick Enclave Owner Manual (GMNA-Localizing-U.S./Canada/Mexico-
15253195) - 2022 - CRC - 11/3/21
8 Keys, Doors, and Windows
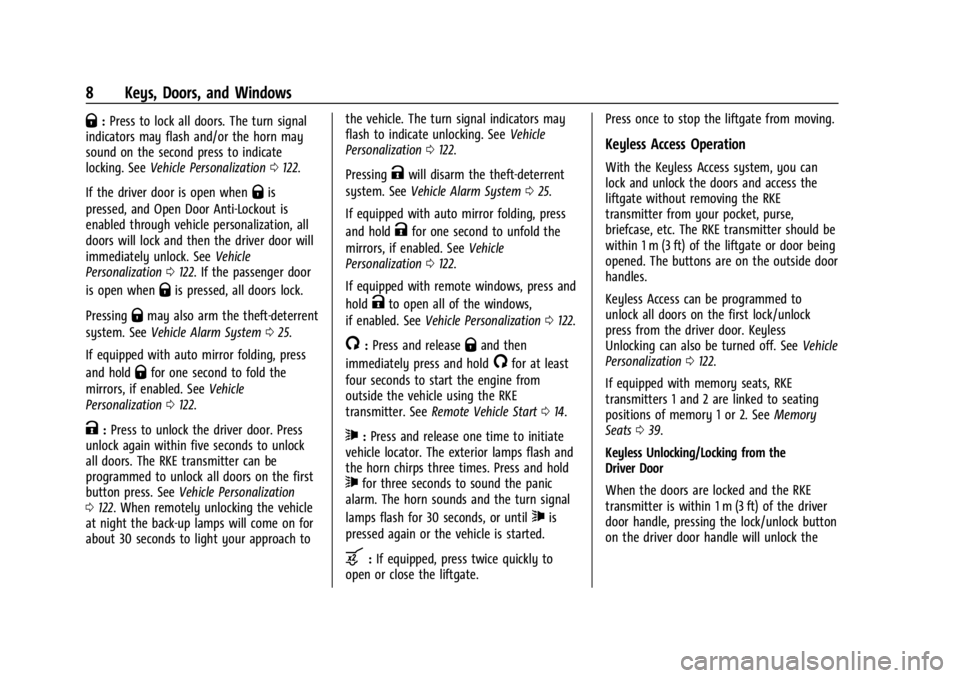
Q:Press to lock all doors. The turn signal
indicators may flash and/or the horn may
sound on the second press to indicate
locking. See Vehicle Personalization 0122.
If the driver door is open when
Qis
pressed, and Open Door Anti-Lockout is
enabled through vehicle personalization, all
doors will lock and then the driver door will
immediately unlock. See Vehicle
Personalization 0122. If the passenger door
is open when
Qis pressed, all doors lock.
Pressing
Qmay also arm the theft-deterrent
system. See Vehicle Alarm System 025.
If equipped with auto mirror folding, press
and hold
Qfor one second to fold the
mirrors, if enabled. See Vehicle
Personalization 0122.
K:Press to unlock the driver door. Press
unlock again within five seconds to unlock
all doors. The RKE transmitter can be
programmed to unlock all doors on the first
button press. See Vehicle Personalization
0 122. When remotely unlocking the vehicle
at night the back-up lamps will come on for
about 30 seconds to light your approach to the vehicle. The turn signal indicators may
flash to indicate unlocking. See
Vehicle
Personalization 0122.
Pressing
Kwill disarm the theft-deterrent
system. See Vehicle Alarm System 025.
If equipped with auto mirror folding, press
and hold
Kfor one second to unfold the
mirrors, if enabled. See Vehicle
Personalization 0122.
If equipped with remote windows, press and
hold
Kto open all of the windows,
if enabled. See Vehicle Personalization 0122.
/:Press and releaseQand then
immediately press and hold
/for at least
four seconds to start the engine from
outside the vehicle using the RKE
transmitter. See Remote Vehicle Start 014.
7:Press and release one time to initiate
vehicle locator. The exterior lamps flash and
the horn chirps three times. Press and hold
7for three seconds to sound the panic
alarm. The horn sounds and the turn signal
lamps flash for 30 seconds, or until
7is
pressed again or the vehicle is started.
b: If equipped, press twice quickly to
open or close the liftgate. Press once to stop the liftgate from moving.
Keyless Access Operation
With the Keyless Access system, you can
lock and unlock the doors and access the
liftgate without removing the RKE
transmitter from your pocket, purse,
briefcase, etc. The RKE transmitter should be
within 1 m (3 ft) of the liftgate or door being
opened. The buttons are on the outside door
handles.
Keyless Access can be programmed to
unlock all doors on the first lock/unlock
press from the driver door. Keyless
Unlocking can also be turned off. See
Vehicle
Personalization 0122.
If equipped with memory seats, RKE
transmitters 1 and 2 are linked to seating
positions of memory 1 or 2. See Memory
Seats 039.
Keyless Unlocking/Locking from the
Driver Door
When the doors are locked and the RKE
transmitter is within 1 m (3 ft) of the driver
door handle, pressing the lock/unlock button
on the driver door handle will unlock the
Page 11 of 382

Buick Enclave Owner Manual (GMNA-Localizing-U.S./Canada/Mexico-
15253195) - 2022 - CRC - 11/3/21
10 Keys, Doors, and Windows
Temporary Disable of Passive Locking
Temporarily disable passive locking by
pressing and holding
Kon the interior door
switch with a door open for at least
four seconds, or until three chimes are
heard. Passive locking will then remain
disabled until
Qon the interior door is
pressed, or until the vehicle is turned on.
Remote Left in Vehicle Alert
When the vehicle is turned off and an RKE
transmitter is left in the vehicle, the horn
will chirp three times after all doors are
closed. To turn on or off see Vehicle
Personalization 0122.
Remote No Longer in Vehicle Alert
If the vehicle is on with a door open, and
then all doors are closed, the vehicle will
check for RKE transmitters inside. If an RKE
transmitter is not detected, the Driver
Information Center (DIC) will display NO
REMOTE DETECTED and the horn will chirp
three times. This occurs only once each time
the vehicle is driven.
Keyless Liftgate Opening
Press the touch pad on the liftgate handle
to open the liftgate if the RKE transmitter is
within 1 m (3 ft). Key Access
To access a vehicle with a weak transmitter
battery, see
Door Locks015.
Programming Transmitters to the Vehicle
Only RKE transmitters programmed to the
vehicle will work. If a transmitter is lost or
stolen, a replacement can be purchased and
programmed through your dealer. The
vehicle can be reprogrammed so that lost or
stolen transmitters no longer work. Each
vehicle can have up to eight transmitters
matched to it.
Programming with Recognized Transmitters
A new transmitter can be programmed to
the vehicle when there are two recognized
transmitters.
To program, the vehicle must be off and all
of the transmitters, both currently
recognized and new, must be with you.
1. Press the button on the side of the RKE transmitter near the bottom and pull the
key out. Never pull the key out without
pressing the button.
2. Place the two recognized transmitters in the cupholder. 3. Remove the key lock cylinder cap on the
driver door handle. See Door Locks015.
Insert the vehicle key of the new
transmitter into the key lock cylinder on
the driver door handle and turn the key,
counterclockwise, to the unlock position
five times within 10 seconds.
The DIC displays READY FOR REMOTE #3,
4, 5, ETC.
4. Remove the top tray and the rubber mat inside the center console storage area.
Place the new transmitter into the
transmitter pocket.
Page 19 of 382

Buick Enclave Owner Manual (GMNA-Localizing-U.S./Canada/Mexico-
15253195) - 2022 - CRC - 11/3/21
18 Keys, Doors, and Windows
Lockout Protection
If the ignition is on or in ACC/ACCESSORY
and the power door lock switch is pressed
with the driver door open, all the doors will
lock and only the driver door will unlock.
If the vehicle is off and locking is requested
while a door is open, when all doors are
closed the vehicle will check for RKE
transmitters inside. If an RKE transmitter is
detected and the number of RKE
transmitters inside has not reduced, the
driver door will unlock and the horn will
chirp three times.
Lockout Protection can be manually
overridden with the driver door open by
pressing and holding
Qon the power door
lock switch.
Open Door Anti-Lockout
If Open Door Anti-Lockout has been turned
on and the vehicle is off, the driver door is
open, and locking is requested, all the doors
will lock and the driver door will unlock. The
Open Door Anti-Lockout feature can be
turned on or off. See Vehicle Personalization
0 122.
Safety Locks
The rear door safety locks prevent
passengers from opening the rear doors
from inside the vehicle.
Manual Safety Locks
If equipped, the safety lock is on the inside
edge of the rear doors. To use the
safety lock:
1. Move the lever down to the lock position.
2. Close the door.
3. Do the same for the other rear door. To open a rear door when the safety lock
is on:
1. Unlock the door by activating the inside handle, by pressing the power door lock
switch, or by using the Remote Keyless
Entry (RKE) transmitter.
2. Open the door from the outside.
When the safety lock is enabled, adults and
older children will not be able to open the
rear door from the inside. Cancel the safety
locks to enable the doors to open from the
inside.
To cancel the safety lock: 1. Unlock the door and open it from the outside.
2. Move the lever up to unlock. Do the same for the other door.
Page 22 of 382
Buick Enclave Owner Manual (GMNA-Localizing-U.S./Canada/Mexico-
15253195) - 2022 - CRC - 11/3/21
Keys, Doors, and Windows 21
Caution
Manually forcing the liftgate to open or
close during a power cycle can damage
the vehicle. Allow the power cycle to
complete.
The power liftgate may be temporarily
disabled under extreme low temperatures,
or after repeated power cycling over a short
period of time. If this occurs, the liftgate can
still be operated manually.
If the vehicle is shifted out of P (Park) while
the power function is in progress, the
liftgate will continue to completion. If the
vehicle is accelerated before the liftgate has
completed moving, the liftgate may stop or
reverse direction. Check for DIC messages
and make sure the liftgate is closed and
latched before driving.
Falling Liftgate Detection
If the power liftgate automatically closes
after a power opening cycle, it indicates that
the system is reacting to excess weight on
the liftgate or a possible support strut
failure. A repetitive chime will sound while
the falling liftgate detection feature is
operating. Remove any excess weight. If the liftgate continues to automatically close
after opening, see your dealer for service
before using the power liftgate.
Interfering with the power liftgate motion
or manually closing the liftgate too quickly
after power opening may resemble a
support strut failure. This could also activate
the falling liftgate detection feature. Allow
the liftgate to complete its operation and
wait a few seconds before manually closing
the liftgate.
Obstacle Detection Features
If the liftgate encounters an obstacle during
a power open or close cycle, the liftgate will
automatically reverse direction and move a
short distance away from the obstacle. After
removing the obstruction, the power liftgate
operation can be used again. If the liftgate
encounters multiple obstacles on the same
power cycle, the power function will
deactivate. After removing the obstructions,
manually close the liftgate which will allow
normal power operation functions to
resume.
If the vehicle is locked while the liftgate is
closing, and an obstacle is encountered that
prevents the liftgate from completely
closing, the horn will sound as an alert that
the liftgate did not close.
Setting the 3/4 Mode
To change the position the liftgate stops at
when opening:
1. Select MAX or 3/4 mode and power open the liftgate.
2. Stop the liftgate movement at the desired height by pressing any liftgate
switch. Manually adjust the liftgate
position if needed.
3. Press and hold
lto the left of the
latch at the bottom of the liftgate until
the turn signals flash and a beep sounds.
This indicates the setting has been
recorded.
The liftgate cannot be set below a minimum
programmable height. If there is no light
flash or sound, then the height adjustment
may be too low.
Manual Operation
Select OFF to manually operate the liftgate.
See “Manual Liftgate” at the beginning of
this section.
Page 26 of 382
Buick Enclave Owner Manual (GMNA-Localizing-U.S./Canada/Mexico-
15253195) - 2022 - CRC - 11/3/21
Keys, Doors, and Windows 25
Vehicle Security
This vehicle has theft-deterrent features;
however, they do not make the vehicle
impossible to steal.
Vehicle Alarm System
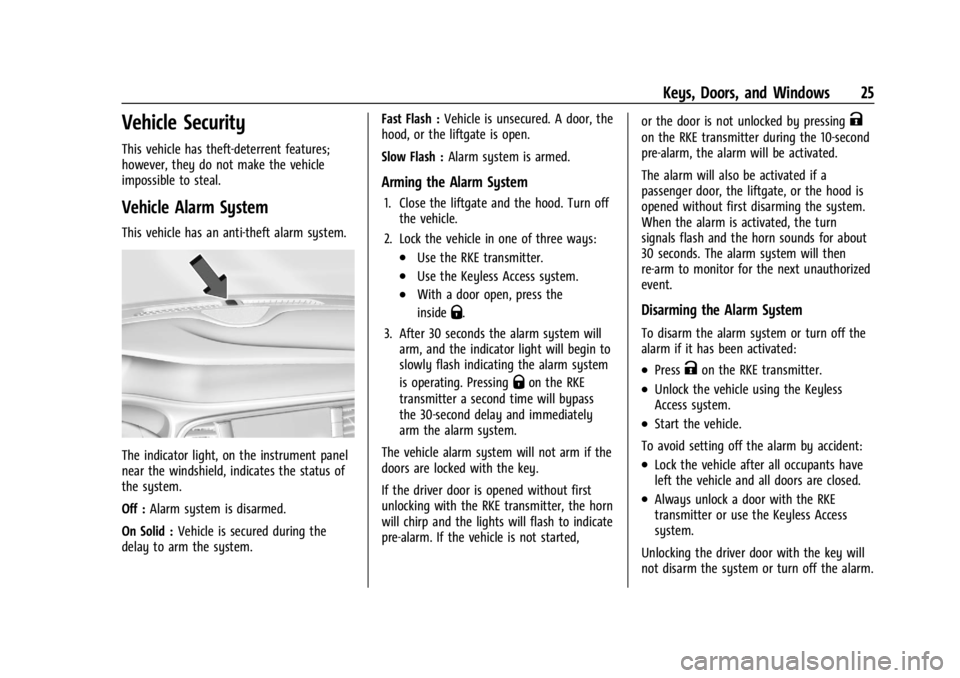
This vehicle has an anti-theft alarm system.
The indicator light, on the instrument panel
near the windshield, indicates the status of
the system.
Off :Alarm system is disarmed.
On Solid : Vehicle is secured during the
delay to arm the system. Fast Flash :
Vehicle is unsecured. A door, the
hood, or the liftgate is open.
Slow Flash : Alarm system is armed.
Arming the Alarm System
1. Close the liftgate and the hood. Turn off
the vehicle.
2. Lock the vehicle in one of three ways:
.Use the RKE transmitter.
.Use the Keyless Access system.
.With a door open, press the
inside
Q.
3. After 30 seconds the alarm system will arm, and the indicator light will begin to
slowly flash indicating the alarm system
is operating. Pressing
Qon the RKE
transmitter a second time will bypass
the 30-second delay and immediately
arm the alarm system.
The vehicle alarm system will not arm if the
doors are locked with the key.
If the driver door is opened without first
unlocking with the RKE transmitter, the horn
will chirp and the lights will flash to indicate
pre-alarm. If the vehicle is not started, or the door is not unlocked by pressing
K
on the RKE transmitter during the 10-second
pre-alarm, the alarm will be activated.
The alarm will also be activated if a
passenger door, the liftgate, or the hood is
opened without first disarming the system.
When the alarm is activated, the turn
signals flash and the horn sounds for about
30 seconds. The alarm system will then
re-arm to monitor for the next unauthorized
event.
Disarming the Alarm System
To disarm the alarm system or turn off the
alarm if it has been activated:
.PressKon the RKE transmitter.
.Unlock the vehicle using the Keyless
Access system.
.Start the vehicle.
To avoid setting off the alarm by accident:
.Lock the vehicle after all occupants have
left the vehicle and all doors are closed.
.Always unlock a door with the RKE
transmitter or use the Keyless Access
system.
Unlocking the driver door with the key will
not disarm the system or turn off the alarm.
Page 27 of 382
Buick Enclave Owner Manual (GMNA-Localizing-U.S./Canada/Mexico-
15253195) - 2022 - CRC - 11/3/21
26 Keys, Doors, and Windows
How to Detect a Tamper Condition
IfKis pressed and the horn chirps and the
lights flash three times, the alarm was
activated while the alarm system was
armed.
If the alarm system has been activated, a
message will appear on the DIC.
Immobilizer
See Radio Frequency Statement 0359.
Immobilizer Operation
This vehicle has a passive theft-deterrent
system.
The system does not have to be manually
armed or disarmed.
The vehicle is automatically immobilized
when the vehicle is turned off.
The immobilization system is disarmed
when the ignition is on or in ACC/
ACCESSORY and a valid transmitter is
present in the vehicle.
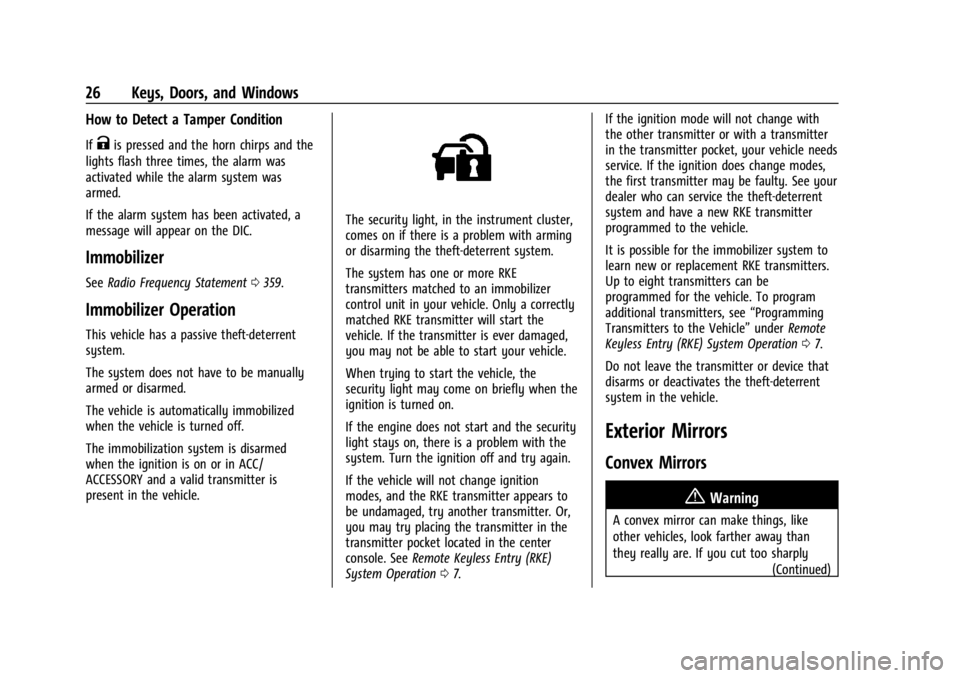
The security light, in the instrument cluster,
comes on if there is a problem with arming
or disarming the theft-deterrent system.
The system has one or more RKE
transmitters matched to an immobilizer
control unit in your vehicle. Only a correctly
matched RKE transmitter will start the
vehicle. If the transmitter is ever damaged,
you may not be able to start your vehicle.
When trying to start the vehicle, the
security light may come on briefly when the
ignition is turned on.
If the engine does not start and the security
light stays on, there is a problem with the
system. Turn the ignition off and try again.
If the vehicle will not change ignition
modes, and the RKE transmitter appears to
be undamaged, try another transmitter. Or,
you may try placing the transmitter in the
transmitter pocket located in the center
console. See Remote Keyless Entry (RKE)
System Operation 07. If the ignition mode will not change with
the other transmitter or with a transmitter
in the transmitter pocket, your vehicle needs
service. If the ignition does change modes,
the first transmitter may be faulty. See your
dealer who can service the theft-deterrent
system and have a new RKE transmitter
programmed to the vehicle.
It is possible for the immobilizer system to
learn new or replacement RKE transmitters.
Up to eight transmitters can be
programmed for the vehicle. To program
additional transmitters, see
“Programming
Transmitters to the Vehicle” underRemote
Keyless Entry (RKE) System Operation 07.
Do not leave the transmitter or device that
disarms or deactivates the theft-deterrent
system in the vehicle.
Exterior Mirrors
Convex Mirrors
{Warning
A convex mirror can make things, like
other vehicles, look farther away than
they really are. If you cut too sharply (Continued)
Page 90 of 382
Buick Enclave Owner Manual (GMNA-Localizing-U.S./Canada/Mexico-
15253195) - 2022 - CRC - 11/3/21
Instruments and Controls 89
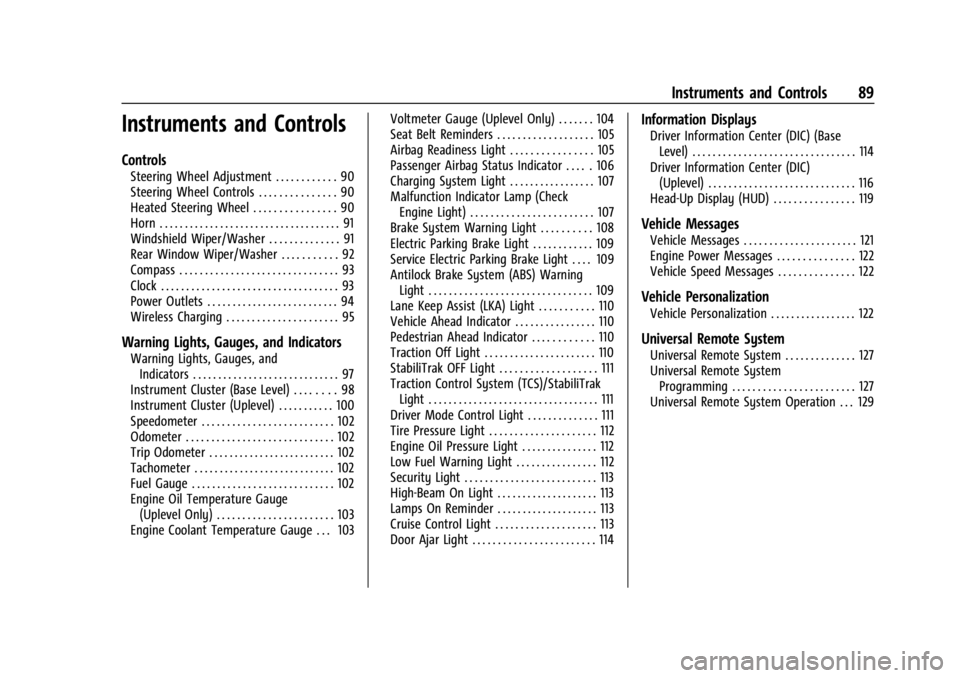
Instruments and Controls
Controls
Steering Wheel Adjustment . . . . . . . . . . . . 90
Steering Wheel Controls . . . . . . . . . . . . . . . 90
Heated Steering Wheel . . . . . . . . . . . . . . . . 90
Horn . . . . . . . . . . . . . . . . . . . . . . . . . . . . . . . . . . . . 91
Windshield Wiper/Washer . . . . . . . . . . . . . . 91
Rear Window Wiper/Washer . . . . . . . . . . . 92
Compass . . . . . . . . . . . . . . . . . . . . . . . . . . . . . . . 93
Clock . . . . . . . . . . . . . . . . . . . . . . . . . . . . . . . . . . . 93
Power Outlets . . . . . . . . . . . . . . . . . . . . . . . . . . 94
Wireless Charging . . . . . . . . . . . . . . . . . . . . . . 95
Warning Lights, Gauges, and Indicators
Warning Lights, Gauges, andIndicators . . . . . . . . . . . . . . . . . . . . . . . . . . . . . 97
Instrument Cluster (Base Level) . . . . . . . . 98
Instrument Cluster (Uplevel) . . . . . . . . . . . 100
Speedometer . . . . . . . . . . . . . . . . . . . . . . . . . . 102
Odometer . . . . . . . . . . . . . . . . . . . . . . . . . . . . . 102
Trip Odometer . . . . . . . . . . . . . . . . . . . . . . . . . 102
Tachometer . . . . . . . . . . . . . . . . . . . . . . . . . . . . 102
Fuel Gauge . . . . . . . . . . . . . . . . . . . . . . . . . . . . 102
Engine Oil Temperature Gauge (Uplevel Only) . . . . . . . . . . . . . . . . . . . . . . . 103
Engine Coolant Temperature Gauge . . . 103 Voltmeter Gauge (Uplevel Only) . . . . . . . 104
Seat Belt Reminders . . . . . . . . . . . . . . . . . . . 105
Airbag Readiness Light . . . . . . . . . . . . . . . . 105
Passenger Airbag Status Indicator . . . . . 106
Charging System Light . . . . . . . . . . . . . . . . . 107
Malfunction Indicator Lamp (Check
Engine Light) . . . . . . . . . . . . . . . . . . . . . . . . 107
Brake System Warning Light . . . . . . . . . . 108
Electric Parking Brake Light . . . . . . . . . . . . 109
Service Electric Parking Brake Light . . . . 109
Antilock Brake System (ABS) Warning Light . . . . . . . . . . . . . . . . . . . . . . . . . . . . . . . . 109
Lane Keep Assist (LKA) Light . . . . . . . . . . . 110
Vehicle Ahead Indicator . . . . . . . . . . . . . . . . 110
Pedestrian Ahead Indicator . . . . . . . . . . . . 110
Traction Off Light . . . . . . . . . . . . . . . . . . . . . . 110
StabiliTrak OFF Light . . . . . . . . . . . . . . . . . . . 111
Traction Control System (TCS)/StabiliTrak Light . . . . . . . . . . . . . . . . . . . . . . . . . . . . . . . . . . 111
Driver Mode Control Light . . . . . . . . . . . . . . 111
Tire Pressure Light . . . . . . . . . . . . . . . . . . . . . 112
Engine Oil Pressure Light . . . . . . . . . . . . . . . 112
Low Fuel Warning Light . . . . . . . . . . . . . . . . 112
Security Light . . . . . . . . . . . . . . . . . . . . . . . . . . 113
High-Beam On Light . . . . . . . . . . . . . . . . . . . . 113
Lamps On Reminder . . . . . . . . . . . . . . . . . . . . 113
Cruise Control Light . . . . . . . . . . . . . . . . . . . . 113
Door Ajar Light . . . . . . . . . . . . . . . . . . . . . . . . 114
Information Displays
Driver Information Center (DIC) (Base Level) . . . . . . . . . . . . . . . . . . . . . . . . . . . . . . . . 114
Driver Information Center (DIC) (Uplevel) . . . . . . . . . . . . . . . . . . . . . . . . . . . . . 116
Head-Up Display (HUD) . . . . . . . . . . . . . . . . 119
Vehicle Messages
Vehicle Messages . . . . . . . . . . . . . . . . . . . . . . 121
Engine Power Messages . . . . . . . . . . . . . . . 122
Vehicle Speed Messages . . . . . . . . . . . . . . . 122
Vehicle Personalization
Vehicle Personalization . . . . . . . . . . . . . . . . . 122
Universal Remote System
Universal Remote System . . . . . . . . . . . . . . 127
Universal Remote System
Programming . . . . . . . . . . . . . . . . . . . . . . . . 127
Universal Remote System Operation . . . 129
Page 92 of 382

Buick Enclave Owner Manual (GMNA-Localizing-U.S./Canada/Mexico-
15253195) - 2022 - CRC - 11/3/21
Instruments and Controls 91
If equipped with auto heated seats, the
heated steering wheel may turn on when
the auto heated seat is activated. The
heated steering wheel indicator will follow
the state of the steering wheel heat.
SeeHeated and Ventilated Front Seats 041
and
Vehicle Personalization 0122.
Horn
Pressaon the steering wheel pad to
sound the horn.
Windshield Wiper/Washer
With the ignition on or in ACC/ACCESSORY,
move the windshield wiper lever to select
the wiper speed.
HI : Use for fast wipes.
LO : Use for slow wipes.
AUTO : If equipped with Rainsense, use this
setting for intermittent wipes when
Rainsense is disabled, or Rainsense wipes
when Rainsense is enabled. For intermittent
wipes, move the windshield wiper lever to
AUTO, then turn the band up for more
frequent wipes or down for less frequent
wipes. If Rainsense is turned on, see
“Rainsense” later in this section.
INT :Move the windshield wiper lever to
INT. Turn the band up for more frequent
wipes or down for less frequent wipes.
OFF : Use to turn the wipers off.
1X : For a single wipe, briefly move the
wiper lever down. For several wipes, hold
the wiper lever down.
f: Pull the windshield wiper lever
toward you to spray windshield washer fluid
and activate the windshield wipers. The
wipers will continue until the lever is
released or the maximum wash time is
reached. When the windshield wiper lever is
released, additional wipes may occur
depending on how long the windshield
washer had been activated. See Washer
Fluid 0280 for information on filling the
windshield washer fluid reservoir.
{Warning
In freezing weather, do not use the
washer until the windshield is warmed.
Otherwise the washer fluid can form ice
on the windshield, blocking your vision.
Page 127 of 382
Buick Enclave Owner Manual (GMNA-Localizing-U.S./Canada/Mexico-
15253195) - 2022 - CRC - 11/3/21
126 Instruments and Controls
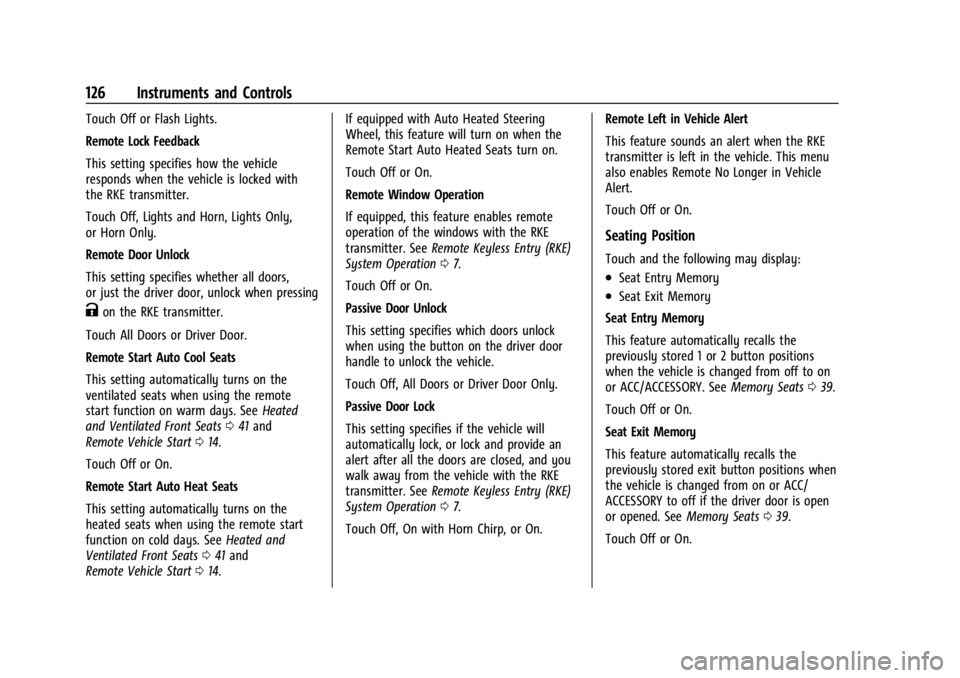
Touch Off or Flash Lights.
Remote Lock Feedback
This setting specifies how the vehicle
responds when the vehicle is locked with
the RKE transmitter.
Touch Off, Lights and Horn, Lights Only,
or Horn Only.
Remote Door Unlock
This setting specifies whether all doors,
or just the driver door, unlock when pressing
Kon the RKE transmitter.
Touch All Doors or Driver Door.
Remote Start Auto Cool Seats
This setting automatically turns on the
ventilated seats when using the remote
start function on warm days. See Heated
and Ventilated Front Seats 041 and
Remote Vehicle Start 014.
Touch Off or On.
Remote Start Auto Heat Seats
This setting automatically turns on the
heated seats when using the remote start
function on cold days. See Heated and
Ventilated Front Seats 041 and
Remote Vehicle Start 014. If equipped with Auto Heated Steering
Wheel, this feature will turn on when the
Remote Start Auto Heated Seats turn on.
Touch Off or On.
Remote Window Operation
If equipped, this feature enables remote
operation of the windows with the RKE
transmitter. See
Remote Keyless Entry (RKE)
System Operation 07.
Touch Off or On.
Passive Door Unlock
This setting specifies which doors unlock
when using the button on the driver door
handle to unlock the vehicle.
Touch Off, All Doors or Driver Door Only.
Passive Door Lock
This setting specifies if the vehicle will
automatically lock, or lock and provide an
alert after all the doors are closed, and you
walk away from the vehicle with the RKE
transmitter. See Remote Keyless Entry (RKE)
System Operation 07.
Touch Off, On with Horn Chirp, or On. Remote Left in Vehicle Alert
This feature sounds an alert when the RKE
transmitter is left in the vehicle. This menu
also enables Remote No Longer in Vehicle
Alert.
Touch Off or On.
Seating Position
Touch and the following may display:
.Seat Entry Memory
.Seat Exit Memory
Seat Entry Memory
This feature automatically recalls the
previously stored 1 or 2 button positions
when the vehicle is changed from off to on
or ACC/ACCESSORY. See Memory Seats039.
Touch Off or On.
Seat Exit Memory
This feature automatically recalls the
previously stored exit button positions when
the vehicle is changed from on or ACC/
ACCESSORY to off if the driver door is open
or opened. See Memory Seats039.
Touch Off or On.