9
Infotainment System
Setting the Time
1. Turn on the infotainment system.
2. Press the Clock button.
3. Turn the MENU knob to highlight Set Time; press the knob to select it.
4. Turn the MENU knob to change the value; press the knob to confirm the set value.
5. Press the BACK button to exit the menu.
Storing Favorite Stations
Radio stations from all bands (AM, FM or XMF) can be stored, in any order, on up to six pages of favorites.
1. Tune in the desired radio station.
2. Press the FAV button to display page where the station is to be stored.
3. Press and hold one of the six numeric pushbuttons until a beep is heard.
4. Repeat the steps for each desired station.
Portable Audio Devices
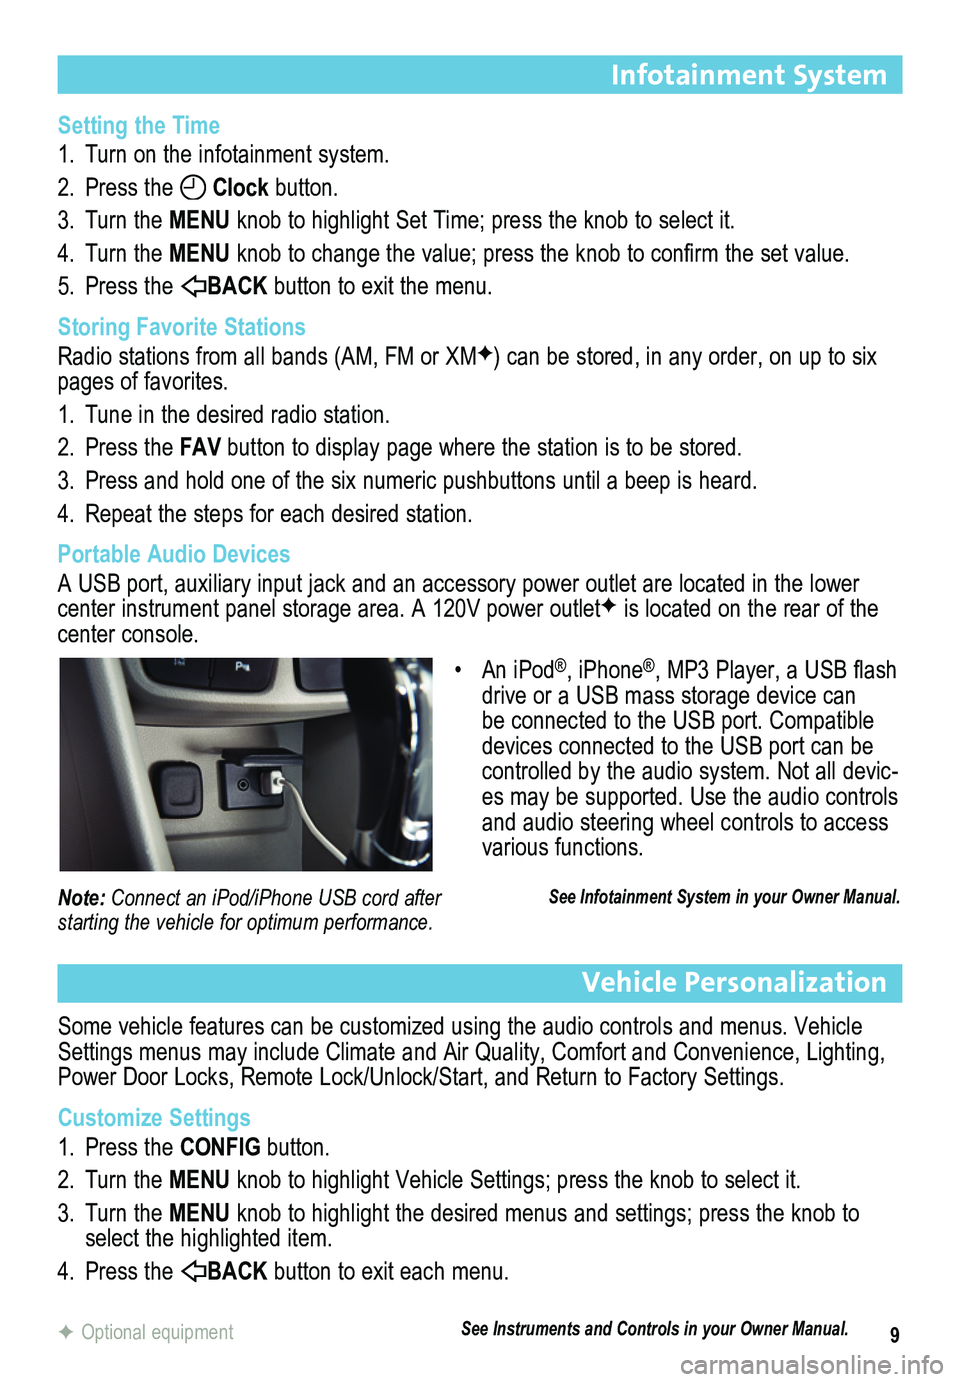
A USB port, auxiliary input jack and an accessory power outlet are located in the lower center instrument panel storage area. A 120V power outletF is located on the rear of the center console.
Vehicle Personalization
Some vehicle features can be customized using the audio controls and menus. Vehicle Settings menus may include Climate and Air Quality, Comfort and Convenience, Lighting, Power Door Locks, Remote Lock/Unlock/Start, and Return to Factory Settings.
Customize Settings
1. Press the CONFIG button.
2. Turn the MENU knob to highlight Vehicle Settings; press the knob to select it.
3. Turn the MENU knob to highlight the desired menus and settings; press the knob to select the highlighted item.
4. Press the BACK button to exit each menu.
F Optional equipment
• An iPod®, iPhone®, MP3 Player, a USB flash drive or a USB mass storage device can be connected to the USB port. Compatible devices connected to the USB port can be controlled by the audio system. Not all devic-es may be supported. Use the audio controls and audio steering wheel controls to access various functions.
See Infotainment System in your Owner Manual.Note: Connect an iPod/iPhone USB cord after starting the vehicle for optimum performance.
See Instruments and Controls in your Owner Manual.
