four wheel drive BUICK ENVISION 2021 Owner's Manual
[x] Cancel search | Manufacturer: BUICK, Model Year: 2021, Model line: ENVISION, Model: BUICK ENVISION 2021Pages: 360, PDF Size: 10.4 MB
Page 93 of 360

Buick E2UB-N Owner Manual (GMNA-Localizing-U.S./Canada/Mexico-
14583509) - 2021 - CRC - 1/8/21
92 Instruments and Controls
set the Speed Warning press the
thumbwheel when Speed Warning is
displayed. Use the thumbwheel to adjust
the value and press to set the speed.
Once the speed is set, this feature can be
turned off by pressing the thumbwheel
while viewing this page. If the selected
speed limit is exceeded, a pop-up warning is
displayed with a chime.
Remote Relearn :If equipped, this feature
allows for the vehicle to relearn
remote keys.
See "Programming with Recognized Remote
Keys" under Remote Keyless Entry (RKE)
System Operation 07.
Software Information : Displays open source
software information.
Speedometer
The speedometer shows the vehicle's speed
in either kilometers per hour (km/h) or
miles per hour (mph).
Odometer
The odometer shows how far the vehicle has
been driven, in either kilometers or miles.
Trip Odometer
The trip odometer shows how far the
vehicle has been driven since the trip
odometer was last reset.
The trip odometer is accessed and reset
through the Driver Information Center (DIC).
See Driver Information Center (DIC) 0103.
Tachometer
The tachometer displays the engine speed in
revolutions per minute (rpm).
For vehicles with the Stop/Start system,
when the ignition is on, the tachometer
indicates the vehicle status. When pointing
to AUTO STOP, the engine is off but the
vehicle is on and can move. The engine
could auto start at any time. When the
indicator points to OFF, the vehicle is off.
When the engine is on, the tachometer will
indicate the engine’s revolutions per minute
(rpm). The tachometer may vary by several
hundred rpm, during Auto Stop mode, when
the engine is shutting off and restarting.
Fuel Gauge
When the ignition is on, the fuel gauge
indicates about how much fuel is left in
the tank.
There is an arrow near the fuel gauge
pointing to the side of the vehicle the fuel
door is on.
When the indicator nears empty, the low
fuel light comes on. There still is a little fuel
left, but the vehicle should be refueled soon.
Here are four things that some owners ask
about. None of these show a problem with
the fuel gauge:
.At the service station, the fuel pump
shuts off before the gauge reads full.
Page 107 of 360

Buick E2UB-N Owner Manual (GMNA-Localizing-U.S./Canada/Mexico-
14583509) - 2021 - CRC - 1/8/21
106 Instruments and Controls
The language selection is changed through
the radio and the units of measurement is
changed through the instrument cluster. See
Settings0159 and "Options" under
Instrument Cluster 089.
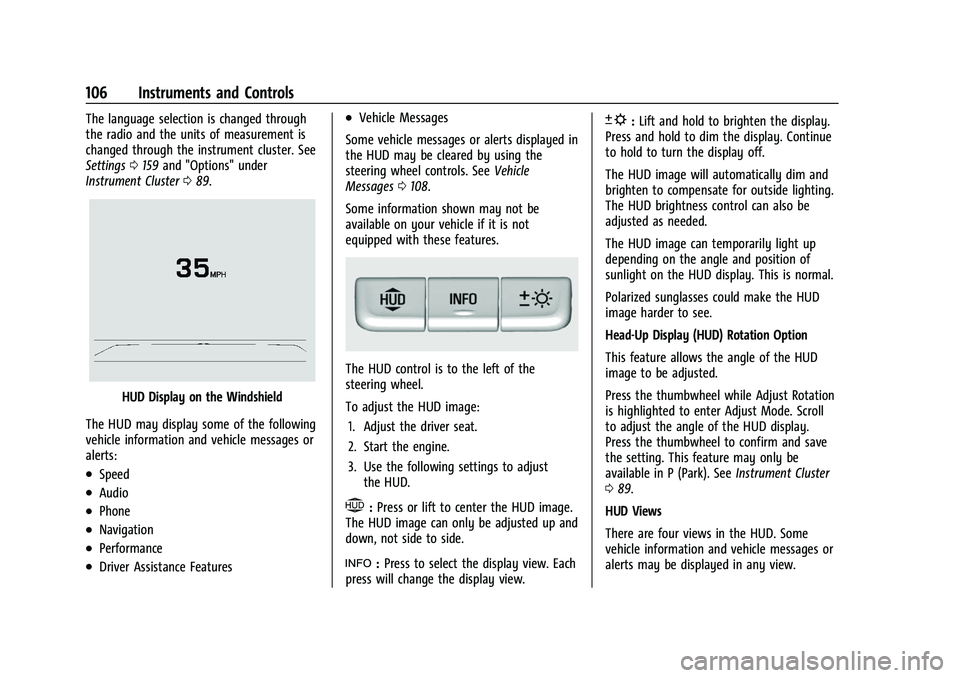
HUD Display on the Windshield
The HUD may display some of the following
vehicle information and vehicle messages or
alerts:
.Speed
.Audio
.Phone
.Navigation
.Performance
.Driver Assistance Features
.Vehicle Messages
Some vehicle messages or alerts displayed in
the HUD may be cleared by using the
steering wheel controls. See Vehicle
Messages 0108.
Some information shown may not be
available on your vehicle if it is not
equipped with these features.
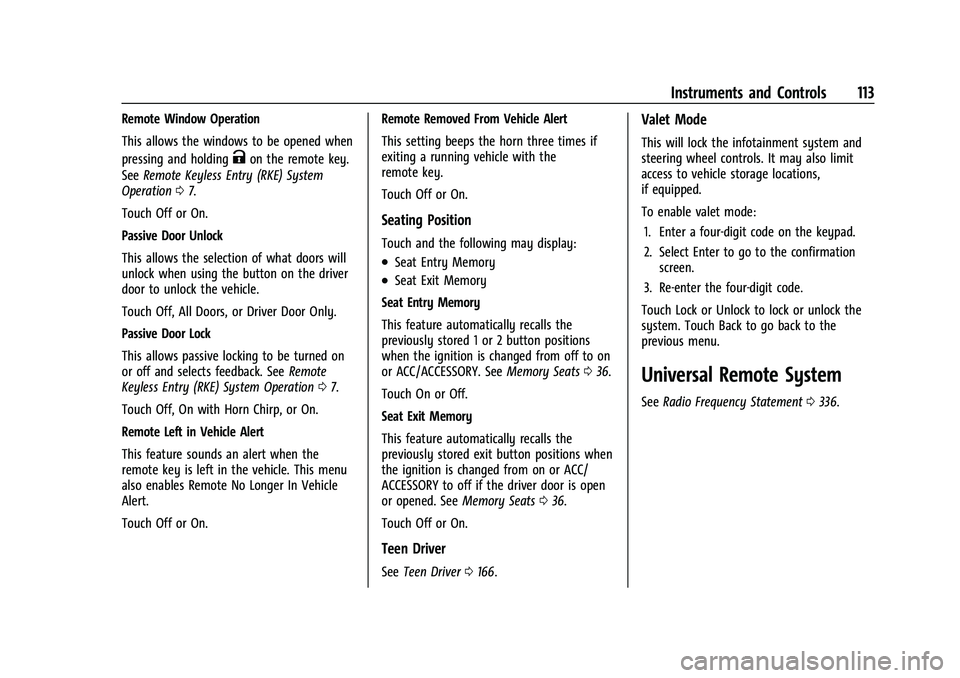
The HUD control is to the left of the
steering wheel.
To adjust the HUD image: 1. Adjust the driver seat.
2. Start the engine.
3. Use the following settings to adjust the HUD.
$:Press or lift to center the HUD image.
The HUD image can only be adjusted up and
down, not side to side.
!: Press to select the display view. Each
press will change the display view.
D: Lift and hold to brighten the display.
Press and hold to dim the display. Continue
to hold to turn the display off.
The HUD image will automatically dim and
brighten to compensate for outside lighting.
The HUD brightness control can also be
adjusted as needed.
The HUD image can temporarily light up
depending on the angle and position of
sunlight on the HUD display. This is normal.
Polarized sunglasses could make the HUD
image harder to see.
Head-Up Display (HUD) Rotation Option
This feature allows the angle of the HUD
image to be adjusted.
Press the thumbwheel while Adjust Rotation
is highlighted to enter Adjust Mode. Scroll
to adjust the angle of the HUD display.
Press the thumbwheel to confirm and save
the setting. This feature may only be
available in P (Park). See Instrument Cluster
0 89.
HUD Views
There are four views in the HUD. Some
vehicle information and vehicle messages or
alerts may be displayed in any view.
Page 114 of 360

Buick E2UB-N Owner Manual (GMNA-Localizing-U.S./Canada/Mexico-
14583509) - 2021 - CRC - 1/8/21
Instruments and Controls 113
Remote Window Operation
This allows the windows to be opened when
pressing and holding
Kon the remote key.
See Remote Keyless Entry (RKE) System
Operation 07.
Touch Off or On.
Passive Door Unlock
This allows the selection of what doors will
unlock when using the button on the driver
door to unlock the vehicle.
Touch Off, All Doors, or Driver Door Only.
Passive Door Lock
This allows passive locking to be turned on
or off and selects feedback. See Remote
Keyless Entry (RKE) System Operation 07.
Touch Off, On with Horn Chirp, or On.
Remote Left in Vehicle Alert
This feature sounds an alert when the
remote key is left in the vehicle. This menu
also enables Remote No Longer In Vehicle
Alert.
Touch Off or On. Remote Removed From Vehicle Alert
This setting beeps the horn three times if
exiting a running vehicle with the
remote key.
Touch Off or On.
Seating Position
Touch and the following may display:
.Seat Entry Memory
.Seat Exit Memory
Seat Entry Memory
This feature automatically recalls the
previously stored 1 or 2 button positions
when the ignition is changed from off to on
or ACC/ACCESSORY. See Memory Seats036.
Touch On or Off.
Seat Exit Memory
This feature automatically recalls the
previously stored exit button positions when
the ignition is changed from on or ACC/
ACCESSORY to off if the driver door is open
or opened. See Memory Seats036.
Touch Off or On.
Teen Driver
See Teen Driver 0166.
Valet Mode
This will lock the infotainment system and
steering wheel controls. It may also limit
access to vehicle storage locations,
if equipped.
To enable valet mode:
1. Enter a four-digit code on the keypad.
2. Select Enter to go to the confirmation screen.
3. Re-enter the four-digit code.
Touch Lock or Unlock to lock or unlock the
system. Touch Back to go back to the
previous menu.
Universal Remote System
See Radio Frequency Statement 0336.
Page 208 of 360

Buick E2UB-N Owner Manual (GMNA-Localizing-U.S./Canada/Mexico-
14583509) - 2021 - CRC - 1/8/21
Driving and Operating 207
Permanent Tap Shift Mode
To enter Permanent Tap Shift Mode:1. With the vehicle in D (Drive), press the M (Manual Mode) button.
2. Pull the steering wheel control toward you to shift. Pull the left control to
downshift, and the right control to
upshift.
To exit Permanent Tap Shift Mode, pull the
D (Drive) switch on the center console.
Temporary Tap Manual Shift Mode
To enter Temporary Tap Shift Mode: 1. With the transmission in D (Drive) and not in Permanent Tap Shift Mode, the
Tap Shift controls will activate a
Temporary Tap Shift Mode, allowing the
transmission to be manually shifted.
2. To deactivate, hold the right control briefly. Automatic shifts return after no
manual shifts have been done for seven
to 10 seconds.
While using Tap Shift, the vehicle will have
firmer, quicker shifting. This can be used for
sport driving or when climbing or
descending hills, to stay in gear longer,
or to downshift for more power or engine
braking. The transmission will only allow shifting
into gears appropriate for the vehicle speed
and engine revolutions per minute (rpm).
If shifting is prevented for any reason, the
M or D will flash in the instrument cluster.
The transmission will not automatically shift
to the next higher gear if the engine rpm is
too high. It will only automatically shift to
the next lower gear if the engine rpm is
much too low.
Drive Systems
All-Wheel Drive
Vehicles with this feature can operate in
All-Wheel Drive (AWD) Mode. When the
AWD feature is active, the system transfers
engine power, if required, to all four wheels.
The system is fully automatic and adjusts to
road conditions for improved traction and
control. In FWD Mode engine power is
transferred to the front wheels only, and
the AWD feature is off.
The AWD feature is automatically activated
when certain modes are selected using the
Driver Mode Control switch. When an AWD
mode change is requested the light will
flash briefly while the system is engaging
and the AWD light will be displayed when
the system is active. When a non-AWD
Mode is selected, the light will flash briefly
while the system disengages and a 2WD
light will be displayed when the AWD
system is off. See
Driver Mode Control 0212.
When a compact spare tire is installed on an
AWD vehicle, the system will automatically
detect the compact spare and reduce AWD
performance to protect the system. To
restore AWD operation and prevent
excessive wear on the system, replace the
compact spare with a full-size tire as soon as
possible. See Compact Spare Tire 0301.Brakes
Antilock Brake System (ABS)
The Antilock Brake System (ABS) helps
prevent a braking skid and maintain steering
while braking hard.
ABS performs a system check when the
vehicle is first driven. A momentary motor
or clicking noise may be heard while this
test is going on, and the brake pedal may
move slightly. This is normal.
Page 213 of 360

Buick E2UB-N Owner Manual (GMNA-Localizing-U.S./Canada/Mexico-
14583509) - 2021 - CRC - 1/8/21
212 Driving and Operating
When HDC is activated, the initial HDC
speed is set to the current driving speed.
It can be increased or decreased by pressing
+RES or–SET on the steering wheel or by
applying the accelerator or brake pedal. This
adjusted speed becomes the new set speed.
HDC will remain enabled between 22 and
60 km/h (14 and 37 mph); however vehicle
speed cannot be set or maintained in this
range. It will automatically disable if the
vehicle speed is above 80 km/h (50 mph) or
above 60 km/h (37 mph) for at least
30 seconds. Press
5again to re-enable HDC.
Driver Mode Control
Driver Mode Control (DMC) allows the driver
to adjust the overall driving experience to
better suit preference by adjusting multiple
subsystems. Driver Mode availability and
affected vehicle subsystems are dependent
upon vehicle trim level, region, and optional
features.
If the vehicle is in Tour Mode or AWD
Mode, it will stay in that mode through
future ignition cycles. If the vehicle is in any
other mode, it will return to Tour Mode
when the vehicle is restarted. When a mode
is selected, an indicator will come on in the
instrument cluster.
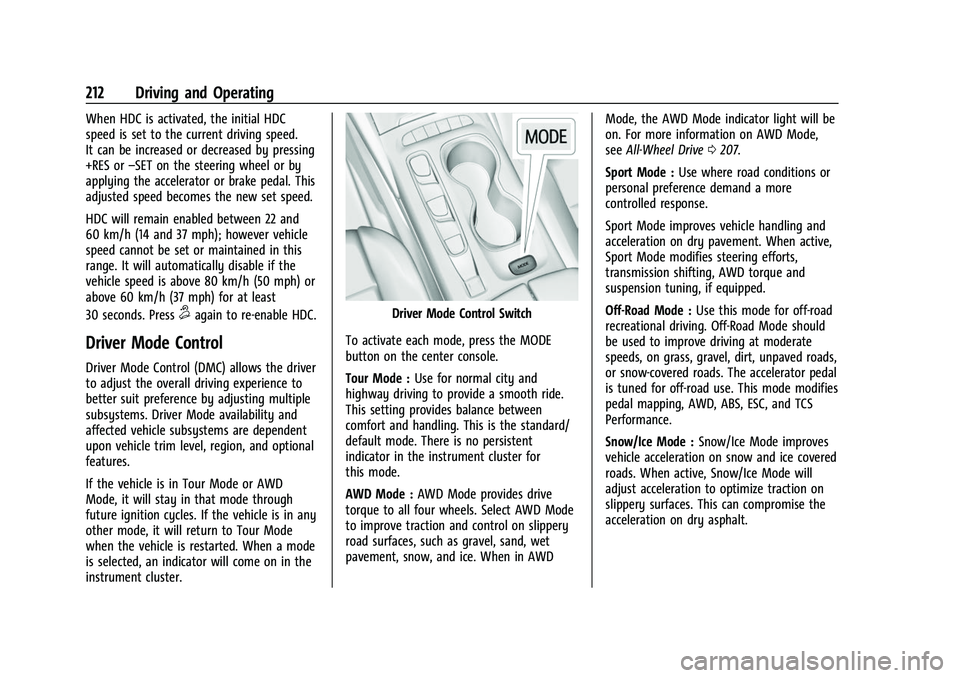
Driver Mode Control Switch
To activate each mode, press the MODE
button on the center console.
Tour Mode : Use for normal city and
highway driving to provide a smooth ride.
This setting provides balance between
comfort and handling. This is the standard/
default mode. There is no persistent
indicator in the instrument cluster for
this mode.
AWD Mode : AWD Mode provides drive
torque to all four wheels. Select AWD Mode
to improve traction and control on slippery
road surfaces, such as gravel, sand, wet
pavement, snow, and ice. When in AWD Mode, the AWD Mode indicator light will be
on. For more information on AWD Mode,
see
All-Wheel Drive 0207.
Sport Mode : Use where road conditions or
personal preference demand a more
controlled response.
Sport Mode improves vehicle handling and
acceleration on dry pavement. When active,
Sport Mode modifies steering efforts,
transmission shifting, AWD torque and
suspension tuning, if equipped.
Off-Road Mode : Use this mode for off-road
recreational driving. Off-Road Mode should
be used to improve driving at moderate
speeds, on grass, gravel, dirt, unpaved roads,
or snow-covered roads. The accelerator pedal
is tuned for off-road use. This mode modifies
pedal mapping, AWD, ABS, ESC, and TCS
Performance.
Snow/Ice Mode : Snow/Ice Mode improves
vehicle acceleration on snow and ice covered
roads. When active, Snow/Ice Mode will
adjust acceleration to optimize traction on
slippery surfaces. This can compromise the
acceleration on dry asphalt.