clock BUICK ENVISION 2023 Owners Manual
[x] Cancel search | Manufacturer: BUICK, Model Year: 2023, Model line: ENVISION, Model: BUICK ENVISION 2023Pages: 356, PDF Size: 7.42 MB
Page 85 of 356
Buick Envision Owner Manual (GMNA-Localizing-U.S./Canada/Mexico-
16060855) - 2023 - CRC - 2/9/22
84 Instruments and Controls
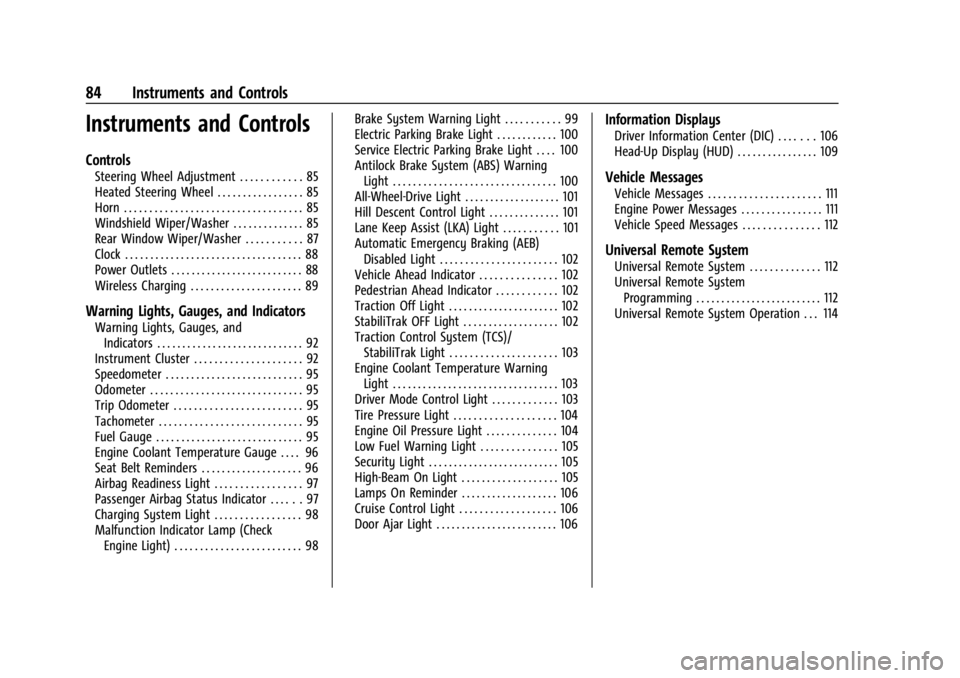
Instruments and Controls
Controls
Steering Wheel Adjustment . . . . . . . . . . . . 85
Heated Steering Wheel . . . . . . . . . . . . . . . . . 85
Horn . . . . . . . . . . . . . . . . . . . . . . . . . . . . . . . . . . . 85
Windshield Wiper/Washer . . . . . . . . . . . . . . 85
Rear Window Wiper/Washer . . . . . . . . . . . 87
Clock . . . . . . . . . . . . . . . . . . . . . . . . . . . . . . . . . . . 88
Power Outlets . . . . . . . . . . . . . . . . . . . . . . . . . . 88
Wireless Charging . . . . . . . . . . . . . . . . . . . . . . 89
Warning Lights, Gauges, and Indicators
Warning Lights, Gauges, andIndicators . . . . . . . . . . . . . . . . . . . . . . . . . . . . . 92
Instrument Cluster . . . . . . . . . . . . . . . . . . . . . 92
Speedometer . . . . . . . . . . . . . . . . . . . . . . . . . . . 95
Odometer . . . . . . . . . . . . . . . . . . . . . . . . . . . . . . 95
Trip Odometer . . . . . . . . . . . . . . . . . . . . . . . . . 95
Tachometer . . . . . . . . . . . . . . . . . . . . . . . . . . . . 95
Fuel Gauge . . . . . . . . . . . . . . . . . . . . . . . . . . . . . 95
Engine Coolant Temperature Gauge . . . . 96
Seat Belt Reminders . . . . . . . . . . . . . . . . . . . . 96
Airbag Readiness Light . . . . . . . . . . . . . . . . . 97
Passenger Airbag Status Indicator . . . . . . 97
Charging System Light . . . . . . . . . . . . . . . . . 98
Malfunction Indicator Lamp (Check Engine Light) . . . . . . . . . . . . . . . . . . . . . . . . . 98 Brake System Warning Light . . . . . . . . . . . 99
Electric Parking Brake Light . . . . . . . . . . . . 100
Service Electric Parking Brake Light . . . . 100
Antilock Brake System (ABS) Warning
Light . . . . . . . . . . . . . . . . . . . . . . . . . . . . . . . . 100
All-Wheel-Drive Light . . . . . . . . . . . . . . . . . . . 101
Hill Descent Control Light . . . . . . . . . . . . . . 101
Lane Keep Assist (LKA) Light . . . . . . . . . . . 101
Automatic Emergency Braking (AEB) Disabled Light . . . . . . . . . . . . . . . . . . . . . . . 102
Vehicle Ahead Indicator . . . . . . . . . . . . . . . 102
Pedestrian Ahead Indicator . . . . . . . . . . . . 102
Traction Off Light . . . . . . . . . . . . . . . . . . . . . . 102
StabiliTrak OFF Light . . . . . . . . . . . . . . . . . . . 102
Traction Control System (TCS)/ StabiliTrak Light . . . . . . . . . . . . . . . . . . . . . 103
Engine Coolant Temperature Warning Light . . . . . . . . . . . . . . . . . . . . . . . . . . . . . . . . . 103
Driver Mode Control Light . . . . . . . . . . . . . 103
Tire Pressure Light . . . . . . . . . . . . . . . . . . . . 104
Engine Oil Pressure Light . . . . . . . . . . . . . . 104
Low Fuel Warning Light . . . . . . . . . . . . . . . 105
Security Light . . . . . . . . . . . . . . . . . . . . . . . . . . 105
High-Beam On Light . . . . . . . . . . . . . . . . . . . 105
Lamps On Reminder . . . . . . . . . . . . . . . . . . . 106
Cruise Control Light . . . . . . . . . . . . . . . . . . . 106
Door Ajar Light . . . . . . . . . . . . . . . . . . . . . . . . 106
Information Displays
Driver Information Center (DIC) . . . . . . . 106
Head-Up Display (HUD) . . . . . . . . . . . . . . . . 109
Vehicle Messages
Vehicle Messages . . . . . . . . . . . . . . . . . . . . . . 111
Engine Power Messages . . . . . . . . . . . . . . . . 111
Vehicle Speed Messages . . . . . . . . . . . . . . . 112
Universal Remote System
Universal Remote System . . . . . . . . . . . . . . 112
Universal Remote System Programming . . . . . . . . . . . . . . . . . . . . . . . . . 112
Universal Remote System Operation . . . 114
Page 89 of 356
Buick Envision Owner Manual (GMNA-Localizing-U.S./Canada/Mexico-
16060855) - 2023 - CRC - 2/9/22
88 Instruments and Controls
lever is in R (Reverse), and the front
windshield wiper is performing interval
wipes, then the rear wiper automatically
performs interval wipes.
This feature can be turned on or off.
The windshield washer reservoir is used for
the windshield and rear window. Check the
fluid level if either washer is not working.
SeeWasher Fluid 0263.
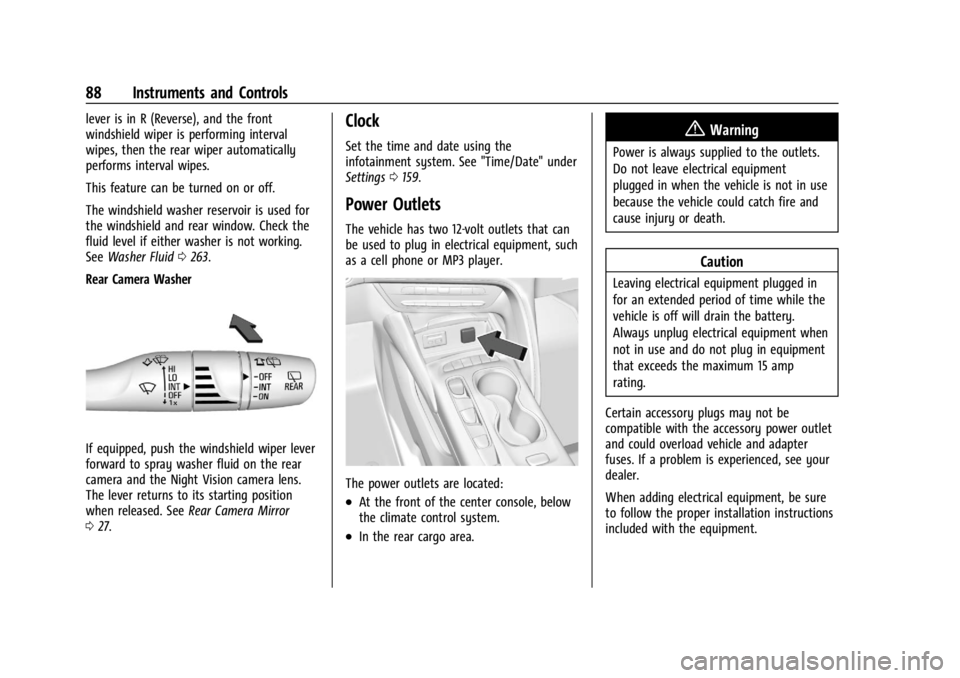
Rear Camera Washer
If equipped, push the windshield wiper lever
forward to spray washer fluid on the rear
camera and the Night Vision camera lens.
The lever returns to its starting position
when released. See Rear Camera Mirror
0 27.
Clock
Set the time and date using the
infotainment system. See "Time/Date" under
Settings 0159.
Power Outlets
The vehicle has two 12-volt outlets that can
be used to plug in electrical equipment, such
as a cell phone or MP3 player.
The power outlets are located:
.At the front of the center console, below
the climate control system.
.In the rear cargo area.
{Warning
Power is always supplied to the outlets.
Do not leave electrical equipment
plugged in when the vehicle is not in use
because the vehicle could catch fire and
cause injury or death.
Caution
Leaving electrical equipment plugged in
for an extended period of time while the
vehicle is off will drain the battery.
Always unplug electrical equipment when
not in use and do not plug in equipment
that exceeds the maximum 15 amp
rating.
Certain accessory plugs may not be
compatible with the accessory power outlet
and could overload vehicle and adapter
fuses. If a problem is experienced, see your
dealer.
When adding electrical equipment, be sure
to follow the proper installation instructions
included with the equipment.
Page 122 of 356
Buick Envision Owner Manual (GMNA-Localizing-U.S./Canada/Mexico-
16060855) - 2023 - CRC - 2/9/22
Lighting 121
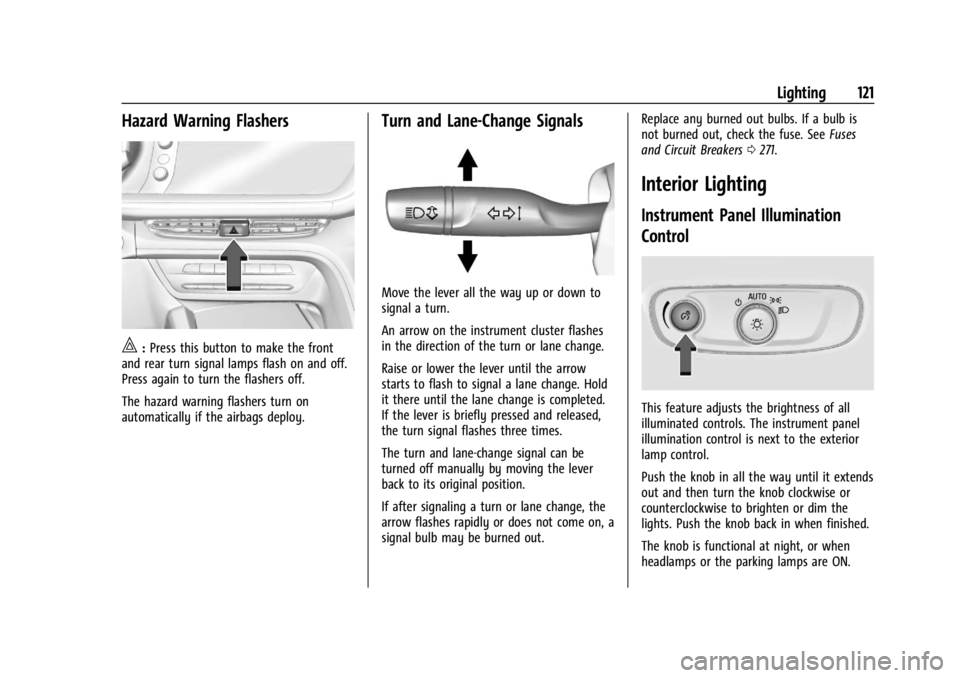
Hazard Warning Flashers
|:Press this button to make the front
and rear turn signal lamps flash on and off.
Press again to turn the flashers off.
The hazard warning flashers turn on
automatically if the airbags deploy.
Turn and Lane-Change Signals
Move the lever all the way up or down to
signal a turn.
An arrow on the instrument cluster flashes
in the direction of the turn or lane change.
Raise or lower the lever until the arrow
starts to flash to signal a lane change. Hold
it there until the lane change is completed.
If the lever is briefly pressed and released,
the turn signal flashes three times.
The turn and lane-change signal can be
turned off manually by moving the lever
back to its original position.
If after signaling a turn or lane change, the
arrow flashes rapidly or does not come on, a
signal bulb may be burned out. Replace any burned out bulbs. If a bulb is
not burned out, check the fuse. See
Fuses
and Circuit Breakers 0271.
Interior Lighting
Instrument Panel Illumination
Control
This feature adjusts the brightness of all
illuminated controls. The instrument panel
illumination control is next to the exterior
lamp control.
Push the knob in all the way until it extends
out and then turn the knob clockwise or
counterclockwise to brighten or dim the
lights. Push the knob back in when finished.
The knob is functional at night, or when
headlamps or the parking lamps are ON.
Page 160 of 356
Buick Envision Owner Manual (GMNA-Localizing-U.S./Canada/Mexico-
16060855) - 2023 - CRC - 2/9/22
Infotainment System 159
Features are subject to change. For further
information on how to set up Android Auto
and Apple CarPlay in the vehicle, visit your
brand website. SeeOnline Account0325 for
details.
Android Auto is provided by Google and is
subject to Google’s terms and privacy policy.
Apple CarPlay is provided by Apple and is
subject to Apple’s terms and privacy policy.
Data plan rates apply. For Android Auto
support and to see if your phone is
compatible, see https://support.google.com/
androidauto. For Apple CarPlay support and
to see if your phone is compatible, see
www.apple.com/ios/carplay/. Apple or
Google may change or suspend availability
at any time. Android Auto, Android, Google,
Google Play, and other marks are
trademarks of Google Inc.; Apple CarPlay is a
trademark of Apple Inc.
Press
{on the center stack to exit Android
Auto or Apple CarPlay. To enter back into
Android Auto or Apple CarPlay, press and
hold
{on the center stack.
Apple CarPlay and Android Auto can be
disabled from the infotainment system. To
do this, touch Home, Settings, and then touch the Apps tab along the top of the
display. Use the On/Off toggled to turn off
Apple CarPlay or Android Auto.
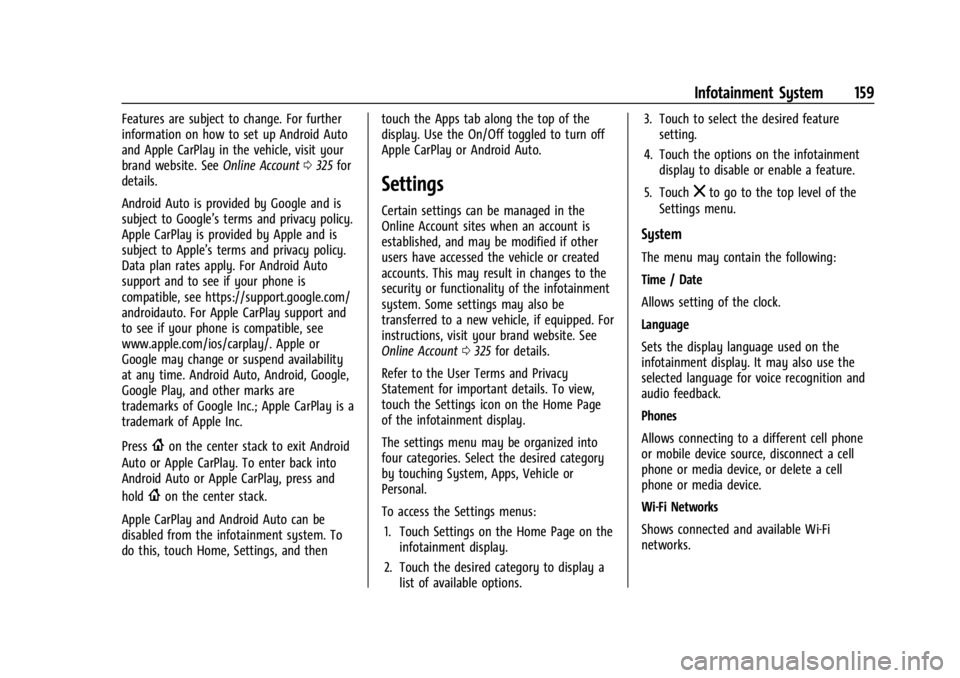
Settings
Certain settings can be managed in the
Online Account sites when an account is
established, and may be modified if other
users have accessed the vehicle or created
accounts. This may result in changes to the
security or functionality of the infotainment
system. Some settings may also be
transferred to a new vehicle, if equipped. For
instructions, visit your brand website. See
Online Account
0325 for details.
Refer to the User Terms and Privacy
Statement for important details. To view,
touch the Settings icon on the Home Page
of the infotainment display.
The settings menu may be organized into
four categories. Select the desired category
by touching System, Apps, Vehicle or
Personal.
To access the Settings menus: 1. Touch Settings on the Home Page on the infotainment display.
2. Touch the desired category to display a list of available options. 3. Touch to select the desired feature
setting.
4. Touch the options on the infotainment display to disable or enable a feature.
5. Touch
zto go to the top level of the
Settings menu.
System
The menu may contain the following:
Time / Date
Allows setting of the clock.
Language
Sets the display language used on the
infotainment display. It may also use the
selected language for voice recognition and
audio feedback.
Phones
Allows connecting to a different cell phone
or mobile device source, disconnect a cell
phone or media device, or delete a cell
phone or media device.
Wi-Fi Networks
Shows connected and available Wi-Fi
networks.
Page 174 of 356
Buick Envision Owner Manual (GMNA-Localizing-U.S./Canada/Mexico-
16060855) - 2023 - CRC - 2/9/22
Climate Controls 173
Manual Operation
ON/OFF :Press to turn the system off or
on. When off is selected, the system will
prevent outside air from entering the
vehicle. Pressing most climate control
buttons will turn the system on.
]: Turn the knob clockwise or
counterclockwise to increase or decrease the
fan speed.
TEMP : Turn the knob clockwise or
counterclockwise to increase or decrease the
temperature.
Air Delivery Mode Controls : Press
z,Y,
or
[to change the direction of the
airflow. The indicator light in the button will
turn on. Any combination of the three
buttons can be selected. The current mode
appears in the display.
To change the current mode, select one or
more of the following:
z: Clears the windows of fog or moisture.
Air is directed to the windshield.
Y: Air is directed to the instrument panel
outlets.
[: Air is directed to the floor outlets.
0FRONT : Clears the windshield of fog or
frost more quickly. Air is directed to the
windshield.
For best results, clear all snow and ice from
the windshield before defrosting.
A/C : Press to turn the air conditioning
system on or off. If the climate control
system is turned off or the outside
temperature falls below freezing, the air
conditioner will not run.
@: Press to turn on recirculation. An
indicator light comes on. Air is recirculated
to quickly cool the inside of the vehicle or
prevent outside air and odors from entering.
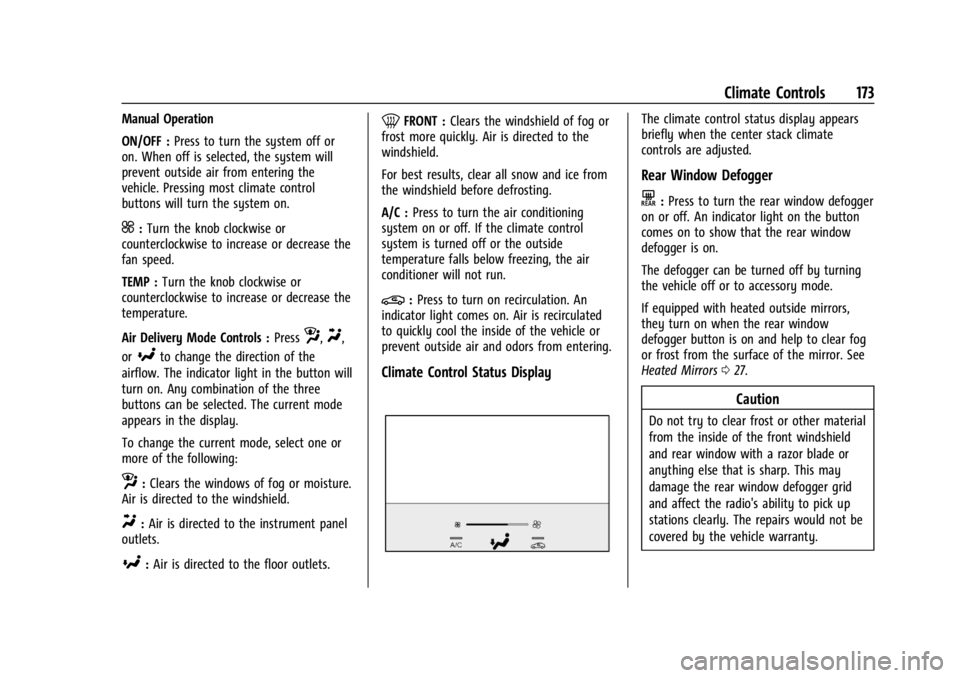
Climate Control Status Display
The climate control status display appears
briefly when the center stack climate
controls are adjusted.
Rear Window Defogger
K: Press to turn the rear window defogger
on or off. An indicator light on the button
comes on to show that the rear window
defogger is on.
The defogger can be turned off by turning
the vehicle off or to accessory mode.
If equipped with heated outside mirrors,
they turn on when the rear window
defogger button is on and help to clear fog
or frost from the surface of the mirror. See
Heated Mirrors 027.
Caution
Do not try to clear frost or other material
from the inside of the front windshield
and rear window with a razor blade or
anything else that is sharp. This may
damage the rear window defogger grid
and affect the radio's ability to pick up
stations clearly. The repairs would not be
covered by the vehicle warranty.
Page 262 of 356
Buick Envision Owner Manual (GMNA-Localizing-U.S./Canada/Mexico-
16060855) - 2023 - CRC - 2/9/22
Vehicle Care 261
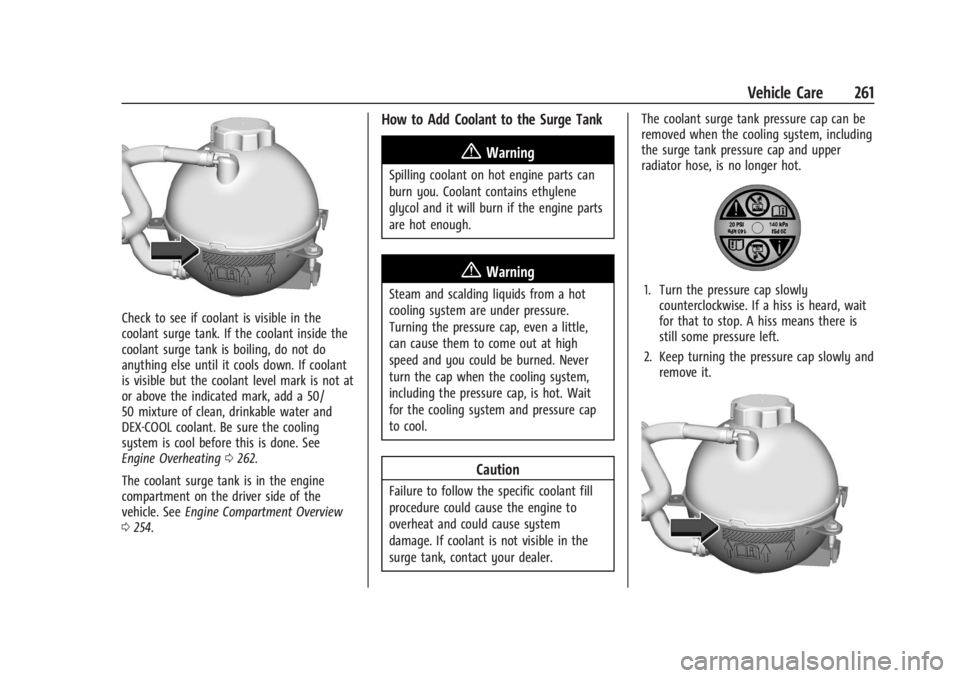
Check to see if coolant is visible in the
coolant surge tank. If the coolant inside the
coolant surge tank is boiling, do not do
anything else until it cools down. If coolant
is visible but the coolant level mark is not at
or above the indicated mark, add a 50/
50 mixture of clean, drinkable water and
DEX-COOL coolant. Be sure the cooling
system is cool before this is done. See
Engine Overheating0262.
The coolant surge tank is in the engine
compartment on the driver side of the
vehicle. See Engine Compartment Overview
0 254.
How to Add Coolant to the Surge Tank
{Warning
Spilling coolant on hot engine parts can
burn you. Coolant contains ethylene
glycol and it will burn if the engine parts
are hot enough.
{Warning
Steam and scalding liquids from a hot
cooling system are under pressure.
Turning the pressure cap, even a little,
can cause them to come out at high
speed and you could be burned. Never
turn the cap when the cooling system,
including the pressure cap, is hot. Wait
for the cooling system and pressure cap
to cool.
Caution
Failure to follow the specific coolant fill
procedure could cause the engine to
overheat and could cause system
damage. If coolant is not visible in the
surge tank, contact your dealer. The coolant surge tank pressure cap can be
removed when the cooling system, including
the surge tank pressure cap and upper
radiator hose, is no longer hot.
1. Turn the pressure cap slowly
counterclockwise. If a hiss is heard, wait
for that to stop. A hiss means there is
still some pressure left.
2. Keep turning the pressure cap slowly and remove it.
Page 296 of 356
Buick Envision Owner Manual (GMNA-Localizing-U.S./Canada/Mexico-
16060855) - 2023 - CRC - 2/9/22
Vehicle Care 295
Warning (Continued)
1. Set the parking brake firmly.
2. Put the vehicle in P (Park).
3. Turn the vehicle off and do notrestart the vehicle while it is raised.
4. Do not allow passengers to remain in the vehicle.
5. Place wheel blocks, if equipped, on both sides of the tire at the opposite
corner of the tire being changed.
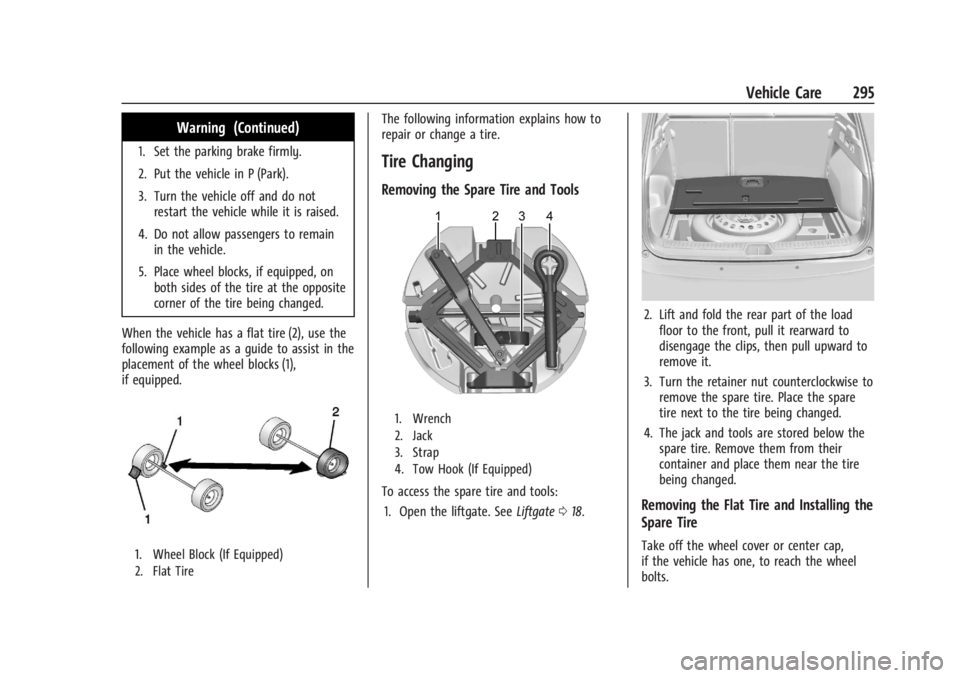
When the vehicle has a flat tire (2), use the
following example as a guide to assist in the
placement of the wheel blocks (1),
if equipped.
1. Wheel Block (If Equipped)
2. Flat Tire
The following information explains how to
repair or change a tire.
Tire Changing
Removing the Spare Tire and Tools
1. Wrench
2. Jack
3. Strap
4. Tow Hook (If Equipped)
To access the spare tire and tools: 1. Open the liftgate. See Liftgate018.
2. Lift and fold the rear part of the load
floor to the front, pull it rearward to
disengage the clips, then pull upward to
remove it.
3. Turn the retainer nut counterclockwise to remove the spare tire. Place the spare
tire next to the tire being changed.
4. The jack and tools are stored below the spare tire. Remove them from their
container and place them near the tire
being changed.
Removing the Flat Tire and Installing the
Spare Tire
Take off the wheel cover or center cap,
if the vehicle has one, to reach the wheel
bolts.
Page 297 of 356
Buick Envision Owner Manual (GMNA-Localizing-U.S./Canada/Mexico-
16060855) - 2023 - CRC - 2/9/22
296 Vehicle Care
1. Do a safety check before proceeding. SeeIf a Tire Goes Flat 0294 for more
information.
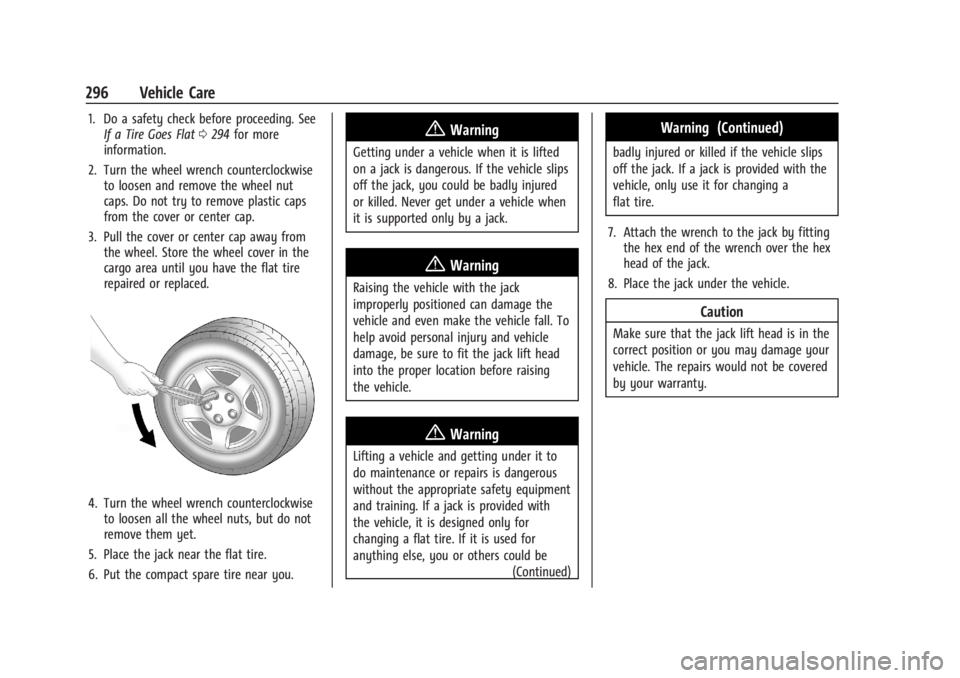
2. Turn the wheel wrench counterclockwise to loosen and remove the wheel nut
caps. Do not try to remove plastic caps
from the cover or center cap.
3. Pull the cover or center cap away from the wheel. Store the wheel cover in the
cargo area until you have the flat tire
repaired or replaced.
4. Turn the wheel wrench counterclockwiseto loosen all the wheel nuts, but do not
remove them yet.
5. Place the jack near the flat tire.
6. Put the compact spare tire near you.
{Warning
Getting under a vehicle when it is lifted
on a jack is dangerous. If the vehicle slips
off the jack, you could be badly injured
or killed. Never get under a vehicle when
it is supported only by a jack.
{Warning
Raising the vehicle with the jack
improperly positioned can damage the
vehicle and even make the vehicle fall. To
help avoid personal injury and vehicle
damage, be sure to fit the jack lift head
into the proper location before raising
the vehicle.
{Warning
Lifting a vehicle and getting under it to
do maintenance or repairs is dangerous
without the appropriate safety equipment
and training. If a jack is provided with
the vehicle, it is designed only for
changing a flat tire. If it is used for
anything else, you or others could be (Continued)
Warning (Continued)
badly injured or killed if the vehicle slips
off the jack. If a jack is provided with the
vehicle, only use it for changing a
flat tire.
7. Attach the wrench to the jack by fitting the hex end of the wrench over the hex
head of the jack.
8. Place the jack under the vehicle.
Caution
Make sure that the jack lift head is in the
correct position or you may damage your
vehicle. The repairs would not be covered
by your warranty.
Page 298 of 356

Buick Envision Owner Manual (GMNA-Localizing-U.S./Canada/Mexico-
16060855) - 2023 - CRC - 2/9/22
Vehicle Care 297
Rear Shown, Front Similar
9. Position the jack lift head at the jacklocation nearest the flat tire. The location
is indicated by a notch in the vertical bottom edge of the body side sheet
metal. The notches in the jack must align
with the notch in the rocker pinch weld.
The jack must not be used in any other
position.
10. Raise the vehicle by turning the jack
handle clockwise. Raise the vehicle far
enough off the ground so there is
enough room for the road tire to clear
the ground.
11. Remove all of the wheel nuts.
12. Remove the flat tire.
{Warning
Rust or dirt on a wheel, or on the
parts to which it is fastened, can
cause wheel nuts to become loose
over time. The wheel could come off
and cause a crash. When changing a
wheel, remove any rust or dirt from
places where the wheel attaches to
the vehicle. In an emergency, a cloth
or paper towel can be used; however,
use a scraper or wire brush later to
remove all rust or dirt.
Page 299 of 356

Buick Envision Owner Manual (GMNA-Localizing-U.S./Canada/Mexico-
16060855) - 2023 - CRC - 2/9/22
298 Vehicle Care
13. Remove any rust or dirt from the wheelbolts, mounting surfaces, and spare
wheel.
14. Place the compact spare tire on the wheel-mounting surface.
{Warning
Never use oil or grease on bolts or nuts
because the nuts might come loose. The
vehicle's wheel could fall off, causing a
crash.
15. Reinstall the wheel nuts. Tighten each nut by hand until the wheel is held
against the hub. 16. Lower the vehicle by turning the jack
handle counterclockwise.
{Warning
Wheel nuts that are improperly or
incorrectly tightened can cause the
wheels to become loose or come off. The
wheel nuts should be tightened with a
torque wrench to the proper torque
specification after replacing. Follow the
torque specification supplied by the
aftermarket manufacturer when using
accessory locking wheel nuts. See
Capacities and Specifications 0321 for
original equipment wheel nut torque
specifications.
Caution
Improperly tightened wheel nuts can lead
to brake pulsation and rotor damage. To
avoid expensive brake repairs, evenly
tighten the wheel nuts in the proper
sequence and to the proper torque
specification. See Capacities and
Specifications 0321 for the wheel nut
torque specification.
17. Tighten the wheel nuts firmly in a crisscross sequence, as shown.
18. Lower the jack all the way and remove the jack from under the vehicle.
19. Tighten the wheel nuts firmly with the wheel wrench.
When reinstalling the wheel cover or center
cap on the full-size tire, tighten all five
plastic caps hand snug, then tighten them
with the wheel wrench an additional
one-quarter turn.