park assist BUICK LACROSSE 2006 Owner's Manual
[x] Cancel search | Manufacturer: BUICK, Model Year: 2006, Model line: LACROSSE, Model: BUICK LACROSSE 2006Pages: 444, PDF Size: 2.66 MB
Page 102 of 444
Starting the Engine
Move your shift lever to PARK (P) or NEUTRAL (N).
The engine will not start in any other position — that is
a safety feature. To restart when you are already
moving, use NEUTRAL (N) only.
Notice:Shifting into PARK (P) with the vehicle
moving could damage the transaxle. Shift into
PARK (P) only when your vehicle is stopped.
1. With your foot off the accelerator pedal, turn the
ignition key to START. When the engine starts,
let go of the key. The idle speed will go down as
the engine gets warm.
Your vehicle has a Computer-Controlled Cranking
System. This feature assists in starting the engine
and protects the electrical system. If the ignition key
is turned to START, and then released when the
engine begins cranking, the engine will continue
cranking until the vehicle starts or until it exceeds
the maximum cranking time allowed, approximately
15 seconds to prevent cranking motor damage. To
prevent starter-motor gear damage, this system also
prevents cranking if the engine is already running.
The engine cranking can be stopped by turning the
ignition switch to the ACCESSORY or OFF.Notice:Holding your key in START for longer than
15 seconds at a time will cause your battery to be
drained much sooner. And the excessive heat can
damage your starter motor. Wait about 15 seconds
between each try to help avoid draining your battery
or damaging your starter.
2. If the engine does not start within 10 seconds, hold
your key in START for about 10 seconds at a time
until the engine starts. Wait about 15 seconds
between each try.
When your engine has run for about 10 seconds
to warm up, your vehicle is ready to be driven.
Do not race your engine when it is cold.
If the weather is below freezing (32°F or 0°C),
let the engine run for a few minutes to warm up.
3. If your engine still will not start, or starts but then
stops, it could be �ooded with too much gasoline.
Try pushing your accelerator pedal all the way to
the �oor and holding it there as you hold the key in
START for about three seconds. If the vehicle starts
brie�y but then stops again, do the same thing. This
time keep the pedal down for �ve or six seconds to
clear the extra gasoline from the engine. After
waiting about 15 seconds, repeat the normal
starting procedure.
2-24
Page 127 of 444
Instrument Panel Overview...............................3-4
Hazard Warning Flashers................................3-6
Other Warning Devices...................................3-6
Horn.............................................................3-6
Tilt Wheel.....................................................3-6
Turn Signal/Multifunction Lever.........................3-7
Turn and Lane-Change Signals........................3-8
Headlamp High/Low-Beam Changer..................3-8
Flash-to-Pass.................................................3-8
Windshield Wipers..........................................3-9
Windshield Washer.........................................3-9
Cruise Control..............................................3-10
Exterior Lamps.............................................3-13
Daytime Running Lamps (DRL)/
Automatic Headlamp System........................3-14
Fog Lamps..................................................3-15
Exterior Lighting Battery Saver........................3-15
Interior Lamps..............................................3-16
Instrument Panel Brightness...........................3-16
Courtesy Lamps...........................................3-16
Entry Lighting...............................................3-16
Delayed Entry Lighting...................................3-17
Theater Dimming..........................................3-17
Delayed Exit Lighting.....................................3-17
Perimeter Lighting.........................................3-18
Overhead Console Reading Lamps.................3-18Rear Assist Handle Reading Lamps................3-18
Battery Run-Down Protection..........................3-18
Ultrasonic Rear Parking Assist (URPA)............3-18
Accessory Power Outlet(s).............................3-20
Ashtray(s) and Cigarette Lighter......................3-21
Climate Controls............................................3-22
Climate Control System.................................3-22
Dual Automatic Climate Control System...........3-25
Outlet Adjustment.........................................3-29
Passenger Compartment Air Filter...................3-30
Steering Wheel Climate Controls.....................3-31
Warning Lights, Gages, and Indicators............3-31
Instrument Panel Cluster................................3-32
Speedometer and Odometer...........................3-33
Tachometer.................................................3-33
Safety Belt Reminder Light.............................3-33
Passenger Safety Belt Reminder Light.............3-34
Airbag Readiness Light..................................3-34
Passenger Airbag Status Indicator...................3-35
Charging System Light..................................3-37
Brake System Warning Light..........................3-38
Anti-Lock Brake System Warning Light.............3-39
Traction Control System (TCS)
Warning Light...........................................3-40
Engine Coolant Temperature Warning Light......3-40
Section 3 Instrument Panel
3-1
Page 144 of 444
Perimeter Lighting
Perimeter lighting provides a period of exterior vehicle
lighting. Perimeter lighting activates when the key is
removed from the ignition or the vehicle is unlocked using
the remote keyless entry transmitter. The amount of time
the exterior lamps will remain on can be programmed
using the Driver Information Center (DIC). See “EXIT
LIGHT DELAY” underDIC Vehicle Personalization on
page 3-75for additional information.
Overhead Console Reading Lamps
Your vehicle may have reading lamps located on the
overhead console. Press the lens to turn them on and off.
Rear Assist Handle Reading Lamps
Your vehicle may have reading lamps located near
the rear assist handles. Press the lens to turn them
on and off.
Battery Run-Down Protection
This helps prevent the vehicle’s battery from draining in
case the interior courtesy lamps, reading lamps, trunk
lamp, underhood lamp, glove box lamps, or sun visor
vanity lamps, if equipped, are accidently left on. If any of
these lamps are left on while the ignition is off, they will
automatically turn off after 10 minutes. The lamps will not
come back on again until one of the following occurs:
The ignition is turned on.
The interior lamps control is turned off,
then to door or on.
Ultrasonic Rear Parking
Assist (URPA)
Your vehicle may be equipped with Ultrasonic Rear
Parking Assist (URPA). URPA is designed to help you
park while in REVERSE (R) and operates only at speeds
less than 3 mph (5 km/h). URPA can help you avoid
colliding with objects such as parked vehicles. The
system can detect objects 5 feet (1.5 m) behind your
vehicle and tell you how close those objects are to your
rear bumper.
3-18
Page 145 of 444

The URPA display is located inside the vehicle, above the
rear window. It has three color-coded lights that can be
seen through the rearview mirror or by turning around.
{CAUTION:
Even with the Ultrasonic Rear Park Assist
system, the driver must check carefully before
backing up. The system does not operate above
typical backing speeds of 3 mph (5 km/h) while
parking. And, the system does not detect
objects that are more than 5 feet (1.5 meters)
behind the vehicle.
So, unless you check carefully behind you
before and when you back up, you could strike
children, pedestrians, bicyclists or pets behind
you, and they could be injured or killed.
Whether or not you are using rear park assist,
always check carefully behind your vehicle
before you back up and then watch closely as
you do.
How the System Works
URPA comes on automatically when the shift lever is
moved into REVERSE (R). When the system comes on,
the three lights on the display will brie�y illuminate to let
you know that the system is working. If your vehicle is
moving in REVERSE (R) at a speed greater than 3 mph
(5 km/h), the red light will �ash to remind you the system
does not work at this speed.
The �rst time an object is detected while in
REVERSE (R), a chime will sound and the following
will occur in sequence, depending on the distance from
the object:
At 5 feet (1.5 m) a chime will sound and one amber
light will be lit.
At 40 inches (1.0 m) both amber lights will be lit.
At 20 inches (0.5 m) a continuous chime will sound
and all three lights (amber/amber/red) will be lit.
At 1 foot (0.3 m) a continuous chime will sound and
all three lights (amber/amber/red) will �ash.
URPA can detect objects 3 inches (7.6 cm) and wider,
and at least 10 inches (25.4 cm) tall, but it cannot detect
objects that are above trunk level. In order for the
rear sensors to recognize an object, it must be within
operating range.
3-19
Page 353 of 444
6. Pull back on the front fascia and then pull the
headlamp assembly out from the vehicle. Moving
the headlamp up and down slightly may help with
its removal.
You may have someone assist you with this step.
7. Remove the access cover from behind the bulb
being replaced.
8. Turn the bulb socket one-quarter of a turn to
remove it from the headlamp assembly.
9. Holding the base of the socket, pull the old bulb
from the socket.
10. Replace with a new bulb.
11. Reverse all the steps to reassemble the headlamp
assembly.
When replacing the plastic retaining clip, push down
on it while pushing rearward on the headlamp,
making sure the headlamp assembly is secure.
High-Beam Headlamp Bulbs
To replace the high-beam headlamp bulb, do the
following:
1. Open the hood. SeeHood Release on page 5-11
for more information.
2. Locate the high-beam headlamp bulb socket.3. Remove the access cover from behind the bulb
being replaced.
4. Turn the bulb socket counterclockwise and pull it
from the headlamp assembly.
5. Holding the base of the socket, pull the old bulb
from the socket.
6. Replace with a new bulb.
7. Reverse Steps 2 through 4 to reinstall.
Front Turn Signal and
Parking Lamps
To replace a front turn signal/parking lamp bulb in the
front fascia, do the following:
1. Locate the front turn signal/parking bulb socket by
reaching behind the front bumper.
2. Turn the bulb socket counterclockwise and pull it
out of the assembly.
3. Holding the base of the socket, pull the old bulb
from the socket.
4. Push the new bulb into the socket.
5. Reverse Steps 1 through 3 to reinstall.
5-53
Page 439 of 444
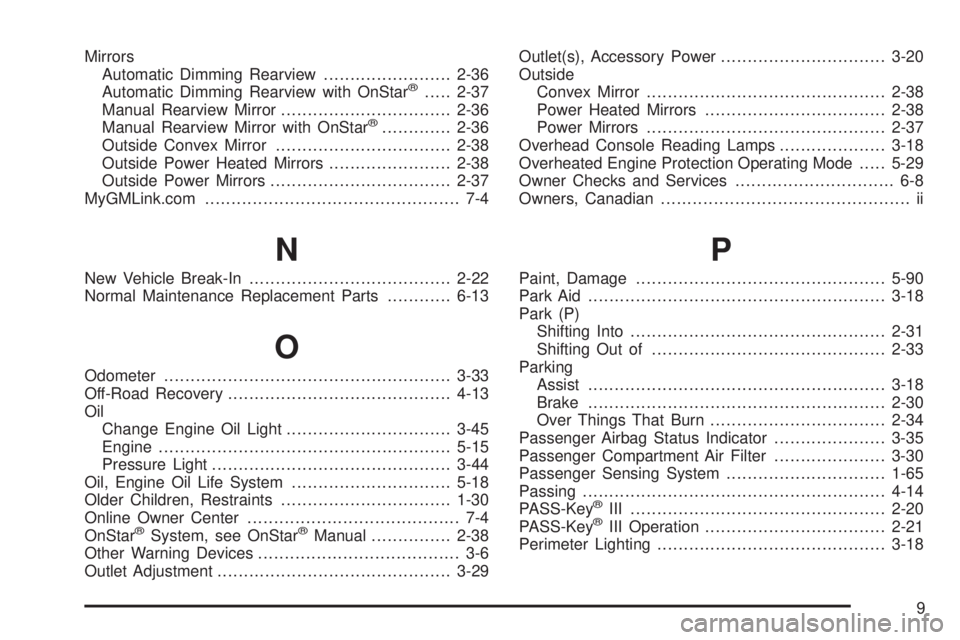
Mirrors
Automatic Dimming Rearview........................2-36
Automatic Dimming Rearview with OnStar
®.....2-37
Manual Rearview Mirror................................2-36
Manual Rearview Mirror with OnStar
®.............2-36
Outside Convex Mirror.................................2-38
Outside Power Heated Mirrors.......................2-38
Outside Power Mirrors..................................2-37
MyGMLink.com................................................ 7-4
N
New Vehicle Break-In......................................2-22
Normal Maintenance Replacement Parts............6-13
O
Odometer......................................................3-33
Off-Road Recovery..........................................4-13
Oil
Change Engine Oil Light...............................3-45
Engine.......................................................5-15
Pressure Light.............................................3-44
Oil, Engine Oil Life System..............................5-18
Older Children, Restraints................................1-30
Online Owner Center........................................ 7-4
OnStar
®System, see OnStar®Manual...............2-38
Other Warning Devices...................................... 3-6
Outlet Adjustment............................................3-29Outlet(s), Accessory Power...............................3-20
Outside
Convex Mirror.............................................2-38
Power Heated Mirrors..................................2-38
Power Mirrors.............................................2-37
Overhead Console Reading Lamps....................3-18
Overheated Engine Protection Operating Mode.....5-29
Owner Checks and Services.............................. 6-8
Owners, Canadian............................................... ii
P
Paint, Damage...............................................5-90
Park Aid........................................................3-18
Park (P)
Shifting Into................................................2-31
Shifting Out of............................................2-33
Parking
Assist........................................................3-18
Brake........................................................2-30
Over Things That Burn.................................2-34
Passenger Airbag Status Indicator.....................3-35
Passenger Compartment Air Filter.....................3-30
Passenger Sensing System..............................1-65
Passing.........................................................4-14
PASS-Key
®III ................................................2-20
PASS-Key®III Operation..................................2-21
Perimeter Lighting...........................................3-18
9
Page 441 of 444
Roadside
Assistance Program....................................... 7-6
Rocking Your Vehicle to Get it Out....................4-31
Running the Engine While Parked.....................2-35
S
Safety Belt
Passenger Reminder Light............................3-34
Pretensioners..............................................1-29
Reminder Light............................................3-33
Safety Belts
Care of......................................................5-87
Center Front Passenger Position....................1-24
Driver Position............................................1-16
How to Wear Safety Belts Properly................1-15
Questions and Answers About Safety Belts.....1-14
Rear Safety Belt Comfort Guides...................1-27
Rear Seat Passengers.................................1-25
Right Front Passenger Position......................1-23
Safety Belt Extender....................................1-30
Safety Belt Use During Pregnancy.................1-23
Safety Belts Are for Everyone.......................1-10
Shoulder Belt Height Adjuster........................1-22
Safety Warnings and Symbols.............................. iii
Scheduled Maintenance..................................... 6-4Seats
Center Seat.................................................. 1-8
Head Restraints............................................ 1-7
Heated Seats............................................... 1-4
Manual........................................................ 1-2
Power Lumbar.............................................. 1-3
Reclining Seatbacks...................................... 1-4
Six-Way Power Seats.................................... 1-3
Split Folding Rear Seat.................................. 1-8
Securing a Child Restraint
Center Front Seat Position............................1-51
Rear Seat Position......................................1-49
Right Front Seat Position..............................1-52
Security Light.................................................3-46
Service........................................................... 5-3
Accessories and Modi�cations......................... 5-3
Adding Equipment to the Outside of Your
Vehicle..................................................... 5-5
California Proposition 65 Warning.................... 5-4
Doing Your Own Work................................... 5-4
Engine Soon Light.......................................3-41
Publications Ordering Information...................7-15
Vehicle Soon Light.......................................3-48
Servicing Your Airbag-Equipped Vehicle..............1-69
Setting the Time.............................................3-85
Sheet Metal Damage.......................................5-90
11
Page 443 of 444
Tires (cont.)
Installing the Spare Tire................................5-76
Removing the Flat Tire.................................5-76
Removing the Spare Tire and Tools...............5-74
Storing a Flat or Spare Tire and Tools............5-82
Tire Sidewall Labeling..................................5-58
Tire Terminology and De�nitions....................5-60
Uniform Tire Quality Grading.........................5-68
Wheel Alignment and Tire Balance.................5-70
Wheel Replacement.....................................5-70
When It Is Time for New Tires......................5-66
Towing
Recreational Vehicle.....................................4-36
Towing a Trailer..........................................4-38
Your Vehicle...............................................4-36
Traction
Control System (TCS)..................................4-10
Control System Warning Light.......................3-40
StabiliTrak
®System.....................................4-11
Transaxle
Fluid, Automatic...........................................5-21
Transaxle Operation, Automatic.........................2-26
Trunk............................................................2-13
Trunk Ajar Light..............................................3-48
Turn and Lane-Change Signals.......................... 3-8
Turn Signal/Multifunction Lever........................... 3-7
U
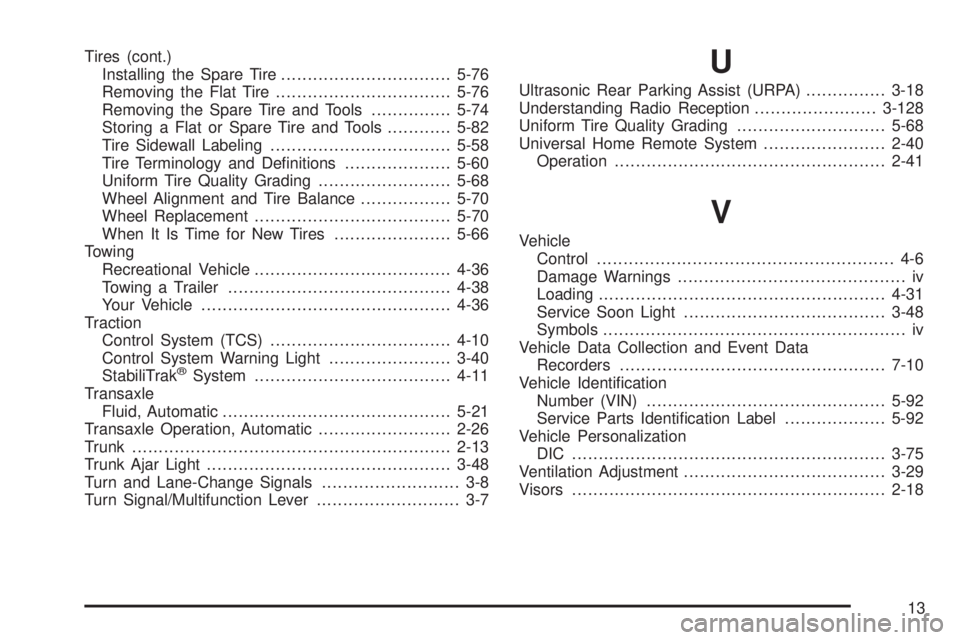
Ultrasonic Rear Parking Assist (URPA)...............3-18
Understanding Radio Reception.......................3-128
Uniform Tire Quality Grading............................5-68
Universal Home Remote System.......................2-40
Operation...................................................2-41
V
Vehicle
Control........................................................ 4-6
Damage Warnings........................................... iv
Loading......................................................4-31
Service Soon Light......................................3-48
Symbols......................................................... iv
Vehicle Data Collection and Event Data
Recorders..................................................7-10
Vehicle Identi�cation
Number (VIN).............................................5-92
Service Parts Identi�cation Label...................5-92
Vehicle Personalization
DIC ...........................................................3-75
Ventilation Adjustment......................................3-29
Visors...........................................................2-18
13