display BUICK LACROSSE 2010 User Guide
[x] Cancel search | Manufacturer: BUICK, Model Year: 2010, Model line: LACROSSE, Model: BUICK LACROSSE 2010Pages: 414
Page 95 of 414
Instruments and Controls 4-7
Heated Steering Wheel
For vehicles with a heated steering
wheel, the button for this feature is
located on the climate control
system.
(:Press to turn the heated
steering wheel on or off. A light on
the button displays when the feature
is turned on.
The steering wheel takes about
three minutes to start heating.
Horn
Press near or on the horn symbols
on the steering wheel pad to sound
the horn.
Windshield Wiper/Washer
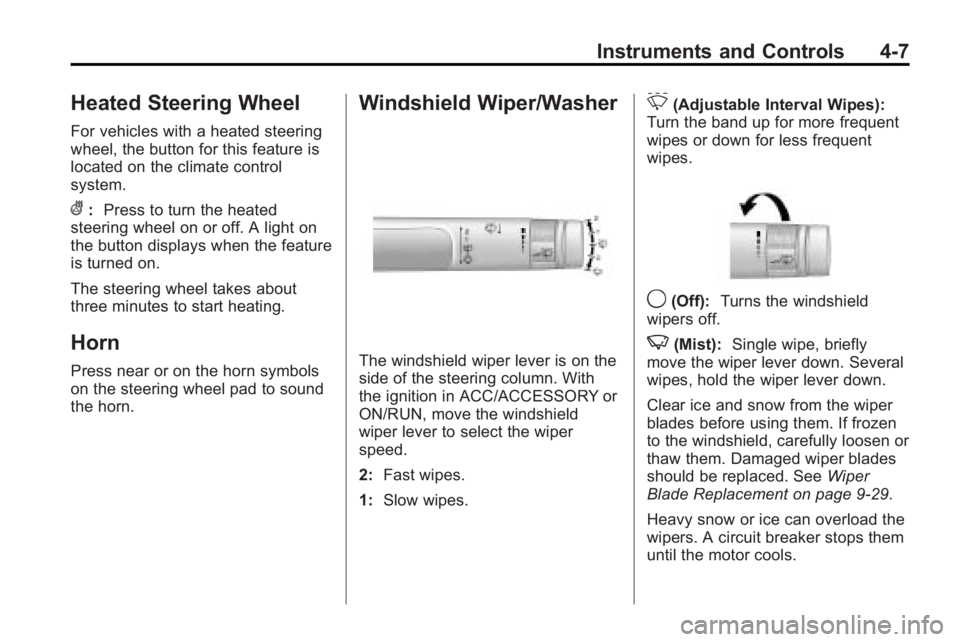
The windshield wiper lever is on the
side of the steering column. With
the ignition in ACC/ACCESSORY or
ON/RUN, move the windshield
wiper lever to select the wiper
speed.
2: Fast wipes.
1: Slow wipes.
&(Adjustable Interval Wipes):
Turn the band up for more frequent
wipes or down for less frequent
wipes.
9(Off): Turns the windshield
wipers off.
3(Mist): Single wipe, briefly
move the wiper lever down. Several
wipes, hold the wiper lever down.
Clear ice and snow from the wiper
blades before using them. If frozen
to the windshield, carefully loosen or
thaw them. Damaged wiper blades
should be replaced. See Wiper
Blade Replacement on page 9‑29.
Heavy snow or ice can overload the
wipers. A circuit breaker stops them
until the motor cools.
Page 96 of 414
4-8 Instruments and Controls
Wipe Parking
If the ignition is turned LOCK/OFF
while the wipers are on 1, 2 or
&,
they will immediately stop.
If the windshield wiper lever is then
moved to OFF before the driver
door is opened or within 10 minutes,
the wipers will restart and move to
the base of the windshield.
If the ignition is turned to LOCK/
OFF while the wipers are performing
wipes due to windshield wash, the
wipers continue to run until they
reach the base of the windshield.
Windshield Washer
Pull the windshield wiper lever to
spray windshield washer fluid and
activate the wipers.
The wipers will continue until the
lever is released or the maximum
wash time is reached. When the windshield wiper lever is
released, additional wipes may
occur depending on how long the
windshield washer had been
activated. See
Washer Fluid
on
page 9‑23for information on filling
the windshield washer fluid
reservoir.
{WARNING
In freezing weather, do not use
your washer until the windshield
is warmed. Otherwise the washer
fluid can form ice on the
windshield, blocking your vision.
Compass
The vehicle may have a compass
display on the Driver Information
Center (DIC). The compass receives
its heading and other information
from Global Positioning
System (GPS) antenna, StabiliTrak,
and vehicle speed information. Avoid covering the GPS antenna for
long periods of time with objects
that may interfere with the antenna's
ability to receive a satellite signal.
See
Backglass Antenna
on
page 6‑19and Satellite Radio
Antennaon page 6‑19for the
location of the vehicle's antennas.
The compass system is designed to
operate for a certain number of
miles or degrees of turn before
needing a signal from the GPS
satellites. When the compass
display shows CAL, drive the
vehicle for a short distance in an
open area where it can receive a
GPS signal. The compass system
will automatically determine when
GPS signal is restored and provide
a heading again. See Compass
Messages
on page 4‑33for more
information on the messages that
may be displayed for the compass.
Page 97 of 414
Instruments and Controls 4-9
Clock (Without Date
Display)
The infotainment system controls
are used to access the time and
date settings through the menu
system. SeeOperation
on
page 6‑7for information about how
to use the menu system.
Setting the Time
1. Press the CONFIG button and select Time Settings, or press
the
Hbutton.
2. Select Set Time.
3. Turn the Menu knob to adjust the highlighted value.
4. Press the SELECT button to select the next value.
5. To save the time and return to the Time Settings menu, press
the
0BACK button at any time
or press the SELECT button
after adjusting the minutes.
Setting the 12/24 Hour Format
1. Press the CONFIG button and select Time Settings, or press
the
Hbutton.
2. Highlight 12/24 Hour Format.
3. Press the SELECT button to select the 12 hour or 24 hour
display format.
Clock (With Date Display)
The infotainment system controls
are used to access the time and
date settings through the menu
system. See Operation
on
page 6‑7for information about how
to use the menu system.
Setting the Time and Date
1. Press the CONFIG button and select Time and Date Settings,
or press the
Hbutton.
2. Select Set Time or Set Date. 3. Turn the Menu knob to adjust
the highlighted value.
4. Press the SELECT button to select the next value.
5. To save the time or date and return to the Time and Date
Settings menu, press
the
0BACK button at any
time or press the SELECT
button after adjusting the
minutes or year.
Setting the 12/24 Hour Format
1. Press the CONFIG button and select Time and Date Settings,
or press the
Hbutton.
2. Highlight Set Time Format.
3. Press the SELECT button to select the 12 hour or 24 hour
display format.
Page 102 of 414
4-14 Instruments and Controls
Speedometer
The speedometer shows the
vehicle's speed in both kilometers
per hour (km/h) and miles per
hour (mph).
Odometer
The odometer shows how far the
vehicle has been driven, in either
kilometers or miles.
This vehicle has a tamper-resistant
odometer. If the vehicle needs a
new odometer installed, the new
one is set to the mileage of the old
odometer. If this is not possible, it is
set at zero and a label is put on the
driver's door to show the old
mileage reading.
Tachometer
The tachometer displays the engine
speed in revolutions per
minute (rpm).
Fuel Gage
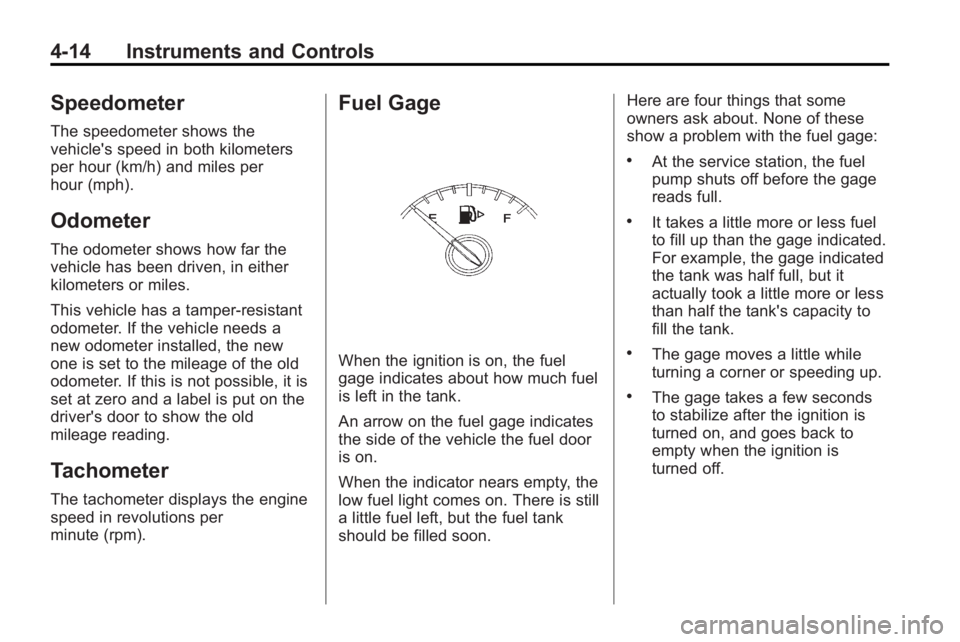
When the ignition is on, the fuel
gage indicates about how much fuel
is left in the tank.
An arrow on the fuel gage indicates
the side of the vehicle the fuel door
is on.
When the indicator nears empty, the
low fuel light comes on. There is still
a little fuel left, but the fuel tank
should be filled soon.Here are four things that some
owners ask about. None of these
show a problem with the fuel gage:
.At the service station, the fuel
pump shuts off before the gage
reads full.
.It takes a little more or less fuel
to fill up than the gage indicated.
For example, the gage indicated
the tank was half full, but it
actually took a little more or less
than half the tank's capacity to
fill the tank.
.The gage moves a little while
turning a corner or speeding up.
.The gage takes a few seconds
to stabilize after the ignition is
turned on, and goes back to
empty when the ignition is
turned off.
Page 109 of 414
Instruments and Controls 4-21
released, or while driving, there is a
problem with the Electric Parking
Brake system. A Service Parking
Brake message may also display in
the Driver Information Center (DIC).
SeeBrake System Messages
on
page 4‑33for more information.
If the light does not come on,
or remains flashing, see you dealer/
retailer.
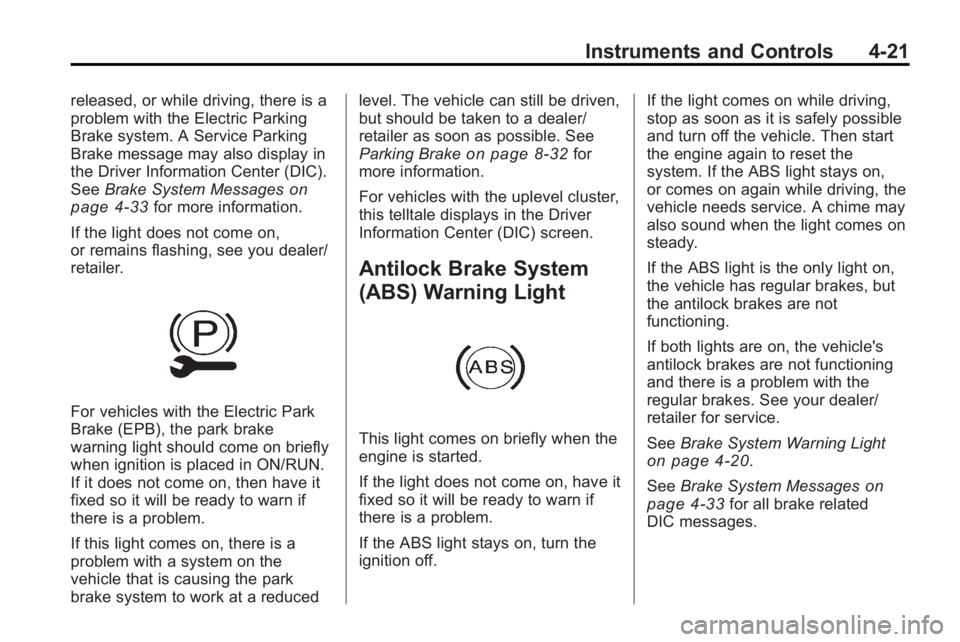
For vehicles with the Electric Park
Brake (EPB), the park brake
warning light should come on briefly
when ignition is placed in ON/RUN.
If it does not come on, then have it
fixed so it will be ready to warn if
there is a problem.
If this light comes on, there is a
problem with a system on the
vehicle that is causing the park
brake system to work at a reduced level. The vehicle can still be driven,
but should be taken to a dealer/
retailer as soon as possible. See
Parking Brake
on page 8‑32for
more information.
For vehicles with the uplevel cluster,
this telltale displays in the Driver
Information Center (DIC) screen.
Antilock Brake System
(ABS) Warning Light
This light comes on briefly when the
engine is started.
If the light does not come on, have it
fixed so it will be ready to warn if
there is a problem.
If the ABS light stays on, turn the
ignition off. If the light comes on while driving,
stop as soon as it is safely possible
and turn off the vehicle. Then start
the engine again to reset the
system. If the ABS light stays on,
or comes on again while driving, the
vehicle needs service. A chime may
also sound when the light comes on
steady.
If the ABS light is the only light on,
the vehicle has regular brakes, but
the antilock brakes are not
functioning.
If both lights are on, the vehicle's
antilock brakes are not functioning
and there is a problem with the
regular brakes. See your dealer/
retailer for service.
See
Brake System Warning Light
on page 4‑20.
See Brake System Messages
on
page 4‑33for all brake related
DIC messages.
Page 112 of 414
4-24 Instruments and Controls
If the light comes on and stays on, it
means that oil is not flowing through
the engine properly. The vehicle
could be low on oil and might have
some other system problem. See
your dealer/retailer.
For vehicles with the uplevel cluster
this telltale displays in the Driver
Information Center (DIC) screen.
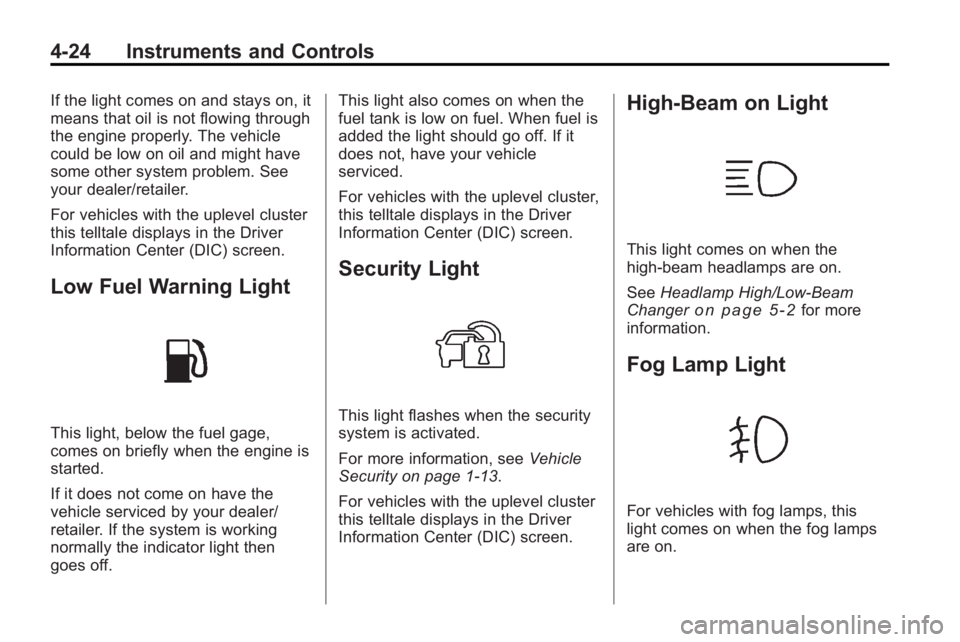
Low Fuel Warning Light
This light, below the fuel gage,
comes on briefly when the engine is
started.
If it does not come on have the
vehicle serviced by your dealer/
retailer. If the system is working
normally the indicator light then
goes off.This light also comes on when the
fuel tank is low on fuel. When fuel is
added the light should go off. If it
does not, have your vehicle
serviced.
For vehicles with the uplevel cluster,
this telltale displays in the Driver
Information Center (DIC) screen.
Security Light
This light flashes when the security
system is activated.
For more information, see
Vehicle
Security on page 1‑13.
For vehicles with the uplevel cluster
this telltale displays in the Driver
Information Center (DIC) screen.
High-Beam on Light
This light comes on when the
high-beam headlamps are on.
See Headlamp High/Low-Beam
Changer
on page 5‑2for more
information.
Fog Lamp Light
For vehicles with fog lamps, this
light comes on when the fog lamps
are on.
Page 113 of 414
Instruments and Controls 4-25
The light goes out when the fog
lamps are turned off. SeeFog
Lamps
on page 5‑5for more
information.
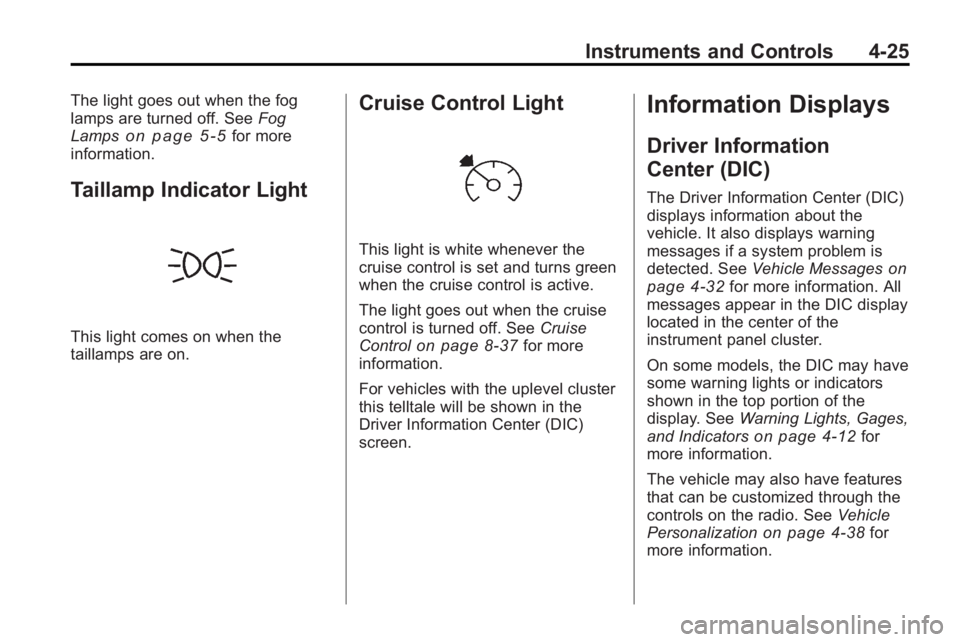
Taillamp Indicator Light
This light comes on when the
taillamps are on.
Cruise Control Light
This light is white whenever the
cruise control is set and turns green
when the cruise control is active.
The light goes out when the cruise
control is turned off. See Cruise
Control
on page 8‑37for more
information.
For vehicles with the uplevel cluster
this telltale will be shown in the
Driver Information Center (DIC)
screen.
Information Displays
Driver Information
Center (DIC)
The Driver Information Center (DIC)
displays information about the
vehicle. It also displays warning
messages if a system problem is
detected. See Vehicle Messages
on
page 4‑32for more information. All
messages appear in the DIC display
located in the center of the
instrument panel cluster.
On some models, the DIC may have
some warning lights or indicators
shown in the top portion of the
display. See Warning Lights, Gages,
and Indicators
on page 4‑12for
more information.
The vehicle may also have features
that can be customized through the
controls on the radio. See Vehicle
Personalization
on page 4‑38for
more information.
Page 114 of 414
4-26 Instruments and Controls
DIC Operation and Displays
The DIC has different displays
which can be accessed by using the
DIC buttons located on the turn
signal lever located on the left side
of the steering wheel. The DIC
displays trip, fuel, vehicle system
information, and warning messages
if a system problem is detected.
The bottom of the DIC display
shows what position the shift lever
is in, the odometer, and the direction
the vehicle is driving.
In cold weather the DIC display may
change slowly. This is normal and
will move more quickly as the
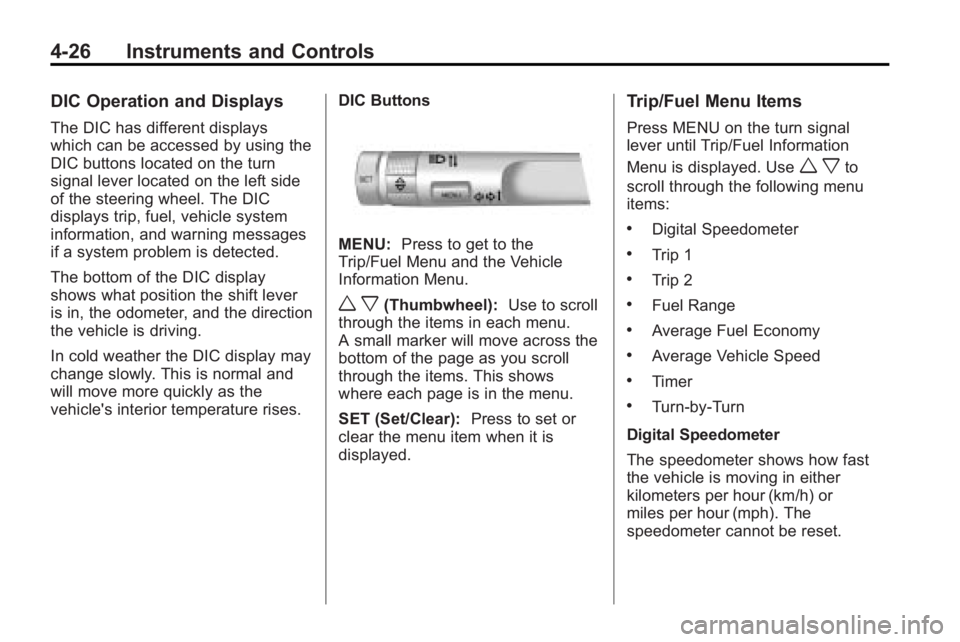
vehicle's interior temperature rises.DIC Buttons
MENU:
Press to get to the
Trip/Fuel Menu and the Vehicle
Information Menu.
w x(Thumbwheel): Use to scroll
through the items in each menu.
A small marker will move across the
bottom of the page as you scroll
through the items. This shows
where each page is in the menu.
SET (Set/Clear): Press to set or
clear the menu item when it is
displayed.
Trip/Fuel Menu Items
Press MENU on the turn signal
lever until Trip/Fuel Information
Menu is displayed. Use
w xto
scroll through the following menu
items:
.Digital Speedometer
.Trip 1
.Trip 2
.Fuel Range
.Average Fuel Economy
.Average Vehicle Speed
.Timer
.Turn-by-Turn
Digital Speedometer
The speedometer shows how fast
the vehicle is moving in either
kilometers per hour (km/h) or
miles per hour (mph). The
speedometer cannot be reset.
Page 115 of 414
Instruments and Controls 4-27
Trip 1 and Trip 2
This display shows the current
distance traveled, in either
kilometers (km) or miles (mi), since
the last reset for the trip odometer.
The trip odometer can be reset to
zero by pressing SET while the trip
odometer display is showing.
Fuel Range
This display shows the approximate
distance the vehicle can be driven
without refueling. The fuel range
estimate is based on an average of
the vehicle's fuel economy over
recent driving history and the
amount of fuel remaining in the fuel
tank. Fuel range cannot be reset.
Average Fuel Economy
This display shows the approximate
average liters per 100 kilometers
(L/100 km) or miles per
gallon (mpg). This number is
calculated based on the number of
L/100 km (mpg) recorded since the
last time this menu item was reset.The fuel economy can be reset by
pressing SET while the Average
Fuel Economy display is showing.
Average Vehicle Speed
This display shows the average
speed of the vehicle in miles per
hour (mph) or kilometers per
hour (km/h). This average is
calculated based on the various
vehicle speeds recorded since the
last reset of this value. The average
speed can be reset by pressing SET
while the Average Vehicle Speed
display is showing.
Timer
This display can be used as a timer.
To start the timer, press SET while
Timer is displayed. The display will
show the amount of time that has
passed since the timer was last
reset, not including time the ignition
is off. Time will continue to be
counted as long as the ignition is
on, even if another display is being
shown on the DIC. The timer will
record up to 99 hours, 59 minutes
and 59 seconds (99:59:59) afterwhich the display will return to zero.
To stop the timer, press SET briefly
while Timer is displayed. To reset
the timer to zero, press and
hold SET.
Turn-by-Turn
This display is used for the OnStar
or Navigation System Turn-by-Turn
guidance. See
OnStar
®Systemon
page 4‑43or the Navigation
manual, if the vehicle has
navigation, for more information.
Vehicle Information Menu
Items
Press MENU on the turn signal
lever until Vehicle Information Menu
is displayed. Use
w xto scroll
through the following menu items:
.Unit
.Tire Pressure
.Remaining Oil Life
Page 116 of 414
4-28 Instruments and Controls
Unit
Move
w xto switch between
Metric or US when the Unit display
is active. Press SET to confirm the
setting. This will change the
displays on the cluster and DIC to
either metric or English (US)
measurements.
Tire Pressure
The display will show a vehicle with
the approximate pressures of all
four tires. Tire pressure is displayed
in either kilopascal (kPa) or pounds
per square inch (psi). See Tire
Pressure Monitor System
on
page 9‑54and Tire Pressure
Monitor Operationon page 9‑55for
more information.
Remaining Oil Life
This display shows an estimate of
the oil's remaining useful life.
If Remaining Oil Life 99% is
displayed, that means 99% of the
current oil life remains. When the remaining oil life is low,
the CHANGE ENGINE OIL SOON
message will appear on the display.
See
Engine Oil Messages
on
page 4‑35. The oil should changed
as soon as possible. See Engine Oil
on page 9‑11. In addition to the
engine oil life system monitoring the
oil life, additional maintenance is
recommended in the Maintenance
Schedule in this manual. See
Scheduled Maintenance
on
page 10‑2for more information.
Remember, the Oil Life display must
be reset after each oil change. It will
not reset itself. Also, be careful not
to reset the Oil Life display
accidentally at any time other than
when the oil has just been changed.
It cannot be reset accurately until
the next oil change. To reset the
engine oil life system press SET
while the Oil Life display is active.
See Engine Oil Life System
on
page 9‑13.
Compass
The vehicle may have a compass
display in the Driver Information
Center (DIC). See Compass
on
page 4‑8for more information.
Head-Up Display (HUD)
{WARNING
If the HUD image is too bright or
too high in your field of view, it
may take you more time to see
things you need to see when it is
dark outside. Be sure to keep the
HUD image dim and placed low in
your field of view.
For vehicles with the Head-Up
Display (HUD), some information
concerning the operation of the
vehicle is projected onto the
windshield. This includes the
speedometer reading, RPM reading,
transmission position, outside air
temperature, compass heading and
a brief display of the current radio