instrument cluster BUICK LACROSSE 2010 User Guide
[x] Cancel search | Manufacturer: BUICK, Model Year: 2010, Model line: LACROSSE, Model: BUICK LACROSSE 2010Pages: 414
Page 116 of 414
4-28 Instruments and Controls
Unit
Move
w xto switch between
Metric or US when the Unit display
is active. Press SET to confirm the
setting. This will change the
displays on the cluster and DIC to
either metric or English (US)
measurements.
Tire Pressure
The display will show a vehicle with
the approximate pressures of all
four tires. Tire pressure is displayed
in either kilopascal (kPa) or pounds
per square inch (psi). See Tire
Pressure Monitor System
on
page 9‑54and Tire Pressure
Monitor Operationon page 9‑55for
more information.
Remaining Oil Life
This display shows an estimate of
the oil's remaining useful life.
If Remaining Oil Life 99% is
displayed, that means 99% of the
current oil life remains. When the remaining oil life is low,
the CHANGE ENGINE OIL SOON
message will appear on the display.
See
Engine Oil Messages
on
page 4‑35. The oil should changed
as soon as possible. See Engine Oil
on page 9‑11. In addition to the
engine oil life system monitoring the
oil life, additional maintenance is
recommended in the Maintenance
Schedule in this manual. See
Scheduled Maintenance
on
page 10‑2for more information.
Remember, the Oil Life display must
be reset after each oil change. It will
not reset itself. Also, be careful not
to reset the Oil Life display
accidentally at any time other than
when the oil has just been changed.
It cannot be reset accurately until
the next oil change. To reset the
engine oil life system press SET
while the Oil Life display is active.
See Engine Oil Life System
on
page 9‑13.
Compass
The vehicle may have a compass
display in the Driver Information
Center (DIC). See Compass
on
page 4‑8for more information.
Head-Up Display (HUD)
{WARNING
If the HUD image is too bright or
too high in your field of view, it
may take you more time to see
things you need to see when it is
dark outside. Be sure to keep the
HUD image dim and placed low in
your field of view.
For vehicles with the Head-Up
Display (HUD), some information
concerning the operation of the
vehicle is projected onto the
windshield. This includes the
speedometer reading, RPM reading,
transmission position, outside air
temperature, compass heading and
a brief display of the current radio
Page 140 of 414
5-2 Lighting
AUTO (Automatic):Automatically
turns the exterior lamps on and off,
depending on outside lighting.
The current status of the AUTO
system is displayed in the Driver
Information Center (DIC) uplevel
display. See Driver Information
Center (DIC) on page 4‑25.
; (Parking Lamps): Turns on the
parking lamps together with the
following:
.Sidemarker Lamps
.Taillamps
.License Plate Lamps
.Instrument Panel Lights
2(Headlamps): Turns on the
headlamps together with the
following:
.Sidemarker Lamps
.Taillamps
.License Plate Lamps
.Instrument Panel Lights
.Parking Lamps
Exterior Lamps Off
Reminder
A warning chime sounds, if the
driver door is opened while the
ignition is off and the exterior lamps
are on.
Headlamp High/
Low-Beam Changer
2 3
Headlamp High/Low Beam
Changer: Push the turn signal/lane
change lever away from you and
release, to turn the high beams on.
Pull the lever towards you to return
to low beams.
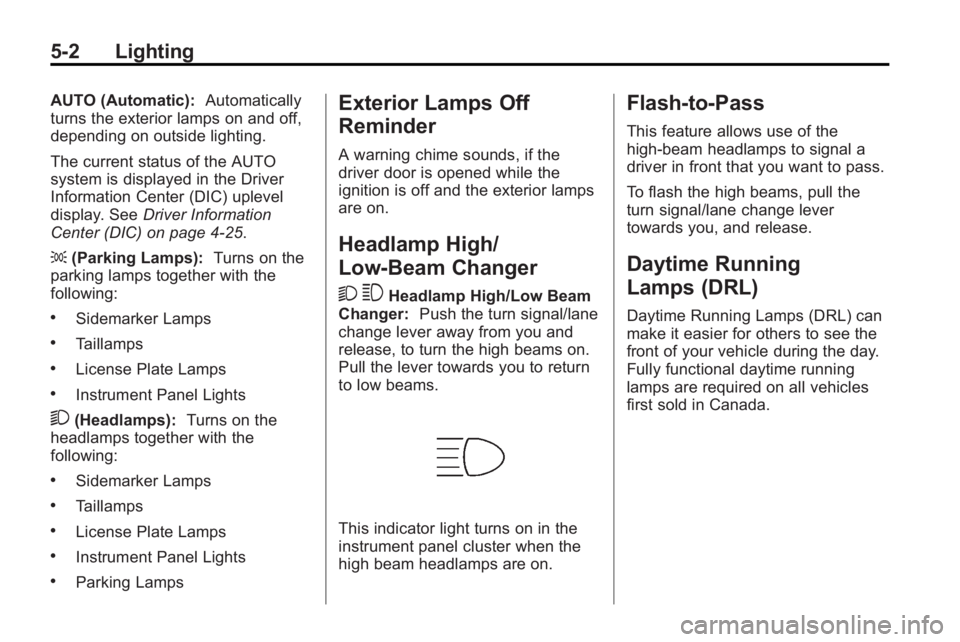
This indicator light turns on in the
instrument panel cluster when the
high beam headlamps are on.
Flash-to-Pass
This feature allows use of the
high-beam headlamps to signal a
driver in front that you want to pass.
To flash the high beams, pull the
turn signal/lane change lever
towards you, and release.
Daytime Running
Lamps (DRL)
Daytime Running Lamps (DRL) can
make it easier for others to see the
front of your vehicle during the day.
Fully functional daytime running
lamps are required on all vehicles
first sold in Canada.
Page 142 of 414
5-4 Lighting
Hazard Warning Flashers
|
Hazard Warning Flasher:
Press this button located on the
instrument panel below the climate
control system, to make the front
and rear turn signal lamps flash on
and off. Press again to turn the
flashers off.
The hazard warning flashers turn on
automatically if the airbags deploy.
Turn and Lane-Change
Signals
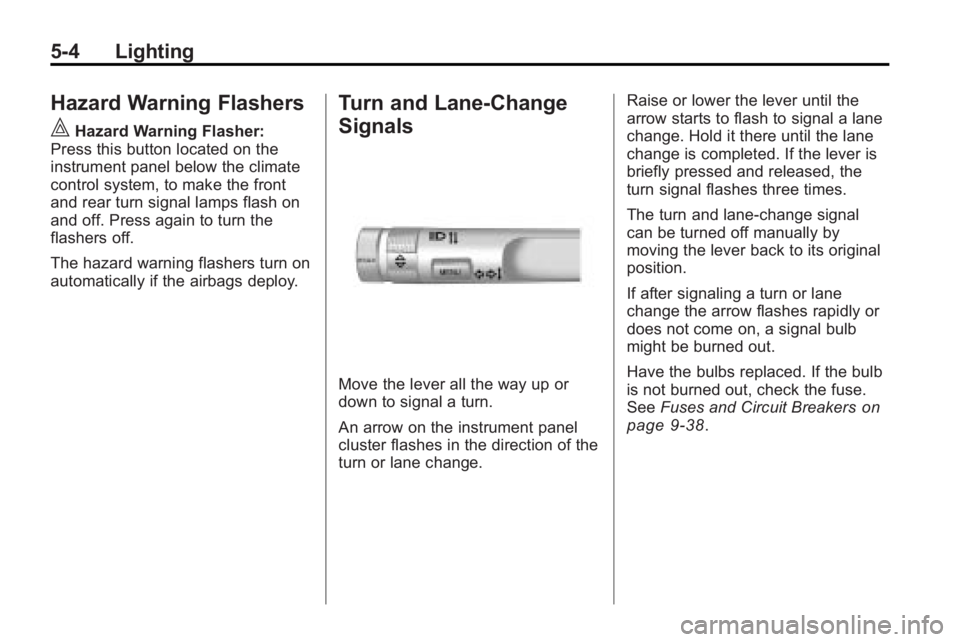
Move the lever all the way up or
down to signal a turn.
An arrow on the instrument panel
cluster flashes in the direction of the
turn or lane change. Raise or lower the lever until the
arrow starts to flash to signal a lane
change. Hold it there until the lane
change is completed. If the lever is
briefly pressed and released, the
turn signal flashes three times.
The turn and lane-change signal
can be turned off manually by
moving the lever back to its original
position.
If after signaling a turn or lane
change the arrow flashes rapidly or
does not come on, a signal bulb
might be burned out.
Have the bulbs replaced. If the bulb
is not burned out, check the fuse.
See
Fuses and Circuit Breakers
on
page 9‑38.
Page 143 of 414
Lighting 5-5
Fog Lamps
For vehicles with fog lamps, the
button is located on the exterior
lamp control, on the outboard side
of the steering wheel.
To turn on the fog lamps, the ignition
and the headlamps or parking lamps
must be on.
If the fog lamps are turned on while
the exterior lamp switch is in the
AUTO position, the headlamps
come on automatically.
#:Press to turn on or off. An
indicator light on the instrument
panel cluster comes on when the
fog lamps are on.
Some localities have laws that
require the headlamps to be on
along with the fog lamps.
Interior Lighting
Instrument Panel
Illumination Control
The brightness of the instrument
panel lighting and steering wheel
controls can be adjusted. Use the
thumbwheel located next to the
exterior lamps control on the
outboard side of the steering wheel.
D: Move the thumbwheel up or
down to brighten or dim the lights.
Dome Lamps
The interior lamps control located in
the overhead console controls both
the front and rear interior lamps.
To operate, press the following
buttons:
*(Off): Turns the lamp off.
1Door: Turns the lamp on when
any door is opened.
+ON: Keeps the lamp on all
the time.
Reading Lamps
There are front and rear reading
lamps.
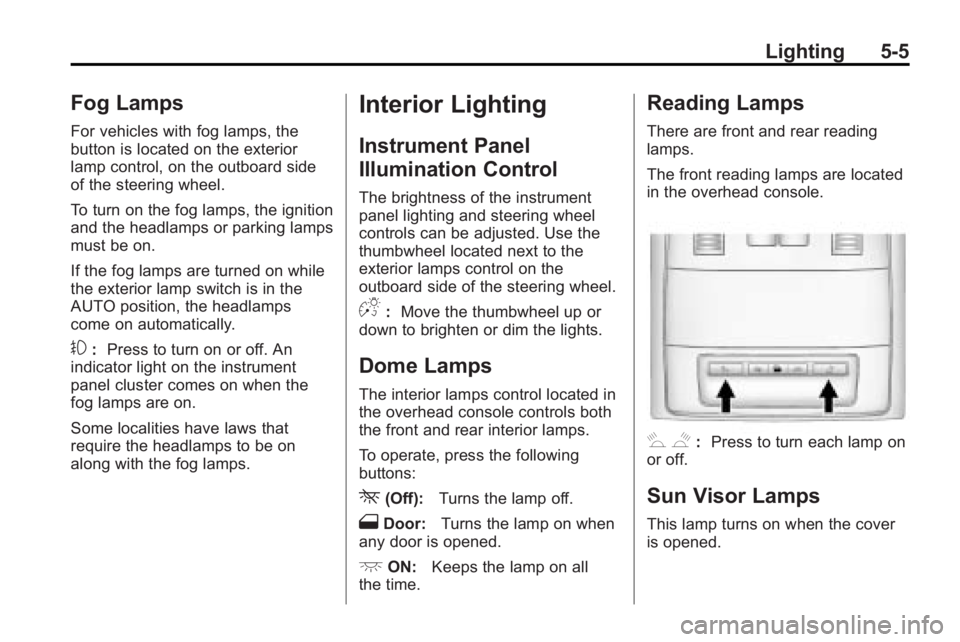
The front reading lamps are located
in the overhead console.
# $: Press to turn each lamp on
or off.
Sun Visor Lamps
This lamp turns on when the cover
is opened.
Page 252 of 414
8-30 Driving and Operating
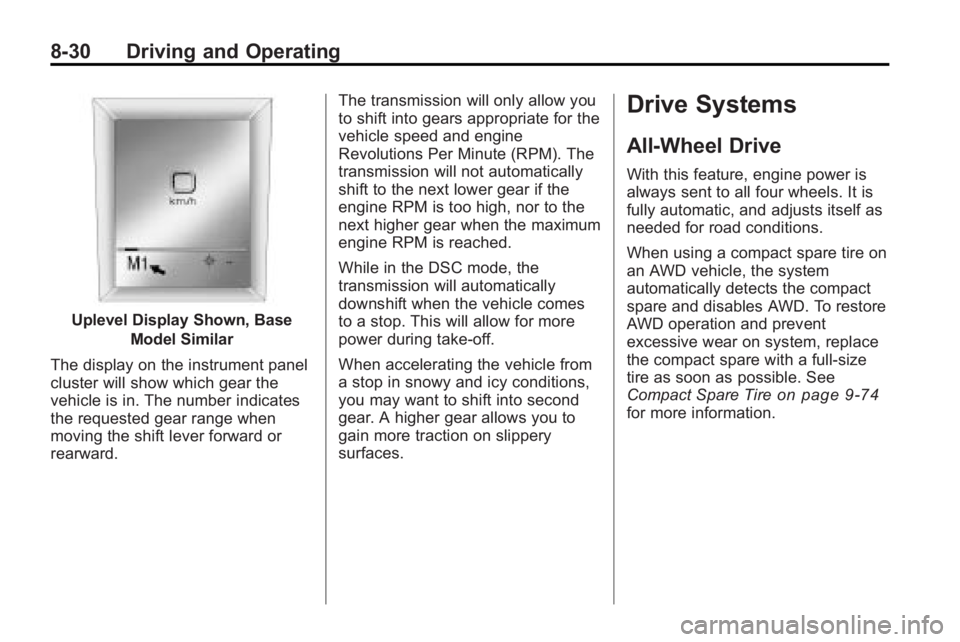
Uplevel Display Shown, BaseModel Similar
The display on the instrument panel
cluster will show which gear the
vehicle is in. The number indicates
the requested gear range when
moving the shift lever forward or
rearward. The transmission will only allow you
to shift into gears appropriate for the
vehicle speed and engine
Revolutions Per Minute (RPM). The
transmission will not automatically
shift to the next lower gear if the
engine RPM is too high, nor to the
next higher gear when the maximum
engine RPM is reached.
While in the DSC mode, the
transmission will automatically
downshift when the vehicle comes
to a stop. This will allow for more
power during take-off.
When accelerating the vehicle from
a stop in snowy and icy conditions,
you may want to shift into second
gear. A higher gear allows you to
gain more traction on slippery
surfaces.
Drive Systems
All-Wheel Drive
With this feature, engine power is
always sent to all four wheels. It is
fully automatic, and adjusts itself as
needed for road conditions.
When using a compact spare tire on
an AWD vehicle, the system
automatically detects the compact
spare and disables AWD. To restore
AWD operation and prevent
excessive wear on system, replace
the compact spare with a full-size
tire as soon as possible. See
Compact Spare Tire
on page 9‑74for more information.
Page 260 of 414
8-38 Driving and Operating
Setting Cruise Control
{WARNING
If you leave your cruise control on
when you are not using cruise,
you might hit a button and go into
cruise when you do not want to.
You could be startled and even
lose control. Keep the cruise
control switch off until you want to
use cruise control.
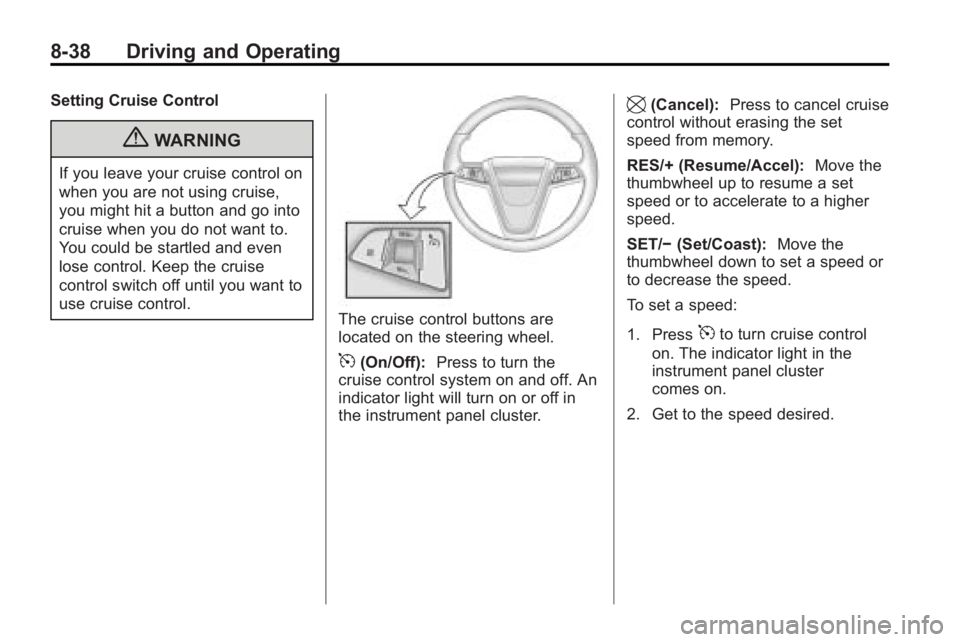
The cruise control buttons are
located on the steering wheel.
5(On/Off):Press to turn the
cruise control system on and off. An
indicator light will turn on or off in
the instrument panel cluster.
\(Cancel): Press to cancel cruise
control without erasing the set
speed from memory.
RES/+ (Resume/Accel): Move the
thumbwheel up to resume a set
speed or to accelerate to a higher
speed.
SET/− (Set/Coast): Move the
thumbwheel down to set a speed or
to decrease the speed.
To set a speed:
1. Press
5to turn cruise control
on. The indicator light in the
instrument panel cluster
comes on.
2. Get to the speed desired.
Page 261 of 414
Driving and Operating 8-39
3. Move the thumbwheel downtoward SET/− and release it.
The desired set speed briefly
appears in the instrument panel
cluster.
4. Take your foot off the accelerator pedal.
When the brakes are applied, the
cruise control shuts off.
Resuming a Set Speed
If the cruise control is set at a
desired speed and then the brakes
are applied, the cruise control is
disengaged. To return to the
previously set speed, move the
thumbwheel up toward RES/+
briefly when the vehicle has
reached a speed of about 40 km/h
(25 mph) or more.
This accelerates the vehicle to the
previously selected speed. Increasing Speed While Using
Cruise Control
There are two ways to go to a
higher speed.
.Disengage the cruise control,
but do not turn it off.
.If the cruise control system is
already engaged, move the
thumbwheel up toward RES/+
and hold it until the vehicle
accelerates to the desired
speed, and then release it. To
increase the speed in small
amounts, move the thumbwheel
up toward RES/+ briefly and
then release it. Each time this is
done, the vehicle goes about
1.6 km/h (1 mph) faster.
Reducing Speed While Using
Cruise Control
If the cruise control system is
already engaged,
.Move the thumbwheel toward
SET/−
and hold until the desired
lower speed is reached, then
release it.
.To slow down in very small
amounts, move the thumbwheel
toward SET/− briefly. Each time
this is done, the vehicle goes
about 1.6 km/h (1 mph) slower.
Passing Another Vehicle While
Using Cruise Control
Use the accelerator pedal to
increase the vehicle's speed. When
you take your foot off the pedal, the
vehicle will slow down to the
previously set cruise control speed.
Page 302 of 414
9-20 Vehicle Care
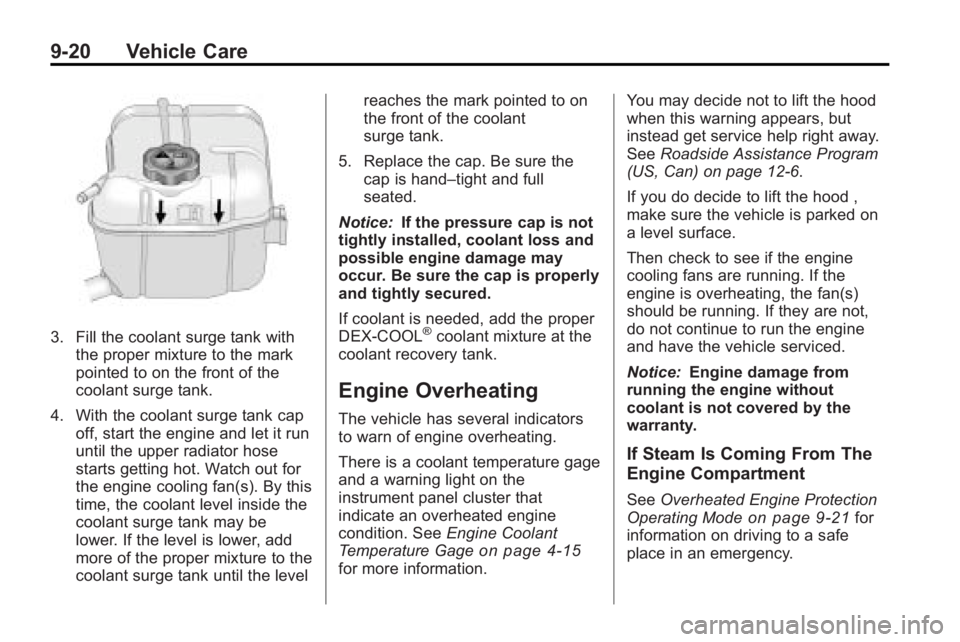
3. Fill the coolant surge tank withthe proper mixture to the mark
pointed to on the front of the
coolant surge tank.
4. With the coolant surge tank cap off, start the engine and let it run
until the upper radiator hose
starts getting hot. Watch out for
the engine cooling fan(s). By this
time, the coolant level inside the
coolant surge tank may be
lower. If the level is lower, add
more of the proper mixture to the
coolant surge tank until the level reaches the mark pointed to on
the front of the coolant
surge tank.
5. Replace the cap. Be sure the cap is hand–tight and full
seated.
Notice: If the pressure cap is not
tightly installed, coolant loss and
possible engine damage may
occur. Be sure the cap is properly
and tightly secured.
If coolant is needed, add the proper
DEX-COOL®coolant mixture at the
coolant recovery tank.
Engine Overheating
The vehicle has several indicators
to warn of engine overheating.
There is a coolant temperature gage
and a warning light on the
instrument panel cluster that
indicate an overheated engine
condition. See Engine Coolant
Temperature Gage
on page 4‑15for more information. You may decide not to lift the hood
when this warning appears, but
instead get service help right away.
See
Roadside Assistance Program
(US, Can) on page 12‑6.
If you do decide to lift the hood ,
make sure the vehicle is parked on
a level surface.
Then check to see if the engine
cooling fans are running. If the
engine is overheating, the fan(s)
should be running. If they are not,
do not continue to run the engine
and have the vehicle serviced.
Notice: Engine damage from
running the engine without
coolant is not covered by the
warranty.
If Steam Is Coming From The
Engine Compartment
See Overheated Engine Protection
Operating Modeon page 9‑21for
information on driving to a safe
place in an emergency.
Page 325 of 414
Vehicle Care 9-43
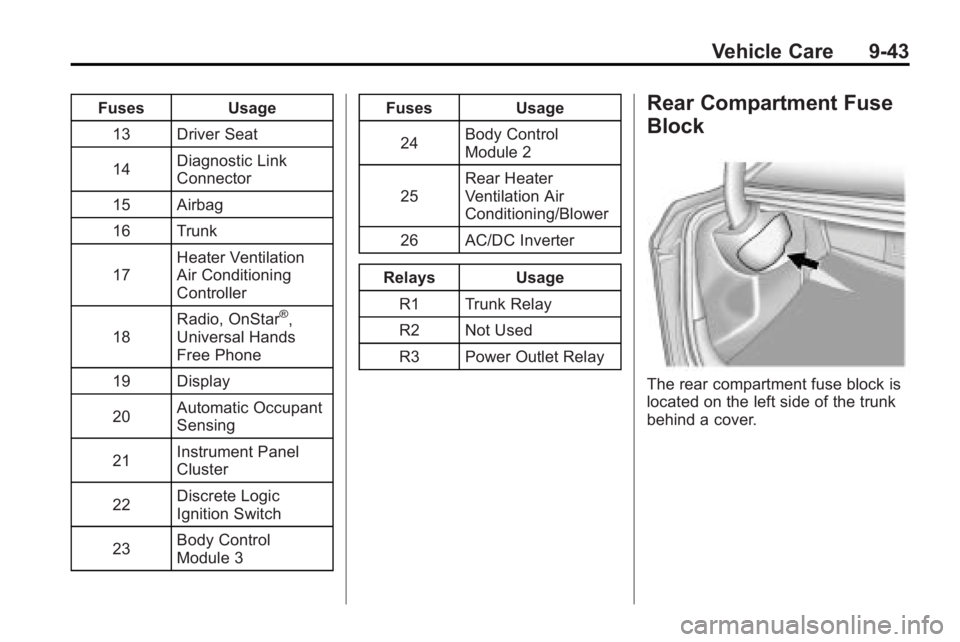
FusesUsage
13 Driver Seat
14 Diagnostic Link
Connector
15 Airbag
16 Trunk
17 Heater Ventilation
Air Conditioning
Controller
18 Radio, OnStar
®,
Universal Hands
Free Phone
19 Display
20 Automatic Occupant
Sensing
21 Instrument Panel
Cluster
22 Discrete Logic
Ignition Switch
23 Body Control
Module 3 Fuses Usage
24 Body Control
Module 2
25 Rear Heater
Ventilation Air
Conditioning/Blower
26 AC/DC Inverter
Relays Usage R1 Trunk Relay
R2 Not Used
R3 Power Outlet Relay
Rear Compartment Fuse
Block
The rear compartment fuse block is
located on the left side of the trunk
behind a cover.
Page 337 of 414
Vehicle Care 9-55
Please note that the TPMS is
not a substitute for proper tire
maintenance, and it is the driver's
responsibility to maintain correct tire
pressure, even if under-inflation has
not reached the level to trigger
illumination of the TPMS low tire
pressure telltale.
Your vehicle has also been
equipped with a TPMS malfunction
indicator to indicate when the
system is not operating properly.
The TPMS malfunction indicator is
combined with the low tire pressure
telltale. When the system detects a
malfunction, the telltale will flash for
approximately one minute and then
remain continuously illuminated.
This sequence will continue upon
subsequent vehicle start-ups as
long as the malfunction exists.
When the malfunction indicator is
illuminated, the system may not be
able to detect or signal low tire
pressure as intended. TPMS
malfunctions may occur for a variety
of reasons, including the installation
of replacement or alternate tires orwheels on the vehicle that prevent
the TPMS from functioning properly.
Always check the TPMS malfunction
telltale after replacing one or more
tires or wheels on your vehicle to
ensure that the replacement or
alternate tires and wheels allow the
TPMS to continue to function
properly.
See
Tire Pressure Monitor
Operation
on page 9‑55for
additional information.
Federal Communications
Commission (FCC) and
Industry and Science Canada
See Radio Frequency Statement
(US, Can)on page 12‑16for
information regarding Part 15 of the
Federal Communications
Commission (FCC) Rules and
RSS-210/211 of Industry and
Science Canada.
Tire Pressure Monitor
Operation
This vehicle may have a Tire
Pressure Monitor System (TPMS).
The TPMS is designed to warn the
driver when a low tire pressure
condition exists. TPMS sensors are
mounted onto each tire and wheel
assembly, excluding the spare tire
and wheel assembly. The TPMS
sensors monitor the air pressure in
the vehicle's tires and transmits the
tire pressure readings to a receiver
located in the vehicle.
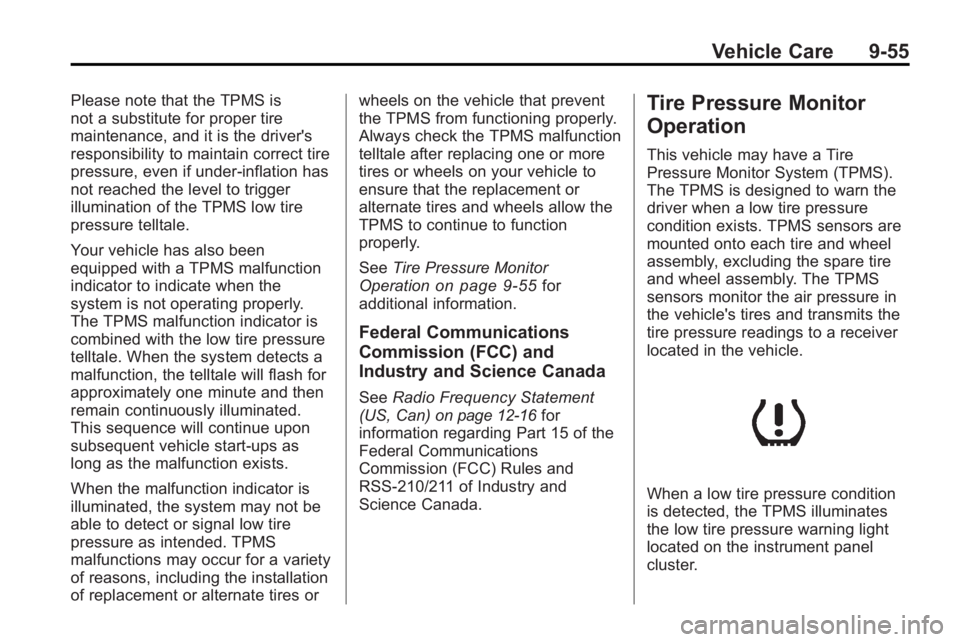
When a low tire pressure condition
is detected, the TPMS illuminates
the low tire pressure warning light
located on the instrument panel
cluster.