turn signal BUICK LACROSSE 2010 User Guide
[x] Cancel search | Manufacturer: BUICK, Model Year: 2010, Model line: LACROSSE, Model: BUICK LACROSSE 2010Pages: 414
Page 139 of 414
Lighting 5-1
Lighting
Exterior Lighting
Exterior Lamp Controls . . . . . . . . 5-1
Exterior Lamps OffReminder . . . . . . . . . . . . . . . . . . . . 5-2
Headlamp High/Low-Beam Changer . . . . . . . . . . . . . . . . . . . . . 5-2
Flash-to-Pass . . . . . . . . . . . . . . . . . 5-2
Daytime Running Lamps (DRL) . . . . . . . . . . . . . . . . 5-2
Automatic Headlamp System . . . . . . . . . . . . . . . . . . . . . . 5-3
Adaptive Forward Lighting (AFL) . . . . . . . . . . . . . . . 5-3 Hazard Warning Flashers . . . . . 5-4
Turn and Lane-Change
Signals . . . . . . . . . . . . . . . . . . . . . . 5-4
Fog Lamps . . . . . . . . . . . . . . . . . . . . 5-5Interior Lighting
Instrument Panel Illumination Control . . . . . . . . . . . . . . . . . . . . . . 5-5
Dome Lamps . . . . . . . . . . . . . . . . . 5-5
Reading Lamps . . . . . . . . . . . . . . . 5-5
Sun Visor Lamps . . . . . . . . . . . . . . 5-5
Lighting Features
Entry Lighting . . . . . . . . . . . . . . . . . 5-6
Exit Lighting . . . . . . . . . . . . . . . . . . . 5-6
Battery Load Management . . . . 5-6
Battery Power Protection . . . . . . 5-7
Exterior Lighting
Exterior Lamp Controls
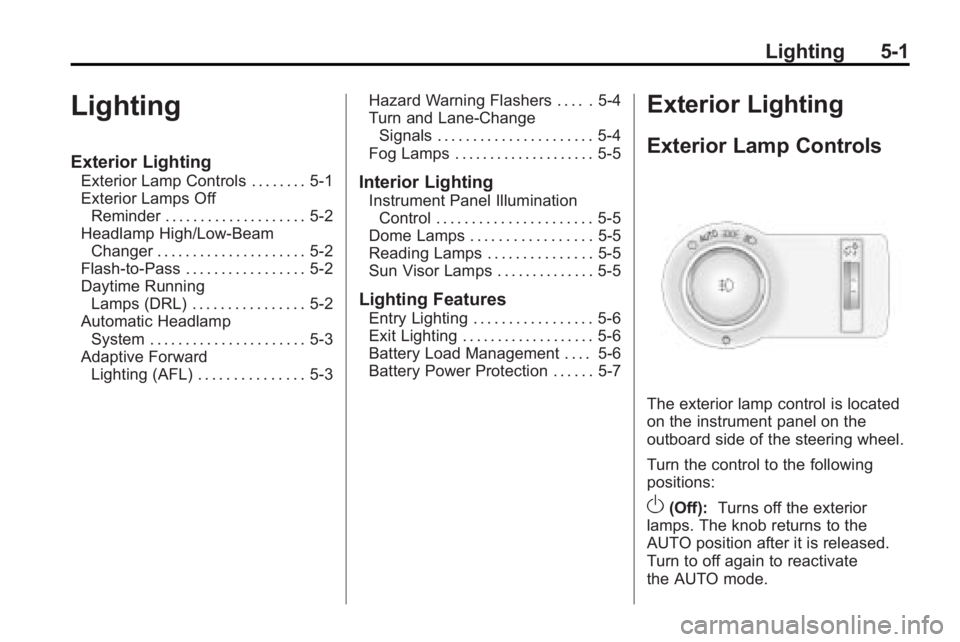
The exterior lamp control is located
on the instrument panel on the
outboard side of the steering wheel.
Turn the control to the following
positions:
O(Off): Turns off the exterior
lamps. The knob returns to the
AUTO position after it is released.
Turn to off again to reactivate
the AUTO mode.
Page 140 of 414
5-2 Lighting
AUTO (Automatic):Automatically
turns the exterior lamps on and off,
depending on outside lighting.
The current status of the AUTO
system is displayed in the Driver
Information Center (DIC) uplevel
display. See Driver Information
Center (DIC) on page 4‑25.
; (Parking Lamps): Turns on the
parking lamps together with the
following:
.Sidemarker Lamps
.Taillamps
.License Plate Lamps
.Instrument Panel Lights
2(Headlamps): Turns on the
headlamps together with the
following:
.Sidemarker Lamps
.Taillamps
.License Plate Lamps
.Instrument Panel Lights
.Parking Lamps
Exterior Lamps Off
Reminder
A warning chime sounds, if the
driver door is opened while the
ignition is off and the exterior lamps
are on.
Headlamp High/
Low-Beam Changer
2 3
Headlamp High/Low Beam
Changer: Push the turn signal/lane
change lever away from you and
release, to turn the high beams on.
Pull the lever towards you to return
to low beams.
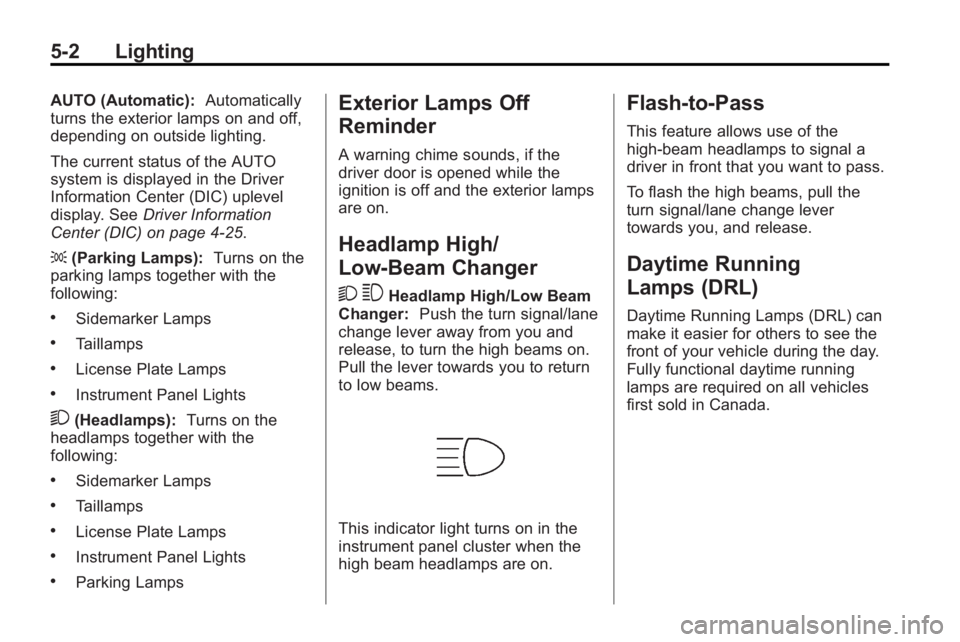
This indicator light turns on in the
instrument panel cluster when the
high beam headlamps are on.
Flash-to-Pass
This feature allows use of the
high-beam headlamps to signal a
driver in front that you want to pass.
To flash the high beams, pull the
turn signal/lane change lever
towards you, and release.
Daytime Running
Lamps (DRL)
Daytime Running Lamps (DRL) can
make it easier for others to see the
front of your vehicle during the day.
Fully functional daytime running
lamps are required on all vehicles
first sold in Canada.
Page 142 of 414
5-4 Lighting
Hazard Warning Flashers
|
Hazard Warning Flasher:
Press this button located on the
instrument panel below the climate
control system, to make the front
and rear turn signal lamps flash on
and off. Press again to turn the
flashers off.
The hazard warning flashers turn on
automatically if the airbags deploy.
Turn and Lane-Change
Signals
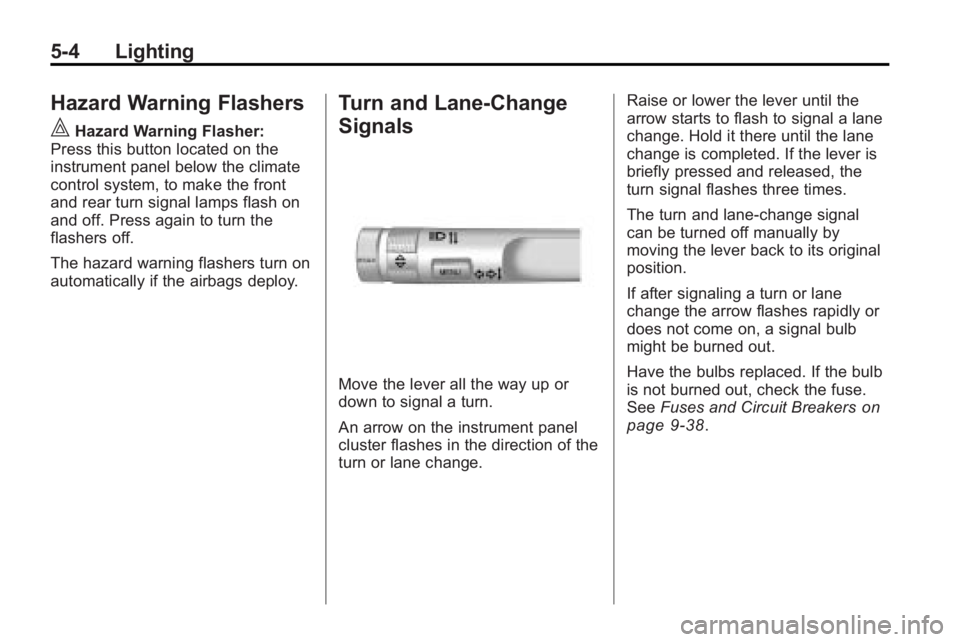
Move the lever all the way up or
down to signal a turn.
An arrow on the instrument panel
cluster flashes in the direction of the
turn or lane change. Raise or lower the lever until the
arrow starts to flash to signal a lane
change. Hold it there until the lane
change is completed. If the lever is
briefly pressed and released, the
turn signal flashes three times.
The turn and lane-change signal
can be turned off manually by
moving the lever back to its original
position.
If after signaling a turn or lane
change the arrow flashes rapidly or
does not come on, a signal bulb
might be burned out.
Have the bulbs replaced. If the bulb
is not burned out, check the fuse.
See
Fuses and Circuit Breakers
on
page 9‑38.
Page 163 of 414
Infotainment System 6-17
Pausing XM with the Vehicle
Turned Off
If XM is paused when the vehicle is
turned off, the radio continues to
buffer the current radio station for
up to 20 minutes. If the vehicle is
turned back on within 20 minutes,
the radio resumes playback from the
paused point.
XM Messages
XL (Explicit Language
Channels):These channels, or any
others, can be blocked by request,
by calling 1-800-852-XMXM (9696).
XM Updating: The encryption code
in the receiver is being updated, no
action is required. This process
should take no longer than
30 seconds. Loading XM:
The audio system is
acquiring and processing audio and
text data, no action is needed. This
message should disappear shortly.
Channel Off Air: This channel is
not currently in service. Tune in to
another channel.
Channel Unauth: This channel is
blocked or cannot be received with
your XM Subscription package.
Channel Unavailable: This
previously assigned channel is no
longer assigned. Tune to another
station.
No Artist Info: The system is
working properly. No artist
information is available at this time
on this channel. No Title Info:
The system is
working properly. No song title
information is available at this time
on this channel.
No CAT Info: The system is
working properly. No category
information is available at this time
on this channel.
No Information: The system is
working properly. No text or
informational messages are
available at this time on this
channel.
No XM Signal: The system is
working properly. The vehicle may
be in a location that where the XM
signal is being blocked. When the
vehicle is moved into an open area,
the signal should return.
Page 181 of 414
Infotainment System 6-35
Push the On/Off button to turn on
the headphones. A light on the
headphones comes on. If the light
does not come on, check the
batteries. Intermittent sound or static
can also indicate weak batteries.
See“Battery Replacement” later in
this section for more information.
Infrared transmitters are on the top
of the left seatback video screen.
The headphones shut off
automatically to save the battery
power if the RSE system is shut off
or if the headphones are out of
range of the transmitters for more
than three minutes. Moving too far
forward or stepping out of the
vehicle, can cause the headphones
to lose the signal or have static.
The headphones automatically turn
off after four hours of
continuous use.
To adjust the volume on the
headphones, use the volume
control. For best audio performance, the
headphones must be worn correctly,
with the headband over the top of
the head. L (Left) and R (Right) are
above the ear pads and are
indicators as to how the
headphones should be placed on
the head.
Notice:
Do not store the
headphones in heat or direct
sunlight. This could damage the
headphones and repairs will not
be covered by the warranty.
Storage in extreme cold can
weaken the batteries. Keep the
headphones stored in a cool, dry
place.
If the foam ear pads become worn
or damaged, they can be replaced
separately from the headphones.
See your dealer/retailer for more
information. Battery Replacement
To change the batteries:
1. Loosen the screw to the battery
door located on the left side of
the headphones.
2. Slide the battery door open.
3. Replace the two AAA batteries.
4. Replace the battery door and tighten the screw.
Remove the batteries if the
headphones are not going to be
used for a long period of time.
Audio/Video (A/V) Jacks
The A/V jacks may be located on
the rear of the floor console. They
allow audio or video cables to be
connected from an auxiliary device
such as a camcorder or a video
game system.
The A/V jacks are color coded:
.Yellow for video input.
.White for left audio input.
.Red for right audio input.
Page 183 of 414
Infotainment System 6-37
To use the video screen:
1. Push the release button locatedon the seatback console.
2. Move the screen to the desired viewing position.
Push the video screen down into its
locked position when it is not in use,
the screen turns off automatically.
Only the left RSE seatback console
contains the infrared transmitters for
the wireless headphones, they may
be visible as eight illuminated LEDs.
These LEDs are not on the right
video screen. Both seatback
consoles contain an infrared
receiver for the remote control. They
are located at the top of each
console.
Notice: Avoid directly touching
the video screen, as damage may
occur. See “Cleaning the Video
Screen” later in this section for
more information.Video Screen Input Jack
Each video screen is equipped with
a video input jack to allow video
cables to be connected from an
auxiliary device such as a
camcorder or a video game system.
This signal will override any video
provided by the RSE system; either
the DVD or Auxiliary A/V jack
source. The RSE system must be
on for this input to operate.
Remote Control
To use the remote control, aim it at
the transmitter window at either
seatback console and press the
button. Direct sunlight or very bright
light could affect the ability of the
RSE transmitter to receive signals
from the remote control. Check the
batteries if the remote control does
not seem to be working. See
“Battery Replacement” later in this
section. Objects blocking the line of
sight could also affect the function
of the remote control. If a CD, DVD, or MP3 disc is in the
Radio DVD slot, the remote control
Obutton can be used to turn on the
video screen display and start the
disc. The infotainment system can
also turn on the video screen
display. See CD/DVD Player
on
page 6‑22or the separate
navigation system manual for more
information.
Notice: Storing the remote
control in a hot area or in direct
sunlight can damage it, and the
repairs will not be covered by the
warranty. Storage in extreme cold
can weaken the batteries. Keep
the remote control stored in a
cool, dry place.
Page 233 of 414
Driving and Operating 8-11
WARNING (Continued)
For more information about
carbon monoxide, seeEngine
Exhaust on page 8‑26.
Snow can trap exhaust gases
under your vehicle. This can
cause deadly CO (carbon
monoxide) gas to get inside. CO
could overcome you and kill you.
You cannot see it or smell it, so
you might not know it is in your
vehicle. Clear away snow from
around the base of your vehicle,
especially any that is blocking the
exhaust.
Run the engine for short periods
only as needed to keep warm, but
be careful. To save fuel, run the engine for only
short periods as needed to warm
the vehicle and then shut the engine
off and close the window most of
the way to save heat. Repeat this
until help arrives but only when you
feel really uncomfortable from the
cold. Moving about to keep warm
also helps.
If it takes some time for help to
arrive, now and then when you run
the engine, push the accelerator
pedal slightly so the engine runs
faster than the idle speed. This
keeps the battery charged to restart
the vehicle and to signal for help
with the headlamps. Do this as little
as possible to save fuel.
If the Vehicle is Stuck
Slowly and cautiously spin the
wheels to free the vehicle when
stuck in sand, mud, ice, or snow.
If stuck too severely for the traction
system to free the vehicle, turn the
traction system off and use the
rocking method.
{WARNING
If the vehicle's tires spin at high
speed, they can explode, and you
or others could be injured. The
vehicle can overheat, causing an
engine compartment fire or other
damage. Spin the wheels as little
as possible and avoid going
above 55 km/h (35 mph) as
shown on the speedometer.
For information about using tire
chains on the vehicle, see Tire
Chains on page 9‑67.
Page 241 of 414
Driving and Operating 8-19
Ignition Positions
(Keyless Access)
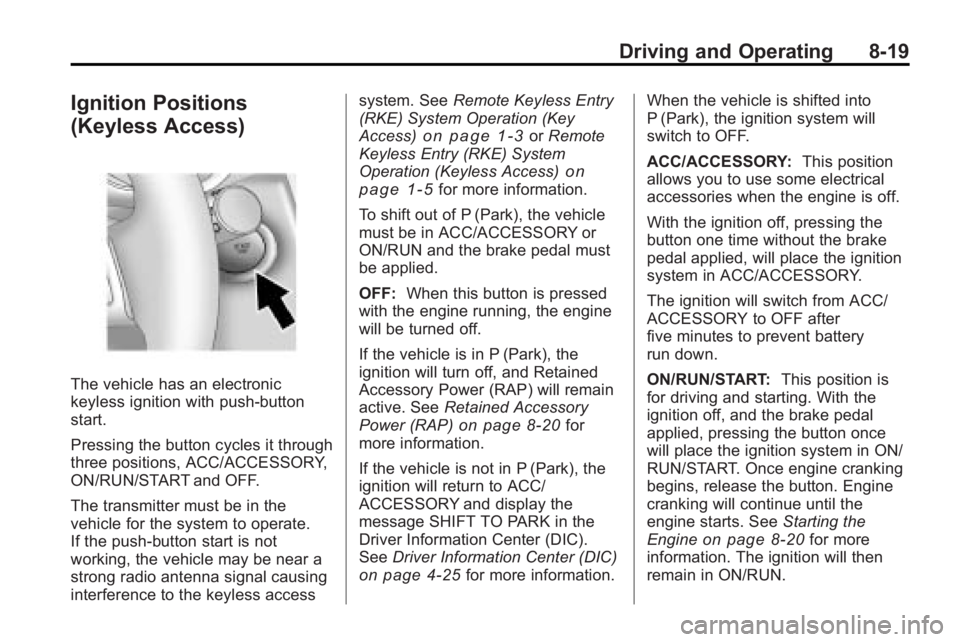
The vehicle has an electronic
keyless ignition with push-button
start.
Pressing the button cycles it through
three positions, ACC/ACCESSORY,
ON/RUN/START and OFF.
The transmitter must be in the
vehicle for the system to operate.
If the push-button start is not
working, the vehicle may be near a
strong radio antenna signal causing
interference to the keyless accesssystem. See
Remote Keyless Entry
(RKE) System Operation (Key
Access)
on page 1‑3or Remote
Keyless Entry (RKE) System
Operation (Keyless Access)
on
page 1‑5for more information.
To shift out of P (Park), the vehicle
must be in ACC/ACCESSORY or
ON/RUN and the brake pedal must
be applied.
OFF: When this button is pressed
with the engine running, the engine
will be turned off.
If the vehicle is in P (Park), the
ignition will turn off, and Retained
Accessory Power (RAP) will remain
active. See Retained Accessory
Power (RAP)
on page 8‑20for
more information.
If the vehicle is not in P (Park), the
ignition will return to ACC/
ACCESSORY and display the
message SHIFT TO PARK in the
Driver Information Center (DIC).
See Driver Information Center (DIC)
on page 4‑25for more information. When the vehicle is shifted into
P (Park), the ignition system will
switch to OFF.
ACC/ACCESSORY:
This position
allows you to use some electrical
accessories when the engine is off.
With the ignition off, pressing the
button one time without the brake
pedal applied, will place the ignition
system in ACC/ACCESSORY.
The ignition will switch from ACC/
ACCESSORY to OFF after
five minutes to prevent battery
run down.
ON/RUN/START: This position is
for driving and starting. With the
ignition off, and the brake pedal
applied, pressing the button once
will place the ignition system in ON/
RUN/START. Once engine cranking
begins, release the button. Engine
cranking will continue until the
engine starts. See Starting the
Engine
on page 8‑20for more
information. The ignition will then
remain in ON/RUN.
Page 265 of 414
Driving and Operating 8-43
.A tow bar is attached to the
vehicle.
.The vehicle's bumper is
damaged. Take the vehicle to
your dealer/retailer to repair the
system.
.Other conditions may affect
system performance, such as
vibrations from a jackhammer or
the compression of air brakes on
a very large truck.
If the system is still disabled, after
driving forward at least 25 km/h
(15 mph), take the vehicle to your
dealer/retailer.
Side Blind Zone
Alert (SBZA)
The vehicle may have a Side Blind
Zone Alert (SBZA) system. Read
this entire section before using the
system.
{WARNING
SBZA is only a lane changing aid
and does not replace driver
vision. SBZA does not detect:
.Vehicles outside the side
blind zones which may be
rapidly approaching.
.Pedestrians, bicyclists,
or animals. (Continued)
WARNING (Continued)
Failure to use proper care when
changing lanes may result in
damage to the vehicle, injury,
or death. Always check the
outside and rearview mirrors,
glance over your shoulder, and
use the turn signal before
changing lanes.
When the system detects a vehicle
in the side blind zone, amber SBZA
displays will light up in the side
mirrors. This indicates that it may be
unsafe to change lanes. Before
making a lane change, always
check the SBZA display, check the
outside and rearview mirrors, look
over your shoulder for vehicles and
hazards, and use the turn signal.
Page 266 of 414
8-44 Driving and Operating
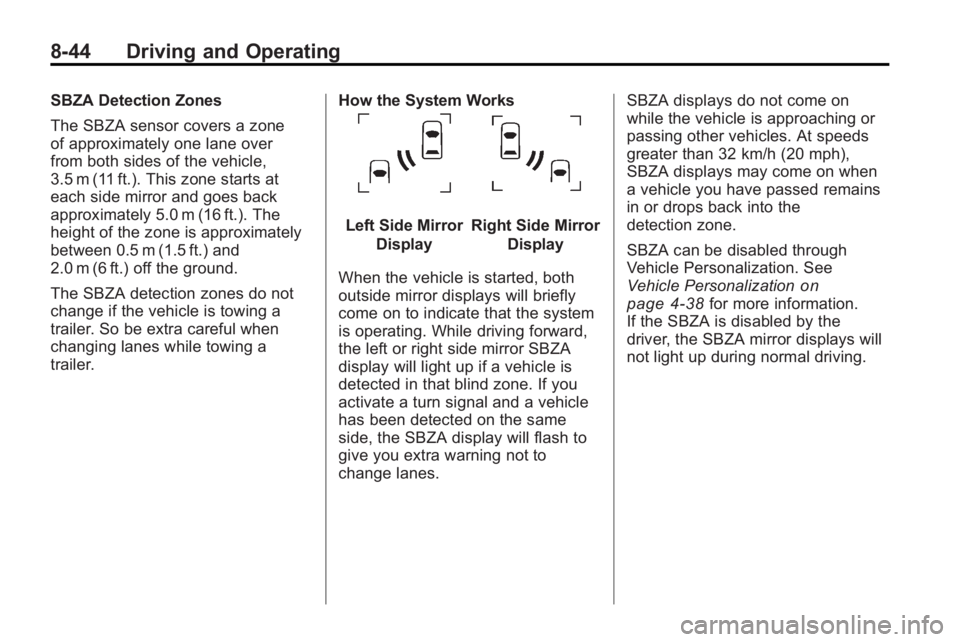
SBZA Detection Zones
The SBZA sensor covers a zone
of approximately one lane over
from both sides of the vehicle,
3.5 m (11 ft.). This zone starts at
each side mirror and goes back
approximately 5.0 m (16 ft.). The
height of the zone is approximately
between 0.5 m (1.5 ft.) and
2.0 m (6 ft.) off the ground.
The SBZA detection zones do not
change if the vehicle is towing a
trailer. So be extra careful when
changing lanes while towing a
trailer.How the System Works
Left Side Mirror
DisplayRight Side Mirror Display
When the vehicle is started, both
outside mirror displays will briefly
come on to indicate that the system
is operating. While driving forward,
the left or right side mirror SBZA
display will light up if a vehicle is
detected in that blind zone. If you
activate a turn signal and a vehicle
has been detected on the same
side, the SBZA display will flash to
give you extra warning not to
change lanes. SBZA displays do not come on
while the vehicle is approaching or
passing other vehicles. At speeds
greater than 32 km/h (20 mph),
SBZA displays may come on when
a vehicle you have passed remains
in or drops back into the
detection zone.
SBZA can be disabled through
Vehicle Personalization. See
Vehicle Personalization
on
page 4‑38for more information.
If the SBZA is disabled by the
driver, the SBZA mirror displays will
not light up during normal driving.