reset BUICK LESABRE 1993 Owners Manual
[x] Cancel search | Manufacturer: BUICK, Model Year: 1993, Model line: LESABRE, Model: BUICK LESABRE 1993Pages: 324, PDF Size: 17.02 MB
Page 93 of 324
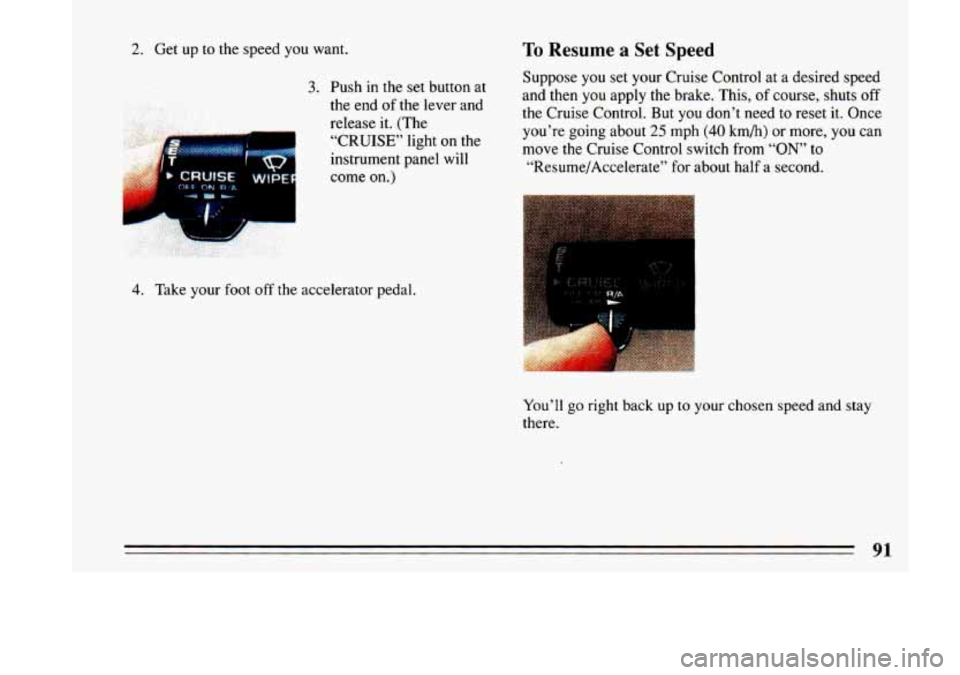
2. Get up to the speed you want.
3. Push in the set button at
the end of the lever and
release it. (The
“CRUISE’ light
on the
instrument panel will come on.)
4. Take your foot off the accelerator pedal.
To Resume a Set Speed
Suppose you set your Cruise Control at a desired speed
and then you apply the brake. This, of course, shuts off
the Cruise Control. But you don’t need to reset it. Once
you’re going about
25 mph (40 km/h) or more, you can
move the Cruise Control switch from
“ON” to
“Resume/Accelerate”
for about half a second.
You’ll go right back up to your chosen speed and stay
there.
91
Page 107 of 324
Speedometer and Odometer
Your speedometer lets you see your speed in both miles
per hour (mph) and kilometers per hour (km/h). Your
odometer shows how far your vehicle has been driven,
in either miles (used in the
US.) or kilometers (used in
Canada).
Your Buick has a “tamper-resistant odometer.” If
you
can see very noticeable bright silver lines between the
numbers, probably someone has tried to turn it back.
The numbers may not be accurate.
You may wonder what happens if a car has
to have a
new odometer installed. The new one should be set to
the same reading as the old one.
If this is not possible,
then it’s set at zero, and a label on the driver’s door must
show the old reading and when the new one was
installed.
Trip Odometer
RN
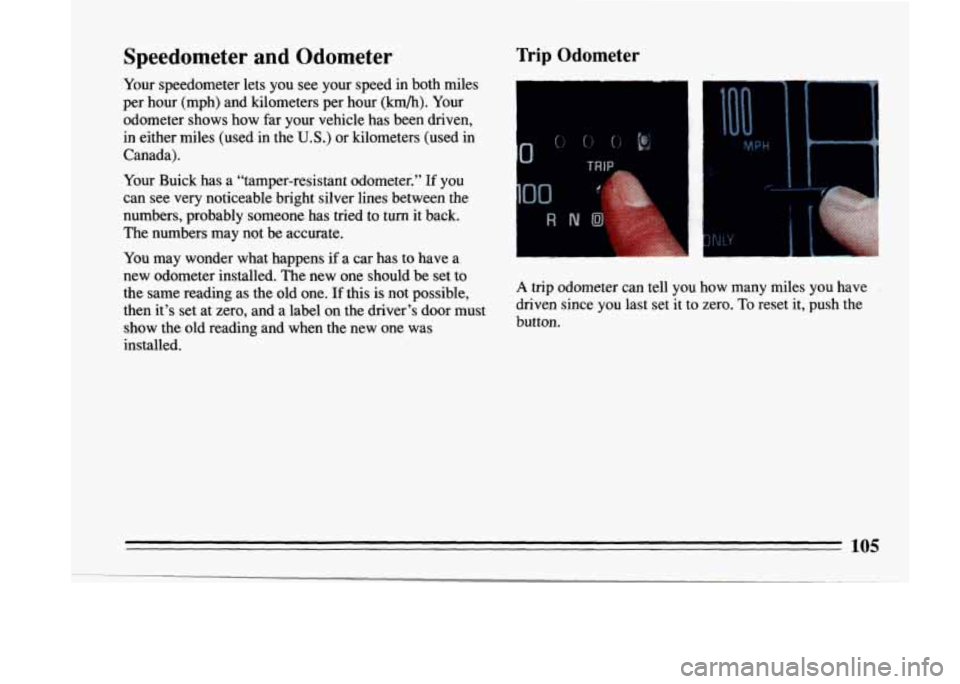
A trip odometer can tell you how many miles you have
driven since you last set it to zero.
To reset it, push the
button.
105
Page 110 of 324
parking brake set, a chime will also come on until you
release the parking brake. If the light and chime stay on
after your parking brake is
fully released, it means you
have a brake problem. If the light and chime come on
while driving, pull
off the road and stop carefully. You
may notice that the pedal is harder to push. Or, the pedal
may go closer to the floor. It may take longer to stop. If
the light is still on, have the vehicle towed for service.
(See “Towing Your Car” in the Index.)
1 &!A CAUTION:
Your brake system may not be working properly
if the brake warning light is on. Rriving with the
brake warning light on can lead to an accident. If
the light is still on after you’ve pulled off the road
and stopped carefully, have the vehicle towed for
service.
Anti-Lock Brake System Warning Light
1-
ANTI
LOCK
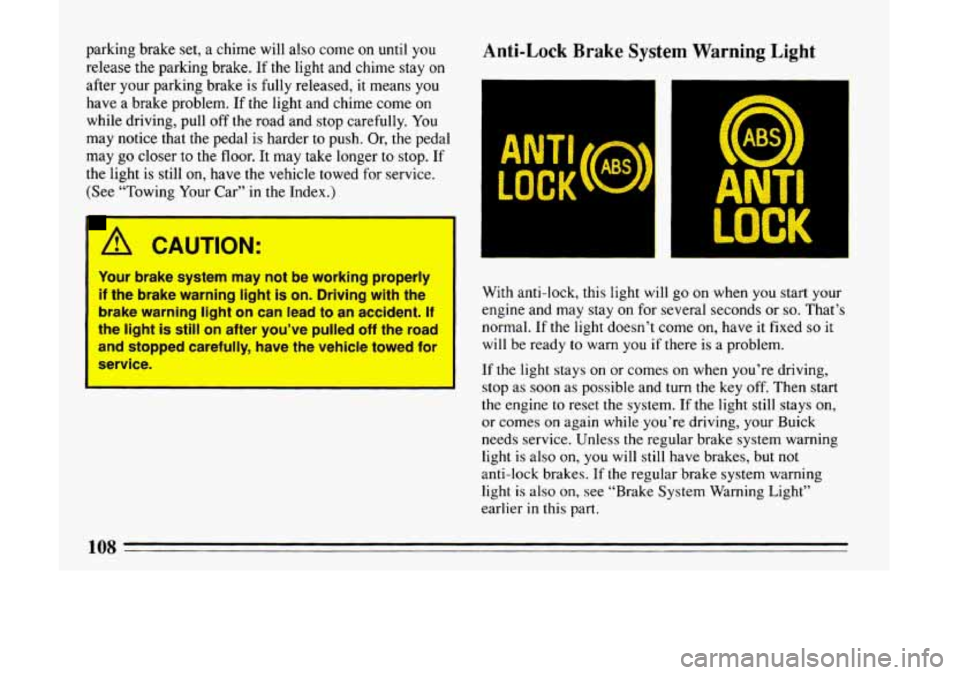
With anti-lock, this light will go on when you start your
engine and may stay on for several seconds or
so. That’s
normal. If the light doesn’t come on, have it fixed
so it
will be ready to warn you if there is a problem.
If the light stays on or comes
on when you’re driving,
stop as soon as possible and turn the key off. Then start
the engine
to reset the system. If the light still stays on,
or comes
on again while you’re driving, your Buick
needs service. Unless
the regular brake system warning
light is also
on, you will still have brakes, but not
anti-lock brakes. If the regular brake system warning
light
is also on, see “Brake System Warning Light”
earlier
in this part.
108
Page 116 of 324
“Change Oil Soon’’ Light (Option)
This light is activated by
the Engine Oil Life
Monitor System. It
indicates that the engine oil
has degraded enough to
require changing. See
“Engine Oil”
in the Index.
After changing the engine oil, the system should be
reset.
This will cause the “Change Oil Soon” light once
again, to be lit for just
the bulb check period of 3
seconds.
This
is determined by electronically monitoring engine
speed, coolant temperature and vehicle speed. Since the
change interval is dependent on driving habits and
conditions, the “Change Oil Soon” light may come on as
early as
2,000 miles or less for harsh circumstances.
The “Change Oil Soon” light is lit for three seconds as a
bulb check each time the ignition key is turned to
the
RUN position. If an oil change is required, it will stay
on for 60 seconds each time the engine is started. If the
“Change Oil Soon” light is on continuously, there is a
problem with the Oil Life Monitor System and service
is
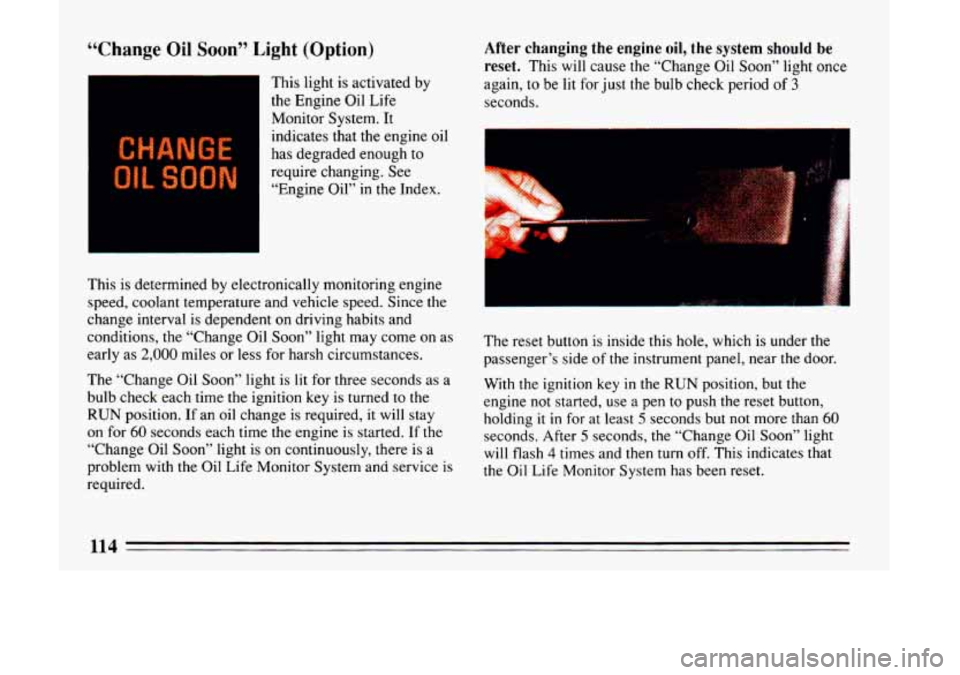
required. The reset button
is inside this hole, which is under the
passenger’s side of the instrument panel, near the door.
With the ignition key in
the RUN position, but the
engine not started, use a pen
to push the reset button,
holding
it in for at least 5 seconds but not more than 60
seconds. After 5 seconds, the “Change Oil Soon” light
will flash
4 times and then turn off. This indicates that
the Oil Life Monitor System has been reset.
1lA
I
Page 132 of 324
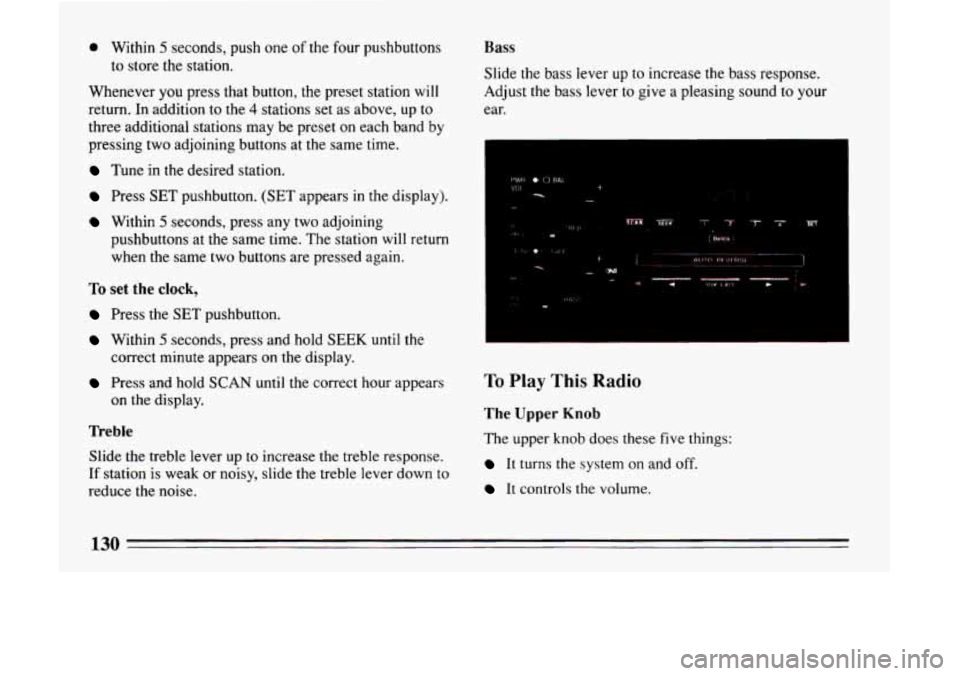
0 Within 5 seconds, push one of the four pushbuttons
to store
the station.
Whenever
you press that button, the preset station will
return. In addition to the 4 stations set as above, up to
three additional stations may be preset
on each band by
pressing two adjoining buttons at the same time.
Tune in the desired station.
Press SET pushbutton. (SET appears in the display).
Within 5 seconds, press any two adjoining
pushbuttons at the same time. The station will return
when the same two buttons are pressed again.
To set the clock,
Press the SET pushbutton.
Within 5 seconds, press and hold SEEK until the
correct minute appears on the display.
Press and hold SCAN until the correct hour appears
on the display.
Treble
Slide the treble lever up to increase the treble response.
If station is weak or noisy, slide
the treble lever down to
reduce the noise.
Bass
Slide the bass lever up to increase the bass response.
Adjust the bass lever to give a pleasing sound to your
ear.
To Play This Radio
The Upper Knob
The upper knob does these five things:
It turns the system on and off.
It controls the volume.
130
Page 133 of 324
0 It tells you the time. (When the ignition is off, push
It allows you to hear the other side of a tape. (Press
the knob
to display the
time.)
the knob while a cassette is playing.)
When a radio is playing with the time displayed, the
radio station frequency will display if
you push the
knob.
Balance
The control behind the upper knob allows you to
balance the sound between the right and left speakers.
The Lower Knob
Turn the lower knob to tune radio stations. Push it to get
AM or
FM.
FADE
The control behind the lower knob moves the sound
between your front and rear speakers.
SEEK
Pressing the SEEK button will cause the receiver to seek
the next higher station and stop.
SCAN
When you press SCAN, the radio will go to the next
station and pause and keep doing that until you press
SCAN again. SCAN appears in the display.
Pushbuttons
The four pushbuttons let you return to favorite stations.
You can set the pushbuttons for up to fourteen stations
(7 AM and 7 FM).
0 Tune in the station you want to listen to.
0 Press the SET pushbutton. (The display will show
SET for about
5 seconds.)
0 Within 5 seconds, push one of the four pushbuttons.
Whenever you press that button, the preset station will
return.
Up
to three more stations may be preset on each band by
pressing two pushbuttons that are
next to each other at
the same time.
0 Tune in the desired station.
Press SET pushbutton.
0 Within 5 seconds, press any two pushbuttons that are
next to each other. (The station will return when the
same two pushbuttons are pressed again.)
131
Page 136 of 324
RCL
It tells you the time or the radio frequency. When the
ignition
is off, push RCL to display the time. With the
radio on, when the time is displayed, push
RCL to
display the frequency.
SEEK 4 or b
Pressing the SEEK 4 or b button will cause the
receiver to seek
the next lower or higher station and
stop.
SCAN
When you press SCAN, the radio will go to the next
station and pause and keep doing that until
you press
SCAN again. SC will appear in the display.
Pushbuttons
The five pushbuttons let you return to favorite stations.
You can set the pushbuttons for up to ten stations (5 AM
and 5 FM).
0 Tune in the station you want to listen to.
Press the SET pushbutton. (The display will show
SET.)
0 Within 5 seconds, push one of the five pushbuttons.
(SET will disappear from the display when the
station is set.)
Whenever you press that button, the preset station
will return.
Clock
To set the clock,
Press the SET button.
0 Within 5 seconds, press and hold SCAN until the
correct hour appears on the display.
Press and hold SEEK 4 or b until the correct
minute appears on the display.
To Adjust The Tone
Use the levers next to the display to set the bass,
midrange, and treble until
you get the sound you want.
The
60 and 250 levers adjust the bass; 1K is midrange;
and
3.5K and 1OK control the treble.
We suggest you start with the center lever
(LK) in the
midpoint position. Then move the others up or down
until you get the amount of bass and treble you like.
To Play A Cassette
Your tape player is built to work best with tapes that are
30 to 45 minutes long on each side. Tapes longer than
that are
so thin they may not work well in this player.
134
Page 139 of 324
RCL
It tells you the time. When the ignition is off, push RCL
to display the time. With the radio on, and the time
displayed, push it to see the frequency.
SEEK 4 or b
Pressing the SEEK 4 or b button will cause the
receiver
to seek the next lower or higher station and
stop.
SCAN
When you press SCAN, the radio will go to the next
station and pause and keep doing that until you press
SCAN again. SC will appear in the display.
Pushbuttons
The five pushbuttons let you return to favorite stations.
You can set the pushbuttons for up to ten stations (5 AM
and 5 FM).
Tune in the station you want to listen to.
0 Press the SET pushbutton. The display will show
SET.
0 Within 5 seconds, push one of the five pushbuttons.
SET will disappear from the display when the station
is set.
Whenever you press that button, the preset station will
return.
Clock
To set the clock:
0 Press the SET p lushbutt on.
0 Within 5 seconds, press and hold SCAN until the
0 Press and hold SEEK or 4 until the correct
correct
hour appears
on the display.
minute appears
on the display.
To Adjust The Tone
Use the levers next to the display to set the base,
midrange and treble until
you get the sound you want.
The
60 and 250 levers adjust the bass; IK is midrange;
and
3.5K and 10K control the treble.
We suggest
you start with the center lever (IK) in the
midpoint position. Then move the others up or down
until you get the amount
of bass and treble you like.
137
Page 142 of 324
Step 1. Write down any 6-digit number and keep it in a
safe place.
Step
2. Turn the ignition to the ACC or RUN position.
Step
3. Press PWR to turn the radio off.
Step 4. Press presets 1 and 4 buttons together. Hold
them until
“- - -” shows on the display (at least 5
seconds).
You are now ready to enter your secret code. If you
pause more than
15 seconds between steps you may
have to start over.
Step
5. Press SET and “000” will appear on the display.
Step
6. Press SEEK or 4 and hold it until the first
digit of your code appears.
Step
7. Rotate the tune knob right or left to make the
next two numbers agree with your code.
Step
8. Press AM-FM knob and “000” will appear. Now
you are ready to enter the second three digits of the code
according to Step
6 and 7.
Step 9. Press the AM-FM knob. The display will show
“rEF’”
, and then “000” will appear indicating that some
steps are to be repeated for verification. Step
10. Repeat steps 6, 7, and 8.
Step 11. Press the AM-FM knob. If the display shows
“SEC” , the verification process was successful and the
system is SECURE. If the display shows
“- - -”, the
verification steps were not successful and the entire sequence must be started again.
To Unlock The System After a Power Loss
When battery power is reapplied to a secured radio, the
radio won’t turn
on and “LOC” will appear in the
display.
Enter your secret code as follows; pause
no more than
15 seconds between steps.
1.
2.
3.
4.
Turn the ignition on (Radio off.)
Press the SET button. The display will show
“000”.
Enter the six digits of the code following steps 6 thru
9 above. The display will show the number as
entered.
Press the
AM/FM button and the time appears -
indicating that the disabling sequence was
successful. If the display indicates “SEC”, the
number did not match and the unit is still secured.
140
Page 143 of 324
Disabling The Theft System
Step 1. Press preset buttons 1 and 4 for 5 seconds with
ignition “On” and radio power “Off’. The display will
show “SEC”, indicating the unit is in the secure mode.
Step
2. Press the SET button. The display will show
‘600097.
Step 3. Enter the first three digits of the code following
step
6 and 7 of the preceding paragraphs. The display
will show the numbers as entered.
Step
4. Press the AM-FM button. The radio will display
“000”.
Step 5. Enter the second three digits of the code. The
display shows the number as entered.
Step
6. Press the AM-FM button. If the display shows
- - -” , the disabling sequence was successful. (The
numbers matched the user-selected code or the factory
back-up code, and the unit is
in the UNSECURED
mode.) If
the display shows “SEC”, the disabling
sequence was unsuccessful and
the numbers did not
match either of the codes, the unit will remain in the
SECURED mode.
66
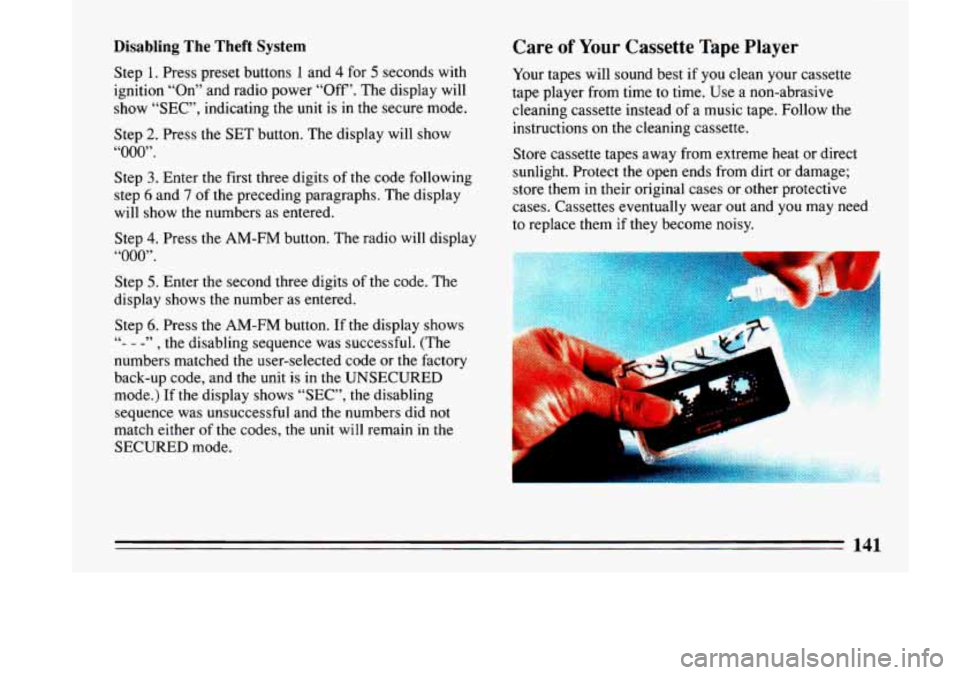
Care of Your Cassette Tape Player
Your tapes will sound best if you clean your cassette
tape player from time to time. Use a non-abrasive
cleaning cassette instead of a music tape. Follow the
instructions on the cleaning cassette.
Store cassette tapes away from extreme heat or direct
sunlight. Protect the open ends from dirt or damage;
store them in their original cases or other protective
cases. Cassettes eventually wear out and you may need
to replace them
if they become noisy.
141