CD player BUICK LESABRE 2003 User Guide
[x] Cancel search | Manufacturer: BUICK, Model Year: 2003, Model line: LESABRE, Model: BUICK LESABRE 2003Pages: 380, PDF Size: 2.75 MB
Page 184 of 380
4 RDM (Random):Press this pushbutton to enter the
random play mode. RAND will appear on the display.
While in this mode, tracks and discs will be played
in random, rather than sequential, order. Press
this pushbutton again to turn off the random feature and
return to normal operation.
6 SIDE:Press this pushbutton to select the next disc in
the magazine. Each time you press SIDE, the disc
number on the radio display will go to that of the next
available CD.
DISP (Display):Press this button to see how long the
current track has been playing. Press this button
again to display the disc and track number. To change
what is normally shown on the display (track or
elapsed time), press this button until you see the display
you want, then hold this button until the display
¯ashes and a chime is heard. While elapsed time is
showing, CD TIME will appear on the display.
©SEEK¨:Press the left arrow while playing a CD
to go back to the start of the current track if more
than eight seconds have played. If you press it more
than once, the player will continue moving backward
through the disc.
Press the right arrow and it will go to the next track on
the disc. If you press it more than once, the player
will continue moving forward through the disc.When you press the left SEEK arrow for two seconds
you will hear a beep. The disc will play the ®rst few
seconds of each track on each disc. DISC SCAN will
appear on the display. Press the left SEEK arrow again
to stop scanning.
BAND:Press this button to return to listening to the
radio while a CD is playing.
CD or CD TAPE:Press this button to play a CD if you
have a magazine loaded in the changer when listening
to the radio. You can also press this button to switch
between a cassette tape, CD or the CD changer
if all three are loaded.
Compact Disc Errors
E (Error):If this message and a number appear on the
display, an error has occurred.
If the error occurred while trying to play a CD in the
compact disc player or changer, the following conditions
may have caused the error:
·E30:You're driving on a very rough road. When the
road becomes smoother, the disc should play.
·E30:The disc is dirty, scratched, wet or upside
down.
·E30:The air is very humid. If so, wait about an
hour and try again.
3-76
Page 187 of 380
FM Stereo
FM stereo will give you the best sound, but FM signals
will reach only about 10 to 40 miles (16 to 65 km).
Tall buildings or hills can interfere with FM signals,
causing the sound to come and go.
XMŸ Satellite Radio Service
(USA Only)
XMŸ Satellite Radio gives you digital radio reception
from coast to coast. Just as with FM, tall buildings
or hills can interfere with satellite radio signals, causing
the sound to come and go. Your radio may display
NO SIGNAL to indicate interference.
Care of Your Cassette Tape Player
A tape player that is not cleaned regularly can cause
reduced sound quality, ruined cassettes or a damaged
mechanism. Cassette tapes should be stored in their
cases away from contaminants, direct sunlight and
extreme heat. If they aren't, they may not operate
properly or may cause failure of the tape player.Your tape player should be cleaned regularly after every
50 hours of use. Your radio may display CLEAN
PLAYER to indicate that you have used your tape player
for 50 hours without resetting the tape clean timer. If
this message appears on the display, your cassette tape
player needs to be cleaned. It will still play tapes, but
you should clean it as soon as possible to prevent
damage to your tapes and player. If you notice a
reduction in sound quality, try a known good cassette to
see if the tape or the tape player is at fault. If this
other cassette has no improvement in sound quality,
clean the tape player.
For best results, use a scrubbing action, non-abrasive
cleaning cassette with pads which scrub the tape
head as the hubs of the cleaner cassette turn. The
recommended cleaning cassette is available through
your dealership.
The cut tape detection feature of your cassette tape
player may identify the cleaning cassette tape as
a damaged tape, in error. If the cleaning cassette ejects,
insert the cassette at least three times to ensure
thorough cleaning.
3-79
Page 188 of 380
You may also choose a non-scrubbing action, wet-type
cleaner which uses a cassette with a fabric belt to
clean the tape head. This type of cleaning cassette will
not eject on its own. A non-scrubbing action cleaner
may not clean as thoroughly as the scrubbing type
cleaner. The use of a non-scrubbing action, dry-type
cleaning cassette is not recommended.
After you clean the player, press and hold the eject
button for ®ve seconds to reset the CLEAN PLAYER
indicator. The radio will display --- to show the indicator
was reset.
Cassettes are subject to wear and the sound quality
may degrade over time. Always make sure the cassette
tape is in good condition before you have your tape
player serviced.Care of Your CDs
Handle discs carefully. Store them in their original cases
or other protective cases and away from direct sunlight
and dust. If the surface of a disc is soiled, dampen
a clean, soft cloth in a mild, neutral detergent solution
and clean it, wiping from the center to the edge.
Be sure never to touch the side without writing when
handling discs. Pick up discs by grasping the outer
edges or the edge of the hole and the outer edge.
Care of Your CD Player
The use of CD lens cleaner discs is not advised, due to
the risk of contaminating the lens of the CD optics
with lubricants internal to the CD mechanism.
3-80
Page 343 of 380

Part B: Owner Checks and Services
Listed in this part are owner checks and services
which should be performed at the intervals speci®ed to
help ensure the safety, dependability and emission
control performance of your vehicle.
Be sure any necessary repairs are completed at once.
Whenever any ¯uids or lubricants are added to your
vehicle, make sure they are the proper ones, as shown
in Part D.
At Each Fuel Fill
It is important for you or a service station attendant to
perform these underhood checks at each fuel ®ll.
Engine Oil Level Check
Check the engine oil level and add the proper oil if
necessary. SeeEngine Oil on page 5-13for further
details.
Engine Coolant Level Check
Check the engine coolant level and add DEX-COOLž
coolant mixture if necessary. SeeEngine Coolant
on page 5-23for further details.
Windshield Washer Fluid Level Check
Check the windshield washer ¯uid level in the windshield
washer tank and add the proper ¯uid if necessary.
See
Windshield Washer Fluid on page 5-36for further
details.
At Least Once a Month
Tire In¯ation Check
Visually inspect your tires and make sure tires are
in¯ated to the correct pressures. Don't forget to check
your spare tire. See
Tires on page 5-58for further
details.
Cassette Tape Player Service
Clean cassette tape player. Cleaning should be done
every 50 hours of tape play. SeeAudio System(s)
on page 3-55for further details.
6-17
Page 365 of 380
A
Accessory Power Outlets.................................3-22
Adding Washer Fluid.......................................5-36
Additional Program Information........................... 7-9
Additives, Fuel................................................. 5-6
Add-On Electrical Equipment............................5-85
Adjusting the Speakers (Balance/Fade)......3-57, 3-65
Air Bag Systems.............................................1-46
How Does an Air Bag Restrain?....................1-52
Servicing Your Air Bag-Equipped Vehicle.........1-54
What Makes an Air Bag In¯ate?....................1-51
What Will You See After an Air
Bag In¯ates?...........................................1-52
When Should an Air Bag In¯ate?...................1-50
Where Are the Air Bags?..............................1-49
Air Bag .........................................................3-36
Readiness Light..........................................3-36
Air Cleaner/Filter, Engine.................................5-18
AM ...............................................................3-78
Antenna, Diversity Antenna System...................3-81
Antenna, XMŸ Satellite Radio
Antenna System..........................................3-81
Anti-lock Brake System (ABS)............................ 4-7
Anti-Lock Brake, System Warning Light..............3-38
Appearance Care............................................5-77
Care of Safety Belts....................................5-80
Chemical Paint Spotting...............................5-83Appearance Care (cont.)
Cleaning the Inside of Your Vehicle................5-77
Cleaning the Outside of Your Vehicle..............5-80
Finish Damage............................................5-83
Sheet Metal Damage...................................5-82
Underbody Maintenance...............................5-83
Vehicle Care/Appearance Materials................5-84
Weatherstrips..............................................5-80
Ashtrays........................................................3-23
Audio System(s).............................................3-55
Audio Steering Wheel Controls......................3-78
Care of Your Cassette Tape Player................3-79
Care of Your CD Player...............................3-80
Care of Your CDs........................................3-80
Chime Level Adjustment...............................3-81
Diversity Antenna System.............................3-81
Personal Choice Radio Controls....................3-77
Radio with Cassette and CD.........................3-62
Radio with CD............................................3-56
Setting the Time..........................................3-55
Theft-Deterrent Feature................................3-77
Trunk-Mounted CD Changer..........................3-73
Understanding Radio Reception.....................3-78
XMŸ Satellite Radio Antenna System............3-81
Automatic Door Locks.....................................3-51
Automatic Level Control...................................4-35
Automatic Operation........................................3-27
Automatic Transaxle Check..............................6-18
1
Page 366 of 380
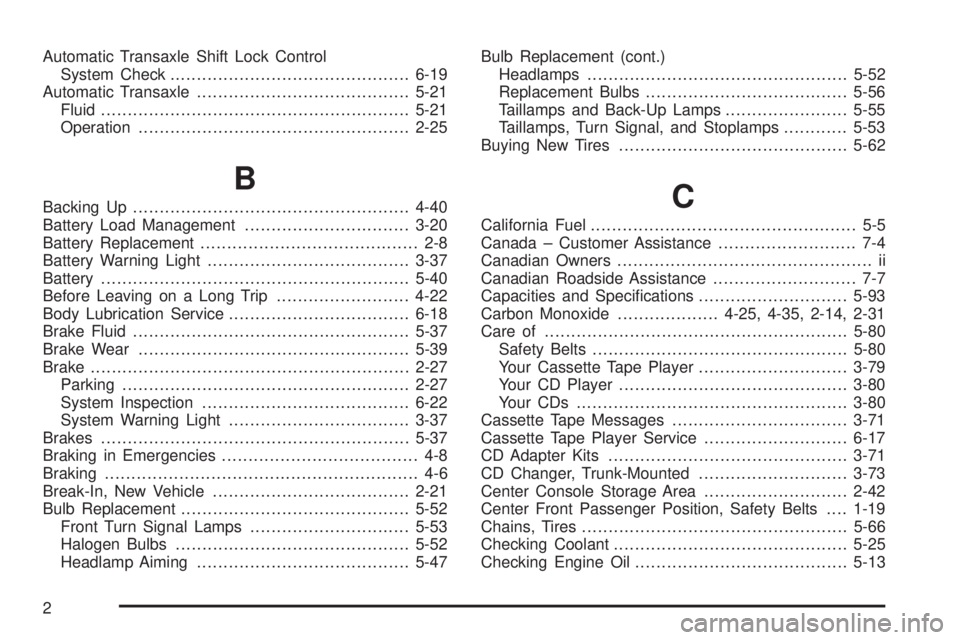
Automatic Transaxle Shift Lock Control
System Check.............................................6-19
Automatic Transaxle........................................5-21
Fluid..........................................................5-21
Operation...................................................2-25
B
Backing Up....................................................4-40
Battery Load Management...............................3-20
Battery Replacement......................................... 2-8
Battery Warning Light......................................3-37
Battery..........................................................5-40
Before Leaving on a Long Trip.........................4-22
Body Lubrication Service..................................6-18
Brake Fluid....................................................5-37
Brake Wear...................................................5-39
Brake............................................................2-27
Parking......................................................2-27
System Inspection.......................................6-22
System Warning Light..................................3-37
Brakes..........................................................5-37
Braking in Emergencies..................................... 4-8
Braking........................................................... 4-6
Break-In, New Vehicle.....................................2-21
Bulb Replacement...........................................5-52
Front Turn Signal Lamps..............................5-53
Halogen Bulbs............................................5-52
Headlamp Aiming........................................5-47Bulb Replacement (cont.)
Headlamps.................................................5-52
Replacement Bulbs......................................5-56
Taillamps and Back-Up Lamps.......................5-55
Taillamps, Turn Signal, and Stoplamps............5-53
Buying New Tires...........................................5-62C
California Fuel.................................................. 5-5
Canada ± Customer Assistance.......................... 7-4
Canadian Owners................................................ ii
Canadian Roadside Assistance........................... 7-7
Capacities and Speci®cations............................5-93
Carbon Monoxide...................4-25, 4-35, 2-14, 2-31
Care of.........................................................5-80
Safety Belts................................................5-80
Your Cassette Tape Player............................3-79
Your CD Player...........................................3-80
Your CDs ...................................................3-80
Cassette Tape Messages.................................3-71
Cassette Tape Player Service...........................6-17
CD Adapter Kits.............................................3-71
CD Changer, Trunk-Mounted............................3-73
Center Console Storage Area...........................2-42
Center Front Passenger Position, Safety Belts....1-19
Chains, Tires..................................................5-66
Checking Coolant............................................5-25
Checking Engine Oil........................................5-13
2
Page 375 of 380
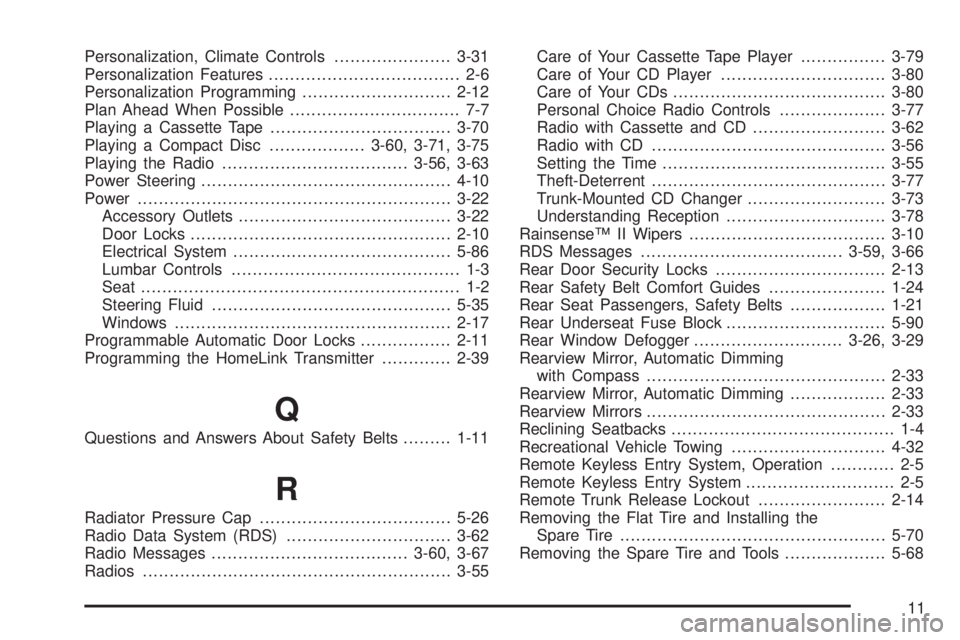
Personalization, Climate Controls......................3-31
Personalization Features.................................... 2-6
Personalization Programming............................2-12
Plan Ahead When Possible................................ 7-7
Playing a Cassette Tape..................................3-70
Playing a Compact Disc..................3-60, 3-71, 3-75
Playing the Radio...................................3-56, 3-63
Power Steering...............................................4-10
Power...........................................................3-22
Accessory Outlets........................................3-22
Door Locks.................................................2-10
Electrical System.........................................5-86
Lumbar Controls........................................... 1-3
Seat............................................................ 1-2
Steering Fluid.............................................5-35
Windows....................................................2-17
Programmable Automatic Door Locks.................2-11
Programming the HomeLink Transmitter.............2-39
Q
Questions and Answers About Safety Belts.........1-11
R
Radiator Pressure Cap....................................5-26
Radio Data System (RDS)...............................3-62
Radio Messages.....................................3-60, 3-67
Radios..........................................................3-55Care of Your Cassette Tape Player................3-79
Care of Your CD Player...............................3-80
Care of Your CDs........................................3-80
Personal Choice Radio Controls....................3-77
Radio with Cassette and CD.........................3-62
Radio with CD............................................3-56
Setting the Time..........................................3-55
Theft-Deterrent............................................3-77
Trunk-Mounted CD Changer..........................3-73
Understanding Reception..............................3-78
RainsenseŸ II Wipers.....................................3-10
RDS Messages......................................3-59, 3-66
Rear Door Security Locks................................2-13
Rear Safety Belt Comfort Guides......................1-24
Rear Seat Passengers, Safety Belts..................1-21
Rear Underseat Fuse Block..............................5-90
Rear Window Defogger............................3-26, 3-29
Rearview Mirror, Automatic Dimming
with Compass.............................................2-33
Rearview Mirror, Automatic Dimming..................2-33
Rearview Mirrors.............................................2-33
Reclining Seatbacks.......................................... 1-4
Recreational Vehicle Towing.............................4-32
Remote Keyless Entry System, Operation............ 2-5
Remote Keyless Entry System............................ 2-5
Remote Trunk Release Lockout........................2-14
Removing the Flat Tire and Installing the
Spare Tire..................................................5-70
Removing the Spare Tire and Tools...................5-68
11