ignition BUICK LESABRE 2003 Owner's Manual
[x] Cancel search | Manufacturer: BUICK, Model Year: 2003, Model line: LESABRE, Model: BUICK LESABRE 2003Pages: 380, PDF Size: 2.75 MB
Page 10 of 380

If you have the independent front cushion moved down
as far as it will go, you may feel the lumbar support
higher in your back. Readjust the location of the cushion
until you are comfortable. You may also want to
adjust the seatback for maximum comfort.
Heated Seats
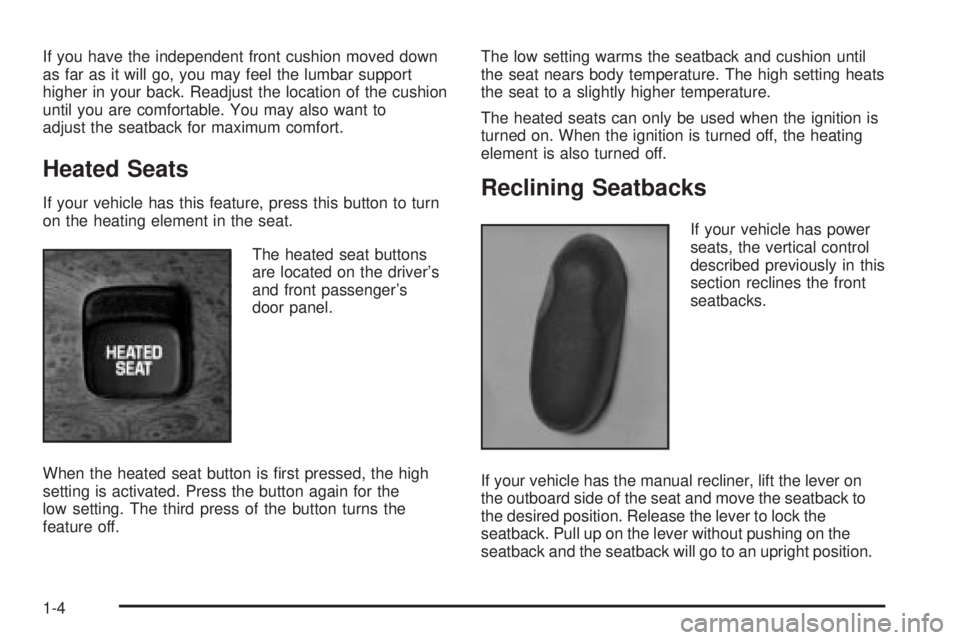
If your vehicle has this feature, press this button to turn
on the heating element in the seat.
The heated seat buttons
are located on the driver's
and front passenger's
door panel.
When the heated seat button is ®rst pressed, the high
setting is activated. Press the button again for the
low setting. The third press of the button turns the
feature off.The low setting warms the seatback and cushion until
the seat nears body temperature. The high setting heats
the seat to a slightly higher temperature.
The heated seats can only be used when the ignition is
turned on. When the ignition is turned off, the heating
element is also turned off.Reclining Seatbacks
If your vehicle has power
seats, the vertical control
described previously in this
section reclines the front
seatbacks.
If your vehicle has the manual recliner, lift the lever on
the outboard side of the seat and move the seatback to
the desired position. Release the lever to lock the
seatback. Pull up on the lever without pushing on the
seatback and the seatback will go to an upright position.
1-4
Page 60 of 380

Notice:If you damage the covering for the driver's
or the right front passenger's air bag, or the air
bag covering on the driver's and right front
passenger's seatback, the bag may not work
properly. You may have to replace the air bag
module in the steering wheel, both the air bag
module and the instrument panel for the right front
passenger's air bag, or both the air bag module
and seatback for the driver's and right front
passenger's side impact air bag. Do not open or
break the air bag coverings.
Servicing Your Air Bag-Equipped
Vehicle
Air bags affect how your vehicle should be serviced.
There are parts of the air bag systems in several places
around your vehicle. Your dealer and the service
manual have information about servicing your vehicle
and the air bag systems. To purchase a service manual,
see
Service Publications Ordering Information on
page 7-10.
{CAUTION:
For up to 10 seconds after the ignition key is
turned off and the battery is disconnected, an
air bag can still in¯ate during improper
service. You can be injured if you are close to
an air bag when it in¯ates. Avoid yellow
connectors. They are probably part of the air
bag system. Be sure to follow proper service
procedures, and make sure the person
performing work for you is quali®ed to do so.
The air bag systems do not need regular maintenance.
Restraint System Check
Checking Your Restraint Systems
Now and then, make sure the safety belt reminder light
and all your belts, buckles, latch plates, retractors
and anchorages are working properly. Look for any other
loose or damaged safety belt system parts. If you see
anything that might keep a safety belt system from doing
its job, have it repaired.
1-54
Page 63 of 380

Keys...............................................................2-3
Remote Keyless Entry System.........................2-5
Remote Keyless Entry System Operation...........2-5
Doors and Locks.............................................2-9
Door Locks....................................................2-9
Central Door Unlocking System......................2-10
Power Door Locks........................................2-10
Door Ajar Reminder......................................2-11
Delayed Locking...........................................2-11
Programmable Automatic
Door Locks...............................................2-11
Rear Door Security Locks..............................2-13
Lockout Protection........................................2-13
Leaving Your Vehicle....................................2-13
Trunk..........................................................2-14
Windows........................................................2-16
Power Windows............................................2-17
Sun Visors...................................................2-17
Theft-Deterrent Systems..................................2-18
Content Theft-Deterrent.................................2-18
PASS-Key
žIII ..............................................2-19
PASS-KeyžIII Operation...............................2-20Starting and Operating Your Vehicle................2-21
New Vehicle Break-In....................................2-21
Ignition Positions..........................................2-22
Starting Your Engine.....................................2-23
Engine Coolant Heater..................................2-24
Automatic Transaxle Operation.......................2-25
Parking Brake..............................................2-27
Shifting Into Park (P).....................................2-28
Shifting Out of Park (P).................................2-30
Parking Over Things That Burn.......................2-31
Engine Exhaust............................................2-31
Running Your Engine While You
Are Parked...............................................2-32
Mirrors...........................................................2-33
Manual Rearview Mirror.................................2-33
Automatic Dimming Rearview Mirror................2-33
Automatic Dimming Rearview Mirror
with Compass...........................................2-33
Outside Power Mirrors...................................2-35
Outside Curb View Assist Mirror.....................2-36
Outside Convex Mirror...................................2-36
Outside Automatic Dimming
Heated Mirror...........................................2-36
Section 2 Features and Controls
2-1
Page 65 of 380

Keys
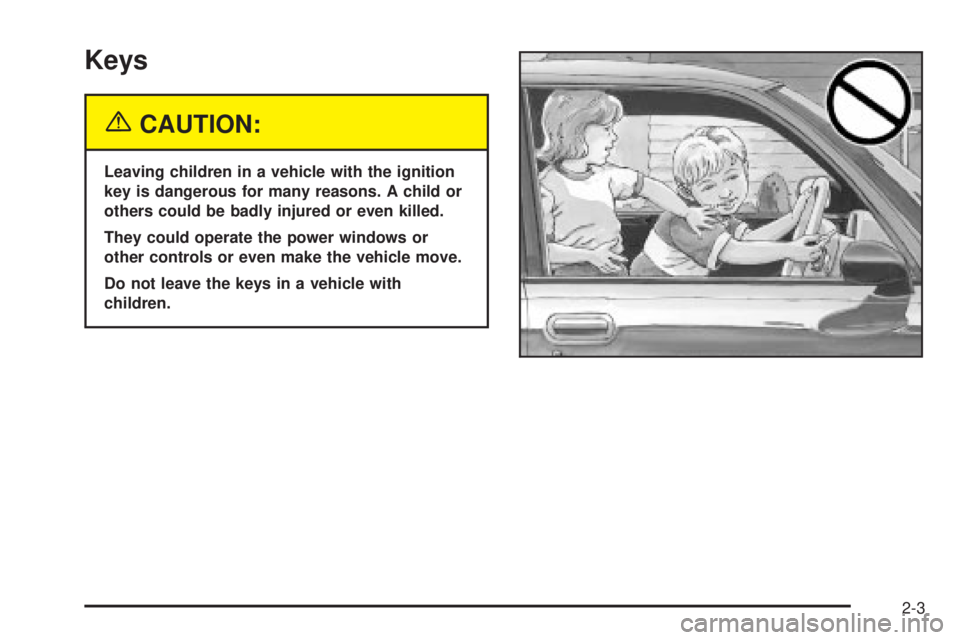
{CAUTION:
Leaving children in a vehicle with the ignition
key is dangerous for many reasons. A child or
others could be badly injured or even killed.
They could operate the power windows or
other controls or even make the vehicle move.
Do not leave the keys in a vehicle with
children.
2-3
Page 66 of 380

There is a master key that
works in all of the lock
cylinders (driver's
door, trunk, ignition, and
glove box).
There is also a VALET key
which only operates the
driver's door and the
ignition.Your vehicle has the PASS-KeyžIII vehicle theft
system. Both the master and VALET key have a
transponder in the key head that matches a decoder in
the vehicle's steering column. If a replacement key
or any additional key is needed, you must purchase this
key from your dealer. The key will have PK3
žstamped
on it. Keep the bar code tag that came with the
original keys. Give this tag to your dealer if you need a
new key made.
Any new PASS-Key
žIII key must be programmed
before it will start your vehicle. SeePASS-KeyžIII on
page 2-19for more information on programming
your new key.
If your vehicle is equipped with the OnStar
žSystem
with an active subscription and you lock your keys inside
the vehicle, OnStar
žmay be able to send a command
to unlock your vehicle. SeeOnStaržSystem on
page 2-37for more information.
Notice:Your vehicle has a number of features that
can help prevent theft. You can have a lot of
trouble getting into your vehicle if you ever lock
your keys inside. You may even have to damage
your vehicle to get in. So be sure you have
spare keys.
2-4
Page 68 of 380

If your vehicle is equipped with the DIC, the numbers on
the back of your transmitter correspond to DRIVER #1
and DRIVER #2 on the DIC. For more information
see
Driver Information Center (DIC) on page 3-45.
W(Unlock):When this
button is pressed, the
driver's door will unlock
and the exterior lights will
¯ash twice.
If the unlock button is pressed again within ®ve seconds,
all doors will unlock, the exterior lamps will ¯ash twice
and the horn may sound. See ªSecurity Feedbackº later
in this section for more information.
Pressing the unlock button will also illuminate the
interior lamps. See ªEntry Lightingº under
Interior Lamps
on page 3-17.
Q(Lock):When this button is pressed, all doors will
lock, the exterior lamps will ¯ash once and the horn
may sound.
V(Trunk):The trunk will unlock if this button is
pressed when the ignition is in OFF. It will also
work when the ignition is on, but only while the transaxle
is in PARK (P) or NEUTRAL (N).
L(Instant Alarm):When this button is pressed, the
horn will sound and the headlamps and taillamps
will ¯ash for up to 30 seconds. This can be turned off by
pressing the instant alarm button again or by turning
the ignition on. If your vehicle is equipped with the
content theft-deterrent feature, you may also turn off the
instant alarm by unlocking the vehicle with a key.
Personalization Features
The following list of features, if available on your
vehicle, can be programmed to each driver's preference.
·Automatic Door Locks:This feature programs
your door locks to automatically lock or unlock
when shifting in and out of PARK (P).
·Security Feedback:This feature provides feedback
to the driver when the vehicle receives a command
from the remote keyless entry transmitter.
2-6
Page 69 of 380

·Delayed Locking:This feature lets the driver delay
the actual locking of the vehicle. When all doors
have been closed, the doors will lock automatically
after ®ve seconds.
·Perimeter Lighting:When the button with the
unlock symbol on the remote keyless entry
transmitter is pressed, the daytime running lamps
(DRL), parking lamps and back-up lamps will
turn on.
For more detailed information and programming
instructions, refer to
DIC Vehicle Personalization on
page 3-50for each individual feature listed above.
Security Feedback
This feature provides feedback when the vehicle
receives a command from the remote keyless entry
transmitter. Feedback is only provided if all doors are
closed, the ignition is off and the Retained Accessory
Power (RAP) is inactive. One of the following modes
may be selected for each transmitter:
Mode 1:No feedback when locking or unlocking
vehicle.
Mode 2:Parking lamps, back-up lamps and the DRL
exterior lamps will ¯ash twice when unlocking the vehicle
and ¯ash once when locking the vehicle.Mode 3:Horn chirps when all doors are unlocked
(second time the button is pressed) and when locking
the vehicle.
Mode 4:Parking lamps, back-up lamps and the DRL
exterior lamps will ¯ash twice each time the button with
the unlock symbol is pressed; the horn chirps when
all doors are unlocked. Parking lamps and the
DRL exterior lamps ¯ash once and the horn chirps
when locking the vehicle.
The exterior lamps will not ¯ash if the manual parking
lamps are on.
If your vehicle is equipped with the DIC, you must
program this feature using it. See
Driver Information
Center (DIC) on page 3-45.
If your vehicle is not equipped with the DIC, do the
following to change to another mode:
1. Close all the doors and turn the ignition on. Keep
all doors closed throughout this procedure.
2. Press and hold LOCK on the driver's power door
lock switch throughout this procedure. All the
doors will lock.
3. Press the trunk button on the transmitter. The
security feedback will remain in its current mode.
The horn will chirp as feedback.
2-7
Page 70 of 380

4. Press the trunk button again. Each time the trunk
button is pressed, the security feedback will
advance to the next mode, and the horn will chirp.
5. Release the power door lock switch. The security
feedback will remain in the most current mode
selected.
This procedure only changes the mode for the
transmitter used to change this setting.
To verify the mode selected, remove the key from the
ignition and close all of the doors after you've exited the
vehicle. Press the lock button on the transmitter to be
veri®ed and con®rm the appropriate feedback.
Repeat with the unlock button.
Matching Transmitter(s) to Your
Vehicle
Each remote keyless entry transmitter is coded to
prevent another transmitter from unlocking your vehicle.
If a transmitter is lost or stolen, a replacement can
be purchased through your dealer. Remember to bring
any remaining transmitters with you when you go toyour dealer. When the dealer matches the replacement
transmitter to your vehicle, any remaining transmitters
must also be matched. Once your dealer has coded the
new transmitter, the lost transmitter will not unlock
your vehicle. Each vehicle can have a maximum of four
transmitters matched to it.
See your dealer to have additional transmitters matched
to your vehicle.
Battery Replacement
Under normal use, the battery in your remote keyless
entry transmitter should last about four years.
You can tell the battery is weak if the transmitter won't
work at the normal range in any location. If you have
to get close to your vehicle before the transmitter works,
it's probably time to change the battery.
Notice:When replacing the battery, use care not to
touch any of the circuitry. Static from your body
transferred to these surfaces may damage the
transmitter.
2-8
Page 73 of 380

Door Ajar Reminder
If your vehicle is equipped with the Driver Information
Center (DIC), and a door is not fully closed, the DIC will
display a DOOR AJAR message. See
Driver Information
Center (DIC) on page 3-45.
Delayed Locking
This feature lets the driver delay the actual locking of
the vehicle. When the driver's power door lock switch or
remote keyless entry lock button is pressed with the
key removed from the ignition, and the driver's
door open, a chime will sound three times to signal that
the delayed locking system is active. When all doors
have been closed, the doors will lock automatically after
®ve seconds. If any door is opened before this, the
®ve-second timer will reset itself once all the doors have
been closed again.
Pressing the driver's or passenger's power door lock
switch or the remote keyless entry transmitter button
again will override this feature.
Personal Choice Programming
The delayed locking feature can be turned on or off.
If your vehicle is equipped with the DIC, you must use it
to program this feature. See
Driver Information Center
(DIC) on page 3-45.To turn the feature on, do the following:
1. Close all the doors and turn the ignition on. Keep
all doors closed throughout this procedure.
2. Press and hold LOCK on the driver's power door
lock switch throughout this procedure. All the
doors will lock.
3. Press the unlock button on the transmitter. The lock
delay is still off and all doors will remain locked.
4. Press the unlock button on the transmitter again.
Lock delay is now active and all doors will unlock.
5. Release the power door lock switch.
To turn this feature off, repeat the previous procedure.
This procedure only changes the mode for the
transmitter used to change this setting.
Programmable Automatic
Door Locks
Close the doors and turn on the ignition. Every time you
move the shift lever out of PARK (P), all of the doors
will lock. And, every time you stop and move the
shift lever into PARK (P), the doors will unlock. If
someone needs to get out while you're not in PARK (P),
have that person use the manual door lock control or
power door lock switch. When the door is closed again,
it will not lock automatically. If you need to lock the
doors before shifting out of PARK (P), use the manual
door lock control or power door lock switch.
2-11
Page 74 of 380

Personalization Programming
You can program the automatic door locks feature to
change to the following modes:
Mode 0:No automatic door lock or unlock.
Mode 1:All doors automatically lock when shifted out
of PARK (P). No automatic door unlock.
Mode 2:All doors automatically lock when shifted out
of PARK (P). Only the driver's door automatically
unlocks when shifted into PARK (P).
Mode 3:All doors automatically lock when shifted out
of PARK (P). All doors automatically unlock when shifted
into PARK (P).
If your vehicle is equipped with the DIC, you must use
it to program this feature. See
Driver Information
Center (DIC) on page 3-45.
If your vehicle is not equipped with the DIC, use the
following procedure to change modes:
1. Close all the doors and turn the ignition on. Keep
all doors closed throughout this procedure.
2. Press and hold LOCK on the driver's power door
lock switch throughout this procedure. All the
doors will lock.3. Press the button with the lock symbol on the
remote keyless entry transmitter. The automatic
door locks will remain in the current mode.
4. Press the button with the lock symbol on the
transmitter again. Each time this button is pressed,
the mode will advance by one, going from
3 to 0 to 1, etc.
The door locks will cycle according to the mode
entered while customizing the memory door locks.
(Mode 0 has no feedback.)
5. Release the power door lock switch. The automatic
door locks will remain in the most recent mode
selected.
This procedure only changes the mode for the
transmitter used to change this setting.
2-12